Day 118
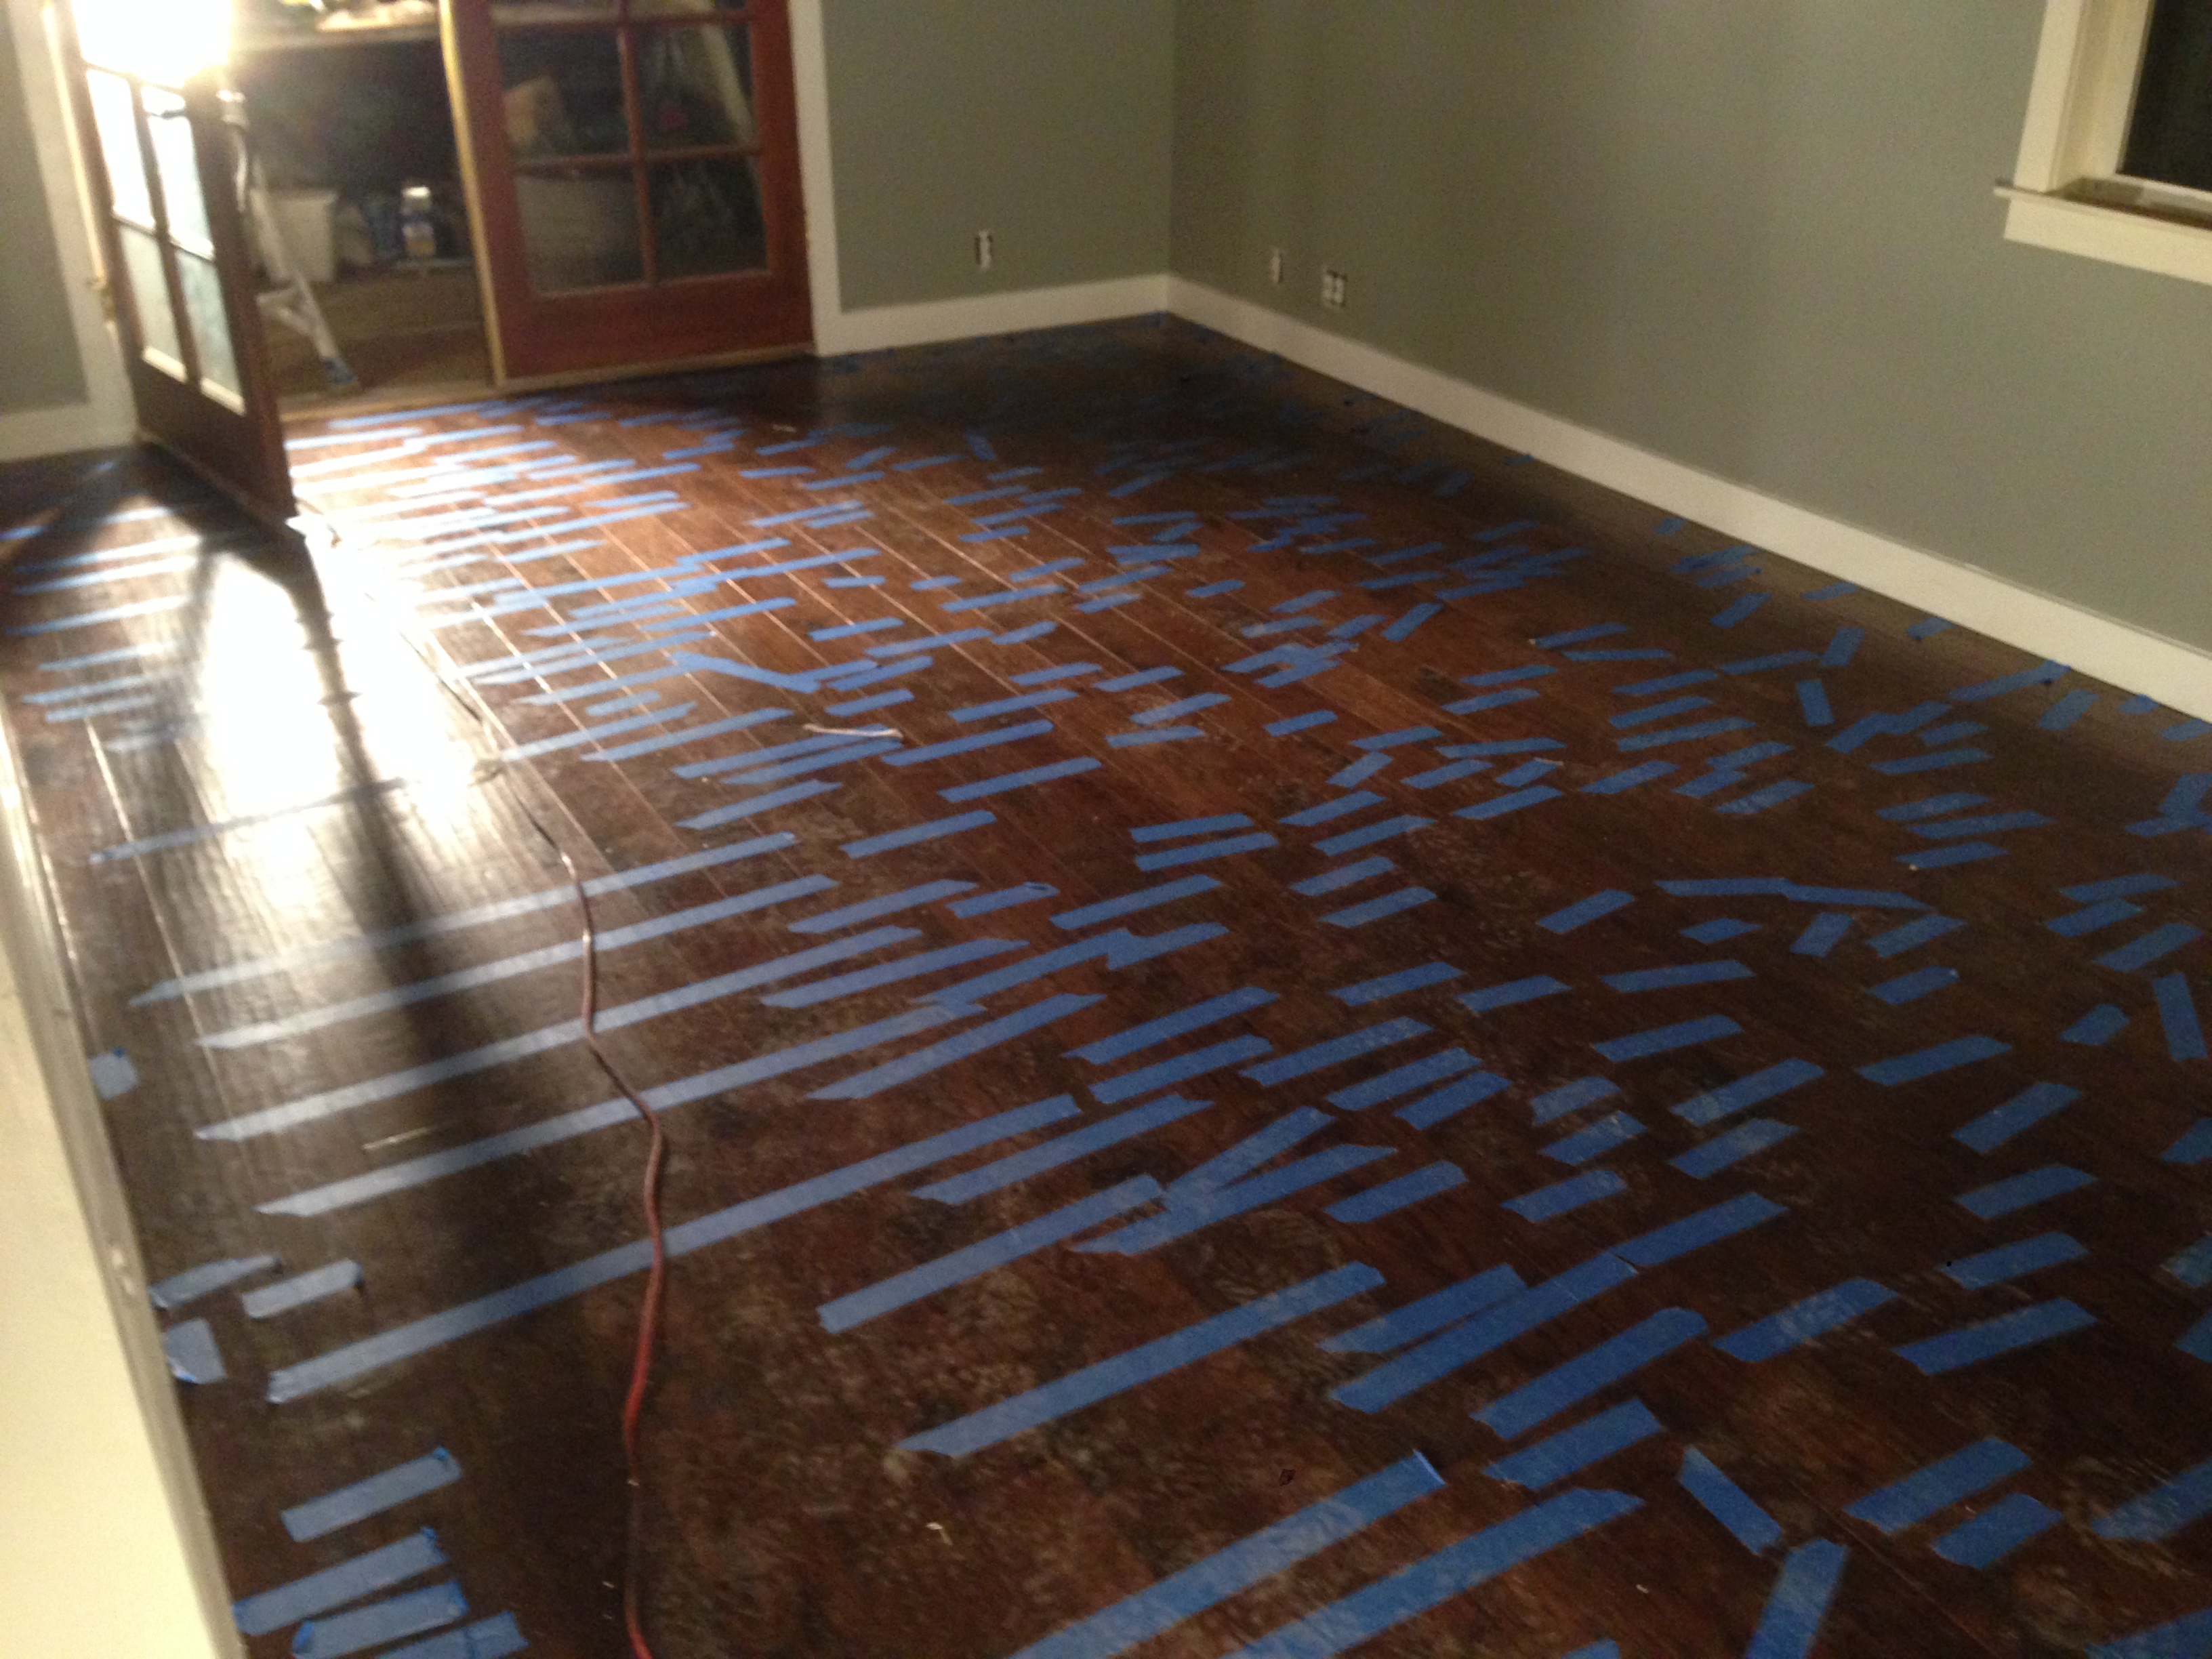
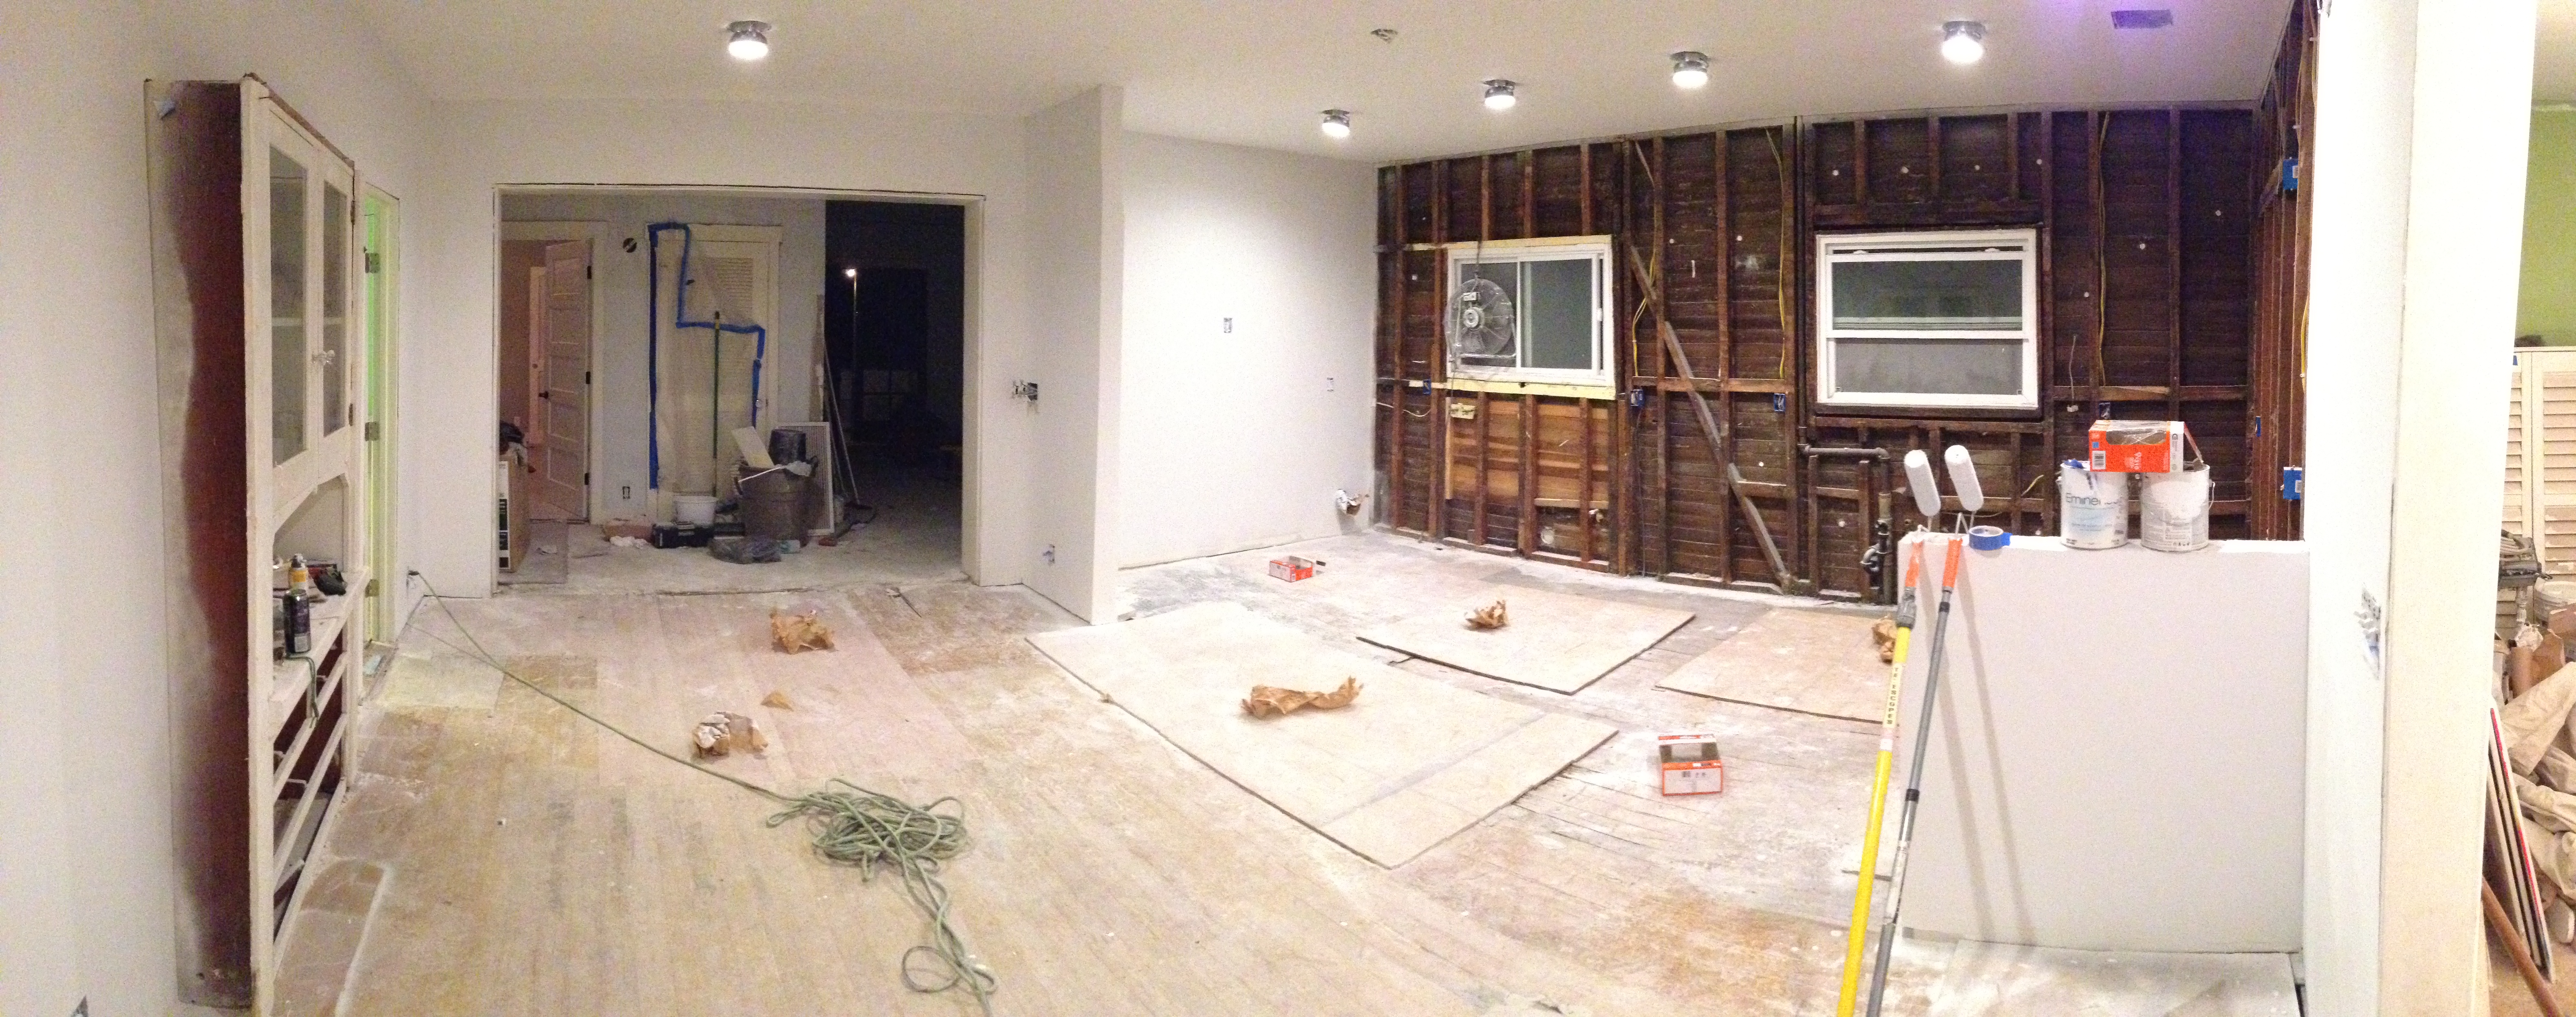
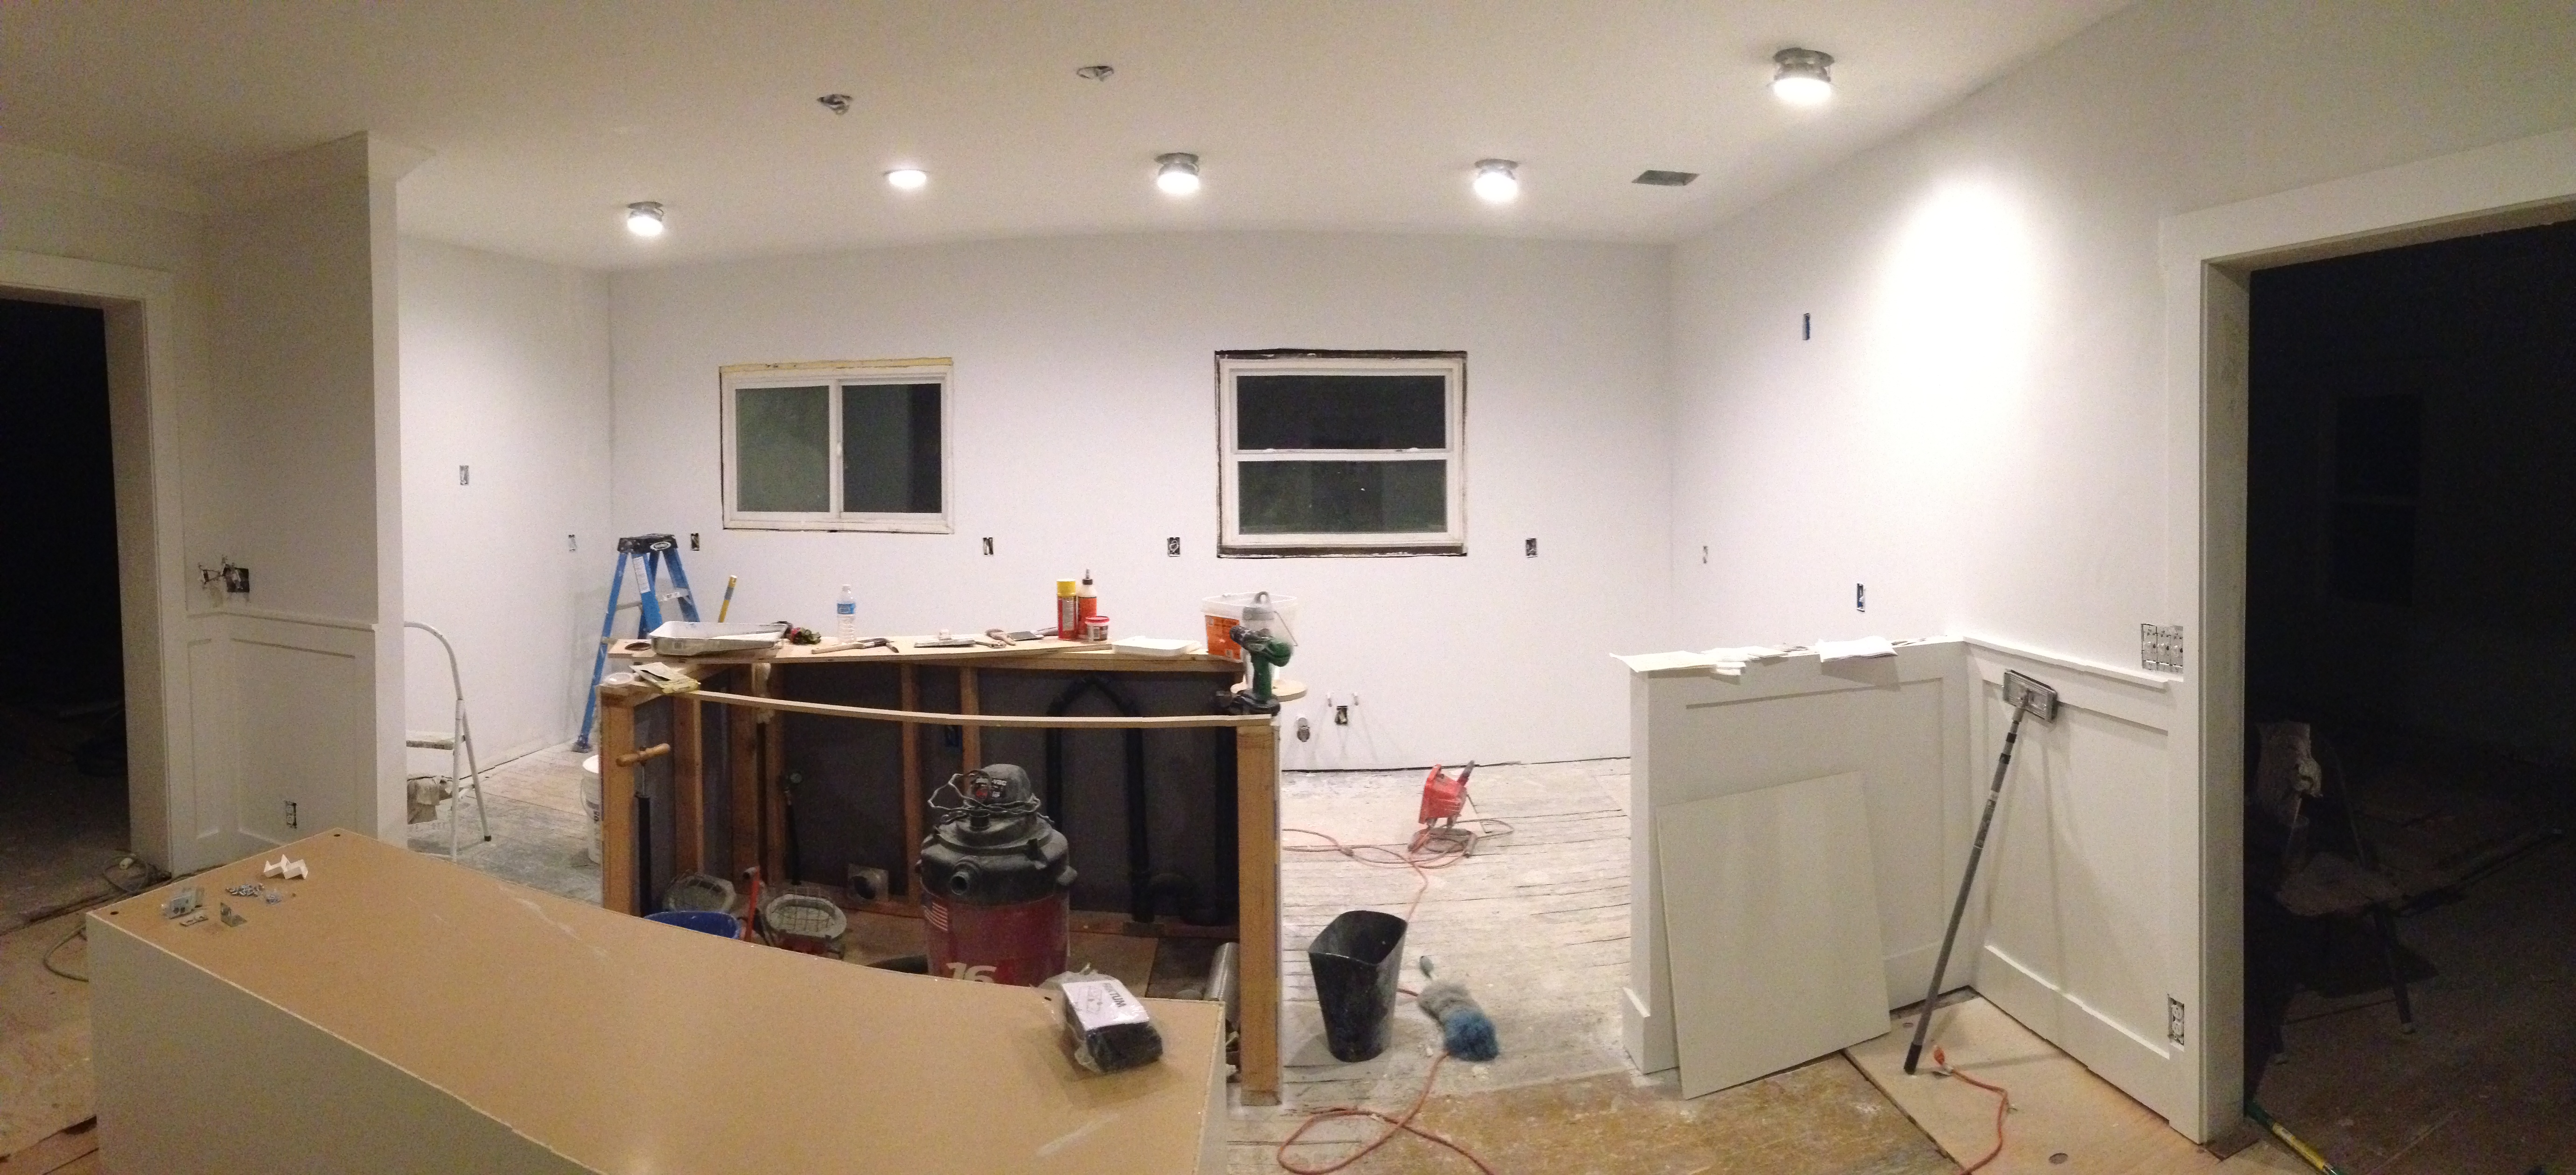
The past few days Kevin has been prepping all of the floors on the raised foundation for new subfloor. There have been a lot of rotted boards that Kevin has had to replace. We are going to add a new layer of plywood subfloor to the entire front of the house before laying the wood.
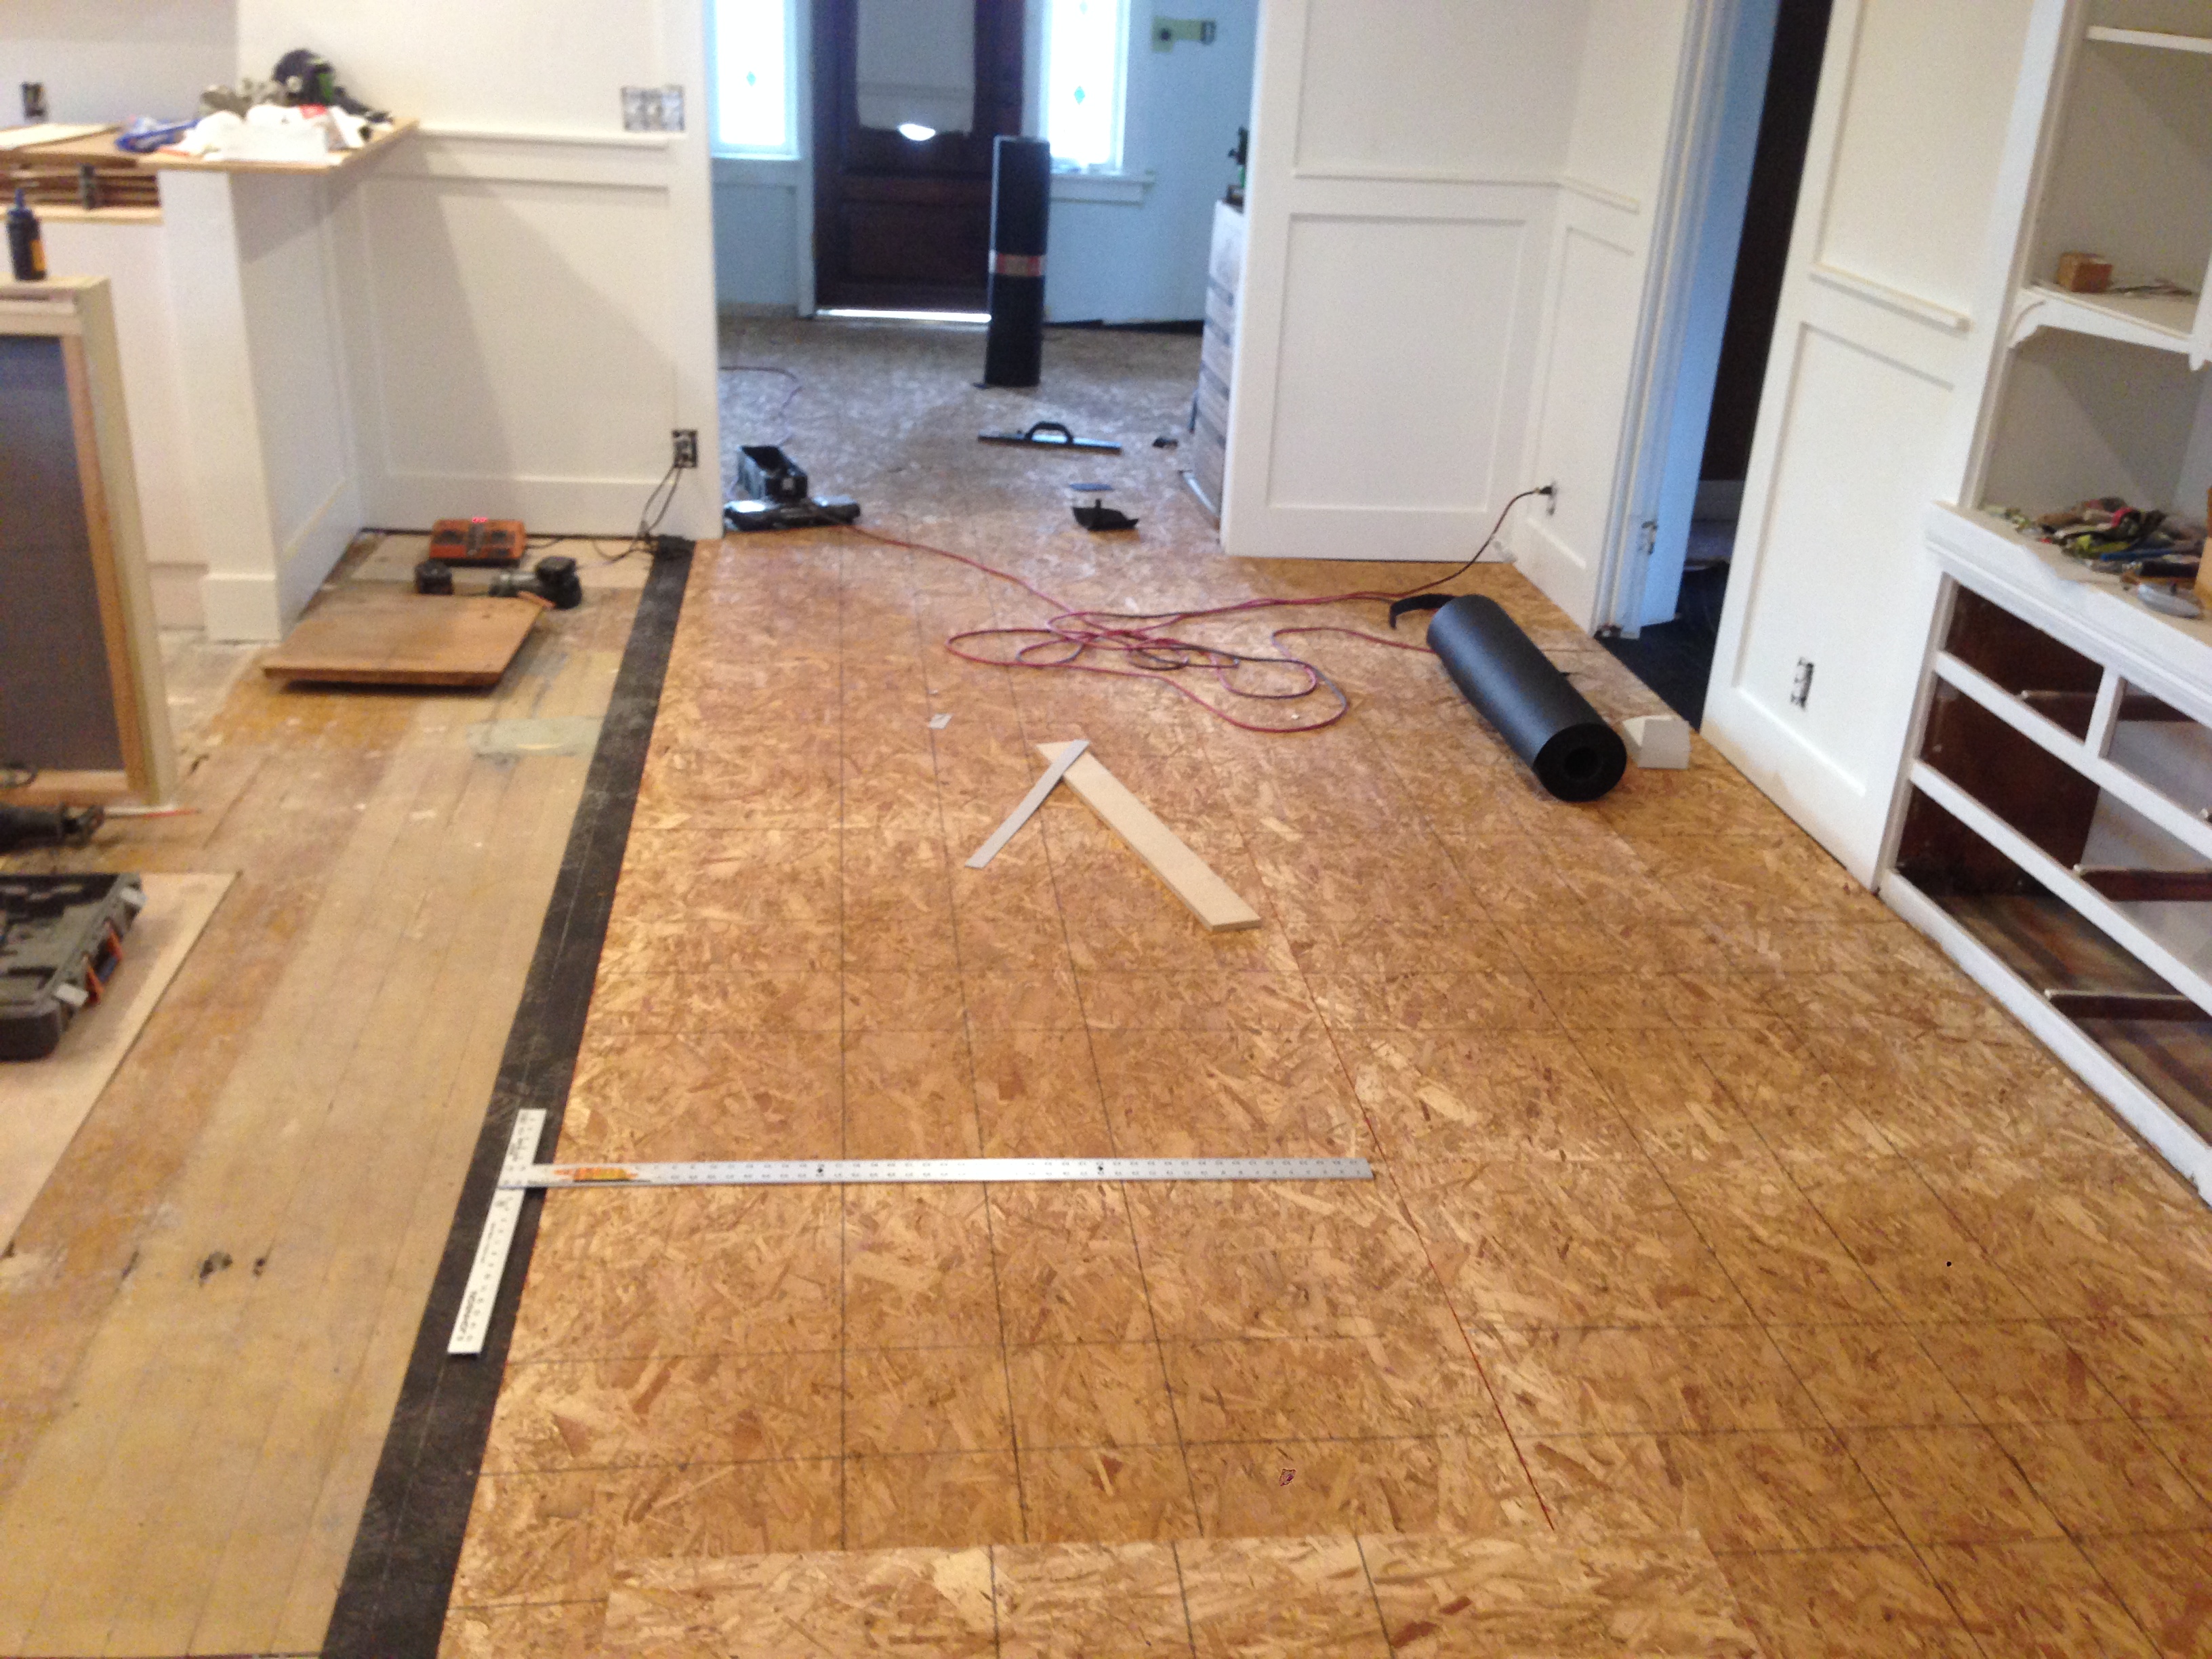
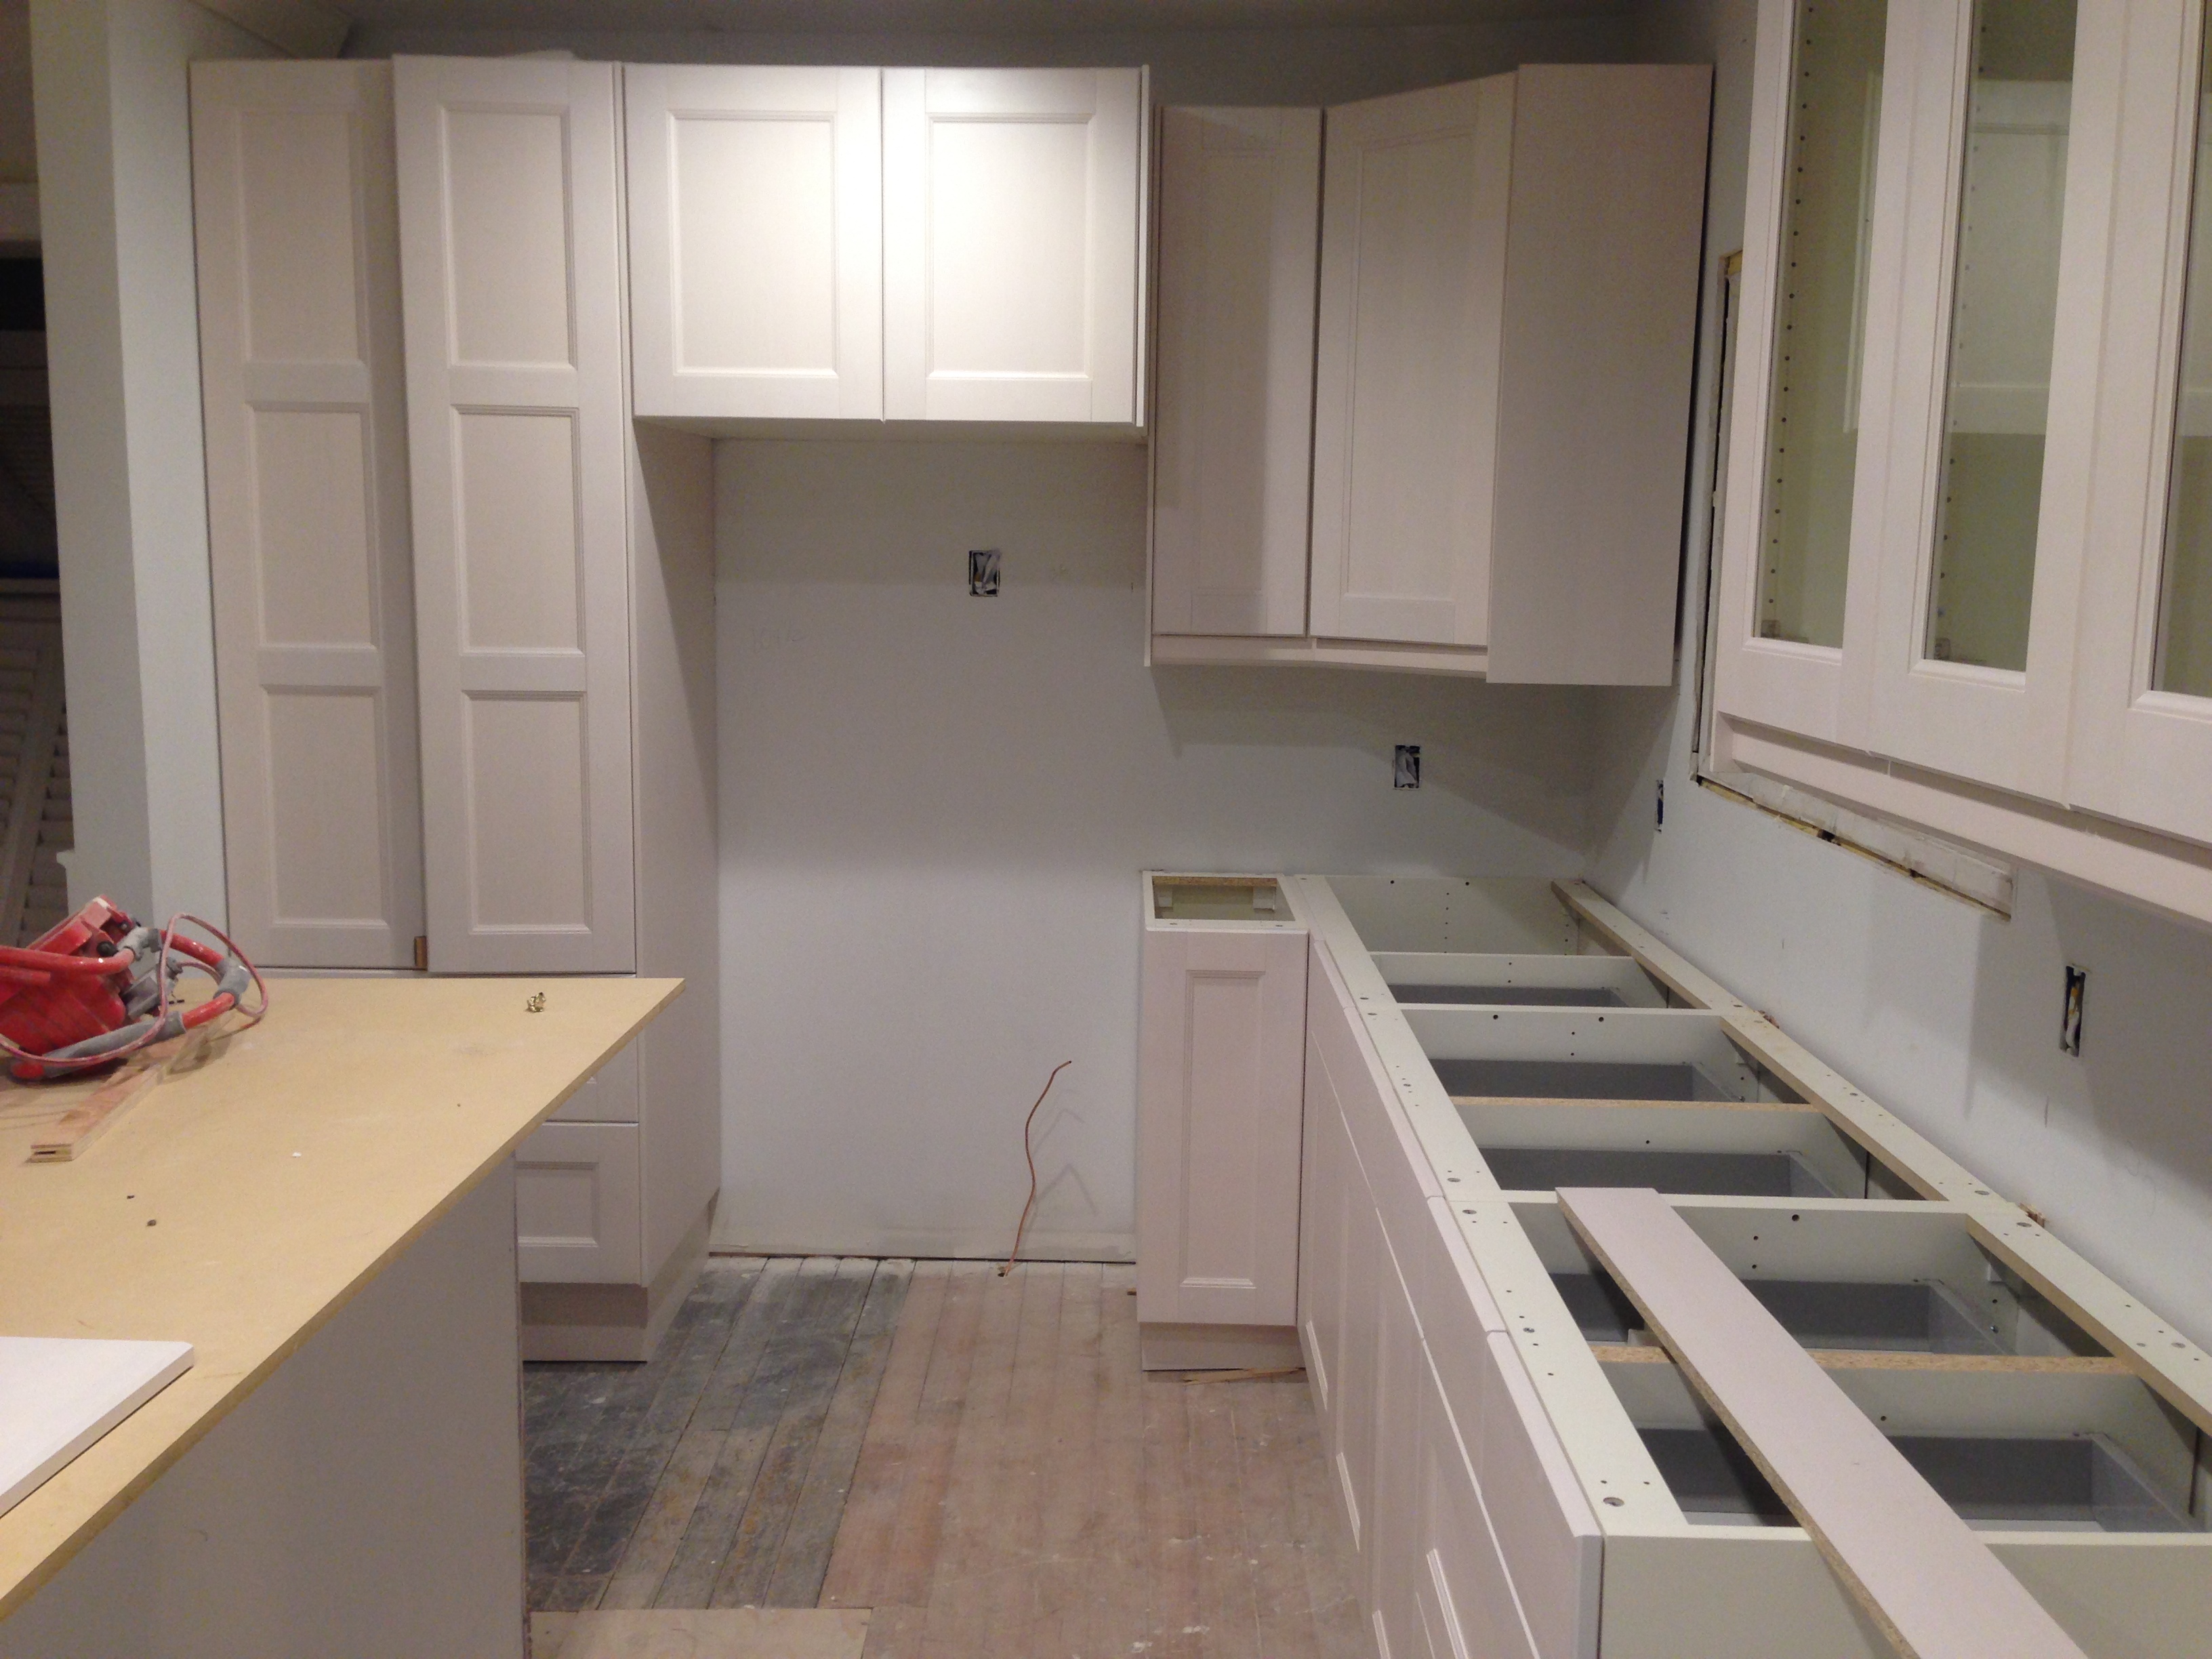
Kevin laid new plywood down to go underneath the wood flooring.
Today on the way to Lowe’s someone backed out of their driveway and into the red truck! Ugh!
Later we picked up the sink and Jason helped Kevin screw down all of the plywood.
HELPER: Jason