Day 176
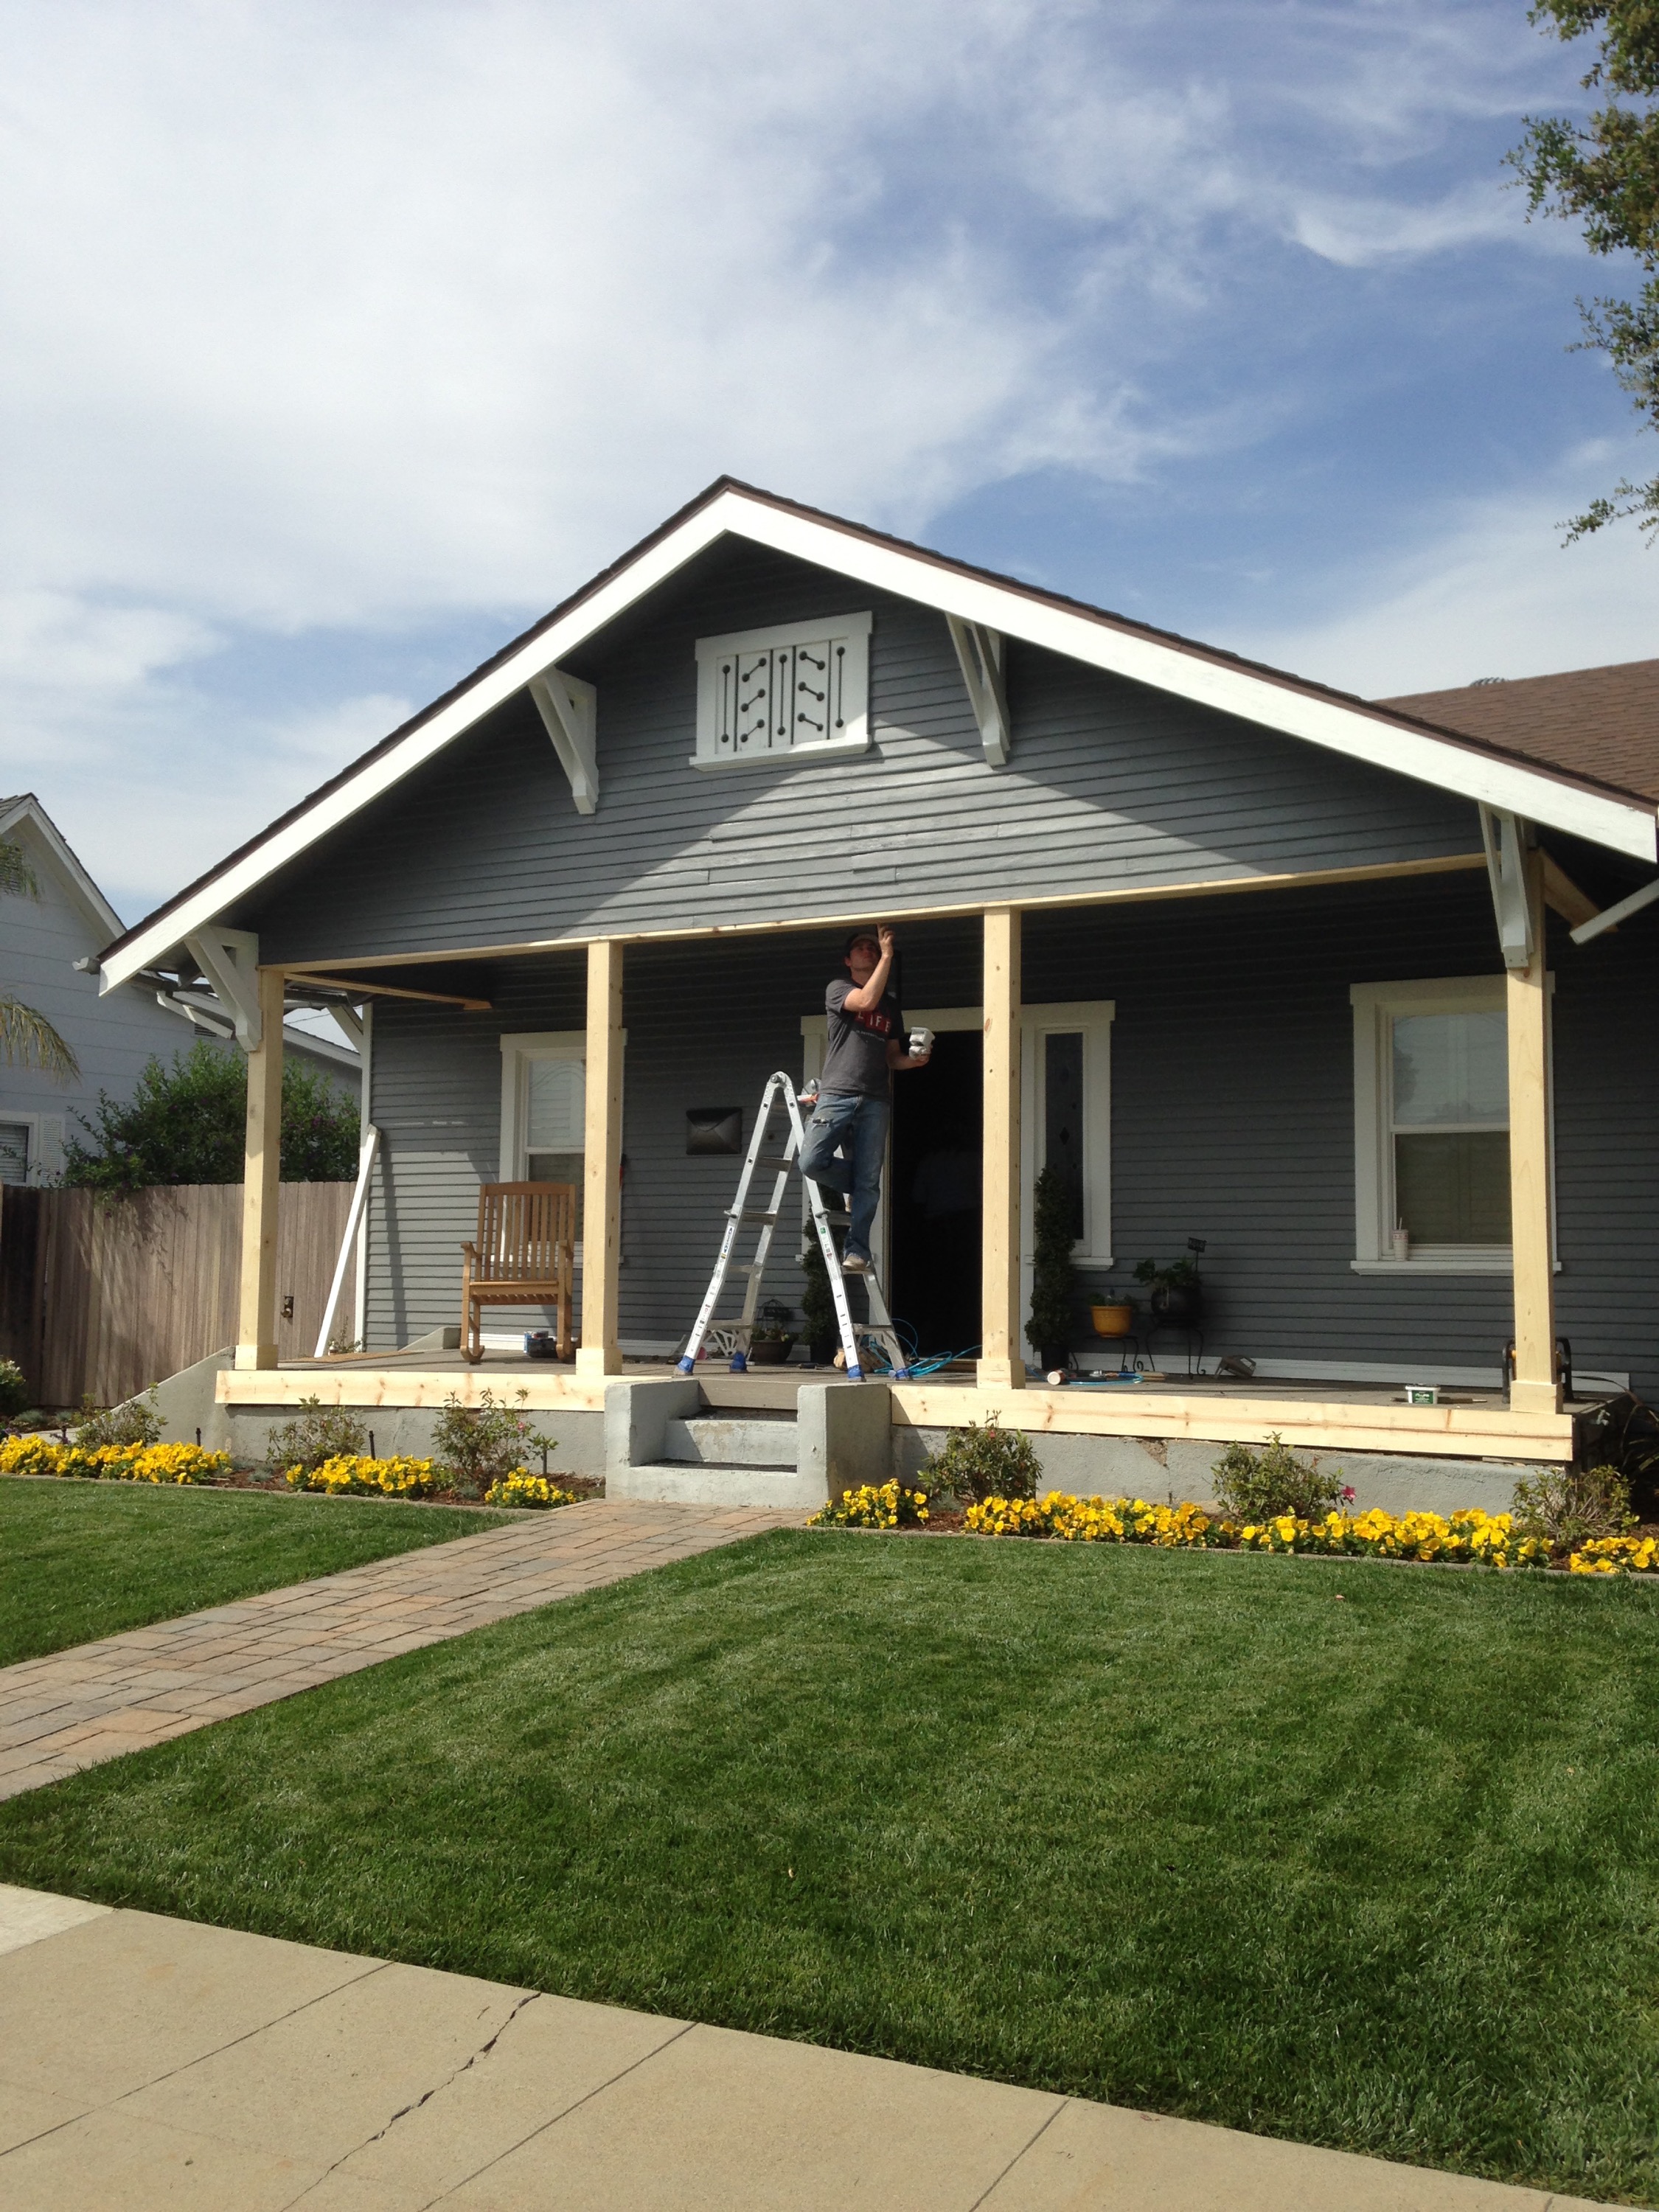
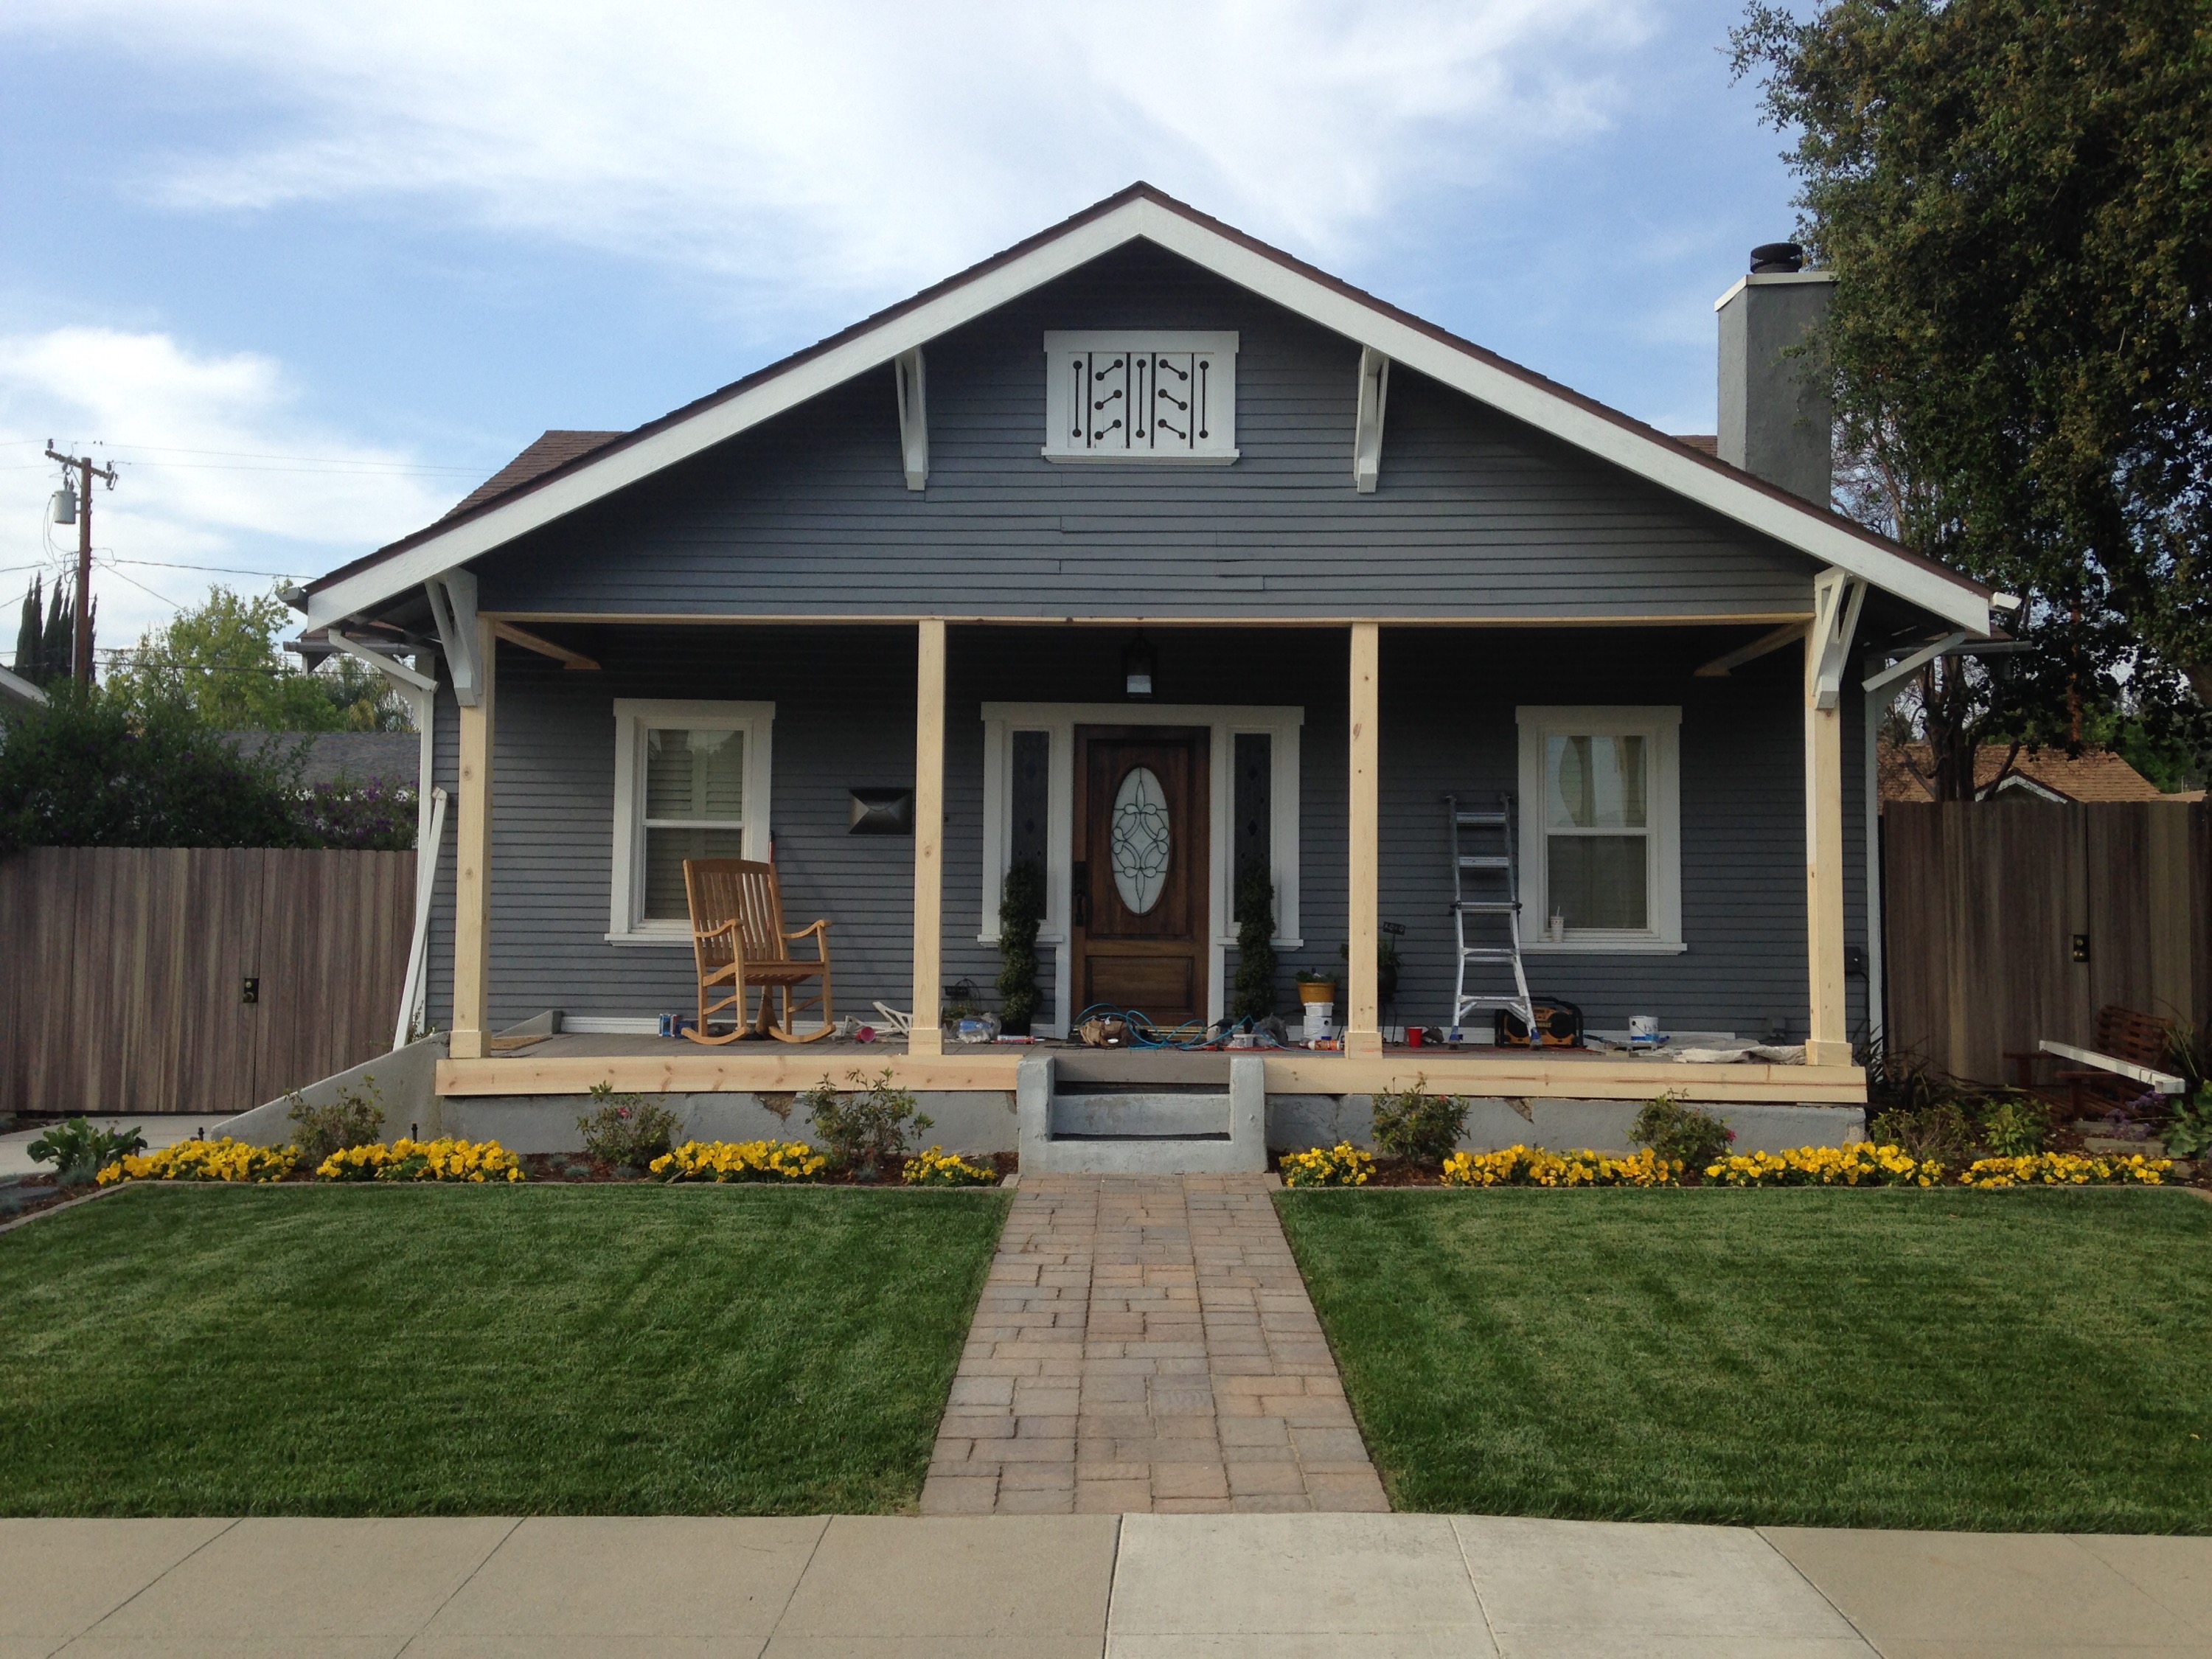
Our final inspection by the bank is coming soon and we are scrambling to finish all the last minute projects. My mom is working on scraping the last bit of paint off the original doors and Kevin tackled replacing the front porch posts. One of the first things the inspector noticed when we purchased the house was that the posts were not aligned so that project was on the have-to-fix list. Another project on the have-to-fix list was the ridge cap on the roof of the garage. It was heavily deteriorated so Kevin had to replace those tiles before the final inspection.

SO MUCH PAINT!

Thanks mom for scraping paint off these doors for the past 4 months…

Temporary bracing as old hollow posts are removed.
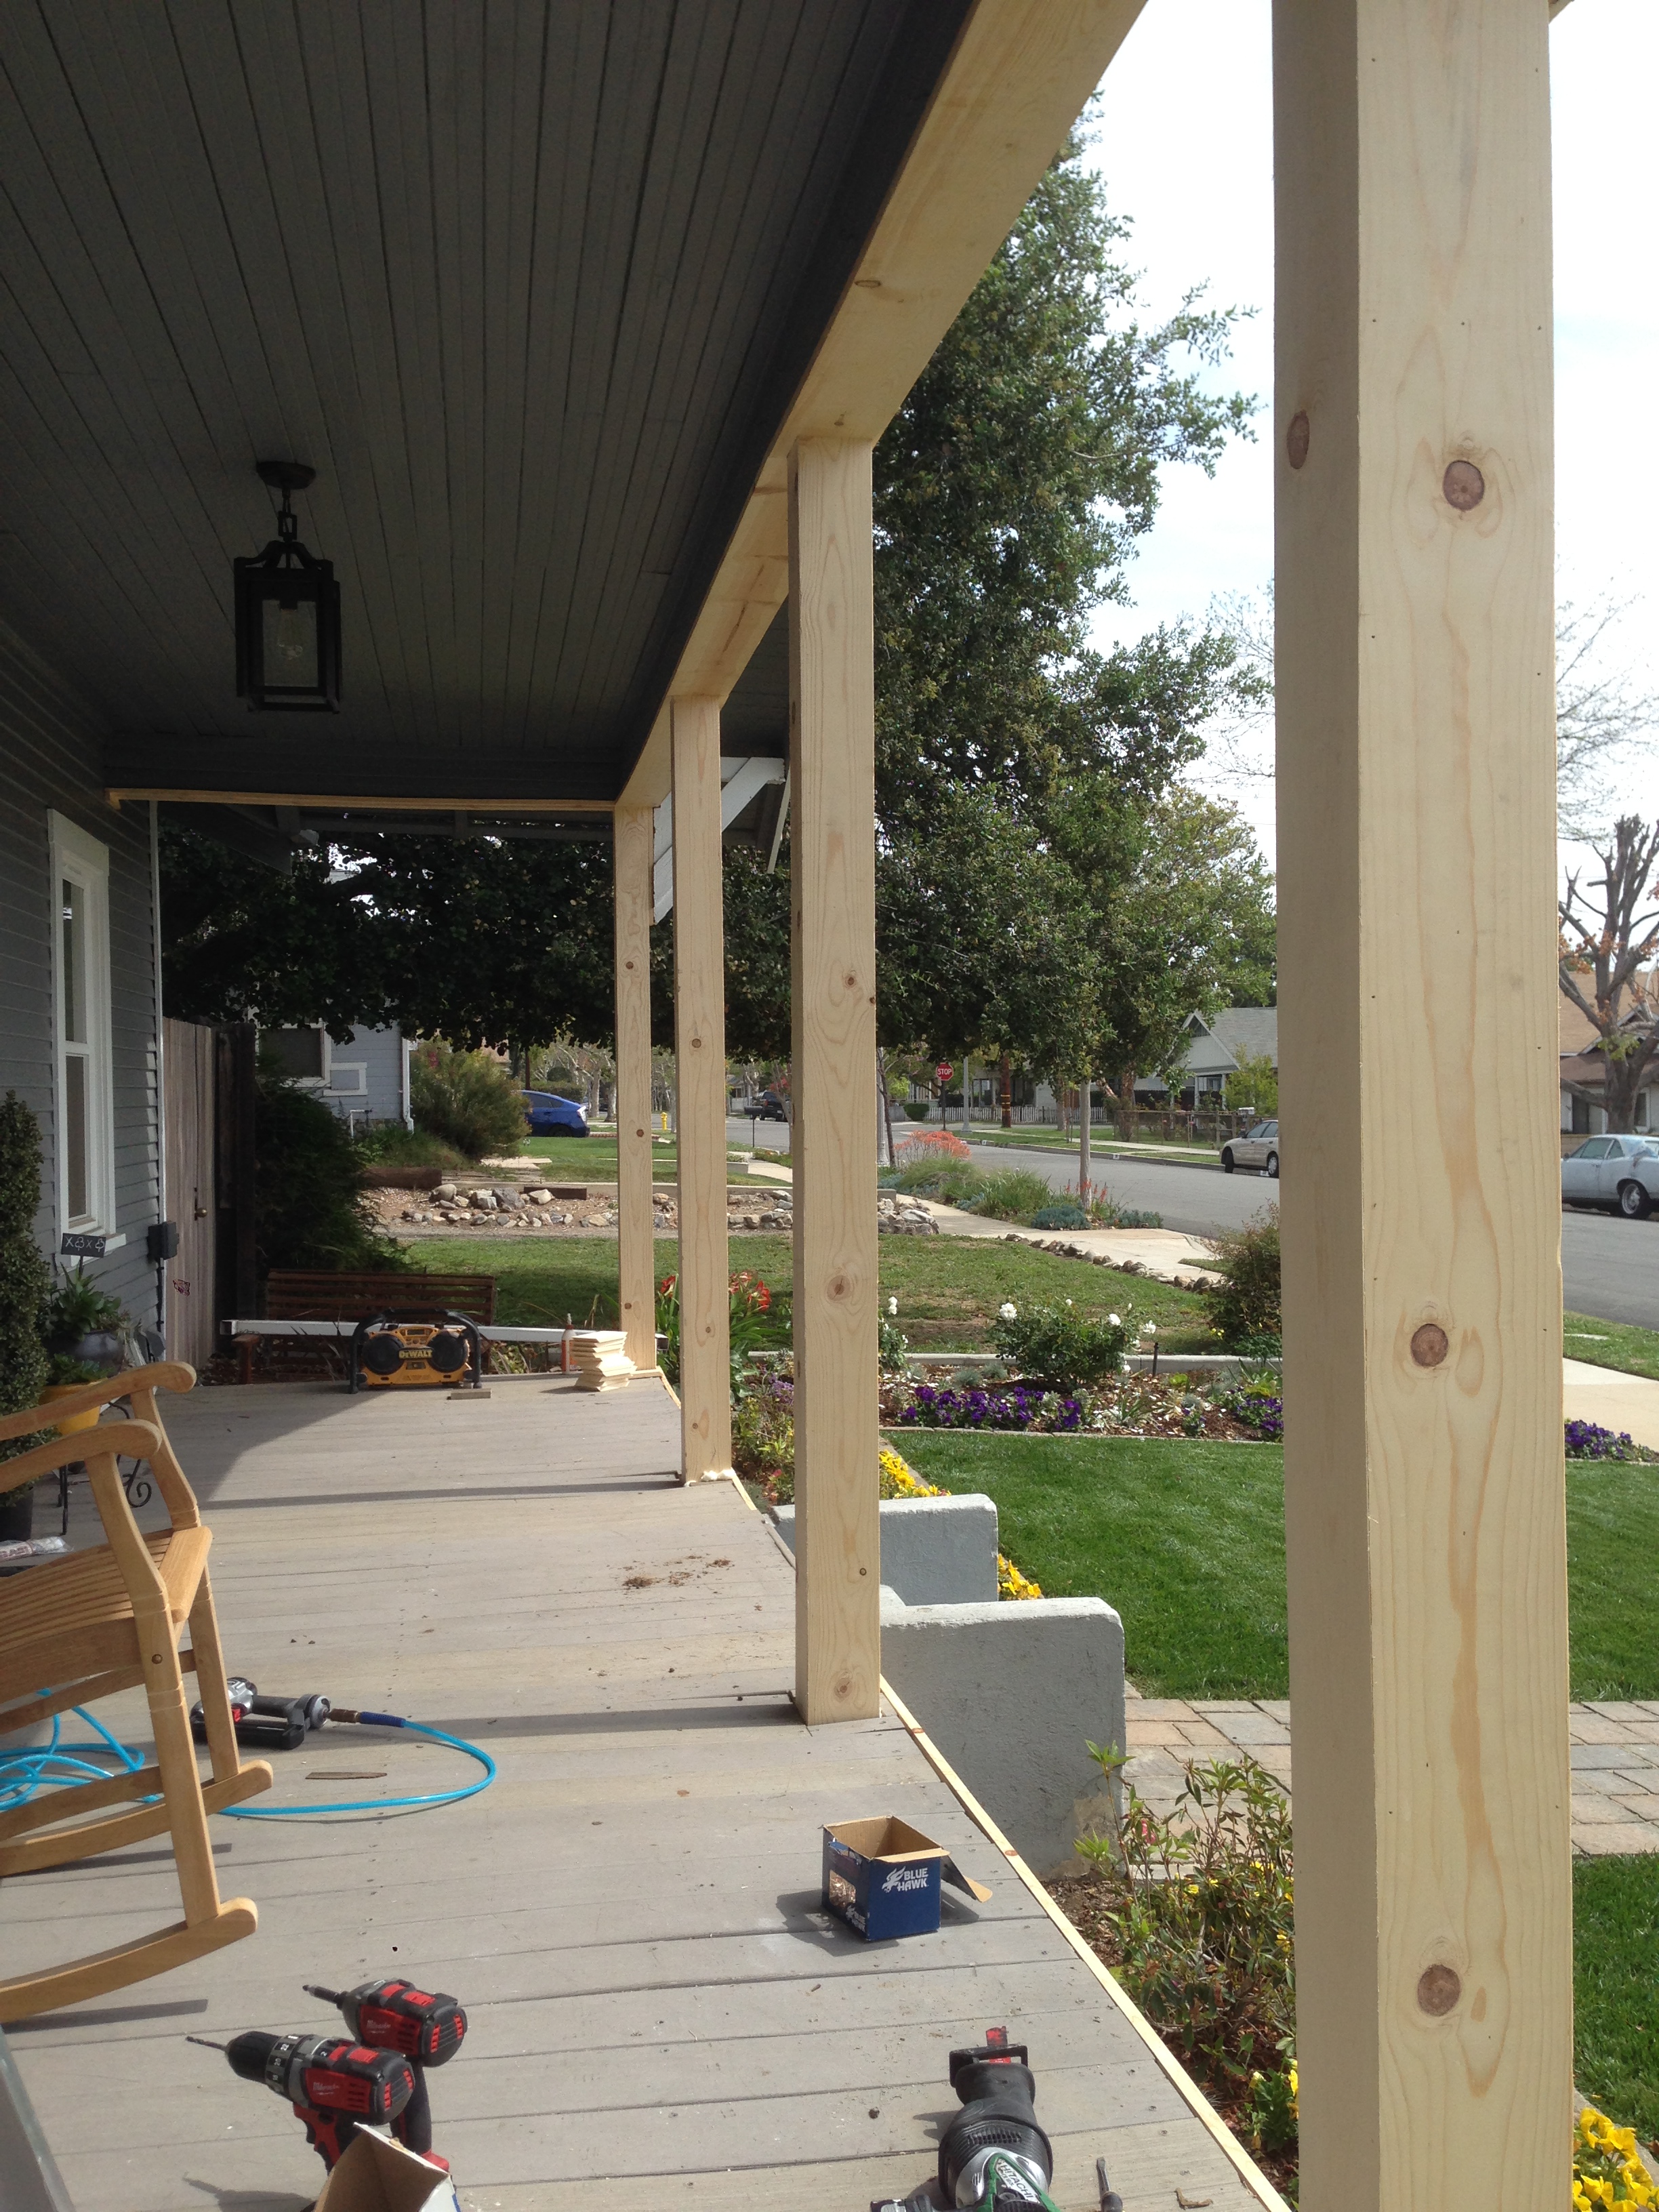
Inside these 6×6 posts are 4×4 wood beams. Kevin created a casing for the 4x4s with 1×6 wood pieces to create beefier posts.
Filling nail holes…

Primed and ready for paint!
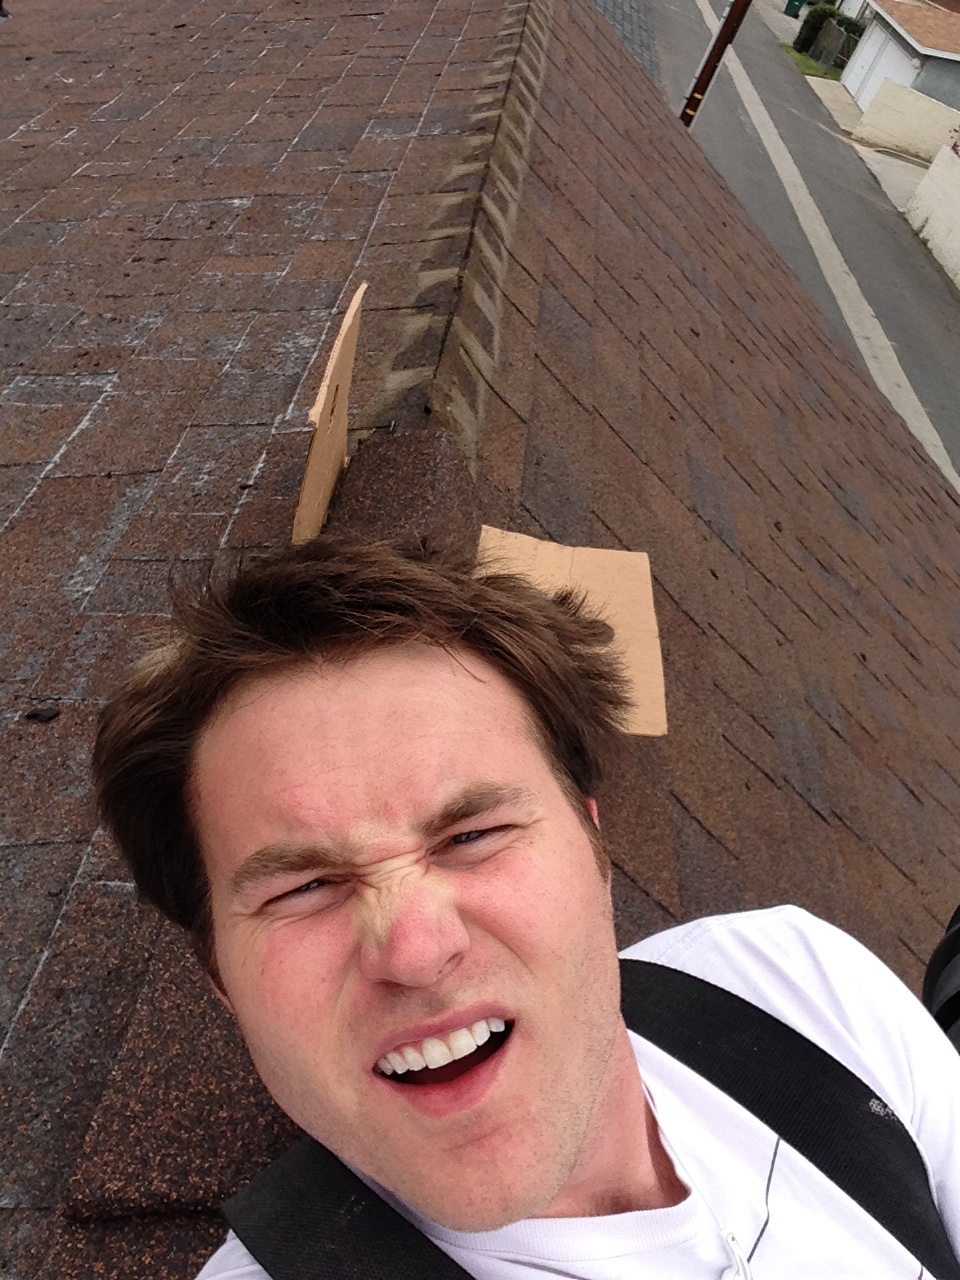
Kevin replacing the ridge cap on the roof of the garage.
HELPERS: Mom U, Matt Milburn, Jon Uyboco