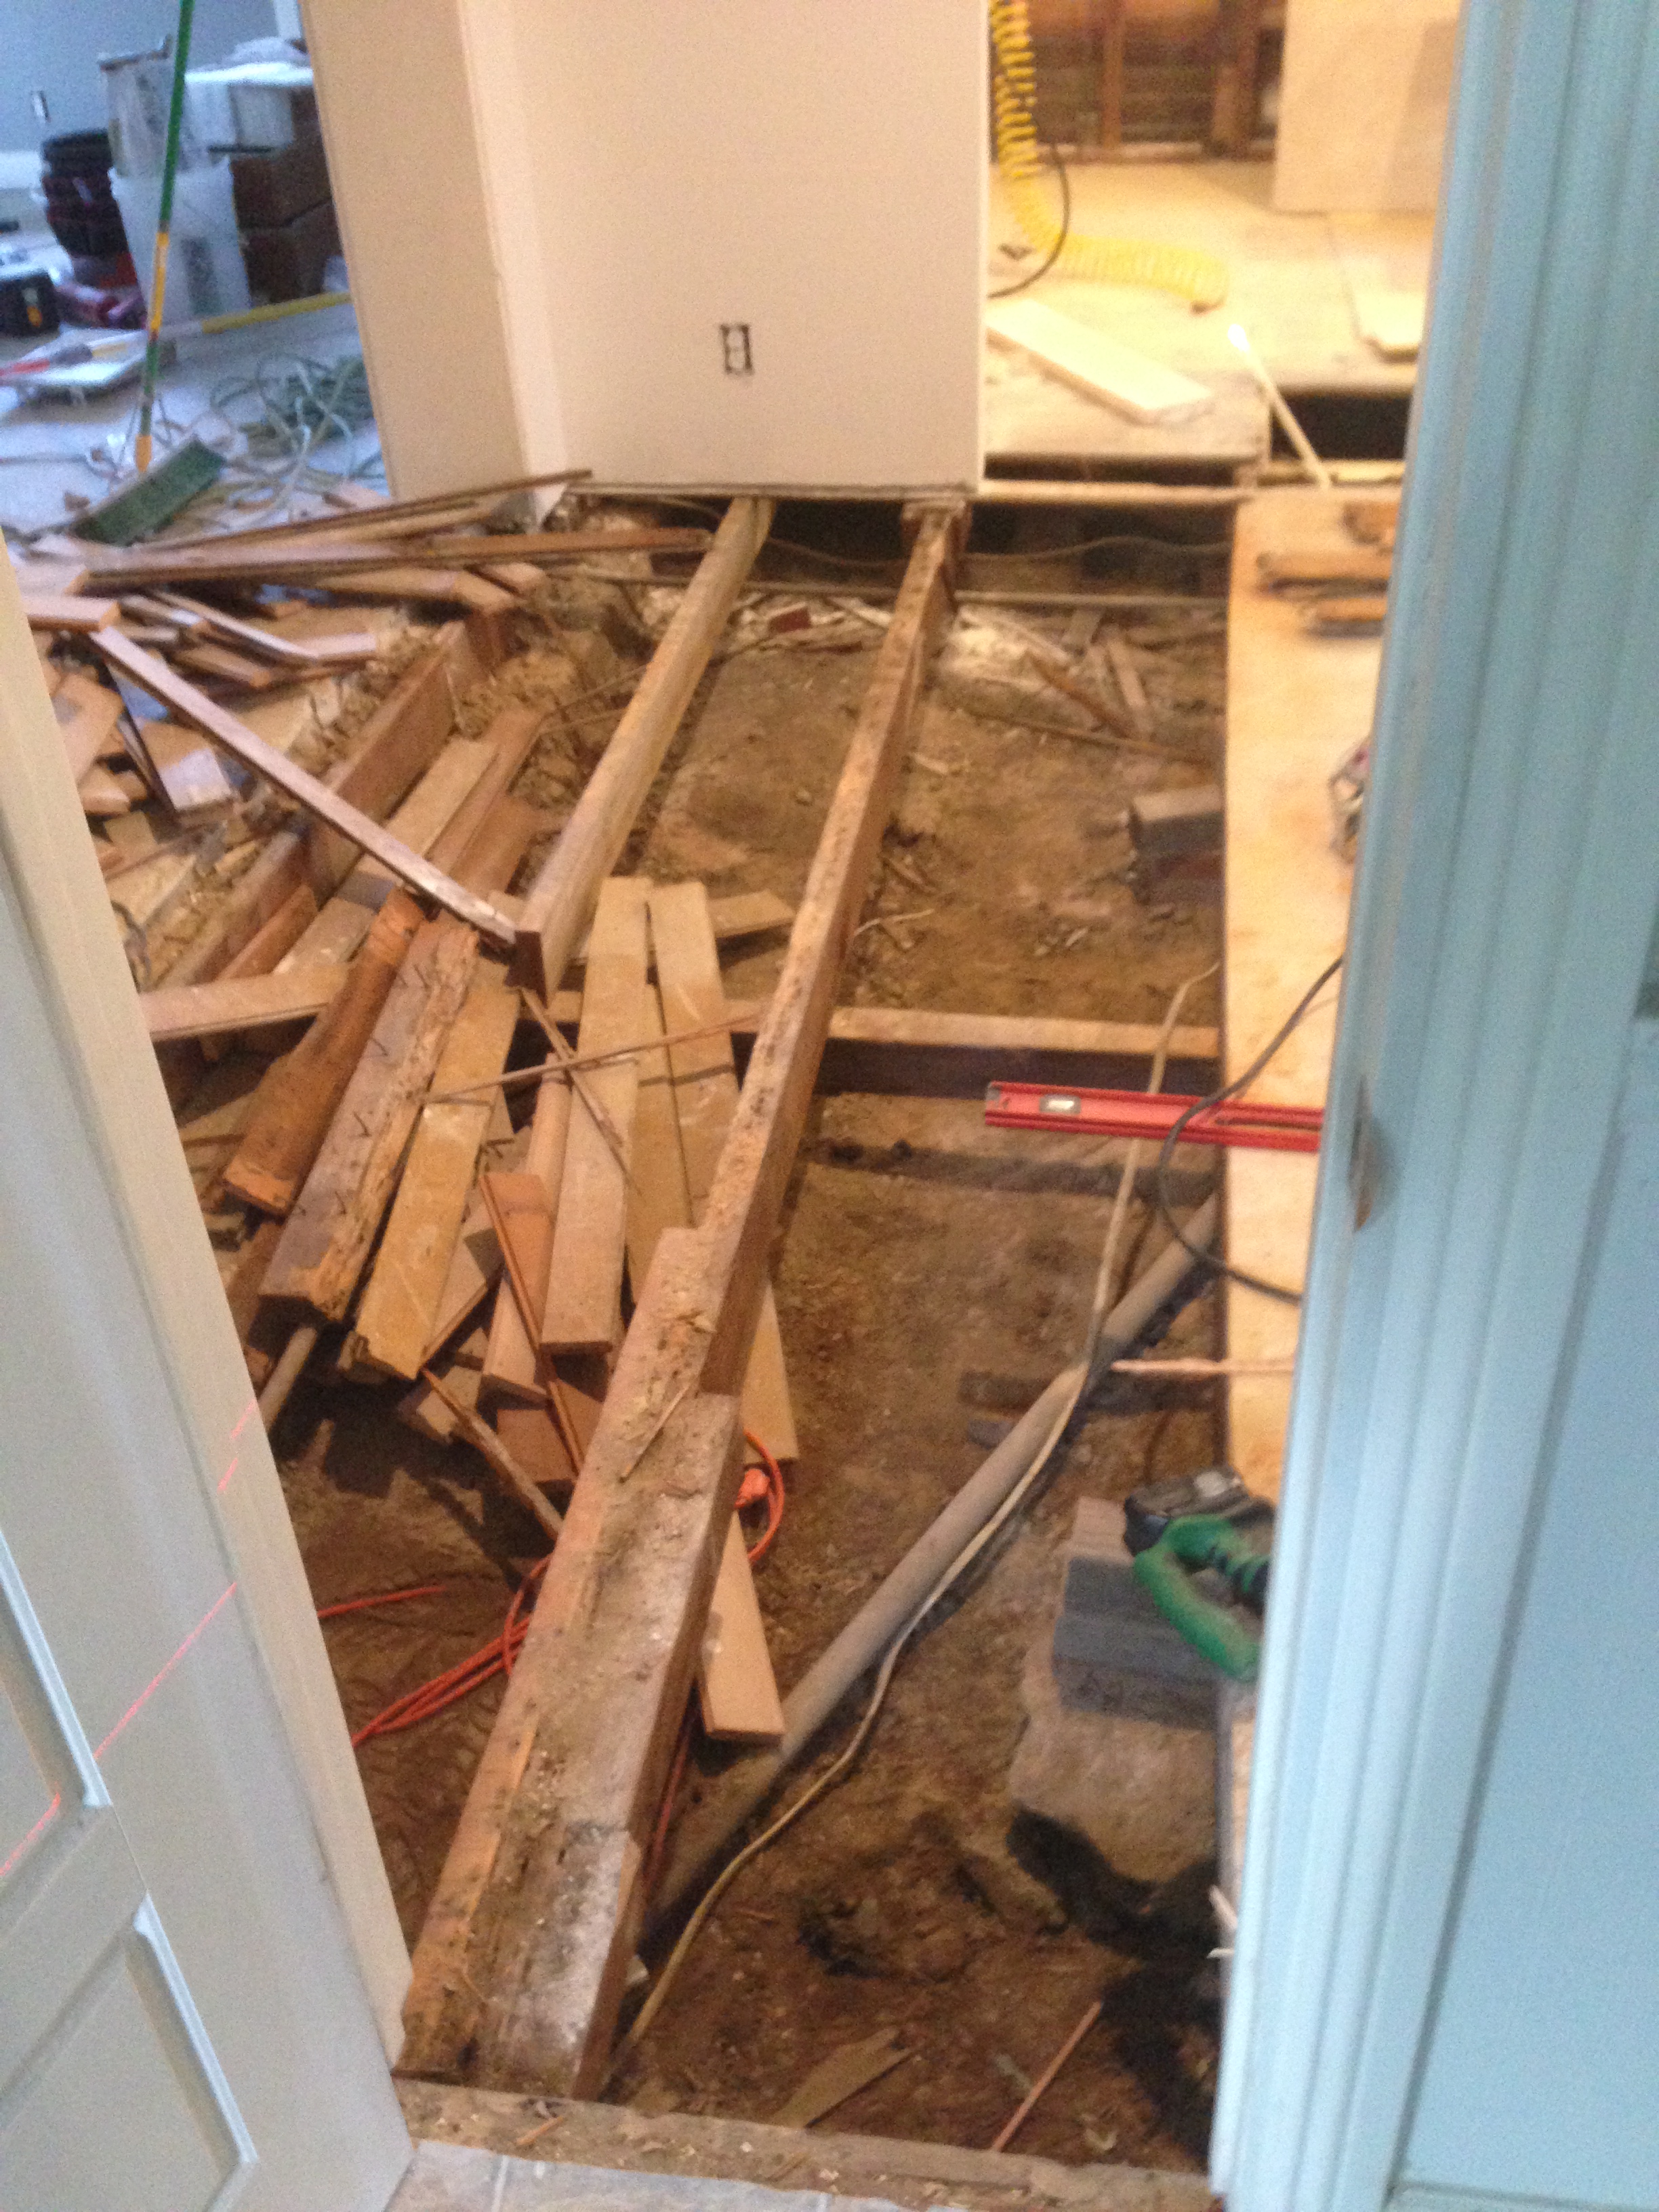
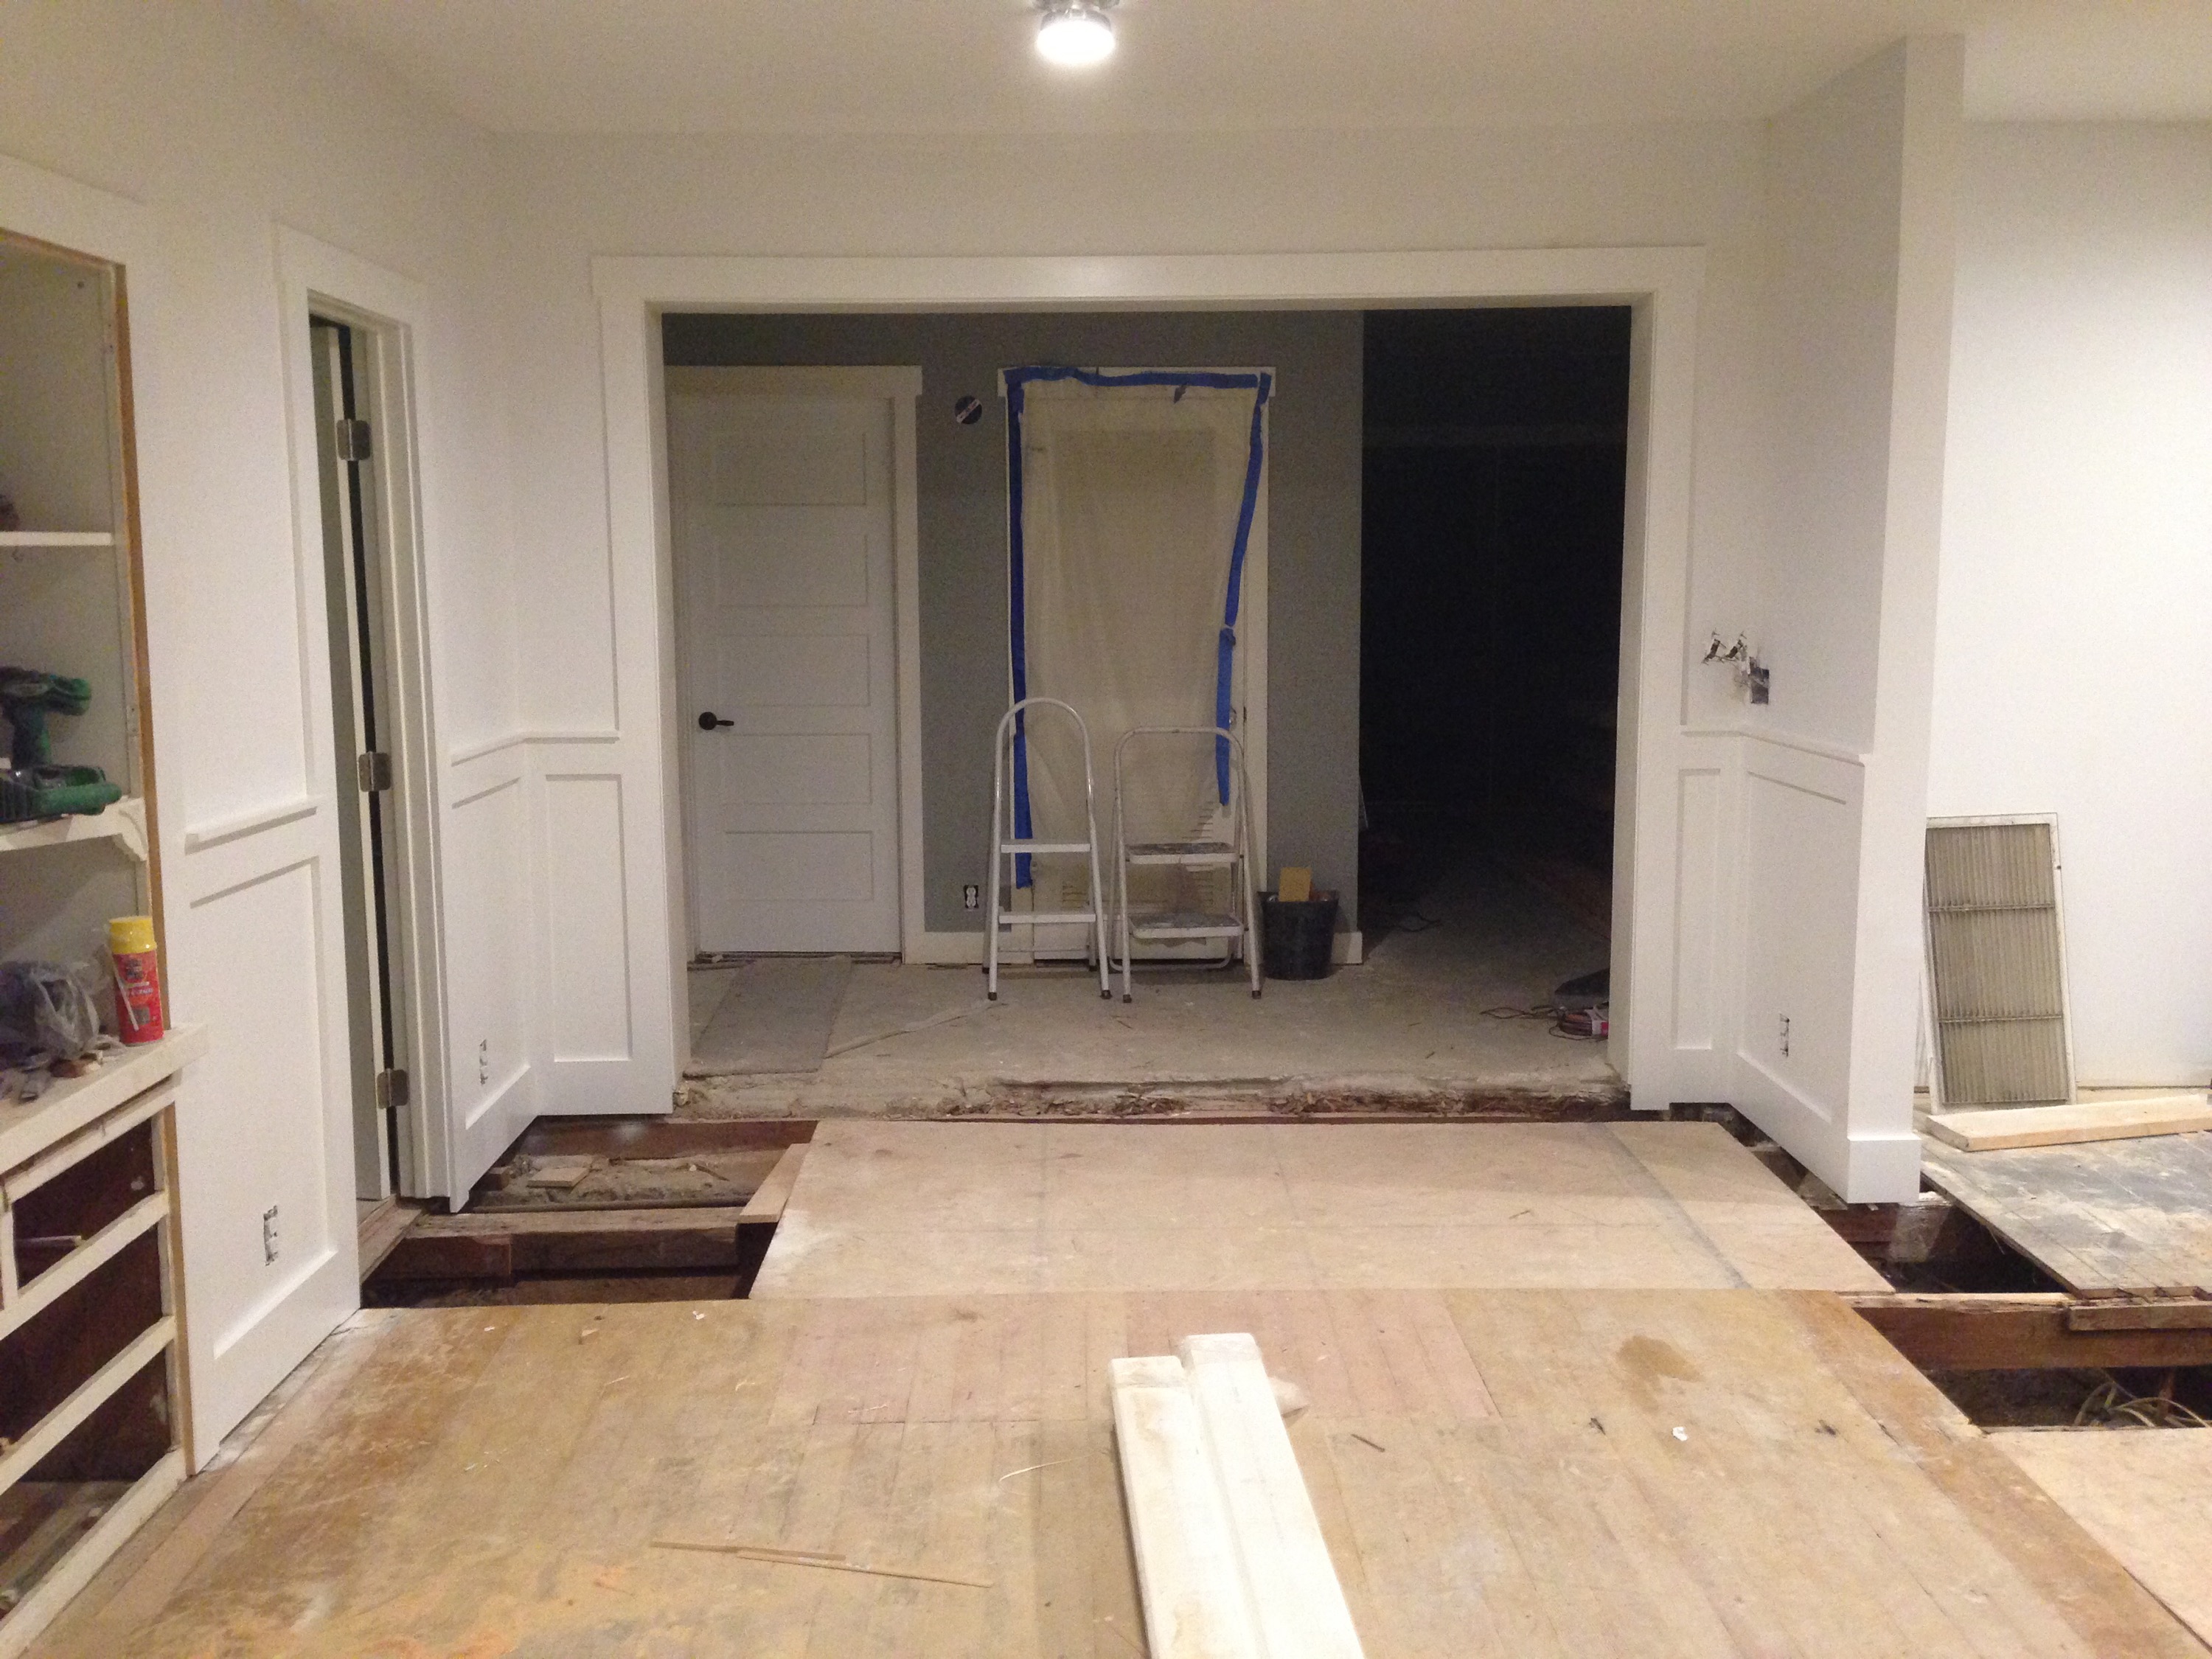
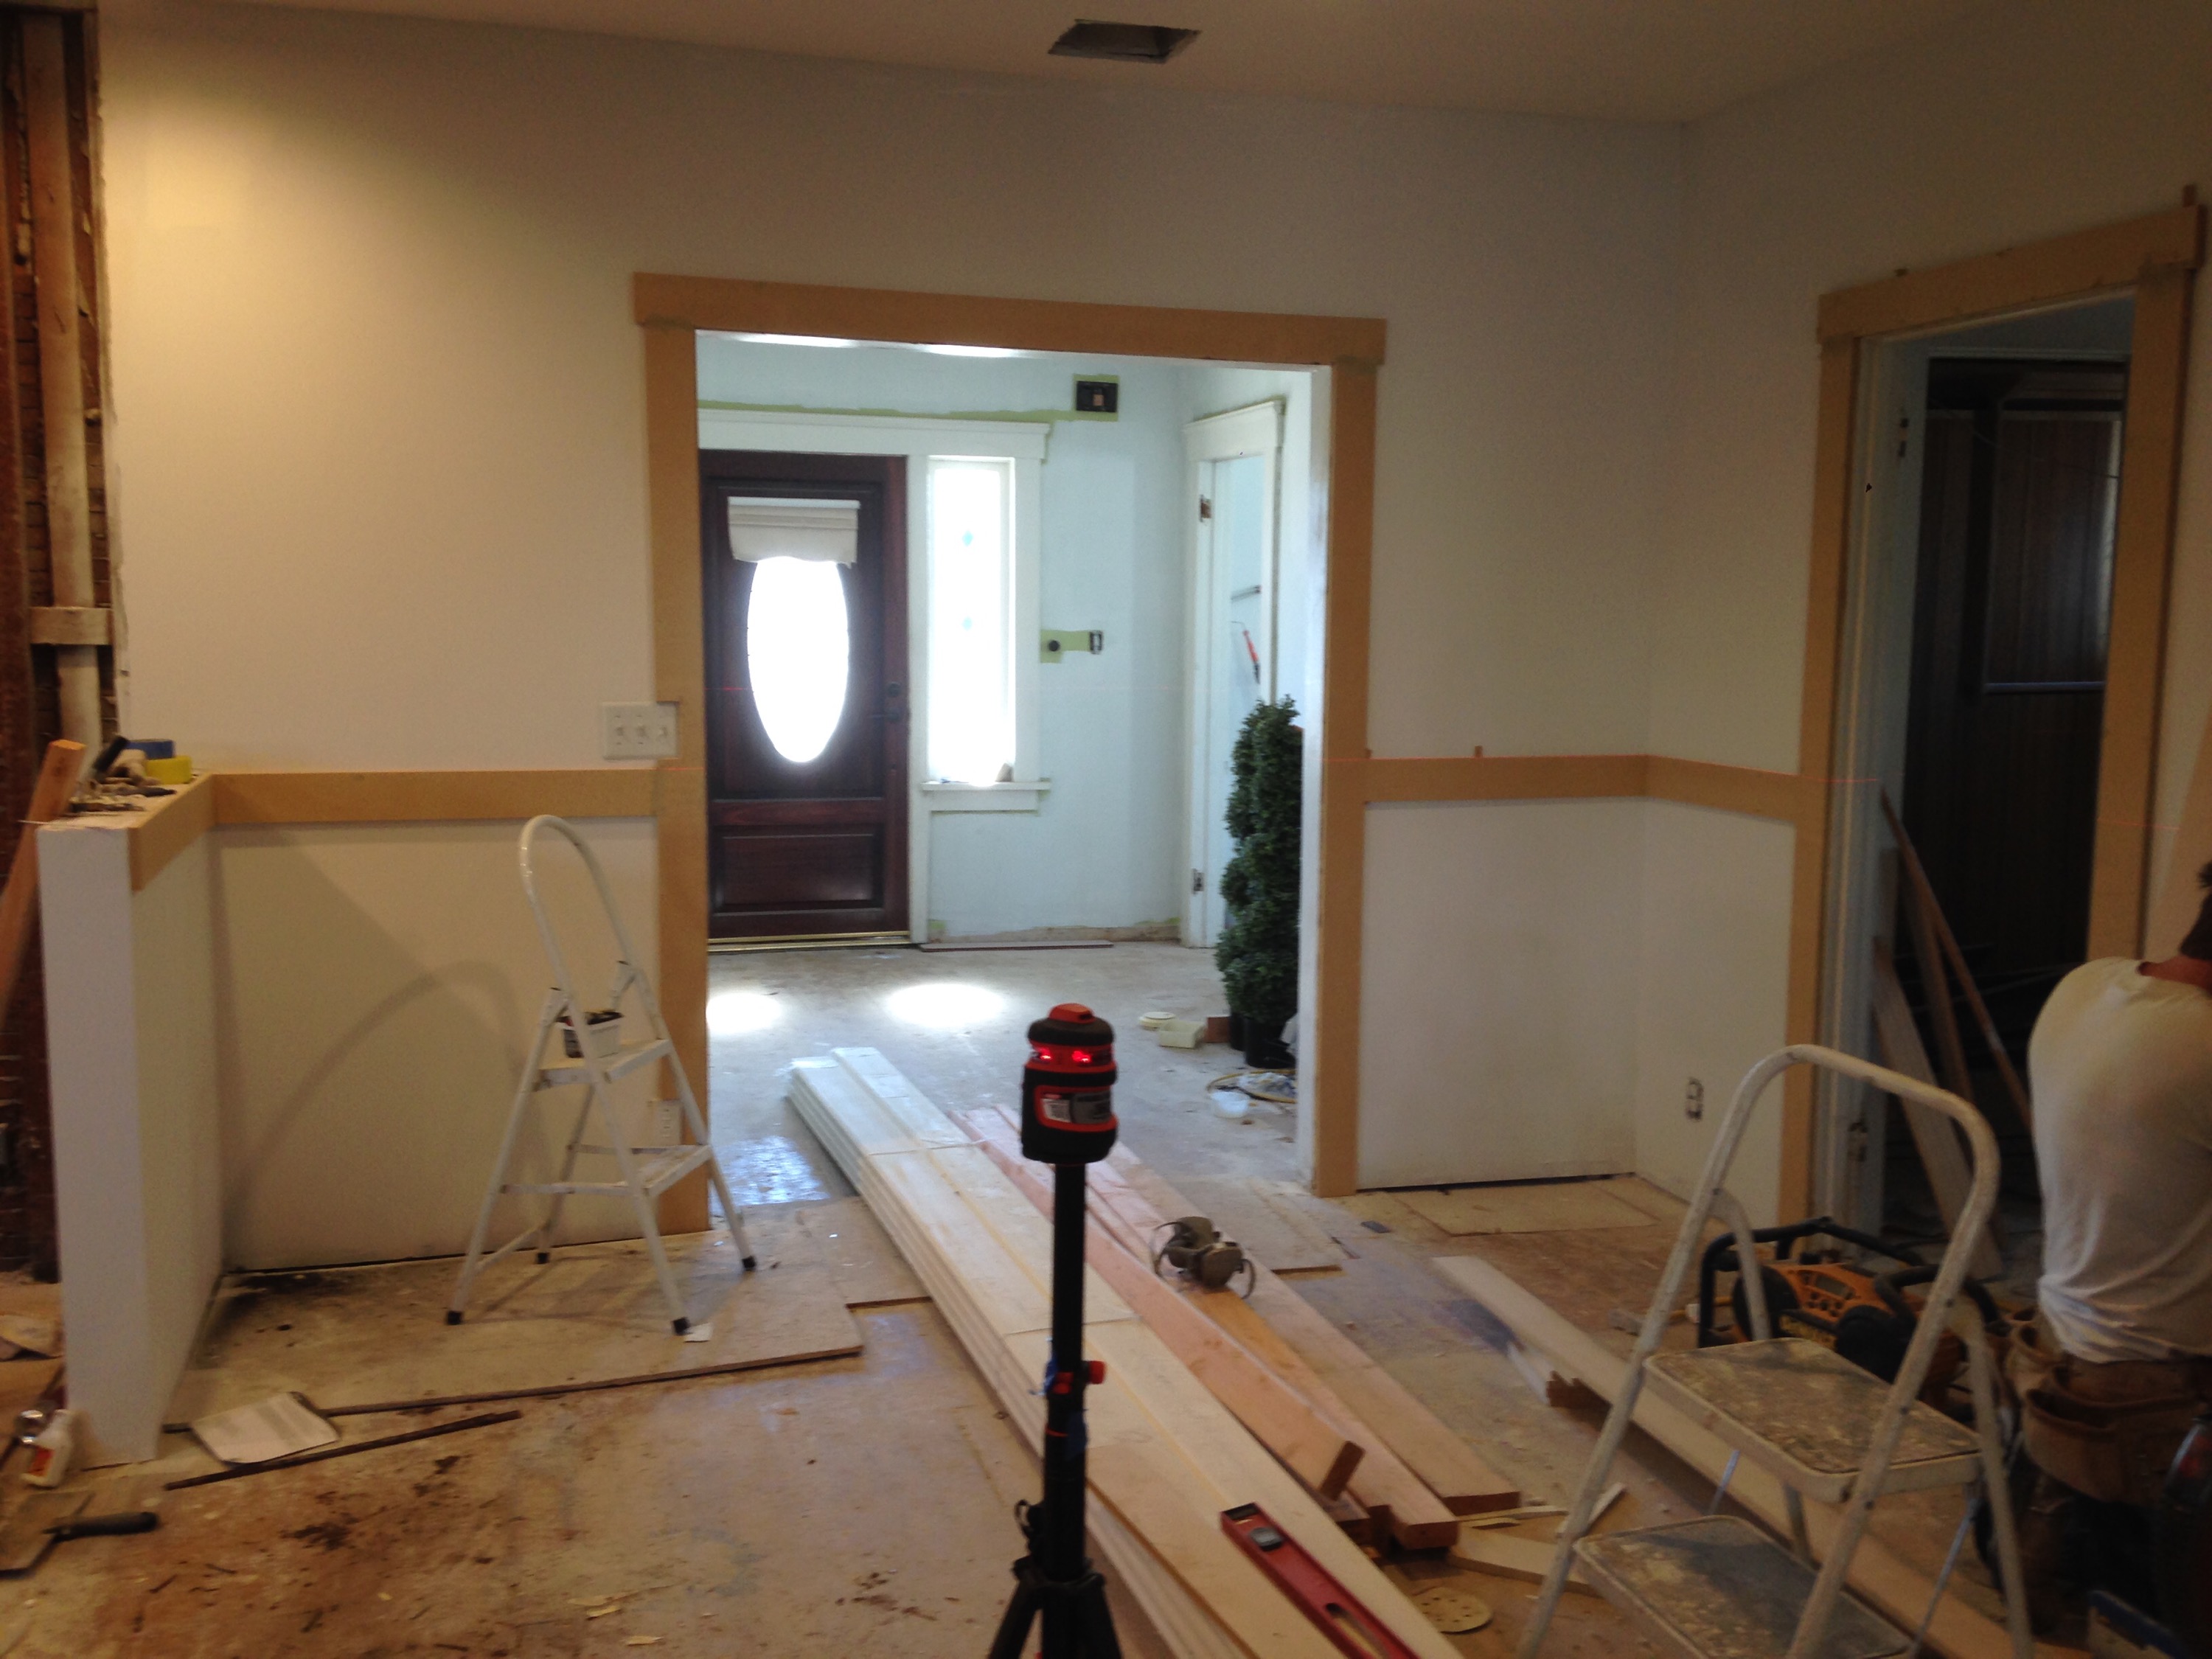
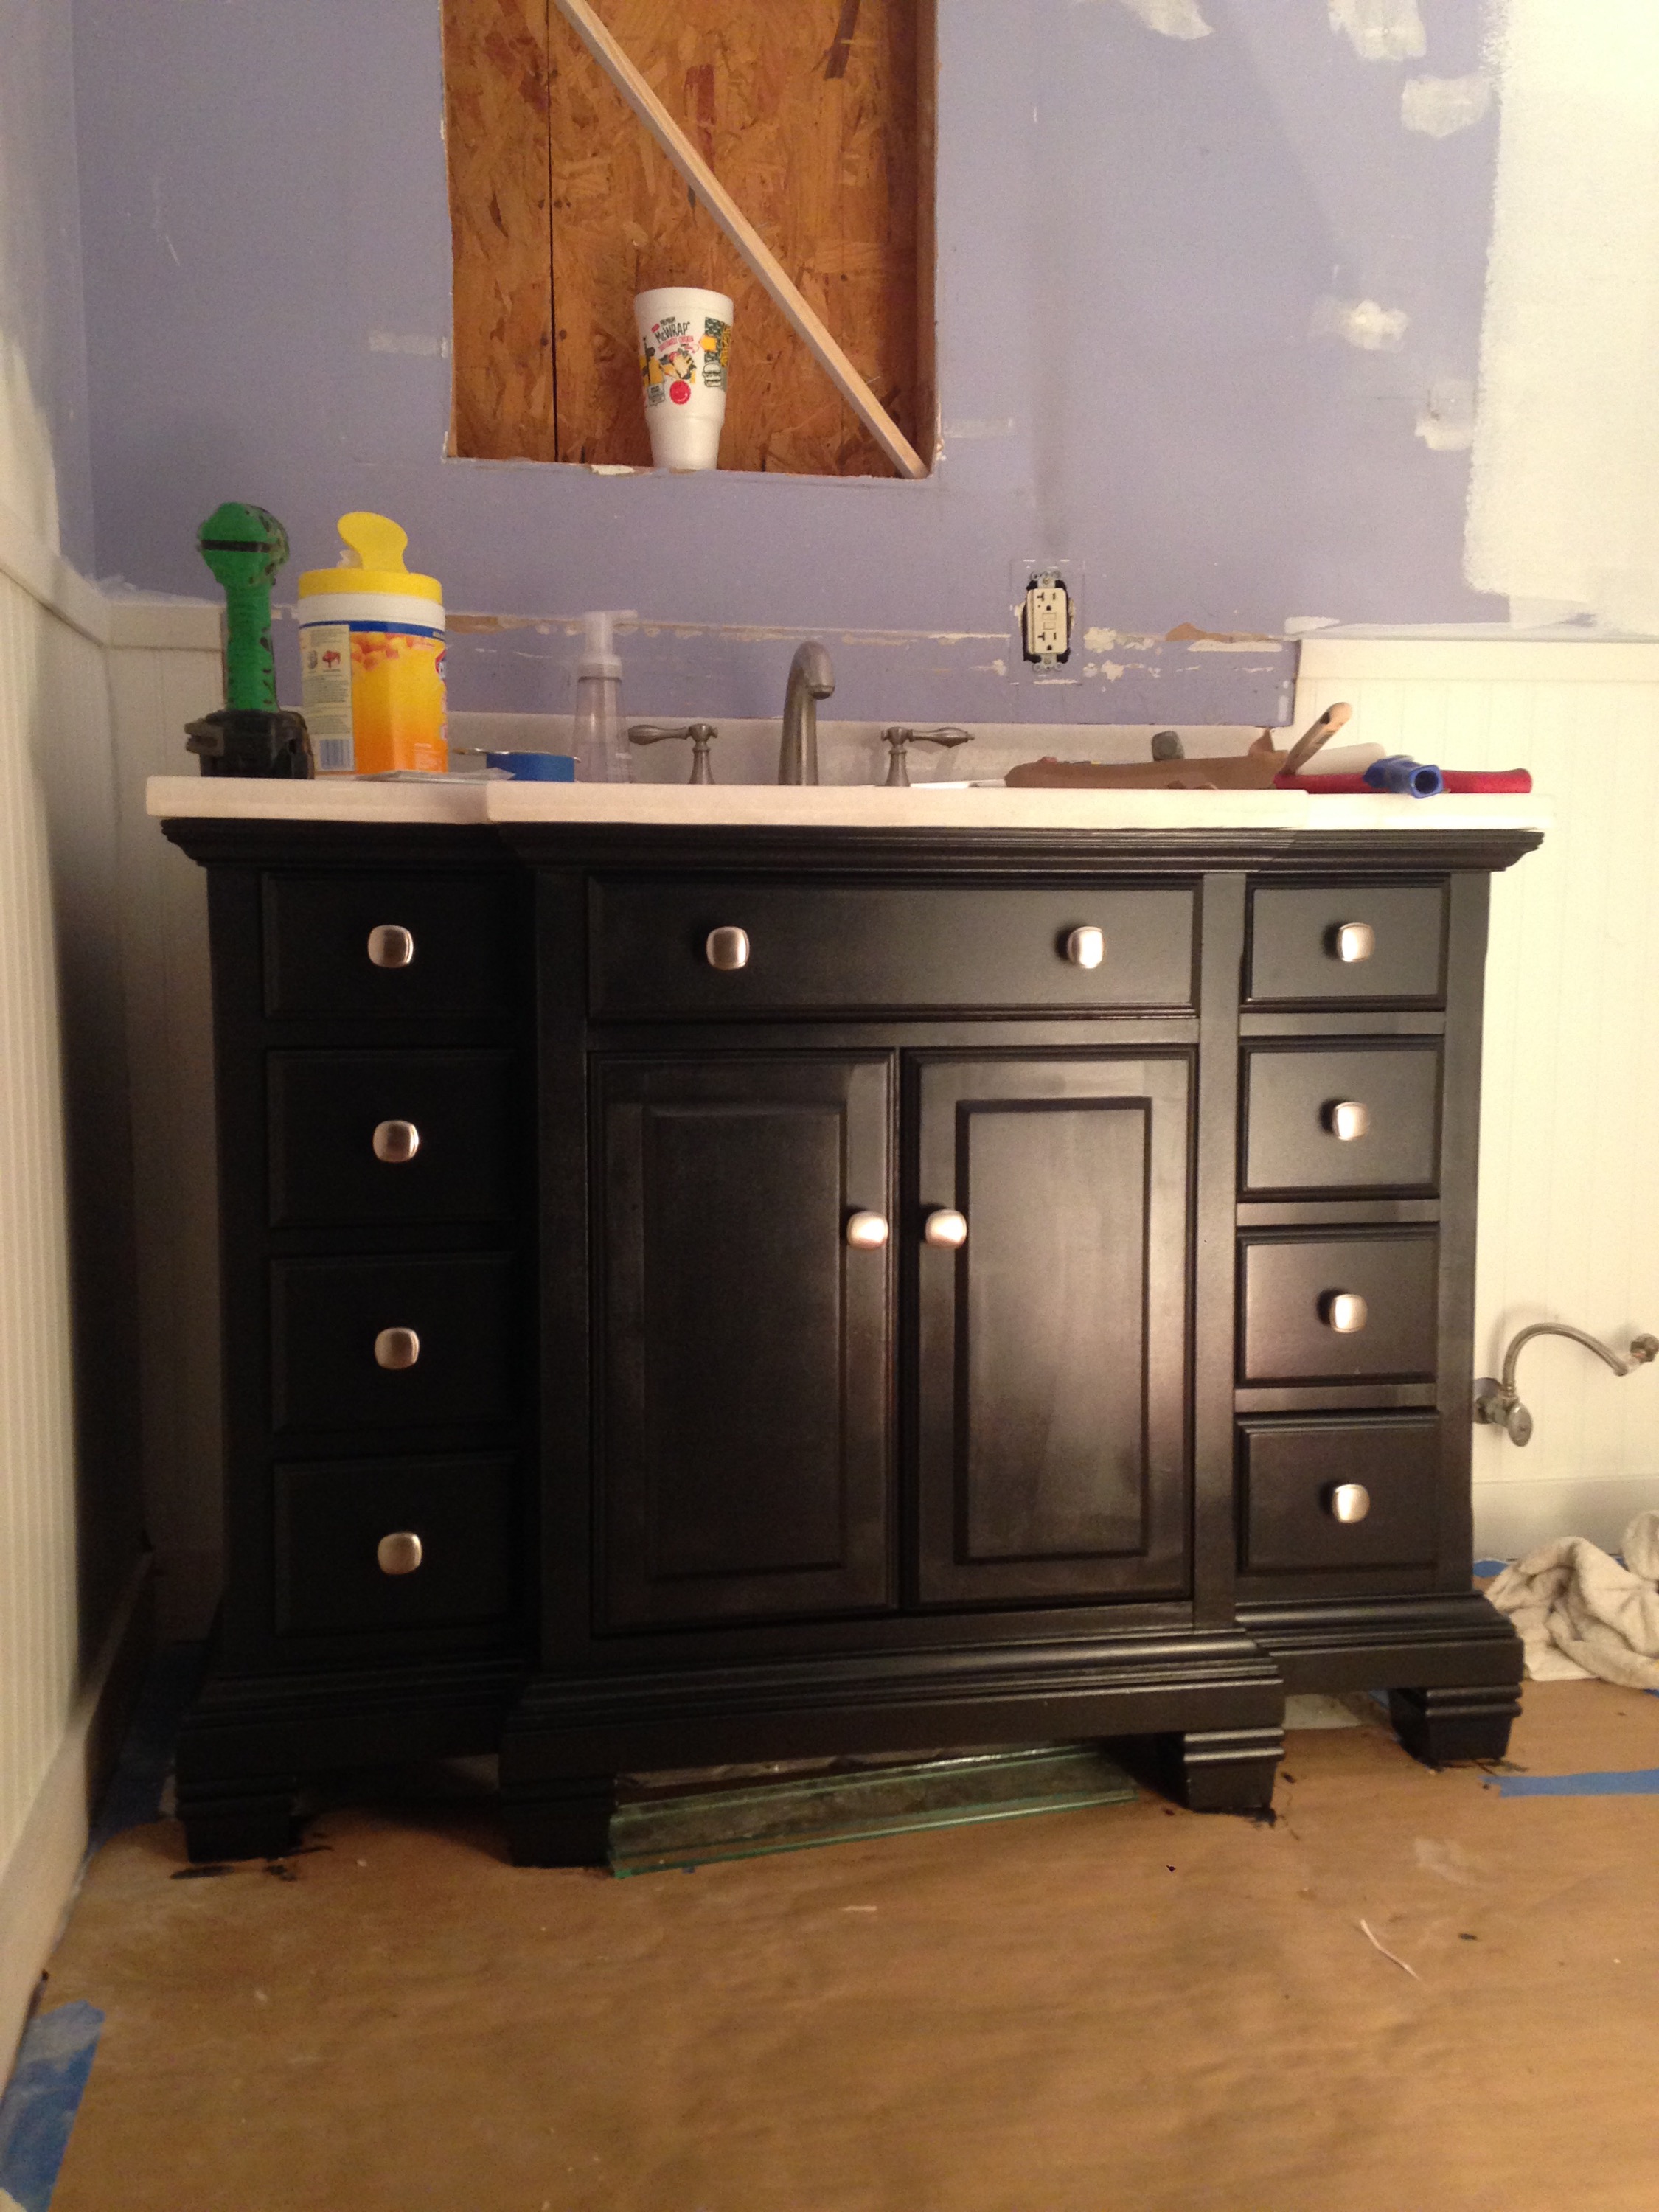
Day 114 | Farmhouse Sink

Day 114

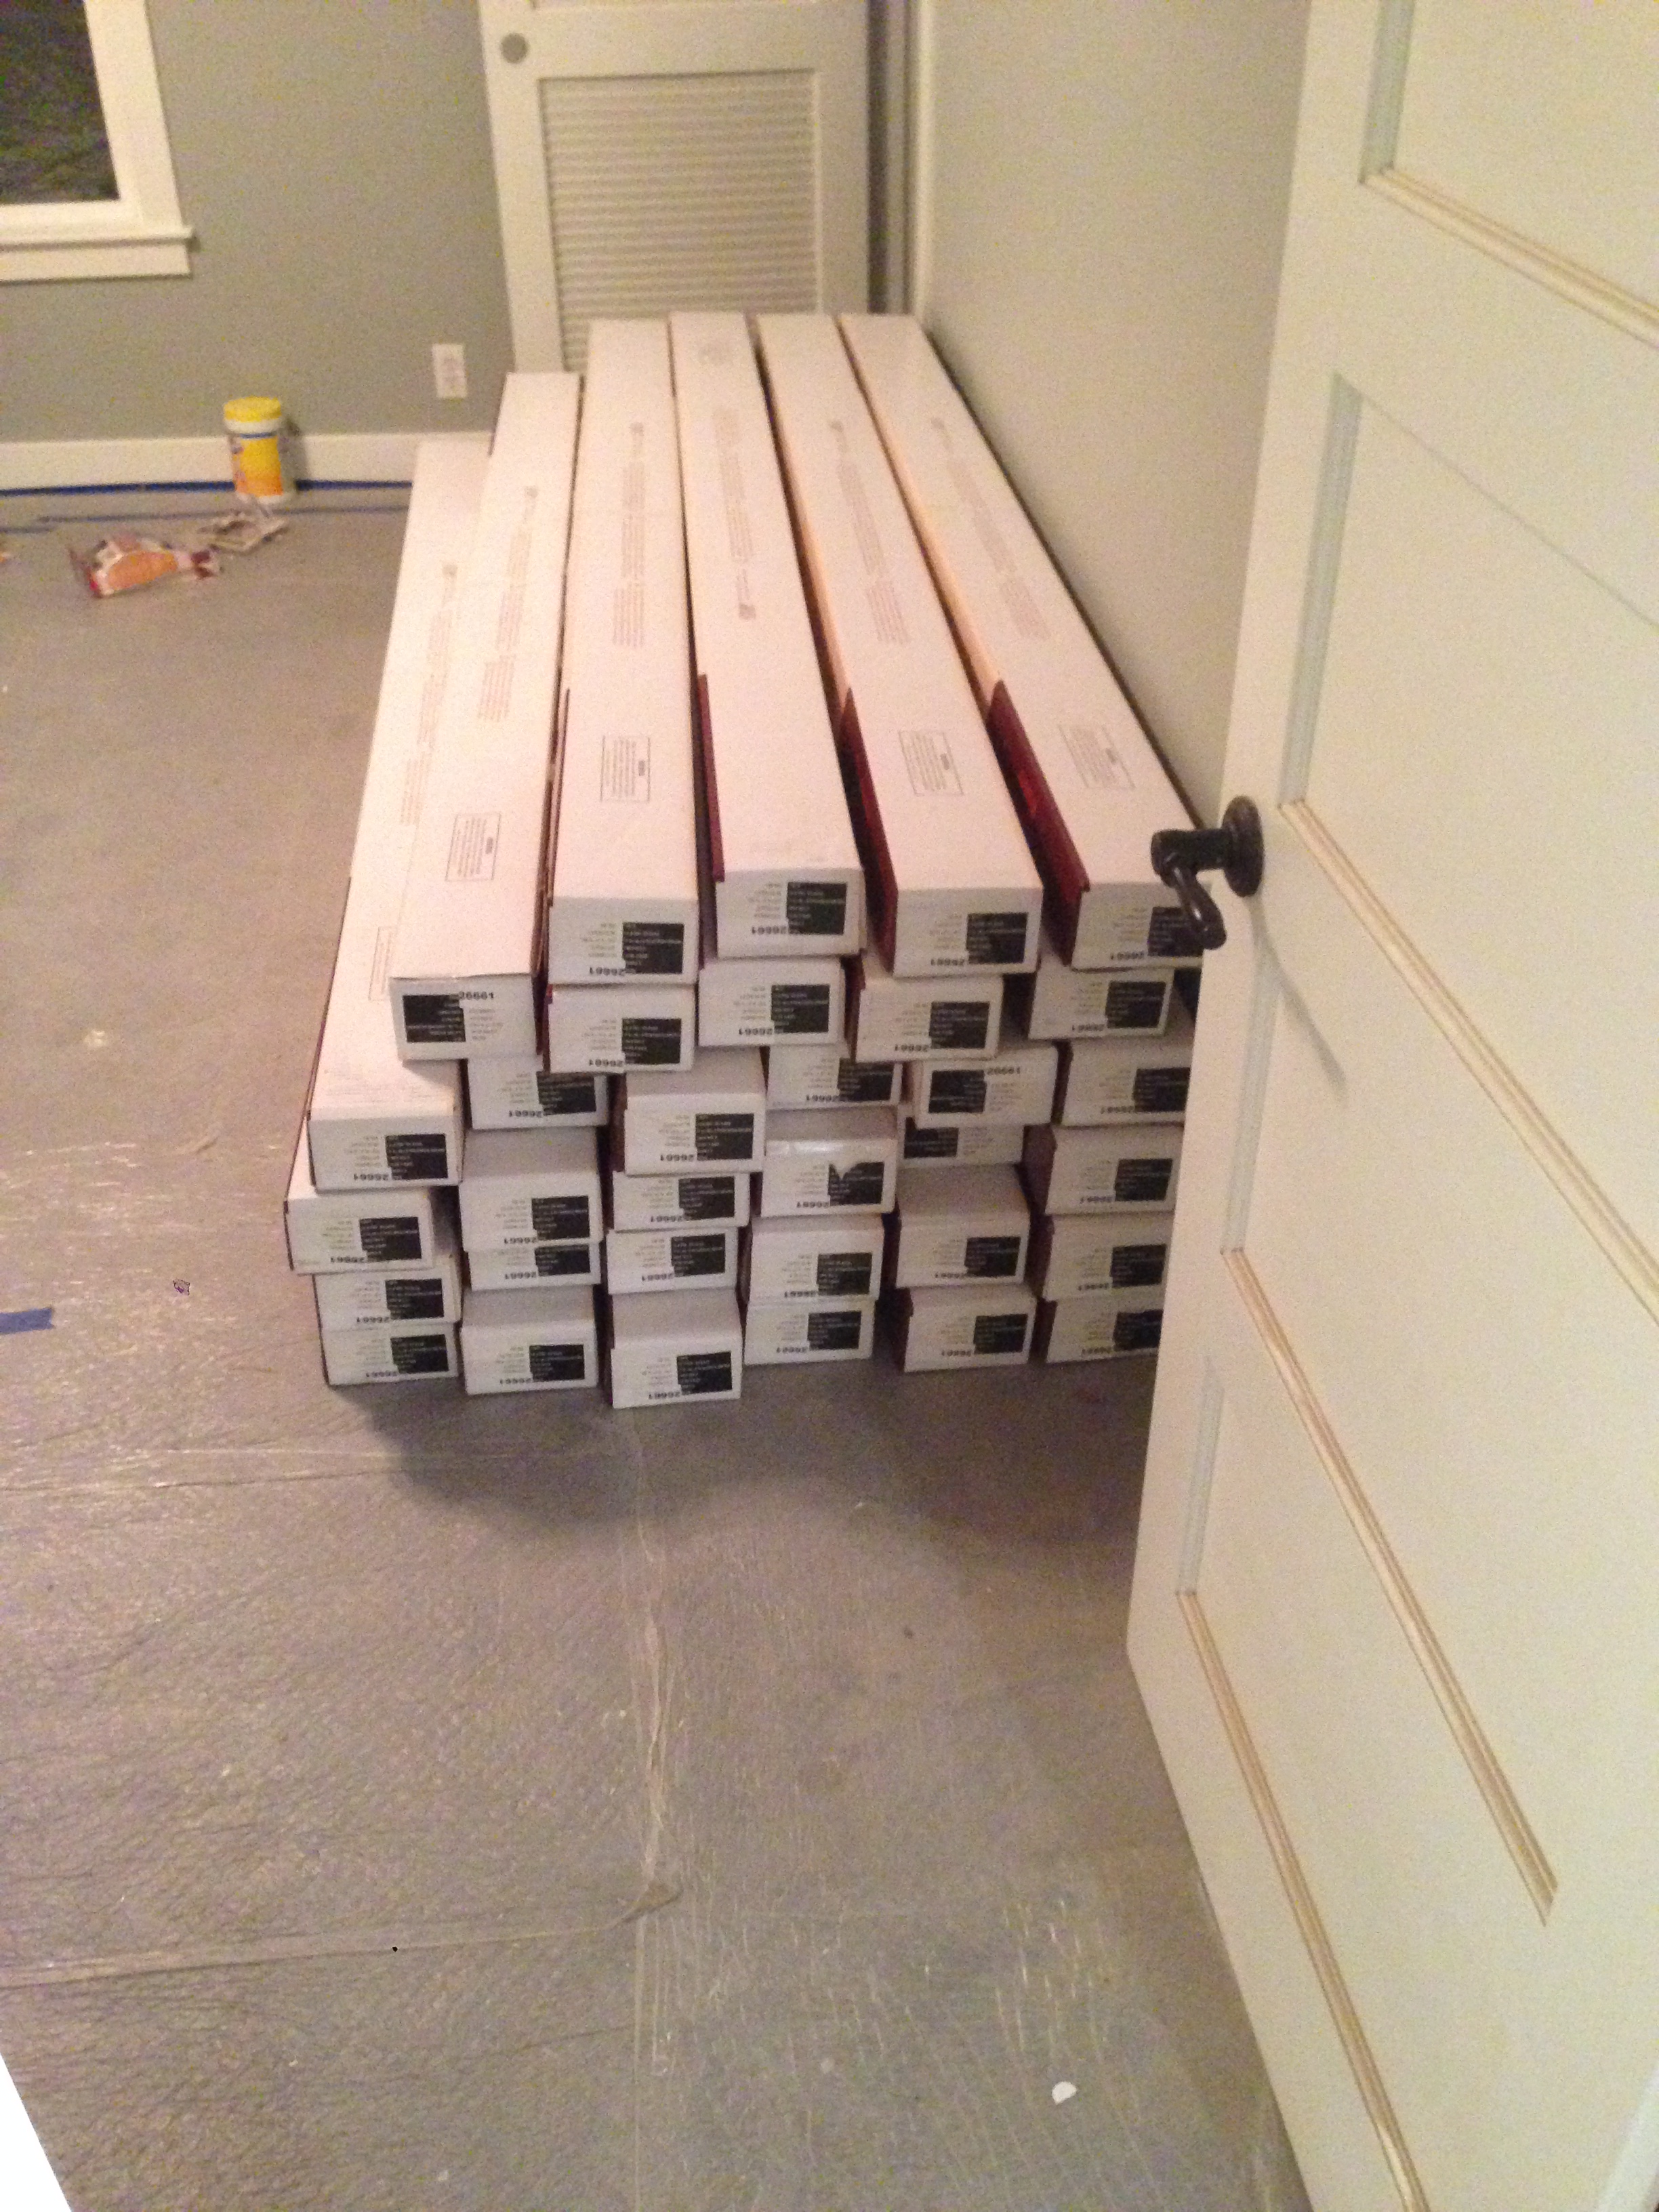
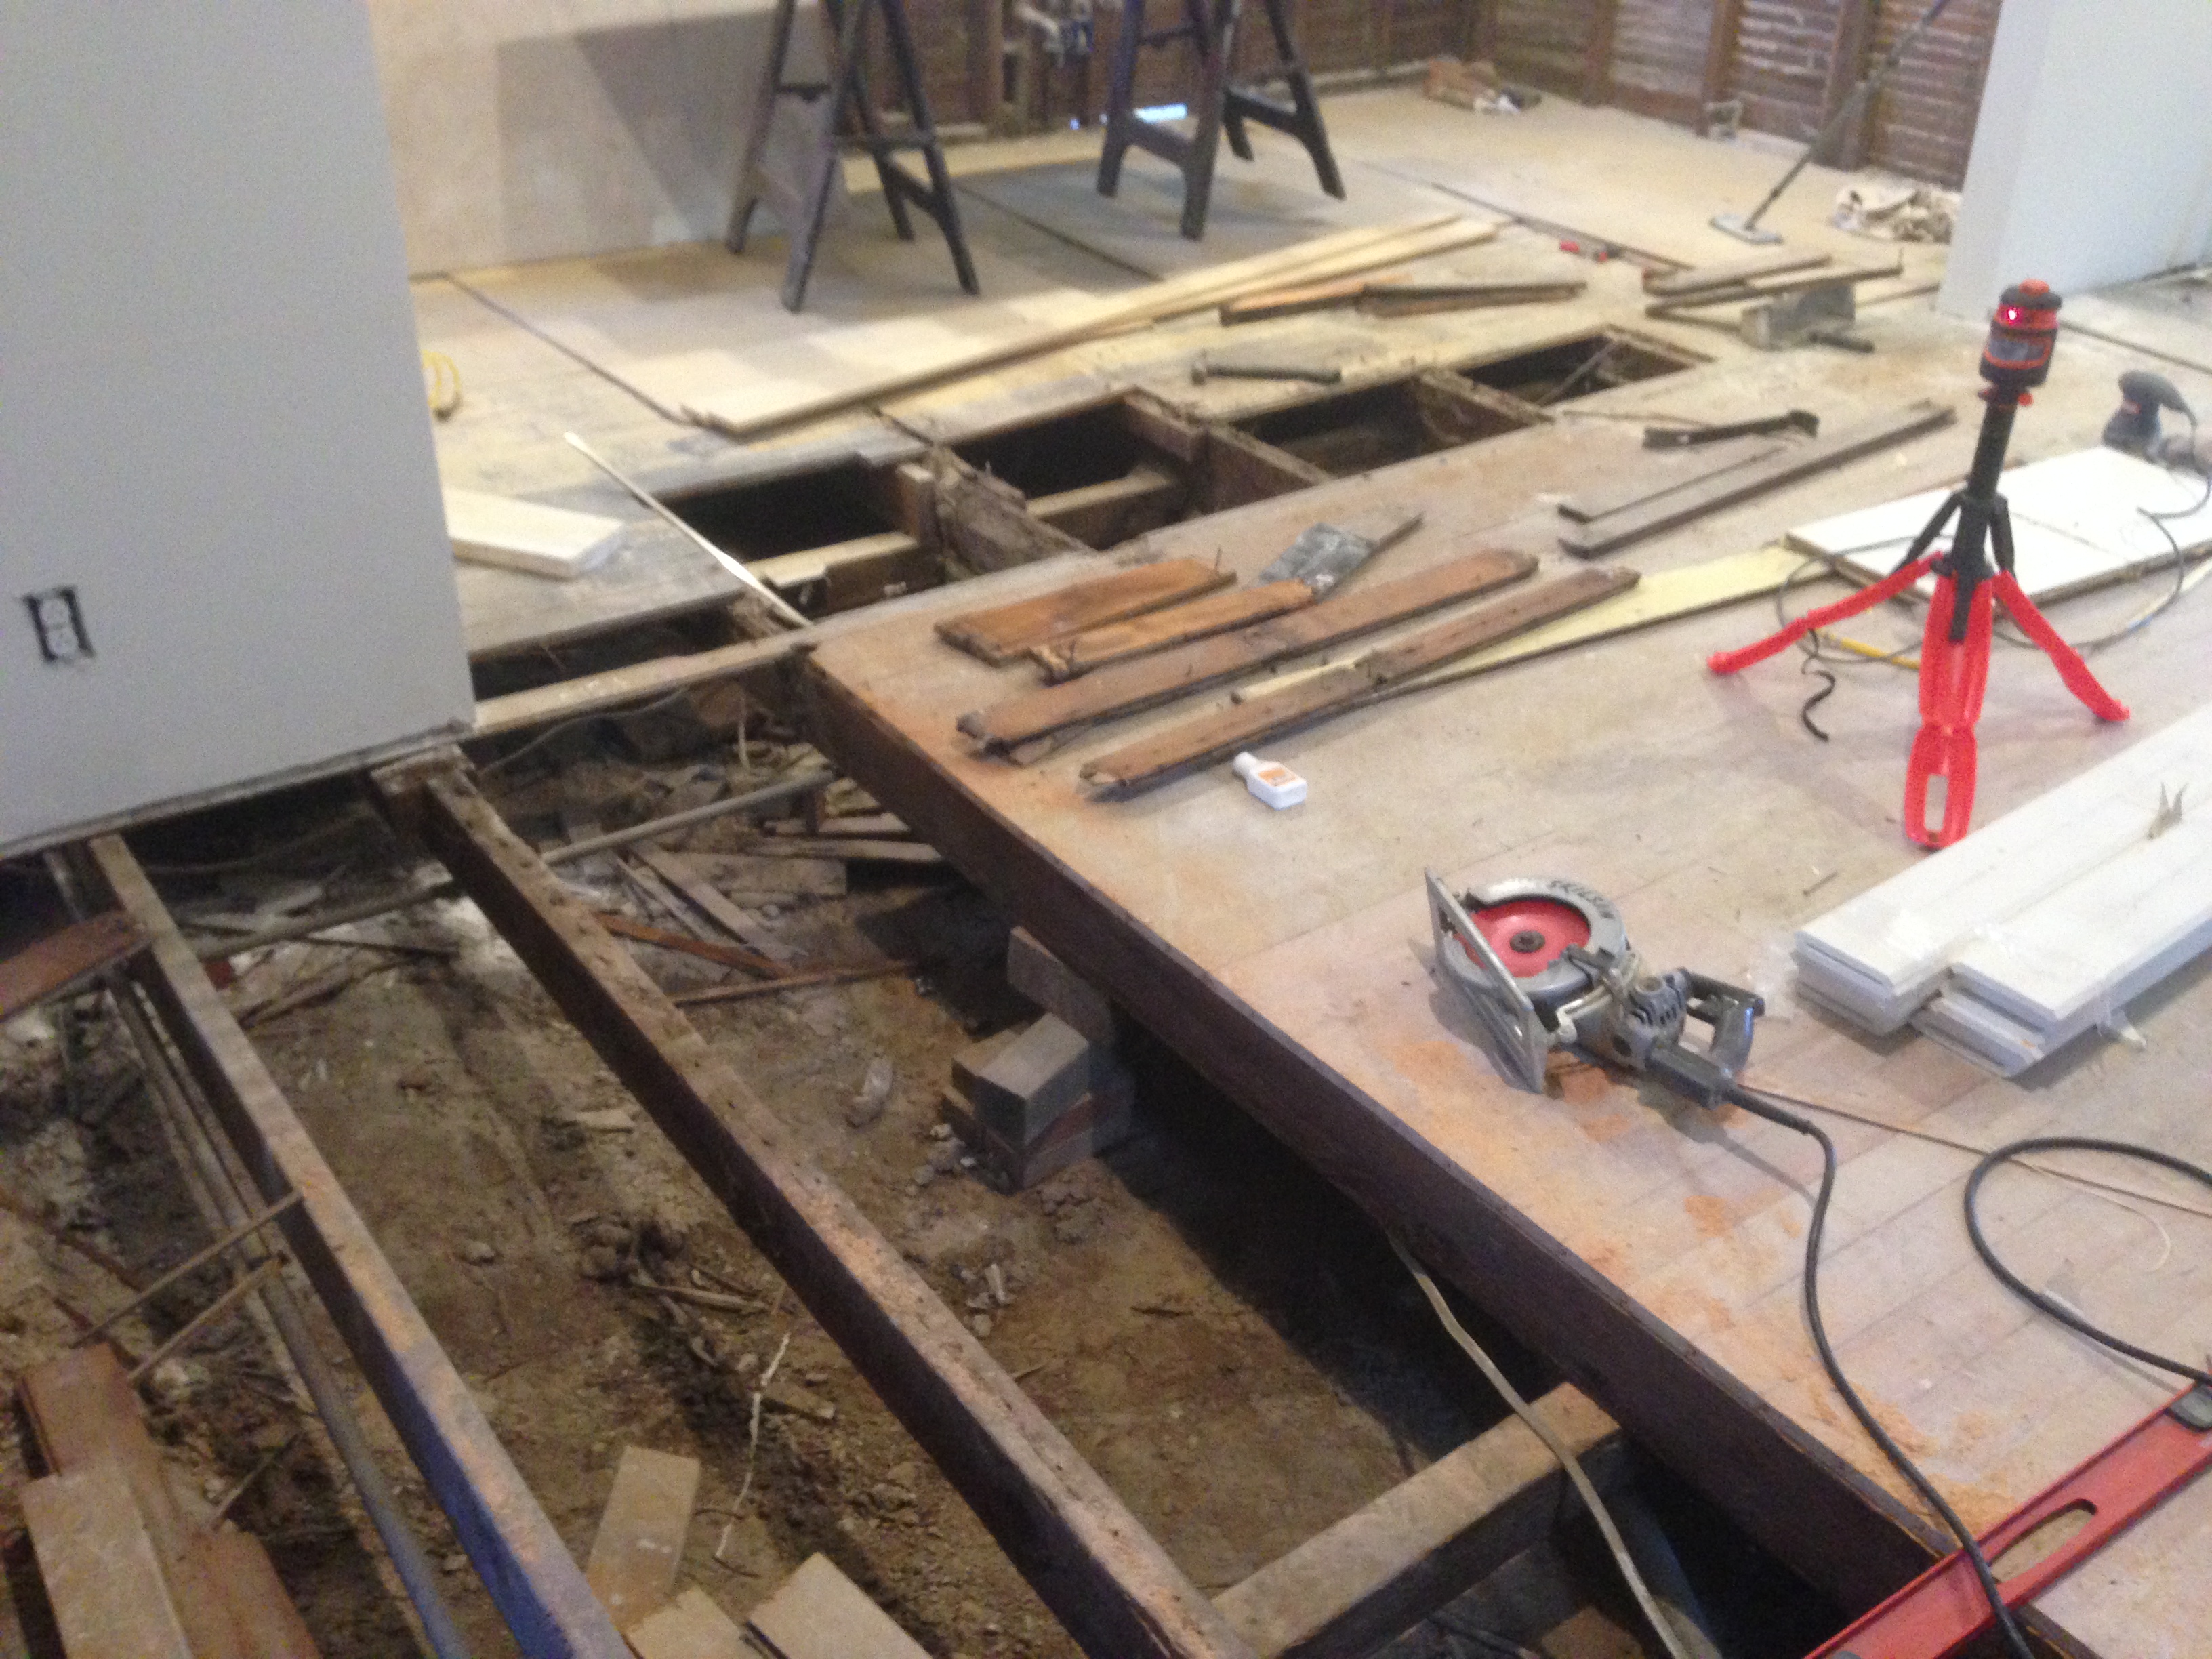
OK installing wood floors on a slab foundation is MUCH harder than nailing them directly to the subfloor of a raised foundation. The glue is messy, the boards begin to separate, and it takes A LOT longer! I’ll let you in on a little tip…use painters tape! As you go along tape the boards together after they have been glued, this will keep them from separating and it will save you the heartache from finding gaps between boards that cannot be pushed together. Ugh!

On a positive note, we ordered our kitchen sink HERE from Pacific Sales. This was one feature that I didn’t want to skimp on. I truly believe that an apron-front, farmhouse sink can help sell a house! Women, don’t you agree? Can’t wait to see how it will pull the kitchen together.

Mmmhmm... an apron front sink is just the ticket.

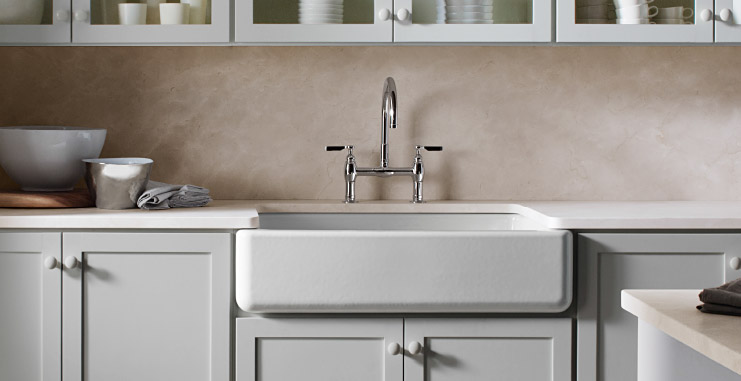
Mmmhmm… an apron front sink is just the ticket. KOHLER

Day 112 | Wood Floor!

Day 112

We are finally ready for flooring! After sanding, painting, installing moldings, cleaning, and removing tack strip the family room is ready for floor. We purchased dark brown, engineered hard wood HERE and we are going to install it ourselves!  We have installed wood floors before on a raised foundation, but never directly on slab. We shall see what it’s like to have to use glue…

Sample of the wood we chose next to the kitchen cabinets.

Sample of the wood we chose next to the kitchen cabinets.

Always make sure to leave the boxes of wood inside the area where they will be installed 2 days prior to installation. It allows them to acclimate to the temperature so that you don't have them expanding or contracting once they are in place.

Always leave the boxes of wood inside the area where they will be installed 2 days prior to installation. It allows them to acclimate to the temperature so that they won’t expand or contract once they are in place.

Day 105 | Hardware

Day 105

Hurray! The cabinets are in!

Just missing the fridge... and countertops... oh and flooring... BUT it's coming together!

Just missing the fridge… and counter tops… oh and flooring… BUT it’s coming together!

Shaker style cabinets from Ikea!

Shaker style cabinets from Ikea!

We installed all of the hardware on the doors and drawers, we hung the microwave, and added plywood to all of the counter tops in preparation for eventual granite.

Nice new microwave hood.

Nice new microwave hood.

IMG_2641

Plywood laid for the granite to be installed and hardware put on all cabinetry!

This afternoon we drove down to Anaheim and checked out all of the granite wholesalers. Got a lot of prices, now we just have to decide. Black? Dark Gray? Marble?

Day 101 | Cabinet Install

Day 101

Over the past few days more drywall in the kitchen has been put up and more cabinets have been installed. It’s finally beginning to look like a kitchen. Excited is an understatement. Does this mean we get to move out of our parents’ house soon?

More drywall being installed.

More drywall being installed.

IMG_2447

The frame for the kitchen island/laundry center.

The frame for the kitchen island/laundry center.

The frame for the kitchen island/laundry center.

IMG_2603

Drywall complete!

Cabinets beginning to go up!

Cabinets beginning to go up!

Save

Day 88 | Dining Table

Day 88

Merry Day-After Christmas!

Today we bought our dining room table HERE from World Market: Cost Plus for a great price! They were having a 15% after Christmas Sale today only and we got an additional 10% off for taking a table already out of the box. Woohoo! I love to find good sales.

John’s guys have begun drywalling the kitchen!

IMG_6435-0

World Market Bishop Table


VISITORS: Mike & Nikki, Jon & Suzanna

Day 77 | Unexpected Expense

Day 77

So far this home renovation project has progressed on schedule and without any surprises… until today. Our plumber informed us that the plumbing under the guest bathroom was completely rotted and that we really should replace it. This was one room that we weren’t planning on renovating, looks like we were wrong. That means added plumbing costs, new flooring costs, new vanity… ughh!

Today Kevin sanded the hutch and ripped up the floors in the guest bathroom.


HELPER: Matt Milburn

Day 75 | Sod

Day 75

Sod and the rest of the plants were installed today! I am SO happy. To see a project come to fruition is so fulfilling. Thank you dad for the BEST house warming gift. It’s coming together!

The grass alone makes it look like an entirely new house!

The grass alone makes it look like an entirely new house!

Just in case you forgot...

Just in case you forgot…

Save

Day 65 | Home Inspection

Day 65

Javier, our HUD Inspector, came out today for the first draw for the contractor. He was there to see the progress we have made to allow the next bit of money to be released. Uncle John’s guys began assembling the kitchen cabinets, hurray!

Matt came later in the day to help Kevin install crown molding in the dining room and kitchen.

Kevin and Matt putting up the crown molding in the dining room.

Matt and Kevin putting up the crown molding in the dining room.


HELPERS: John’s Crew, Matt Milburn

Day 62 | Cabinets Arrived

Day 62

Today we finished adding the moldings to the dining room and Kevin ripped up more flooring in the dining room to begin leveling out where it was ramping up. The previous owner added the master bedroom and family room to the house in the 90s. This addition was built on a slab foundation set a few inches higher than the original house. So to transition from the dining room to the family room you had to slightly step up. To compensate for this, the previous owner sloped his wood floors to hide the gap, which looked and felt very uneven and cheap. When we pulled off the flooring, and leveled the dining room we thought we could just make the transition an actual step, but unfortunately it was not high enough. So now we are trying to decide what that transition piece will look like.

IMG_2421

The kitchen cabinets were delivered today! They just need to be assembled… the one downfall to ordering from Ikea.


HELPERS: Uncle John’s Crew

Day 61 | Moldings

Day 61

We didn’t have work today so Kevin did a lot of work on the house. He began adding moldings to the dining room to add some character to the large room. We searched Pinterest for a bunch of ideas, we landed on this…

EXAMPLE Board and Batten Instructions here: http://www.justagirlblog.com/board-and-batten-part-1/

EXAMPLE Board and Batten
Instructions here: http://www.justagirlblog.com/board-and-batten-part-1/

Now our turn…

Chair moldings being installed. As you can see the back of the hutch hasn't been attached yet so you can see straight into the second bedroom.

As you can see the back of the hutch hasn’t been attached yet so you can see straight into the second bedroom.

IMG_5960

Kevin cut sheets of MDF to make these moldings. Made this project pretty affordable.

IMG_5953

Kevin used a laser level to ensure consistency (since our floors are sloping…and missing in places haha)

IMG_5968 IMG_5969 IMG_5965  IMG_5959

Molding with paint!

Moldings with paint!

IMG_5977 IMG_5981


HELPER: Jason

Happy Thanksgiving!

We have so much to be thankful for, especially this year! Thank you Jesus for blessing us with this beautiful house. What a fun and rewarding experience this has been for Kevin and I. The learning process of designing, building, correcting, and re-building has been one we will cherish forever! Thank you for the numerous friends and family members who spend endless hours at our house… what a tangible way to show their love and support. Thank you for this precious baby who gets to enter this world surrounded by those who love him/her and into a house created to protect him/her.

We couldn’t be happier.

Day 59 | Mirror Installation

Day 59

Today we cleaned up the family room from all of the tools and materials that had begun to collect. The boys worked on getting the built-in hutch to fit better in its new location. They also painted the family room walls and installed our new bathroom mirror! The previous owner only had a small medicine cabinet hung above their sink (which was also off center) and it looked too small for the wall and out of place. I ordered a large piece of mirror this morning to replace it and it was finished and ready for installation this afternoon! The boys put it up with liquid nails*.

New lights! Kevin had to rewire and cetner them because the original light fixture was centered over the medicine cabinet instead of the sink (*shaking head).

New lights! Kevin had to rewire and center them because the original light fixture was centered over the medicine cabinet instead of the sink (*shaking head).

Removed the medicine cabinet and didn't even bother patching the hole because it will be hidden behind the new mirror. Notice how off center it was!

Removed the medicine cabinet and didn’t even bother patching the hole because it will be hidden behind the new mirror. Notice how off center it was!

IMG_5940


HELPERS: Timmy & Whitney

NOTE (1/19/15): the mirror eventually had to be replaced because the liquid nails that we used to adhere it to the wall began majorly discoloring the mirror. Pretty soon there were so many dark marks that you could barely see yourself! We had to purchase a new mirror and installed it with an adhesive that was made specifically for mirrors. Make sure you read the back of the labels before adhering mirror to any surface!

Day 58 | Drywall Complete

Day 58

Over the past few days Uncle John’s guys finished drywalling the kitchen and dining room walls and ceiling. What a difference that makes. It actually is starting to feel like there is an end in sight!

Finished drywall!

Finished drywall!

My dad’s guys leveled the dirt in the front yard to prep for sod and greenery.

Almost ready for sod!

Almost ready for sod!

IMG_6090

Matt came over and helped paint the dining room and kitchen ceiling.


HELPERS: Uncle John’s Crew + Matt Milburn


Day 56 | And Then There Was Light!

Day 56

Kevin installed all of the outlets and light switches in the dining room. The lights now work and can be dimmed. Hurray! They look so good. I cleaned out our tub and shower really well (you wouldn’t believe how much dirt and grime had collected over the past 56 days) and my mom continued to strip the paint off door #2. My mom also gifted us with a cute mailbox that Kevin put up today. Later Caleb and Kevin loaded a bunch of trash into the truck and make a trip to dump it in Timmy’s apartment complex dumpster…shhh!

IMG_5916

Such a cute mailbox from Pottery Barn


HELPERS: Mom U. & Caleb

VISITOR: Elissa

Day 55 | Paint Finished

Day 55

Kevin prepped our bathroom for paint, primed and painted it, installed a new toilet (a must for any house your purchase!) and a new light fixture. Ahhh! Almost done!

He and Timmy also sanded more of the nursery walls to get them to that more even texture (what a mess!). They also painted the ceiling in the office, finished the pocket door trim, hung the new porch light, and started wiring the switches in the kitchen and dining room.

Jacob finished painting and Mitchell finished the electrical! It’s coming together!


HELPERS: Timmy & Mom U.

VISITORS: Mom & Dad R.

Days 50 – 54 | Progress

Days 50 – 54

This week Jacob continued to paint, my dad’s guys laid a new pathway and added the edging between the eventual grass and greenery. It rained Wednesday and Thursday so not much happened those days.

Getting ready for a new pathway.

Getting ready for a new pathway.

Stone pavers for the new pathway installed.

Stone pavers for the new pathway installed and Jacob continuing to paint.

New edging installed to separate the eventual grass and greenery.

New edging installed to separate the eventual grass and greenery.


HELPERS: Dad + Crew, Matt Milburn, Jacob Bishop

VISITORS: Jen Robinson

Day 48 | More Painting

Day 48

Today Kevin and Timmy primed more of the walls and ceiling for paint. You wouldn’t believe how much primer… and time… it takes to cover these crazy colors. They also began skim coating the nursery 🙂 walls with mud to help get a more even texture. The nursery bedroom is one of the original bedrooms and it has plaster walls that are very uneven and messy looking.

Thanks Tim for being such a great painter!

Thanks Tim for being such a great painter!


HELPER: Timmy

VISITORS: Grandpa, Loretta, Dan, Monica, Mom & Dad R., Stephen & Kelly Chakerian, Katie Skutvik, Mom & Dad U., and Caleb

Day 47 | Finishing Projects

Day 47

This has been a busy week! We have got a lot accomplished. Jacob has been painting all week, Kenny and his guys have finished rerouting the gas lines, and my dad’s guys have made a lot of progress on our front yard. Kevin and Timmy continued working on our bathroom by sanding and mudding the walls and priming. They also began priming the living room. Goodbye crazy colors!


HELPERS: Timmy, Dad U., Count On Plumbing

I’m Pregnant!

Well in the midst of this crazy home renovation, I found out I’m pregnant! We are so excited. It’s a good thing we found out before we finished the extra bedroom. Looks like we will need to begin creating a nursery. 🙂 Guess this means I won’t have to do as much painting 😉 Phew!

IMG_6039

Day 43 | Bathroom Details

Happy Veteran’s Day! Thank you to all of our service men and women who so bravely protect our country.

I didn’t have to go to work today so I finished painting the vanity, lined the shelves and under the sink with contact paper, and primed our bathroom for paint. Kevin worked on installing some necessary wood braces in the wall behind the stove so that the gas line could be installed. Jacob continued to sand and my dad’s guys worked in the front yard.

Painting the brown vanity black. First, drawers!

Painting the brown vanity black. First, drawers!

Like NEW!

Like NEW!

Lined Drawers :)

Lined Drawers 🙂

Ahh... clean!

Ahh… clean!

And under the sink!

And under the sink!


HELPERS: Jacob and Dad U + Crew