Day 6
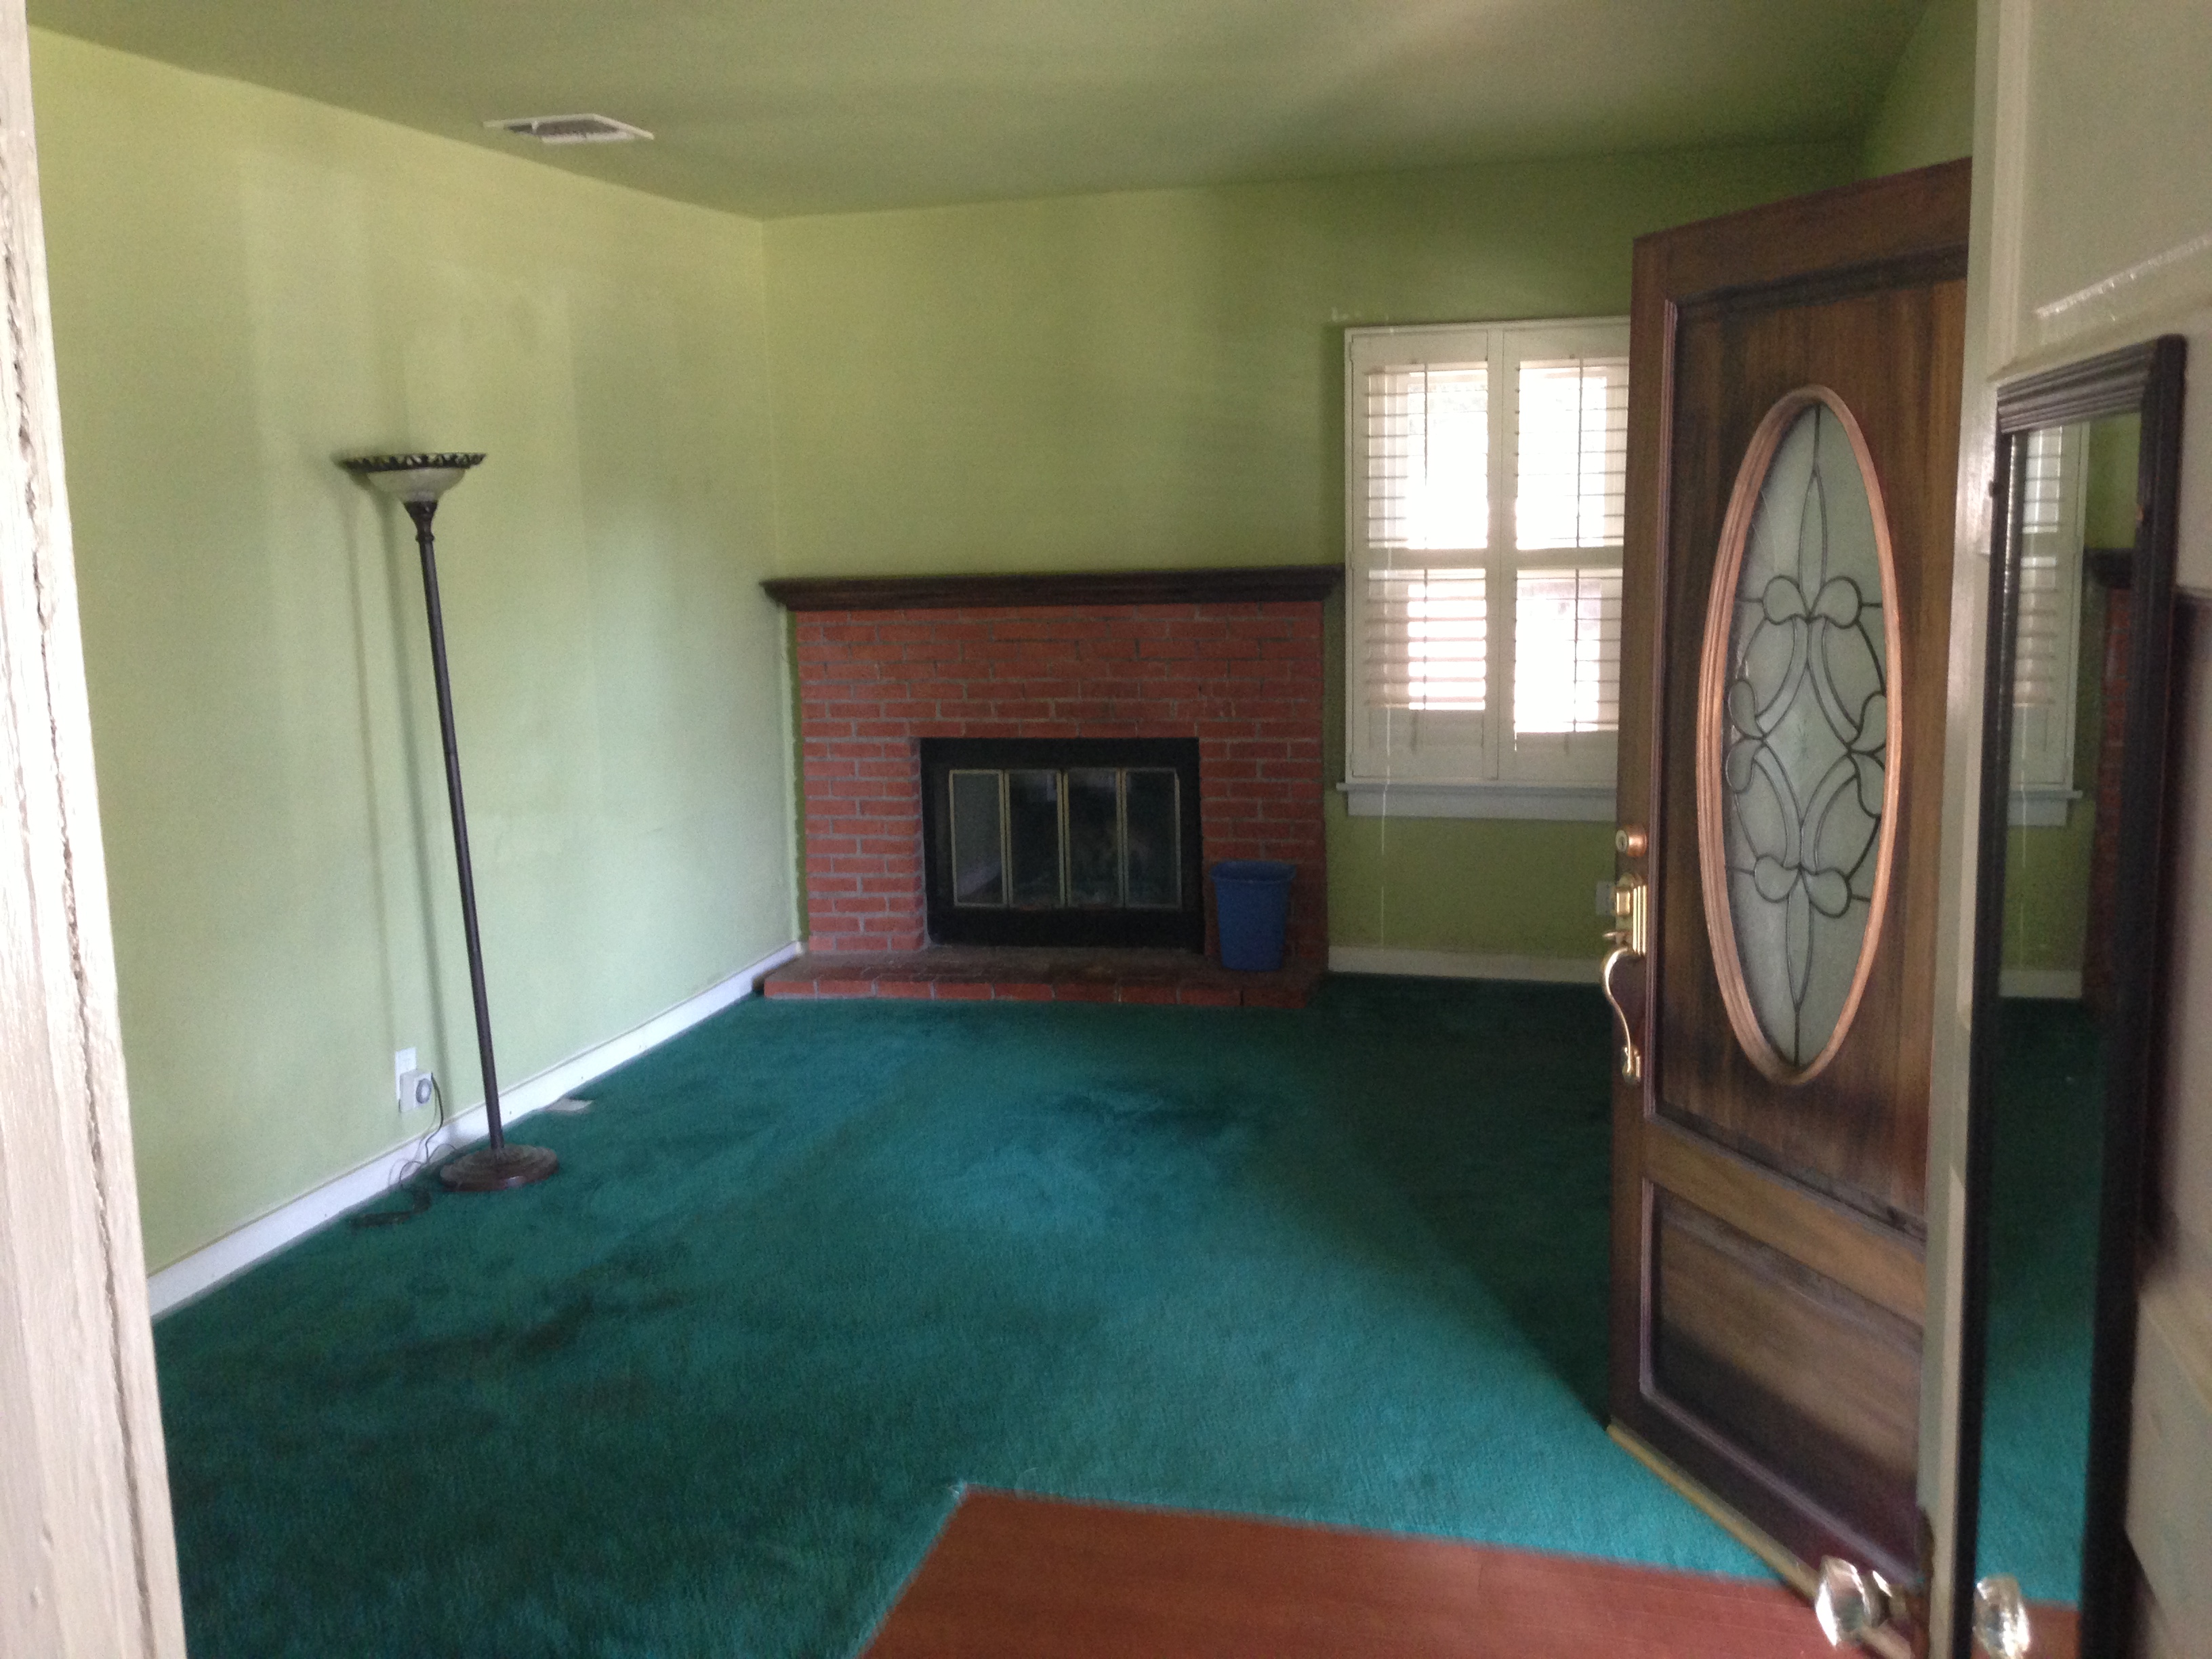
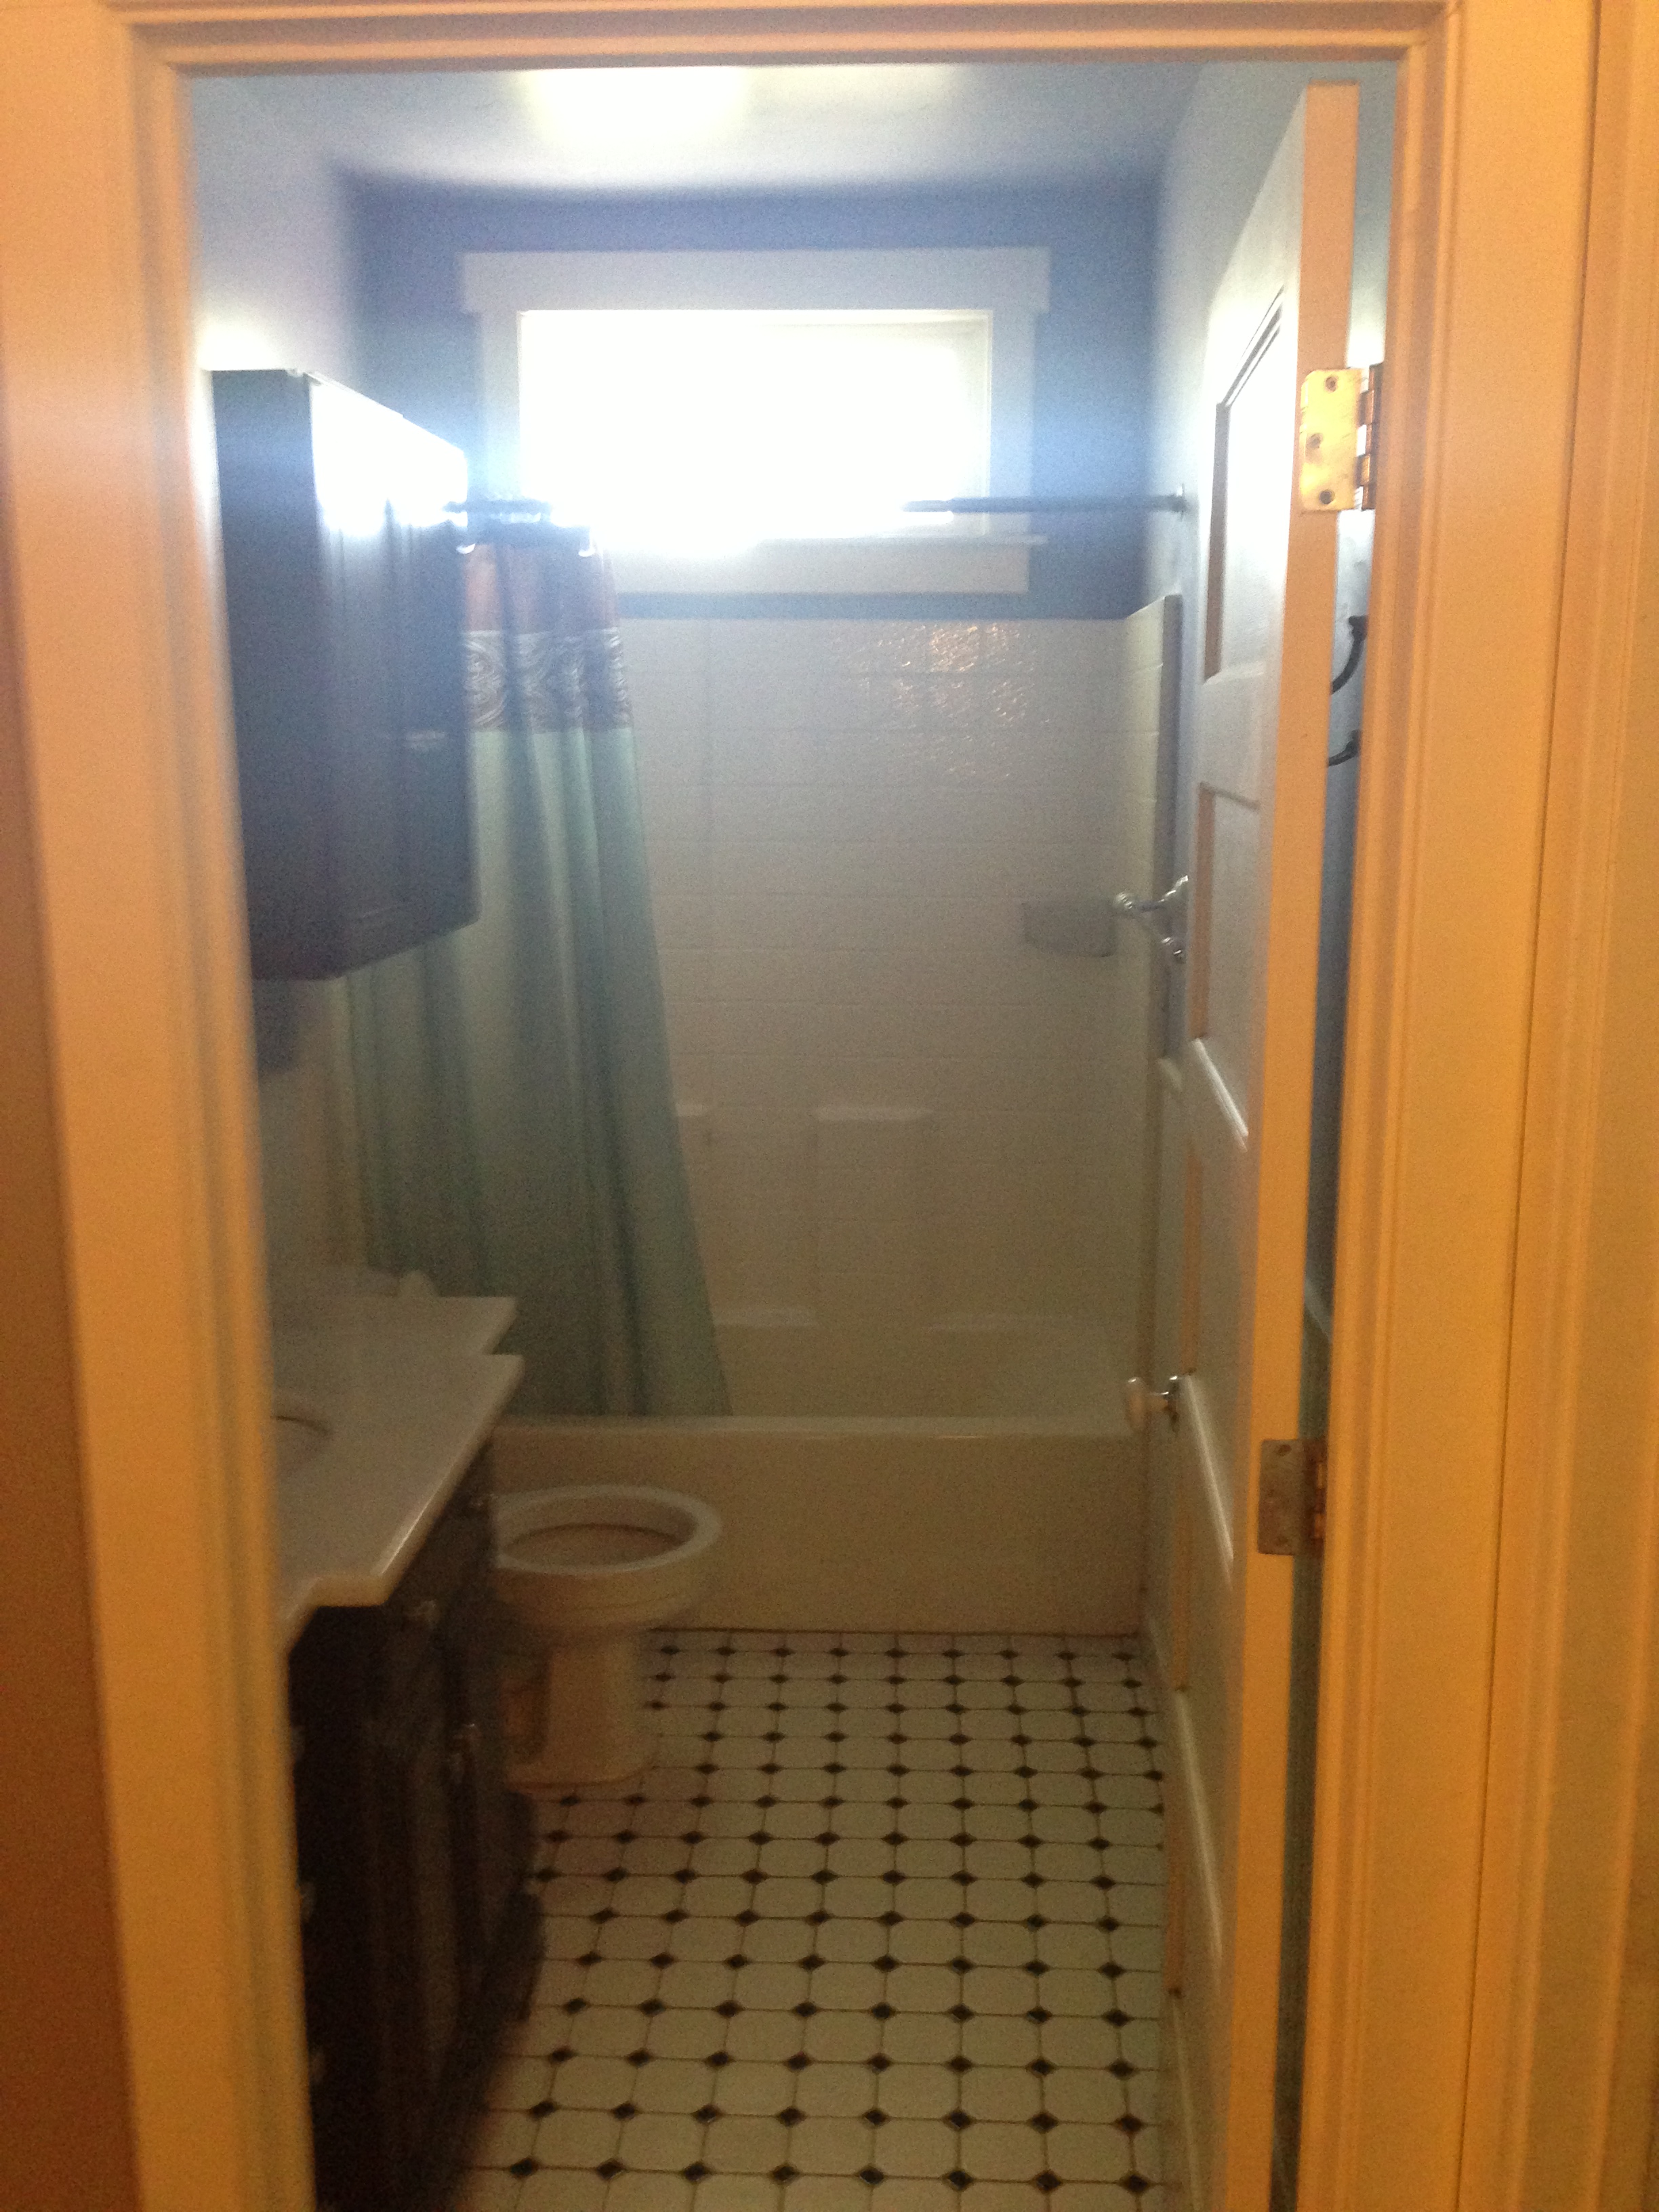
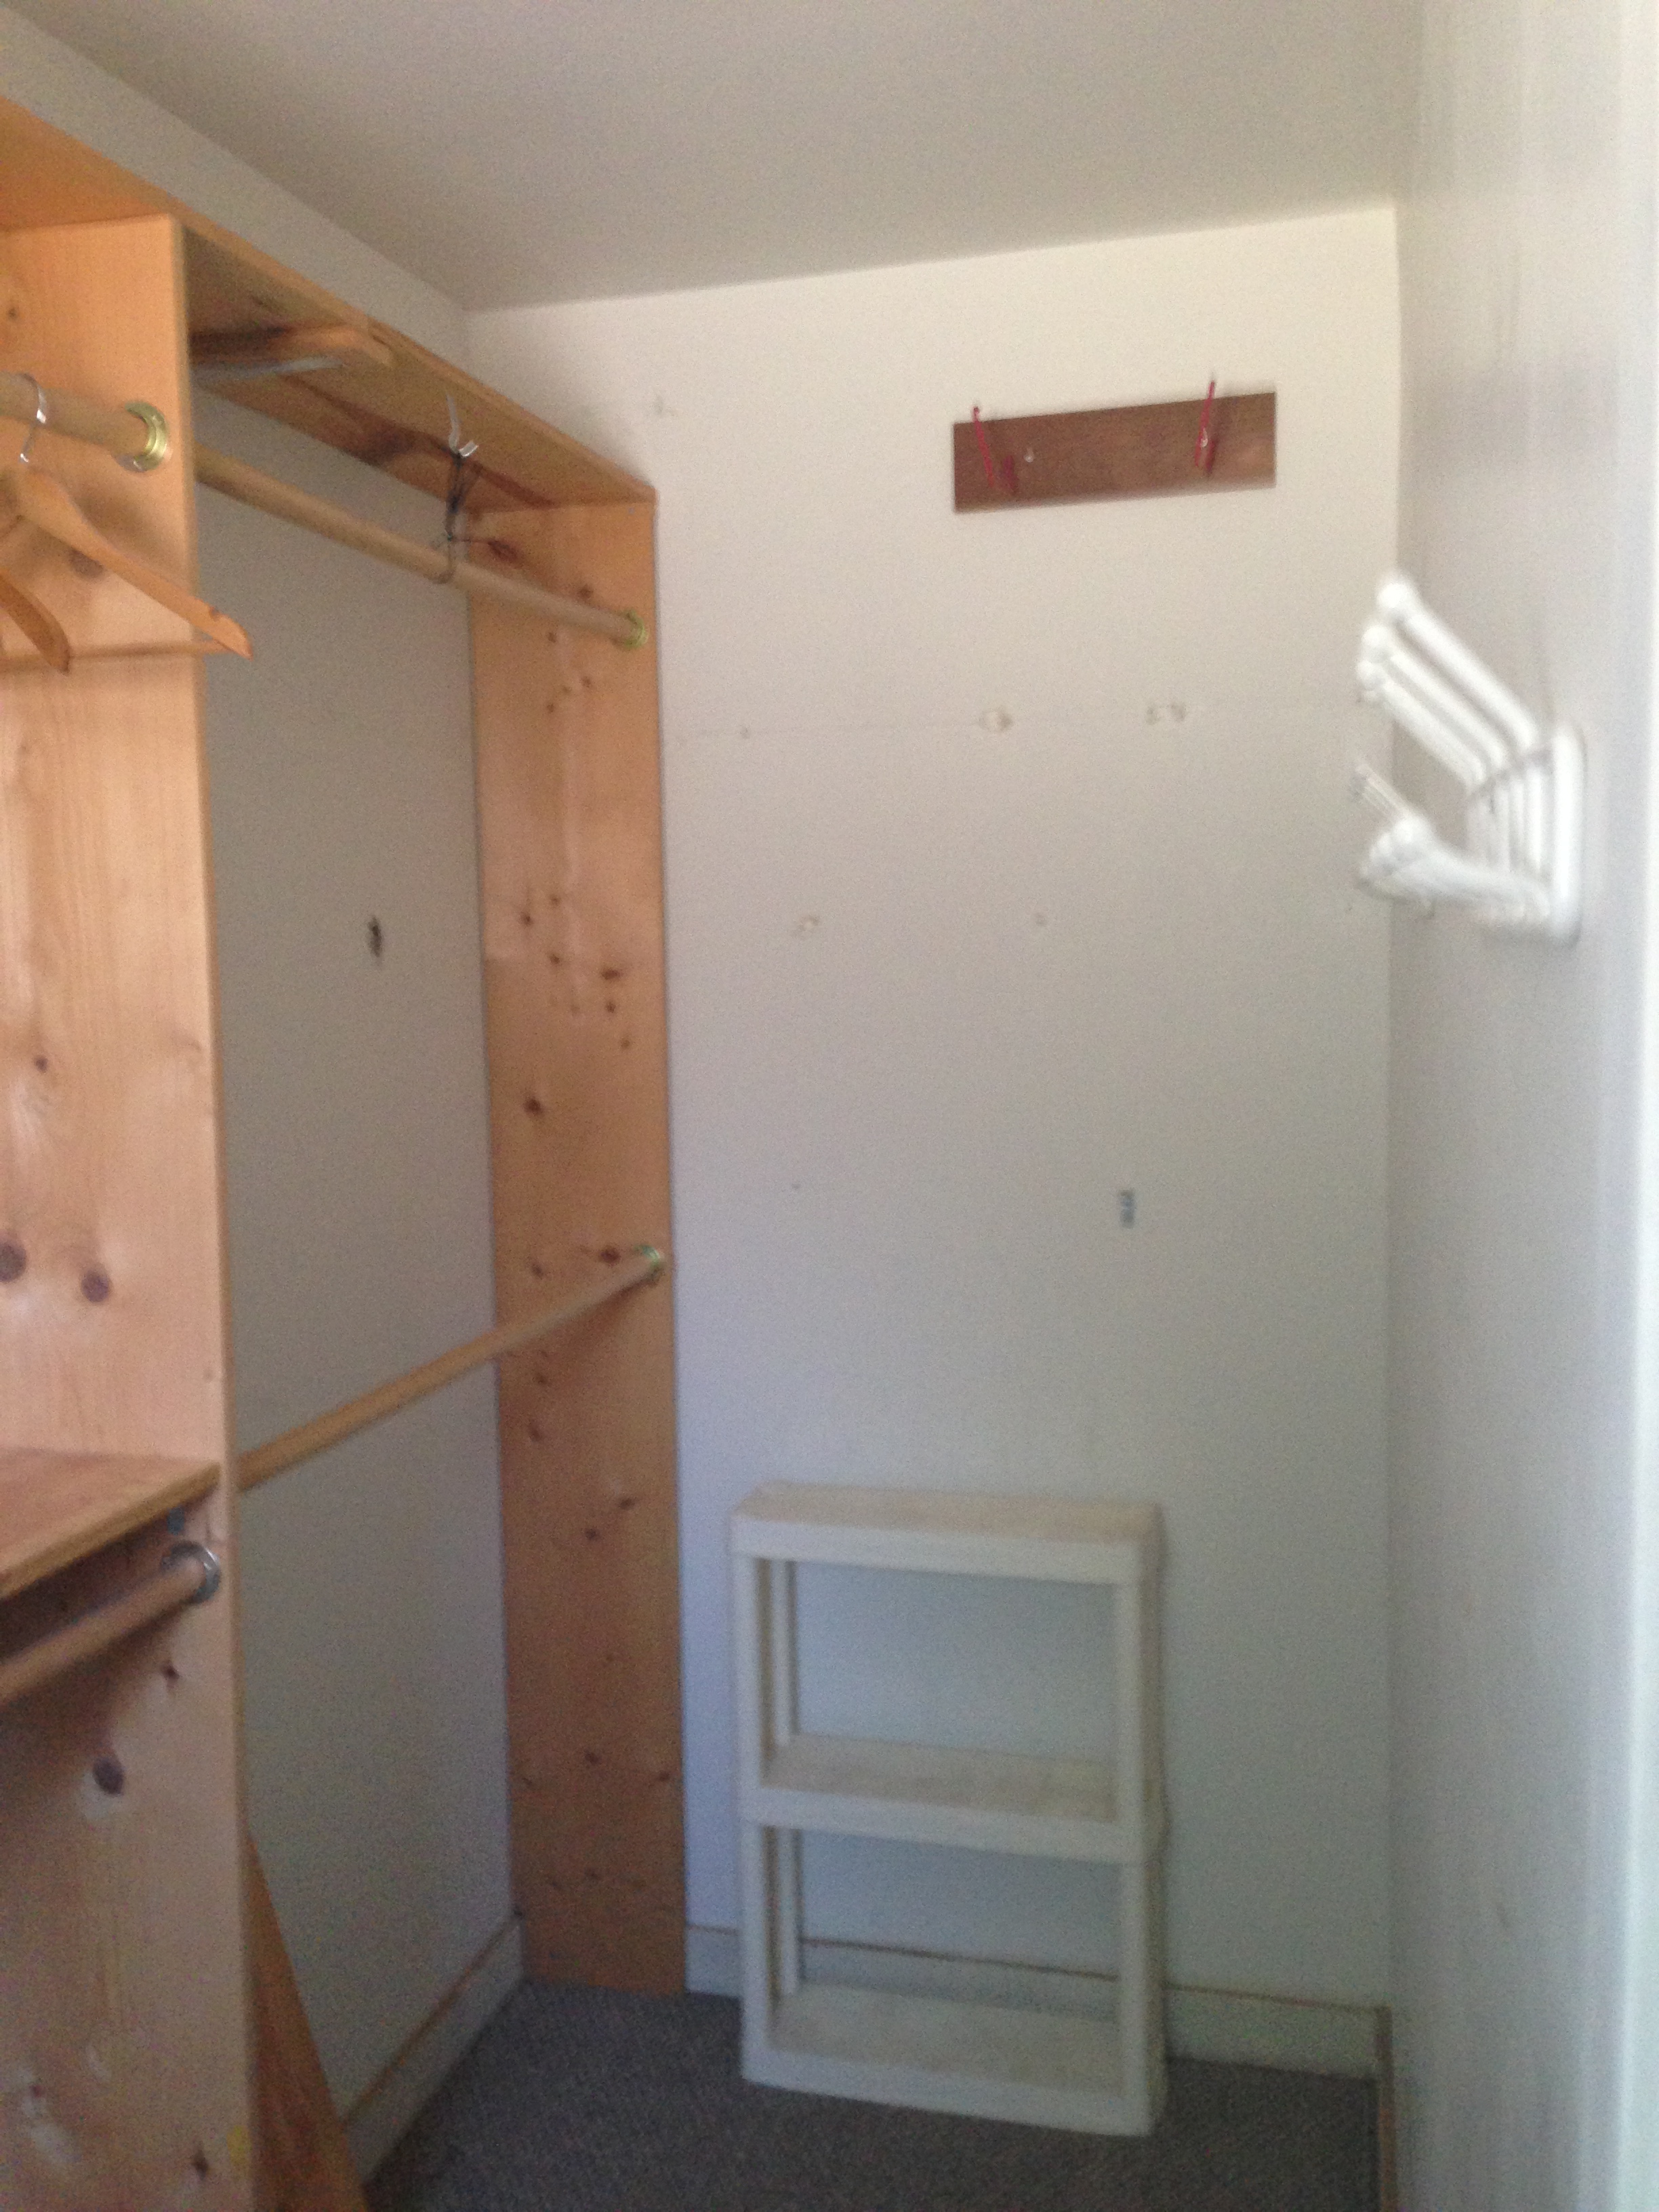
Our first Saturday as home owners proved to be a VERY busy work day. We had many friends and family members join us for the festivities. The boys ripped out the subfloor in the dining room, they continued removing the plaster on the kitchen walls to get to the frame, they removed the master bathroom door and frame, they started framing a pocket door in between the master bathroom and our bedroom, they patched holes in the master closet, hung a new light fixture. The girls cleaned the garage and continued stripping the paint off door #1. Whitney and I also picked out the paint for the master bedroom, bathroom, closet, and trim… Benjamin Moore, the Bentley of paint 🙂
I am on the quest for the perfect gray paint. So far, my favorite has been Coventry Gray by Benjamin Moore. Not too blue, not too green… just right, ahhhh! This color actually belongs to their historic color collection, which includes 174 time-honored hues of their most popular palette.

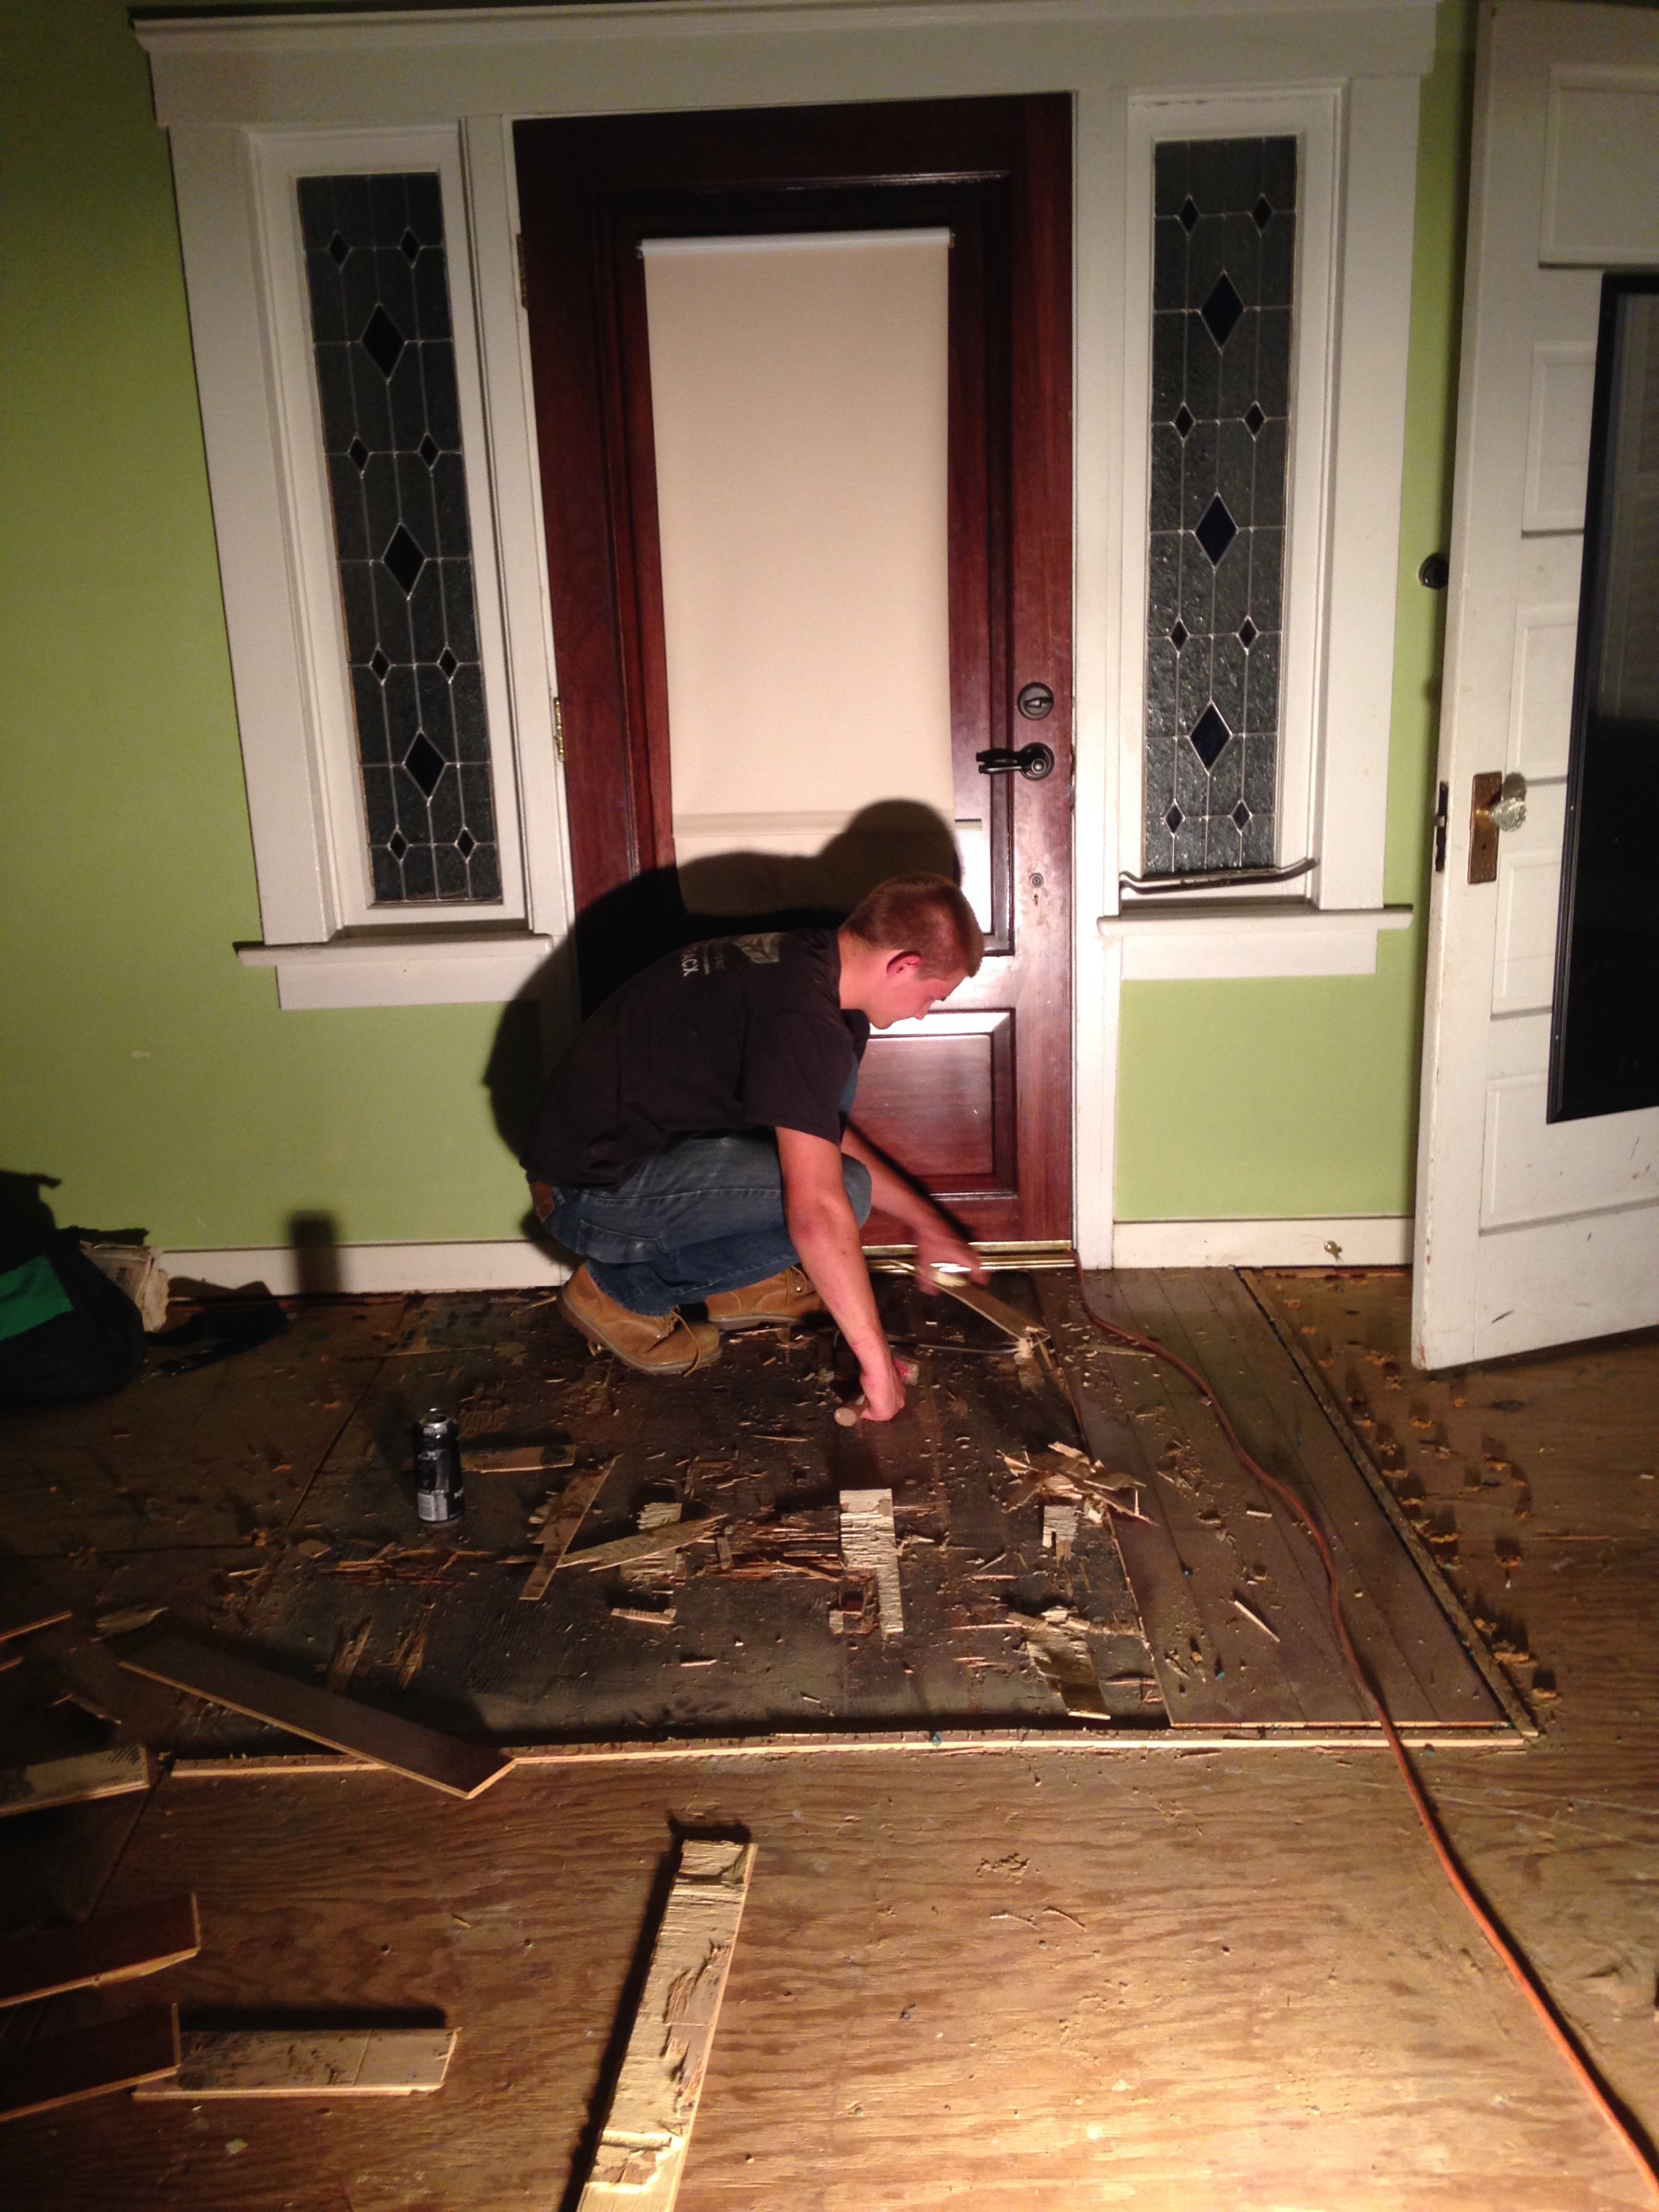
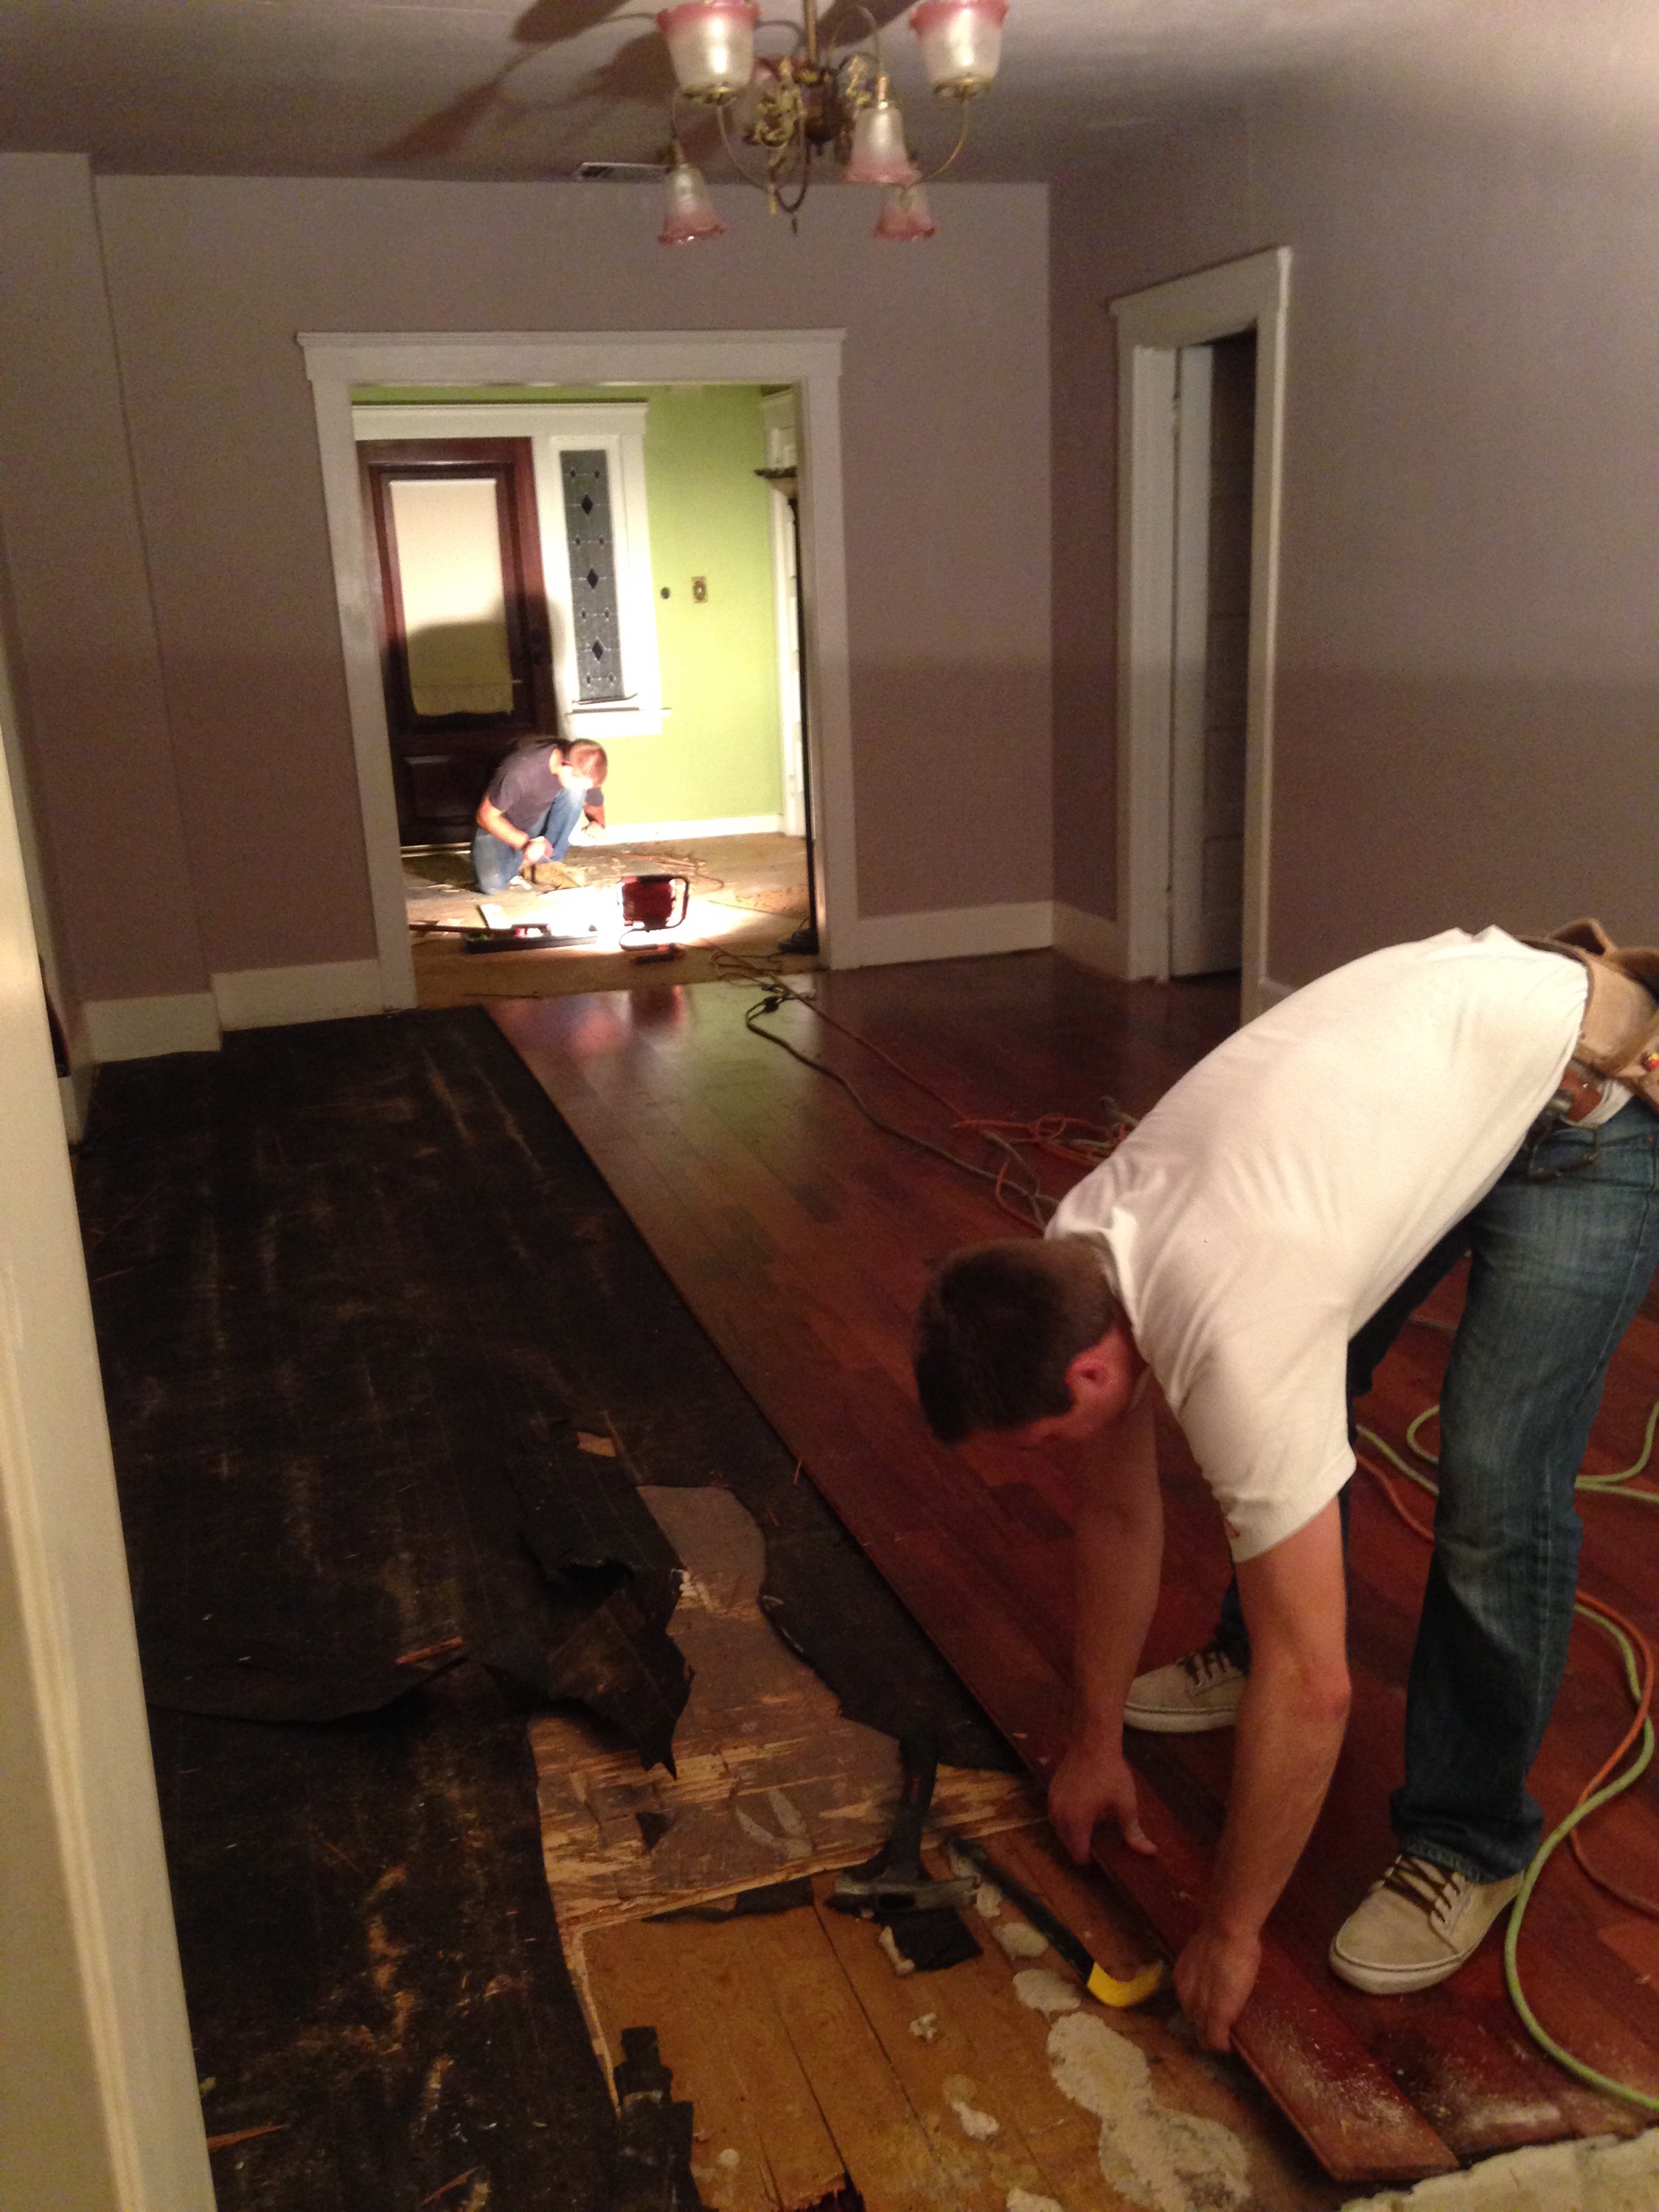
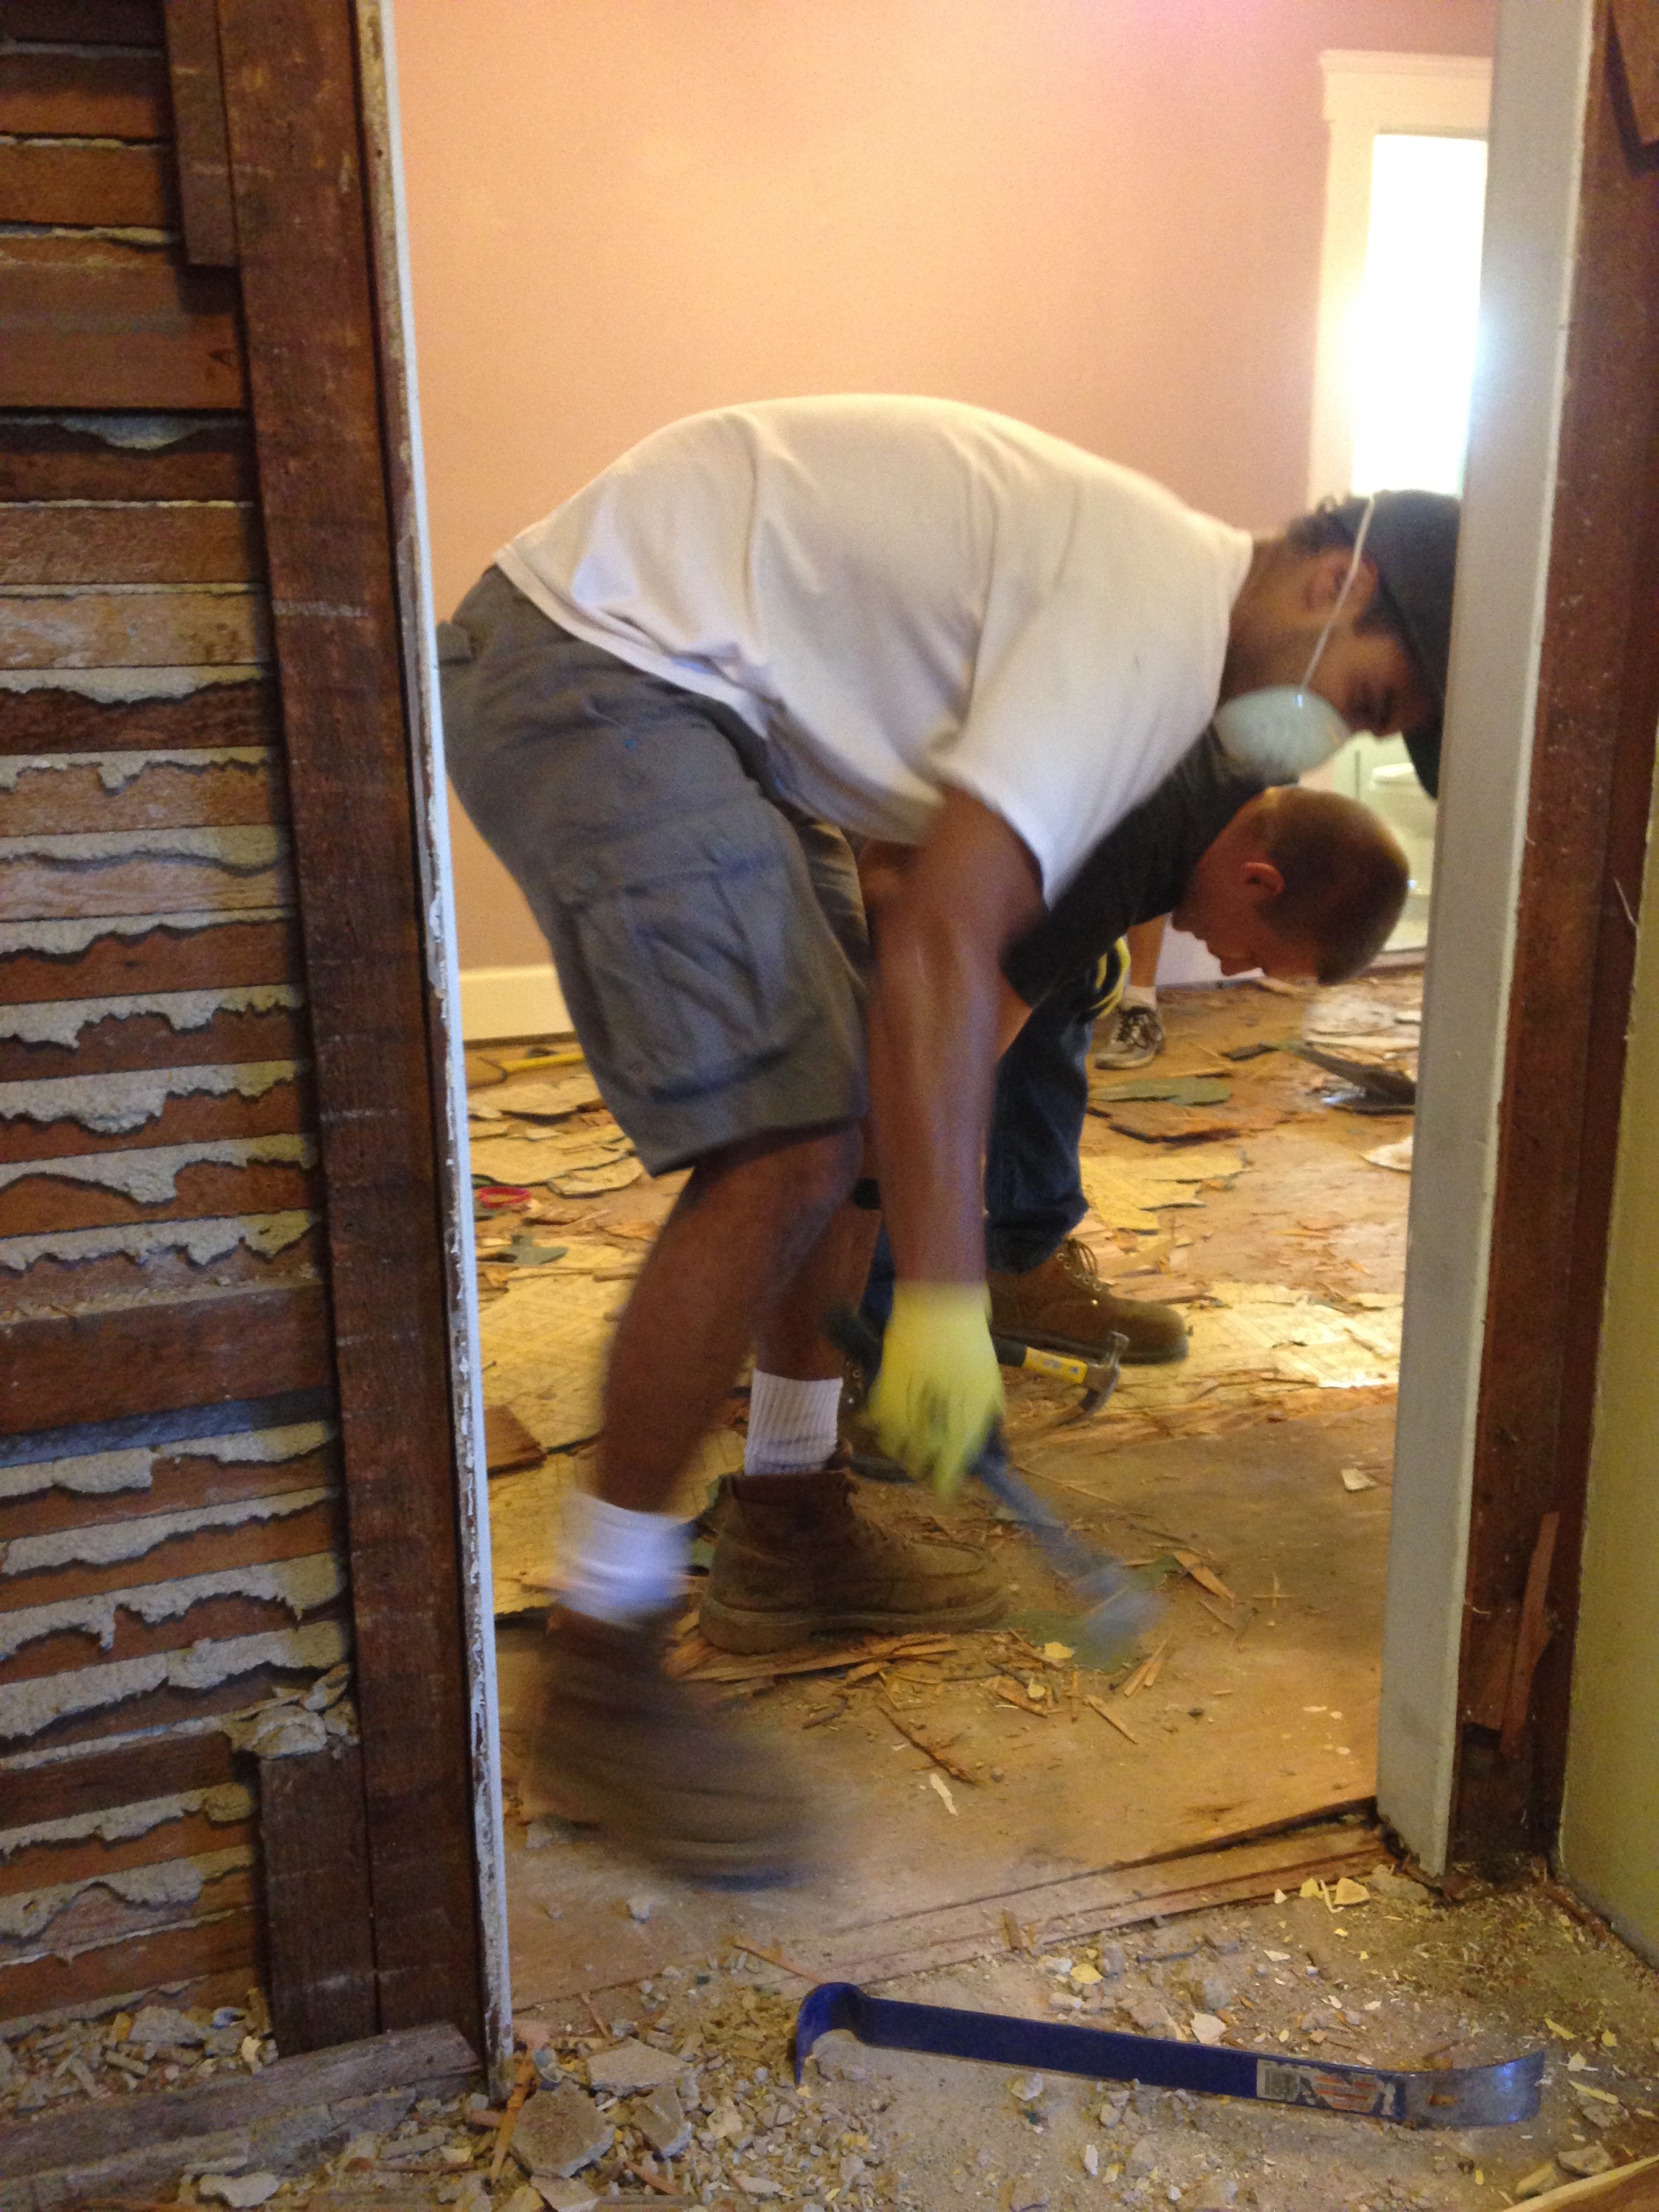
Goodbye floor!

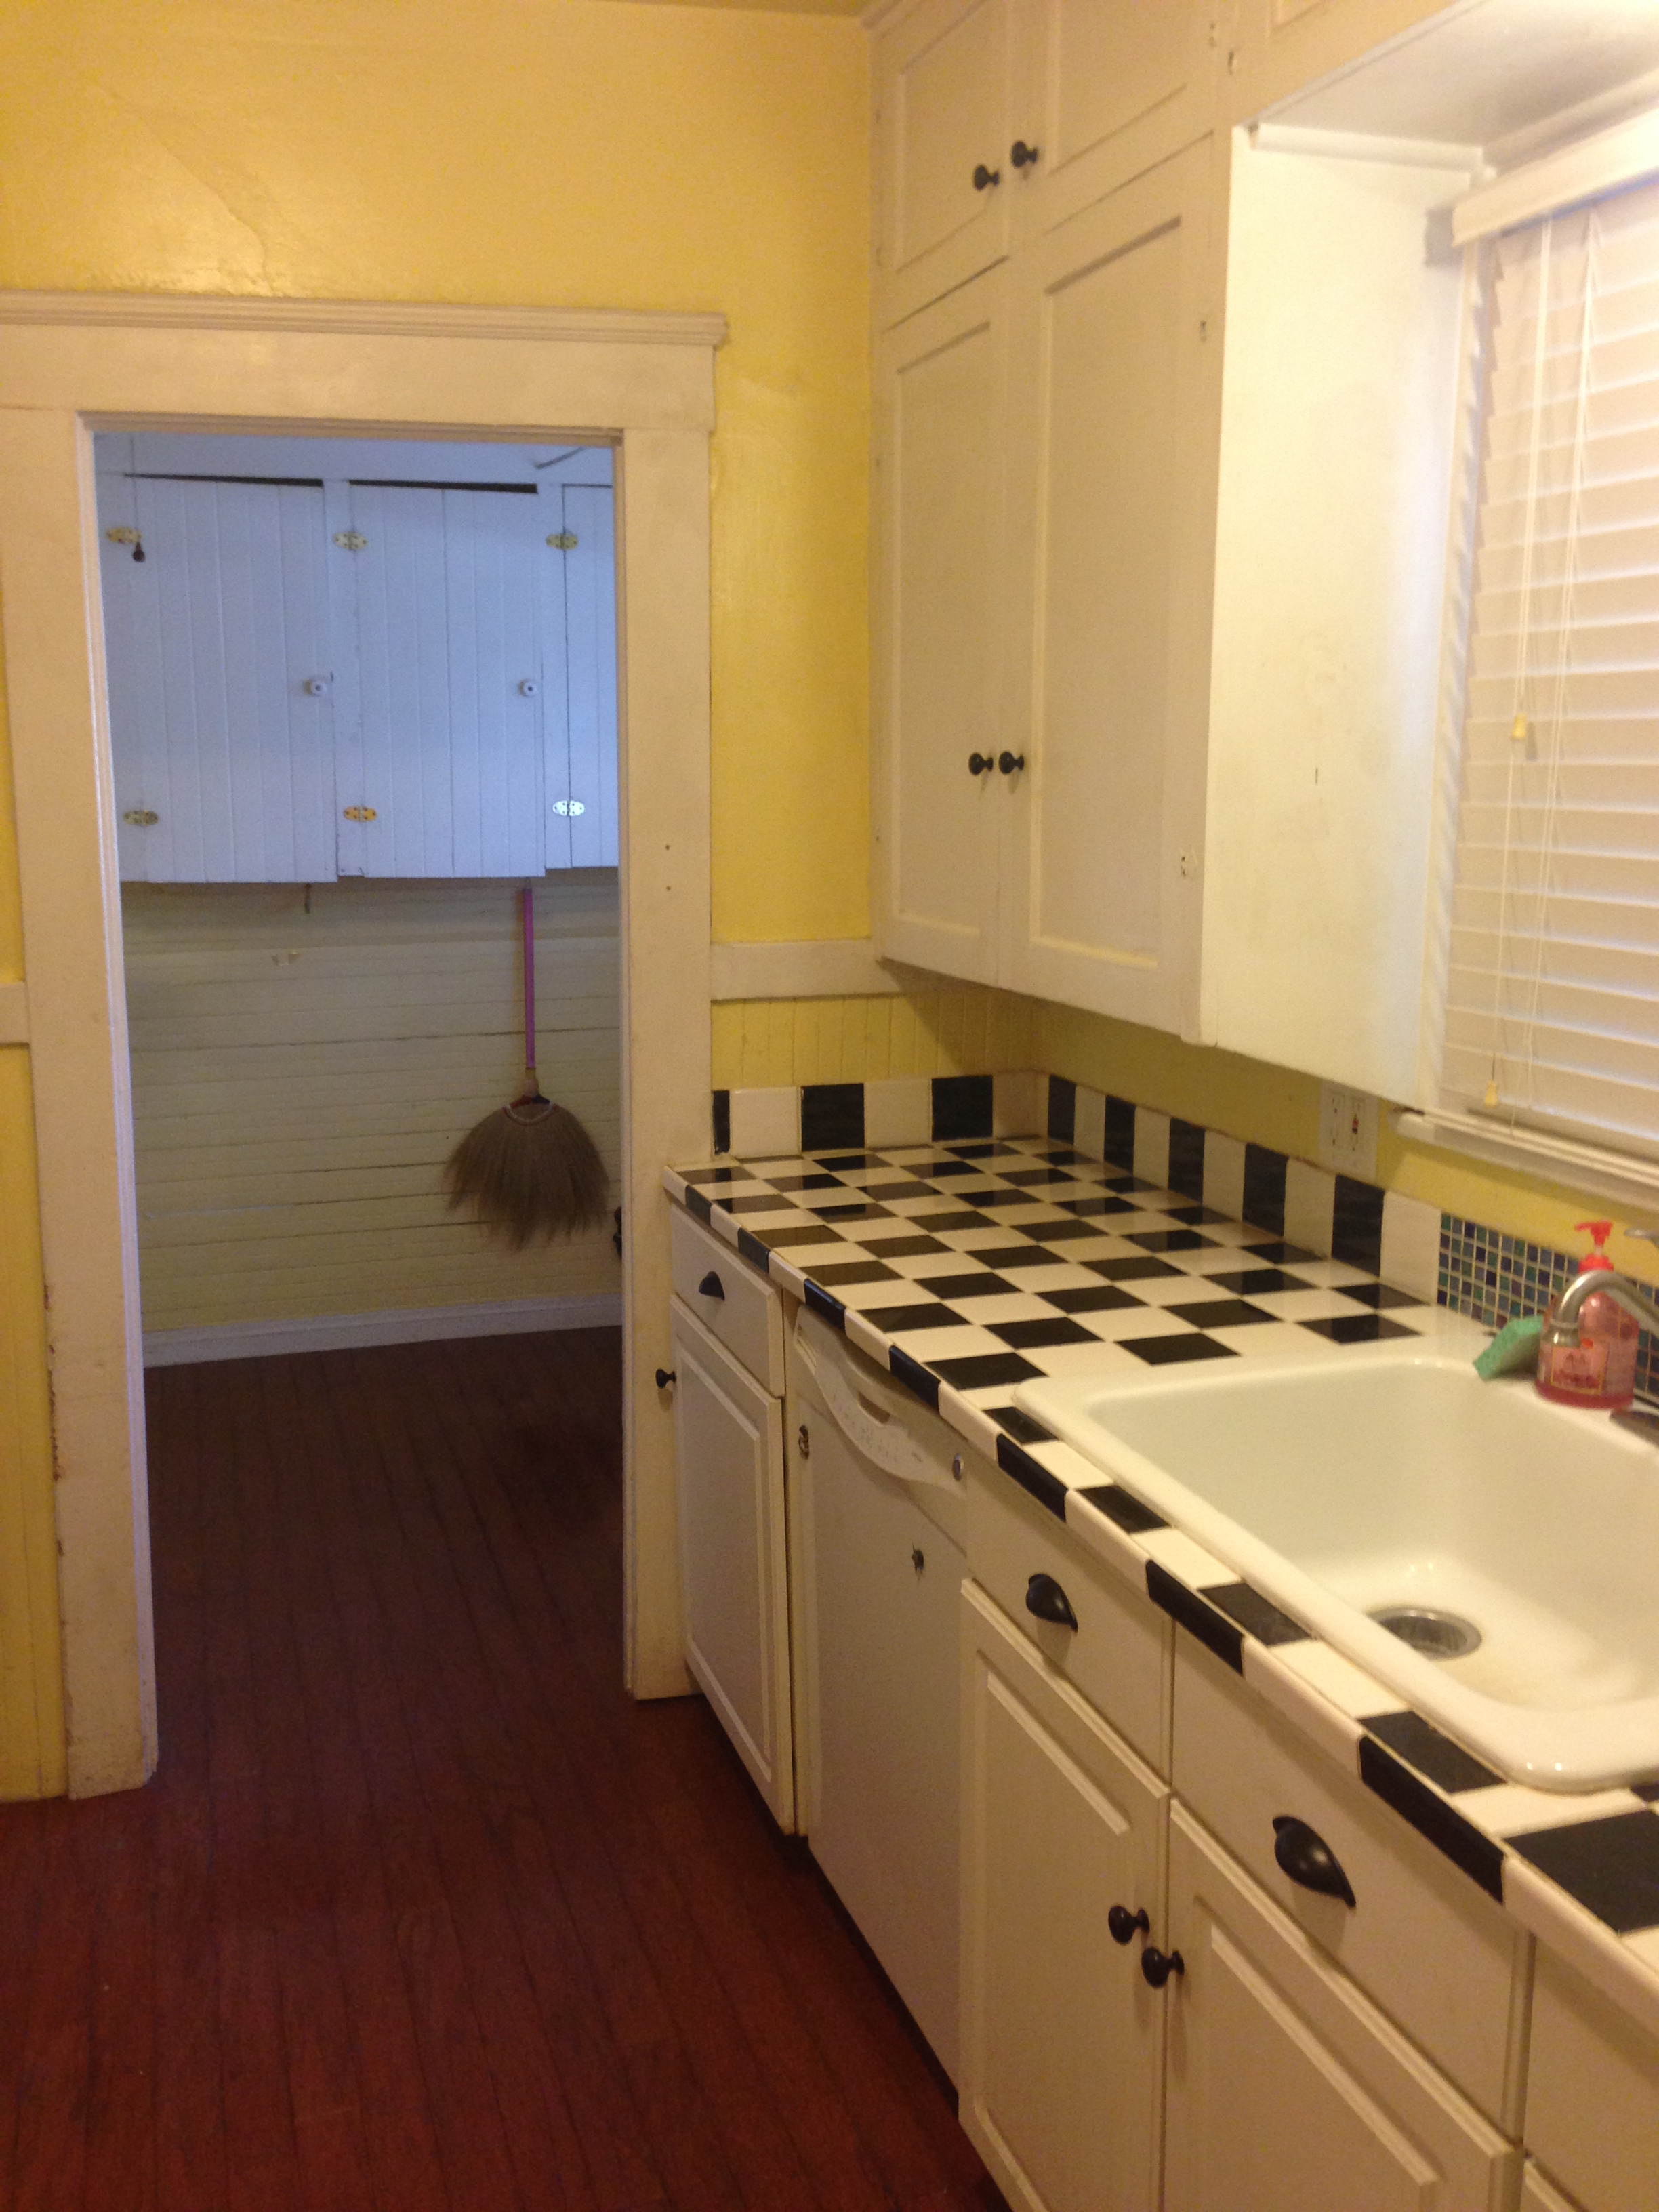
Goodbye kitchen cabinets!
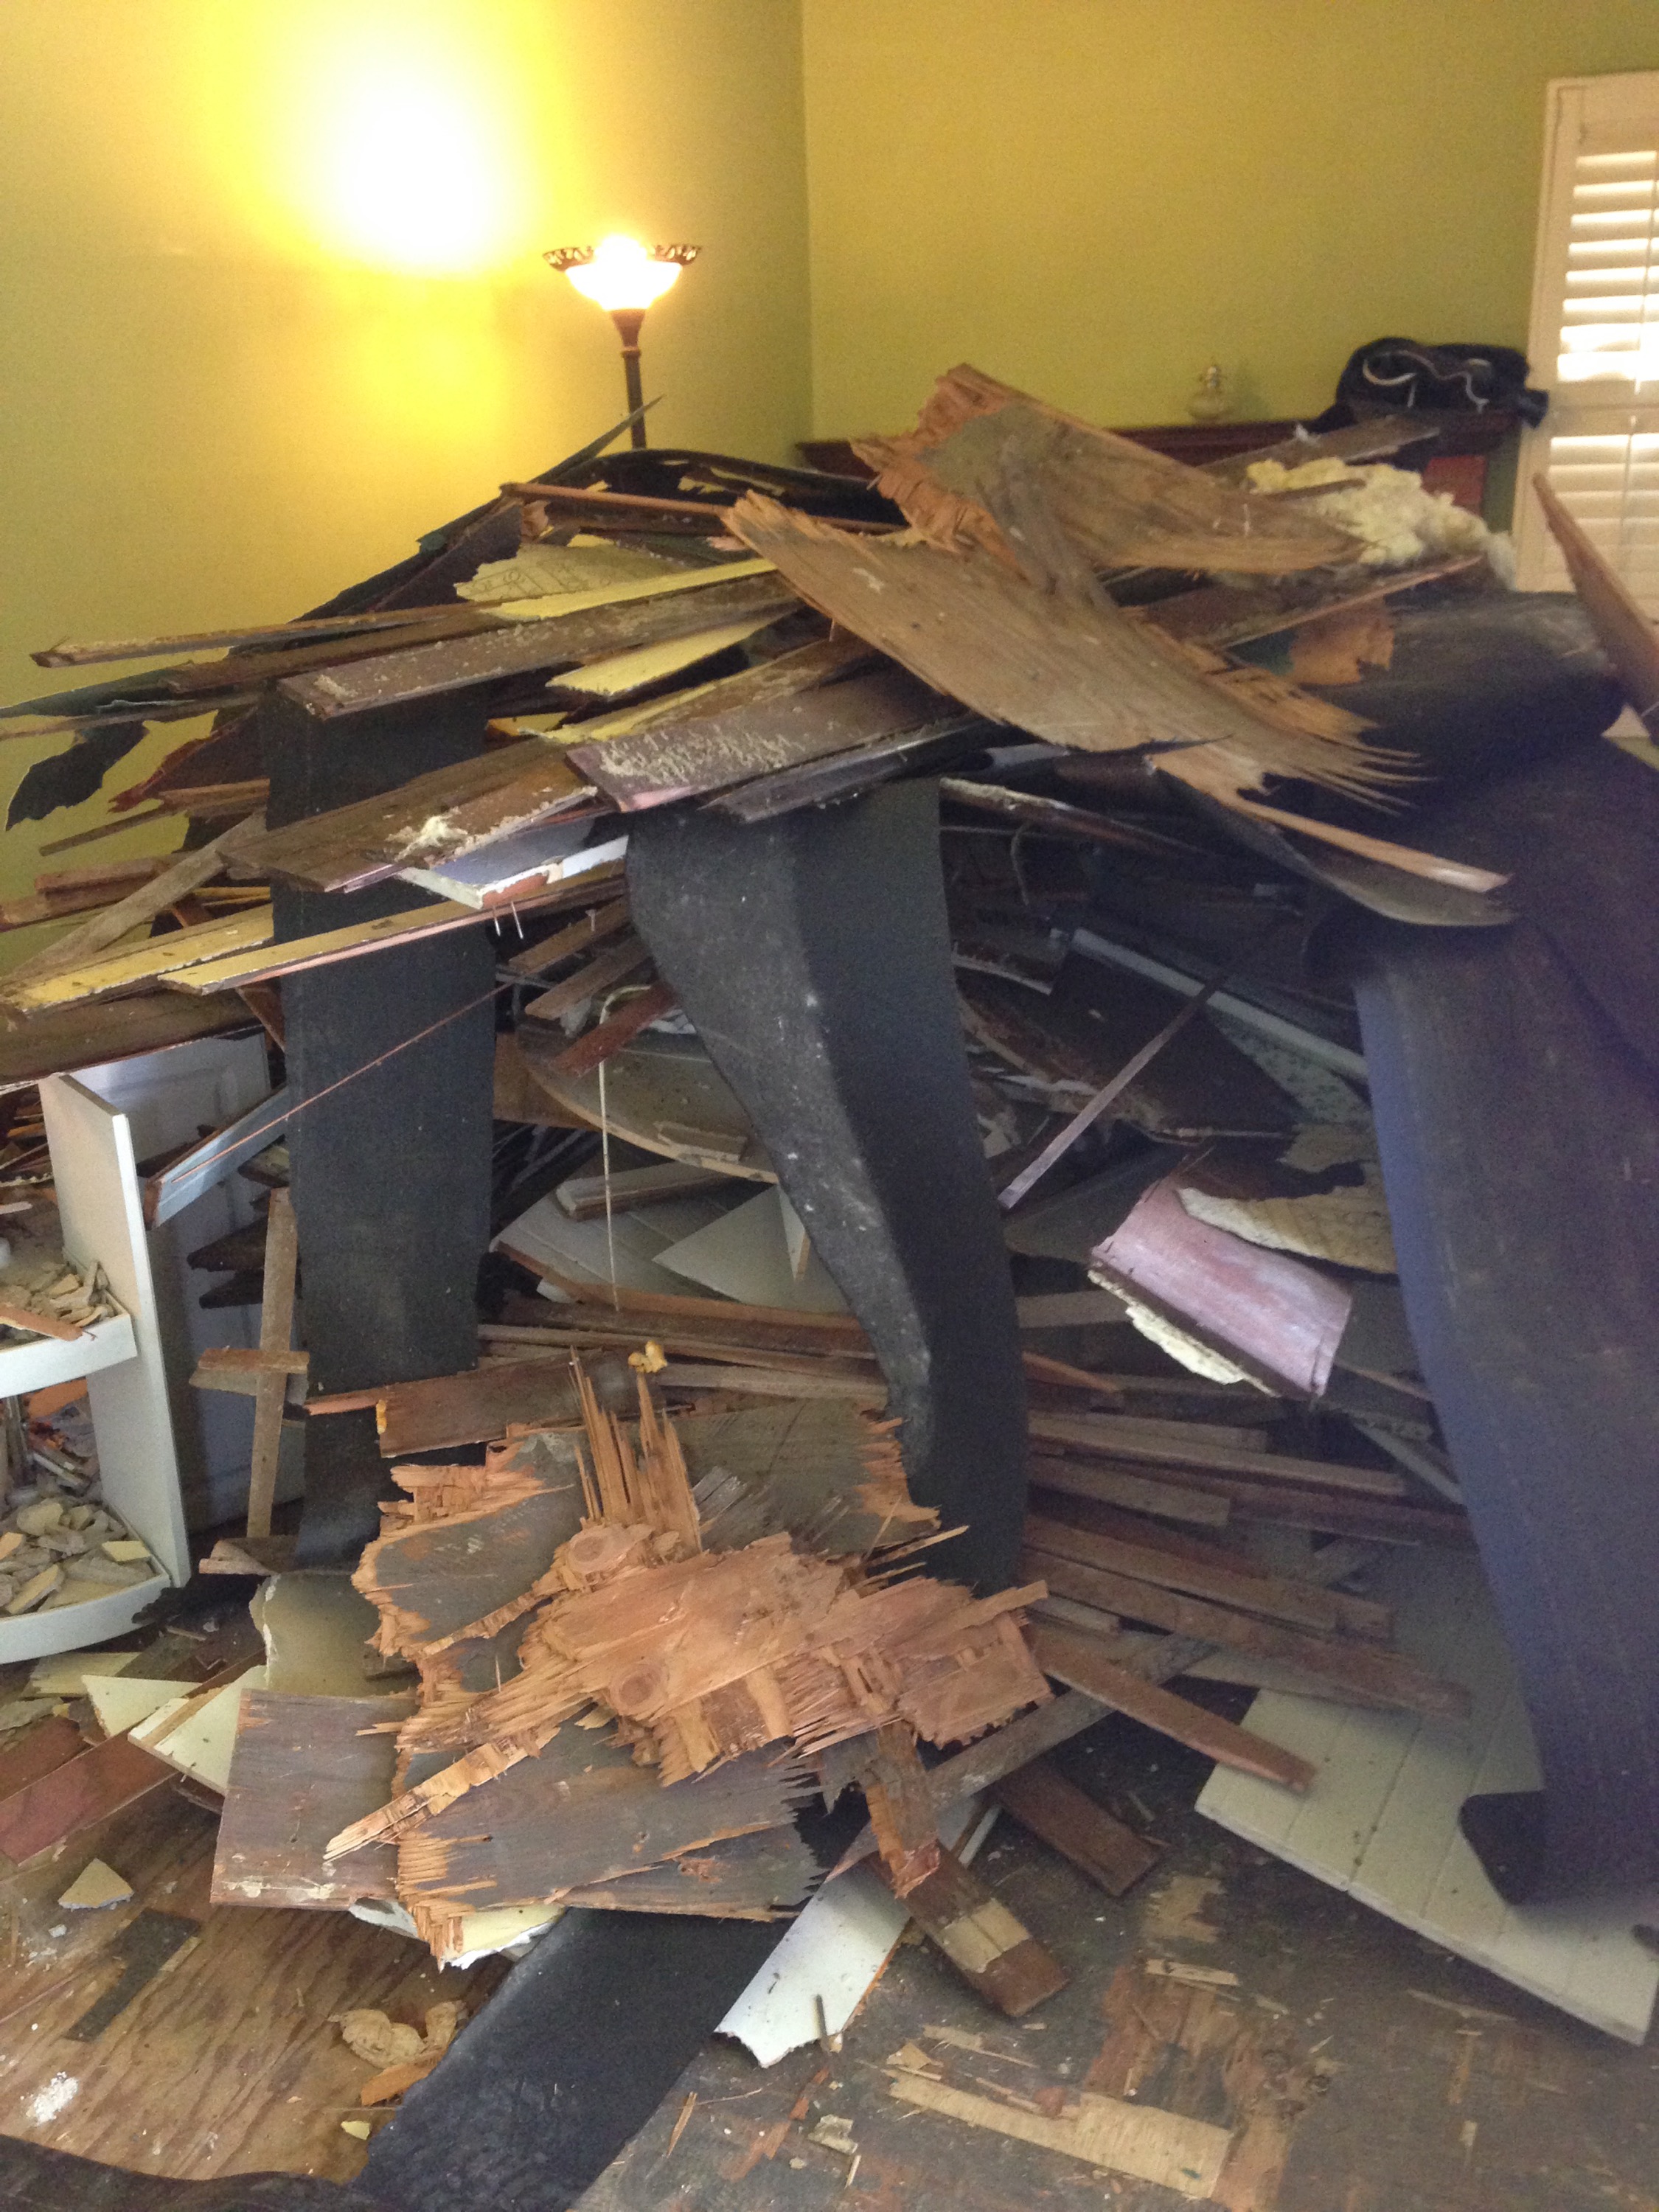
Does this stress you out like it did me?

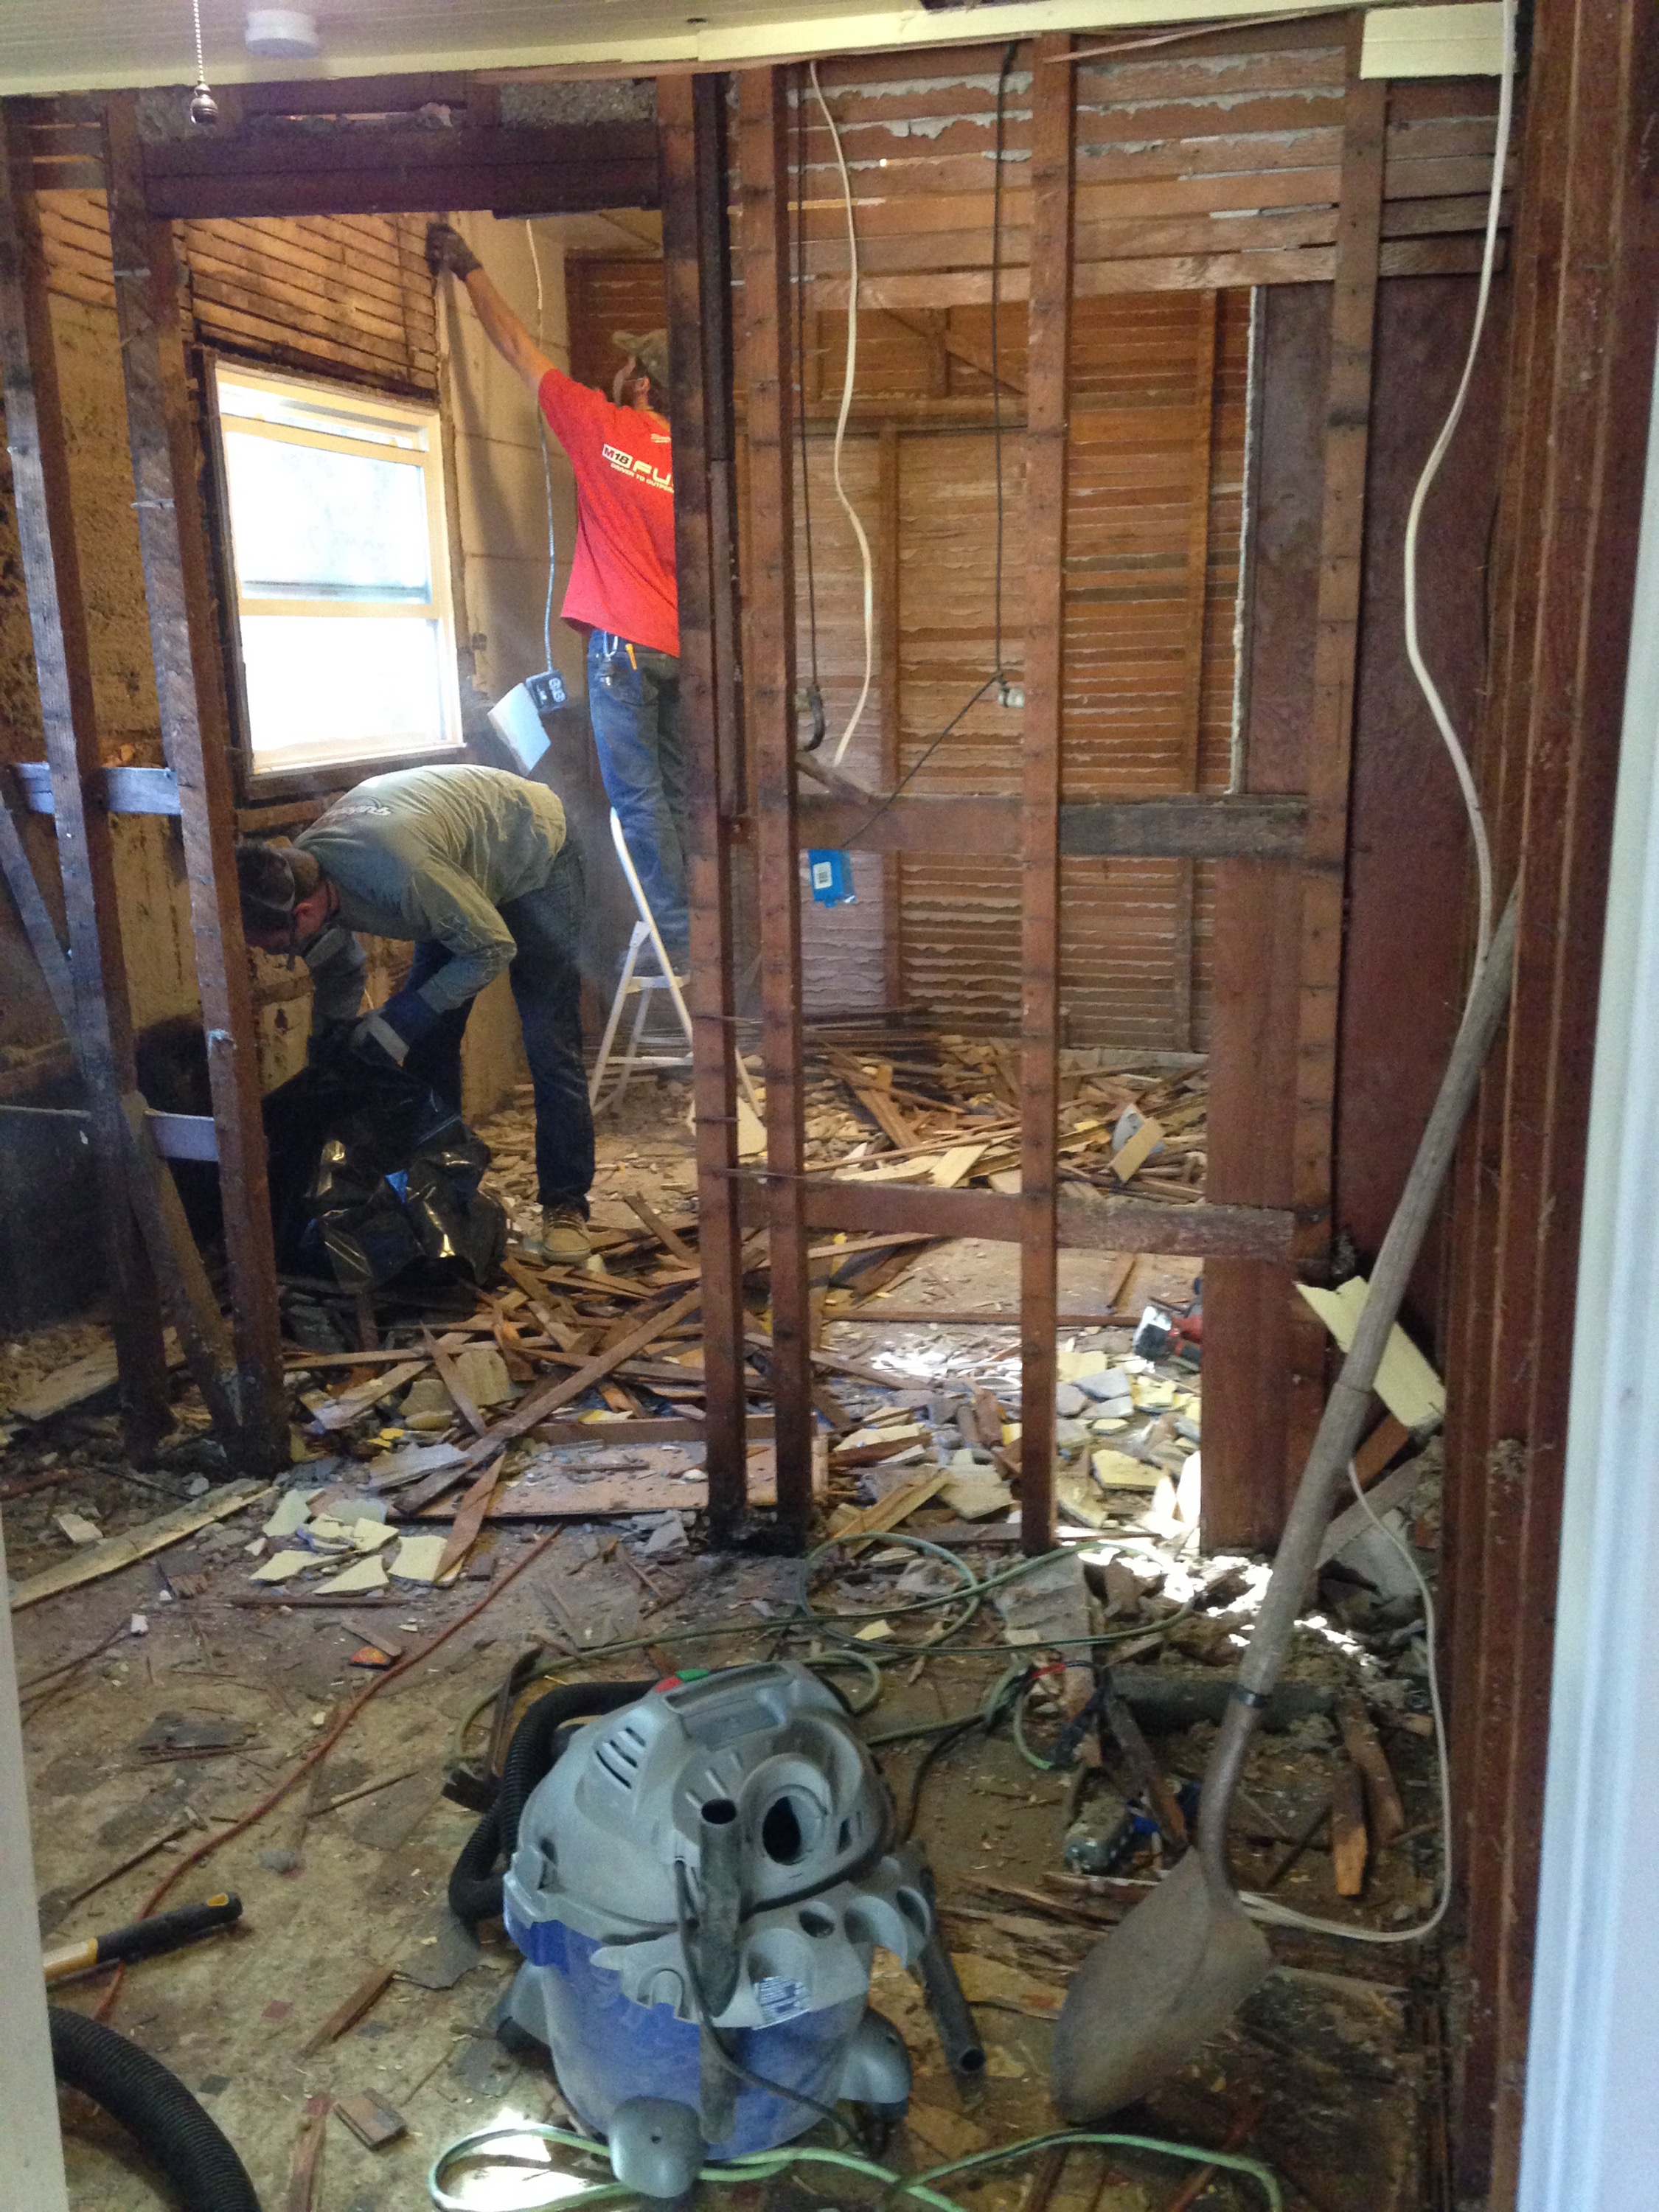
Goodbye kitchen walls!
Thanks Dan and Jason!
No more kitchen or mudroom
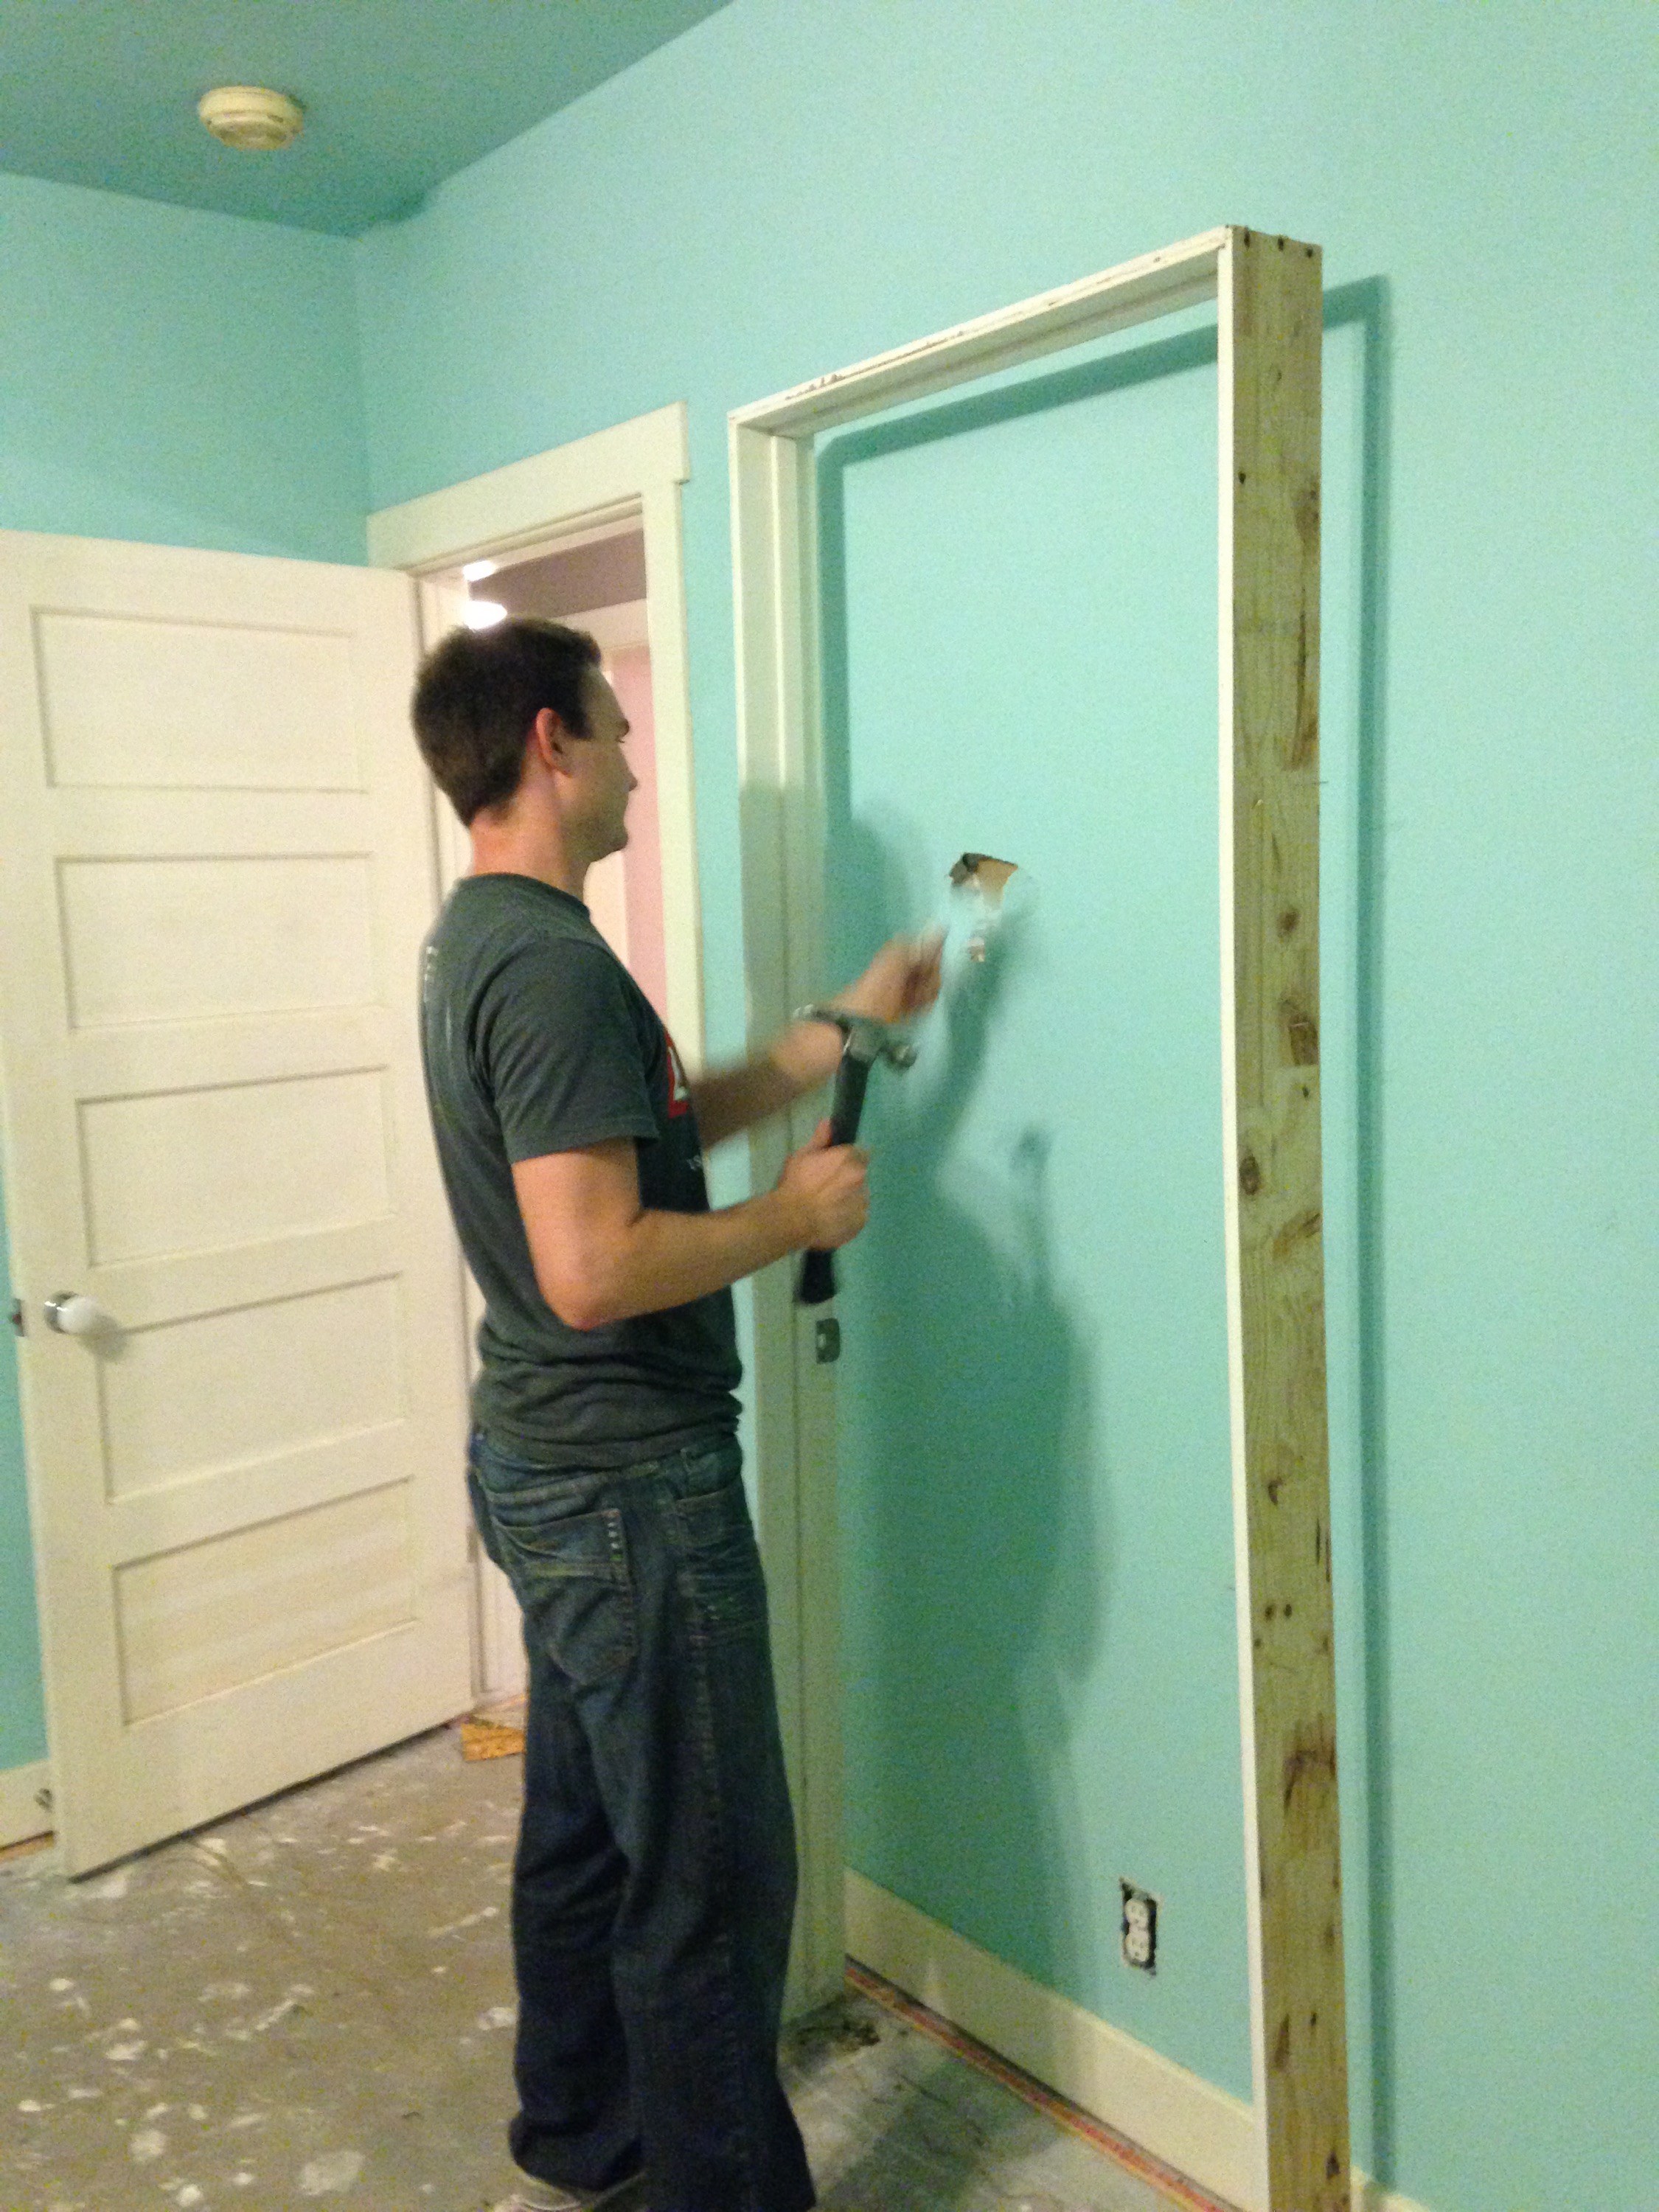
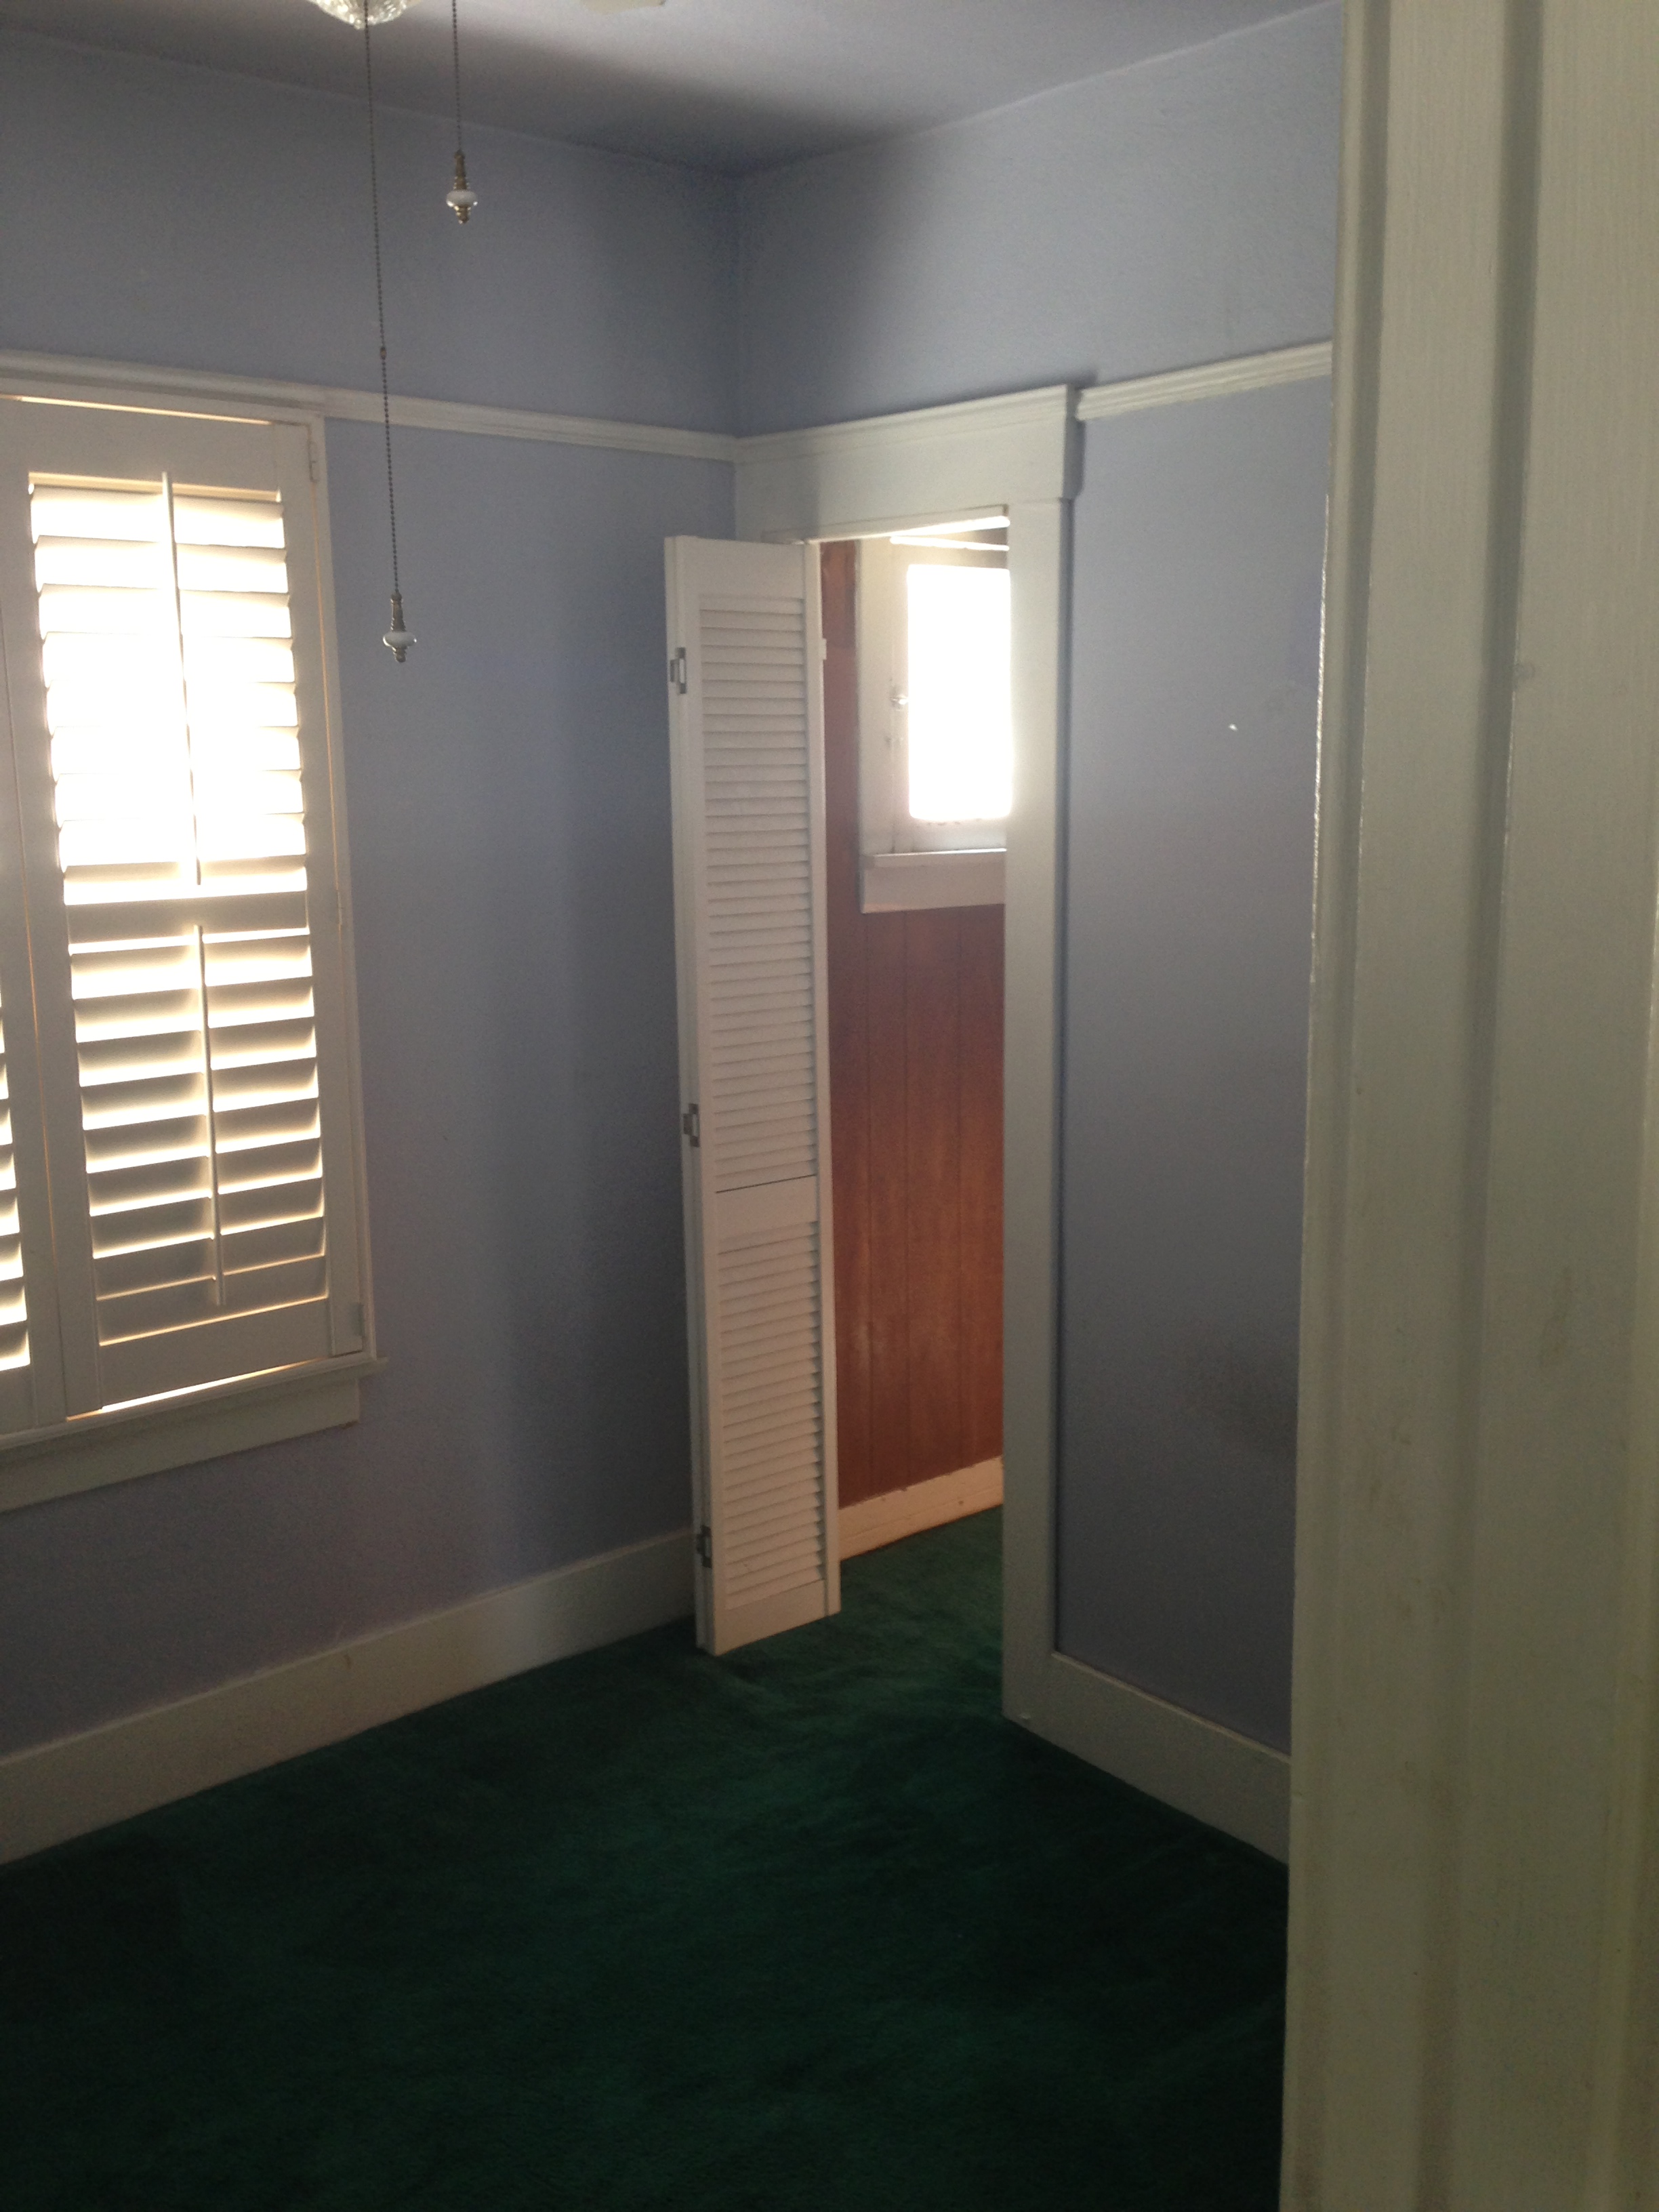
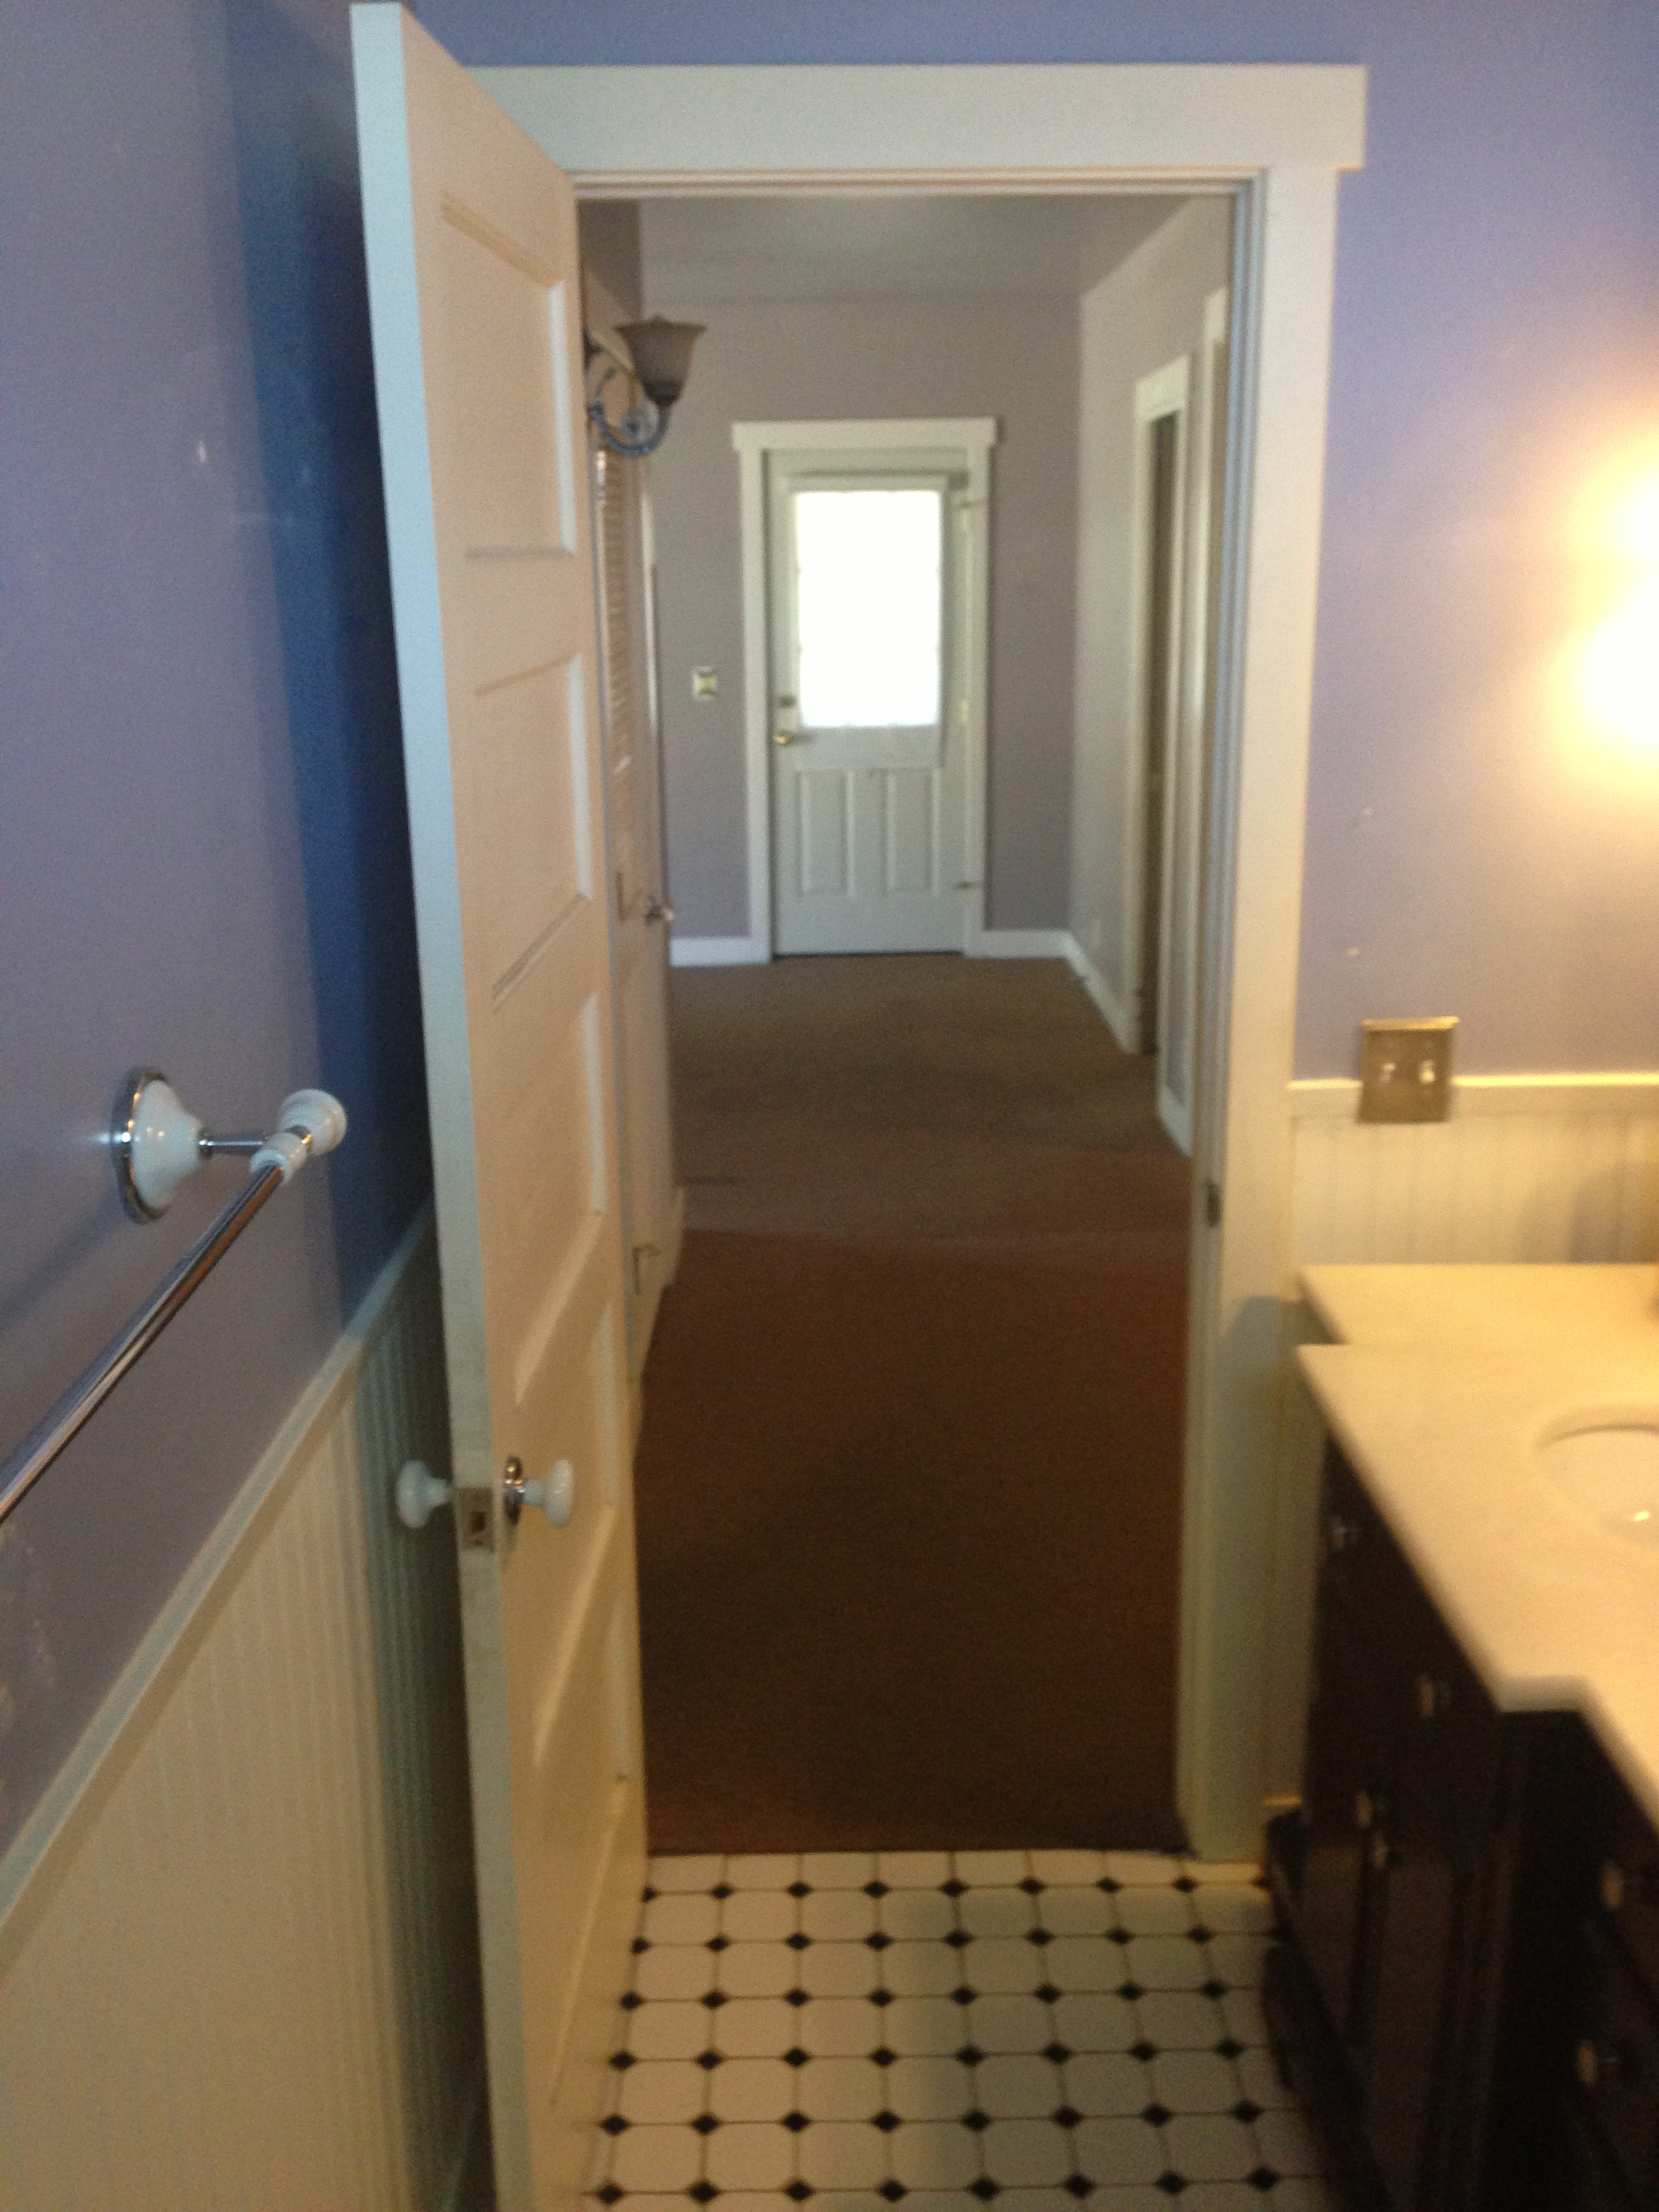
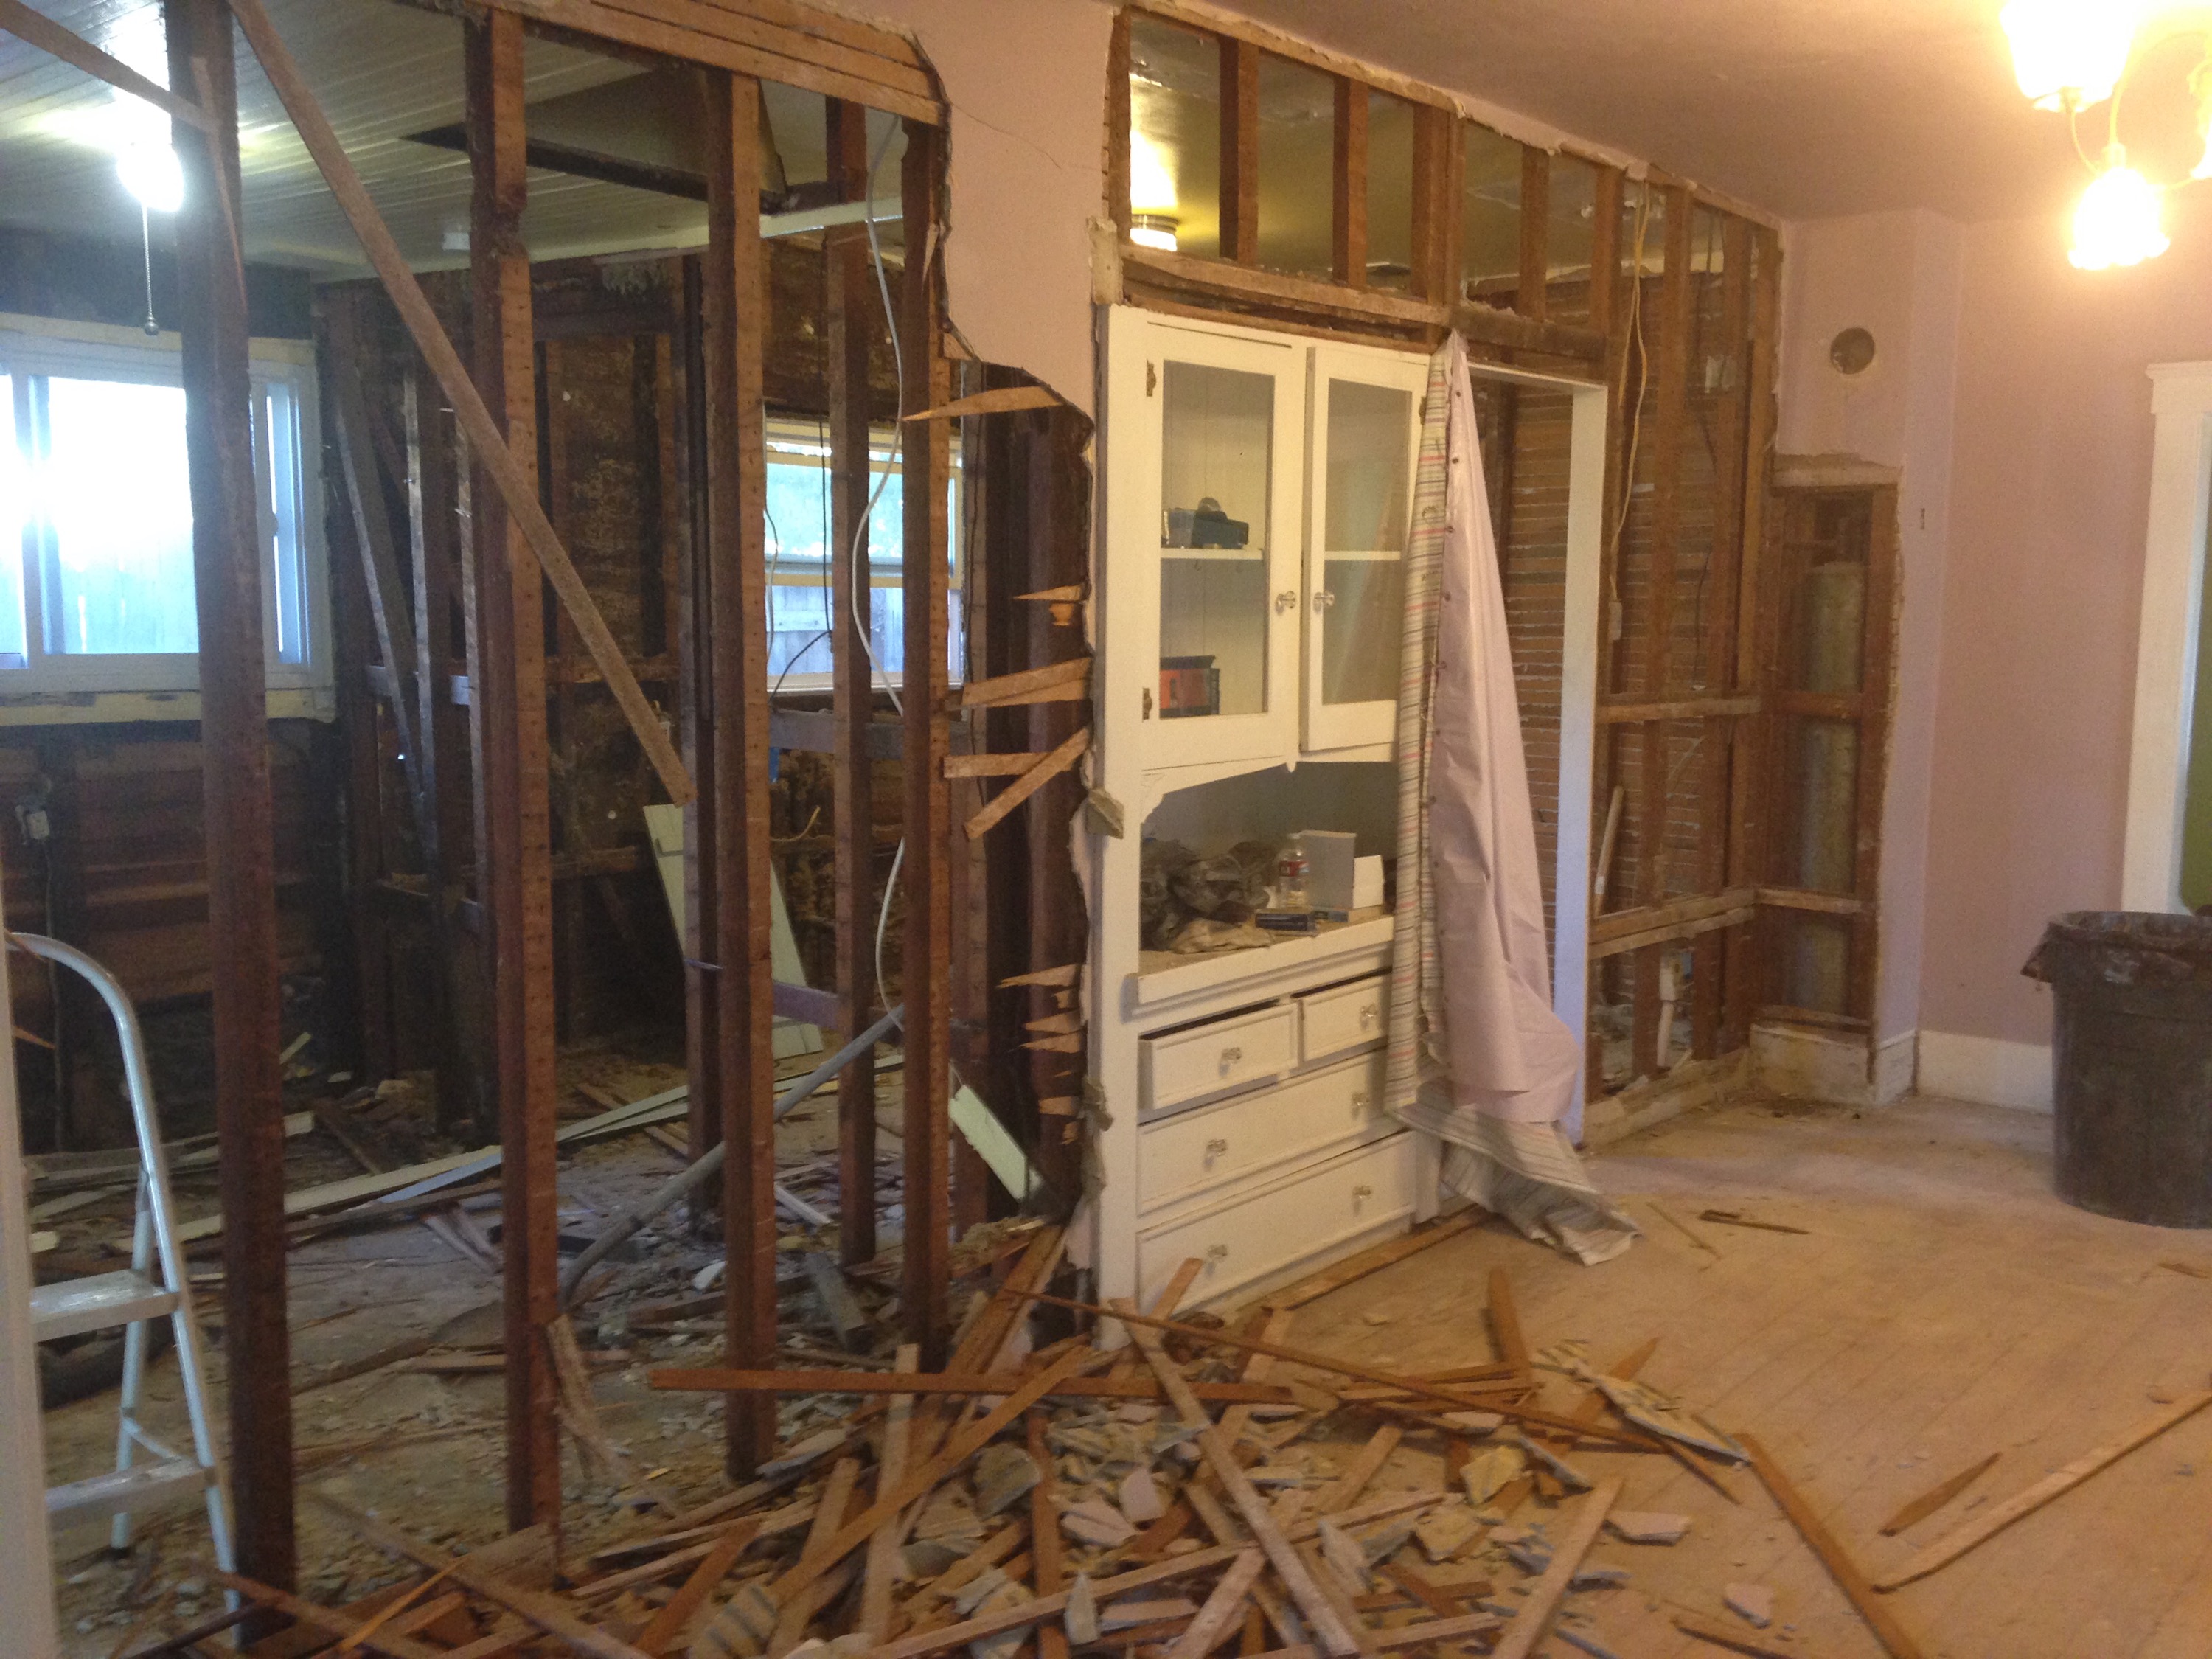
Soon to be a pocket door in between the master bedroom and bathroom.
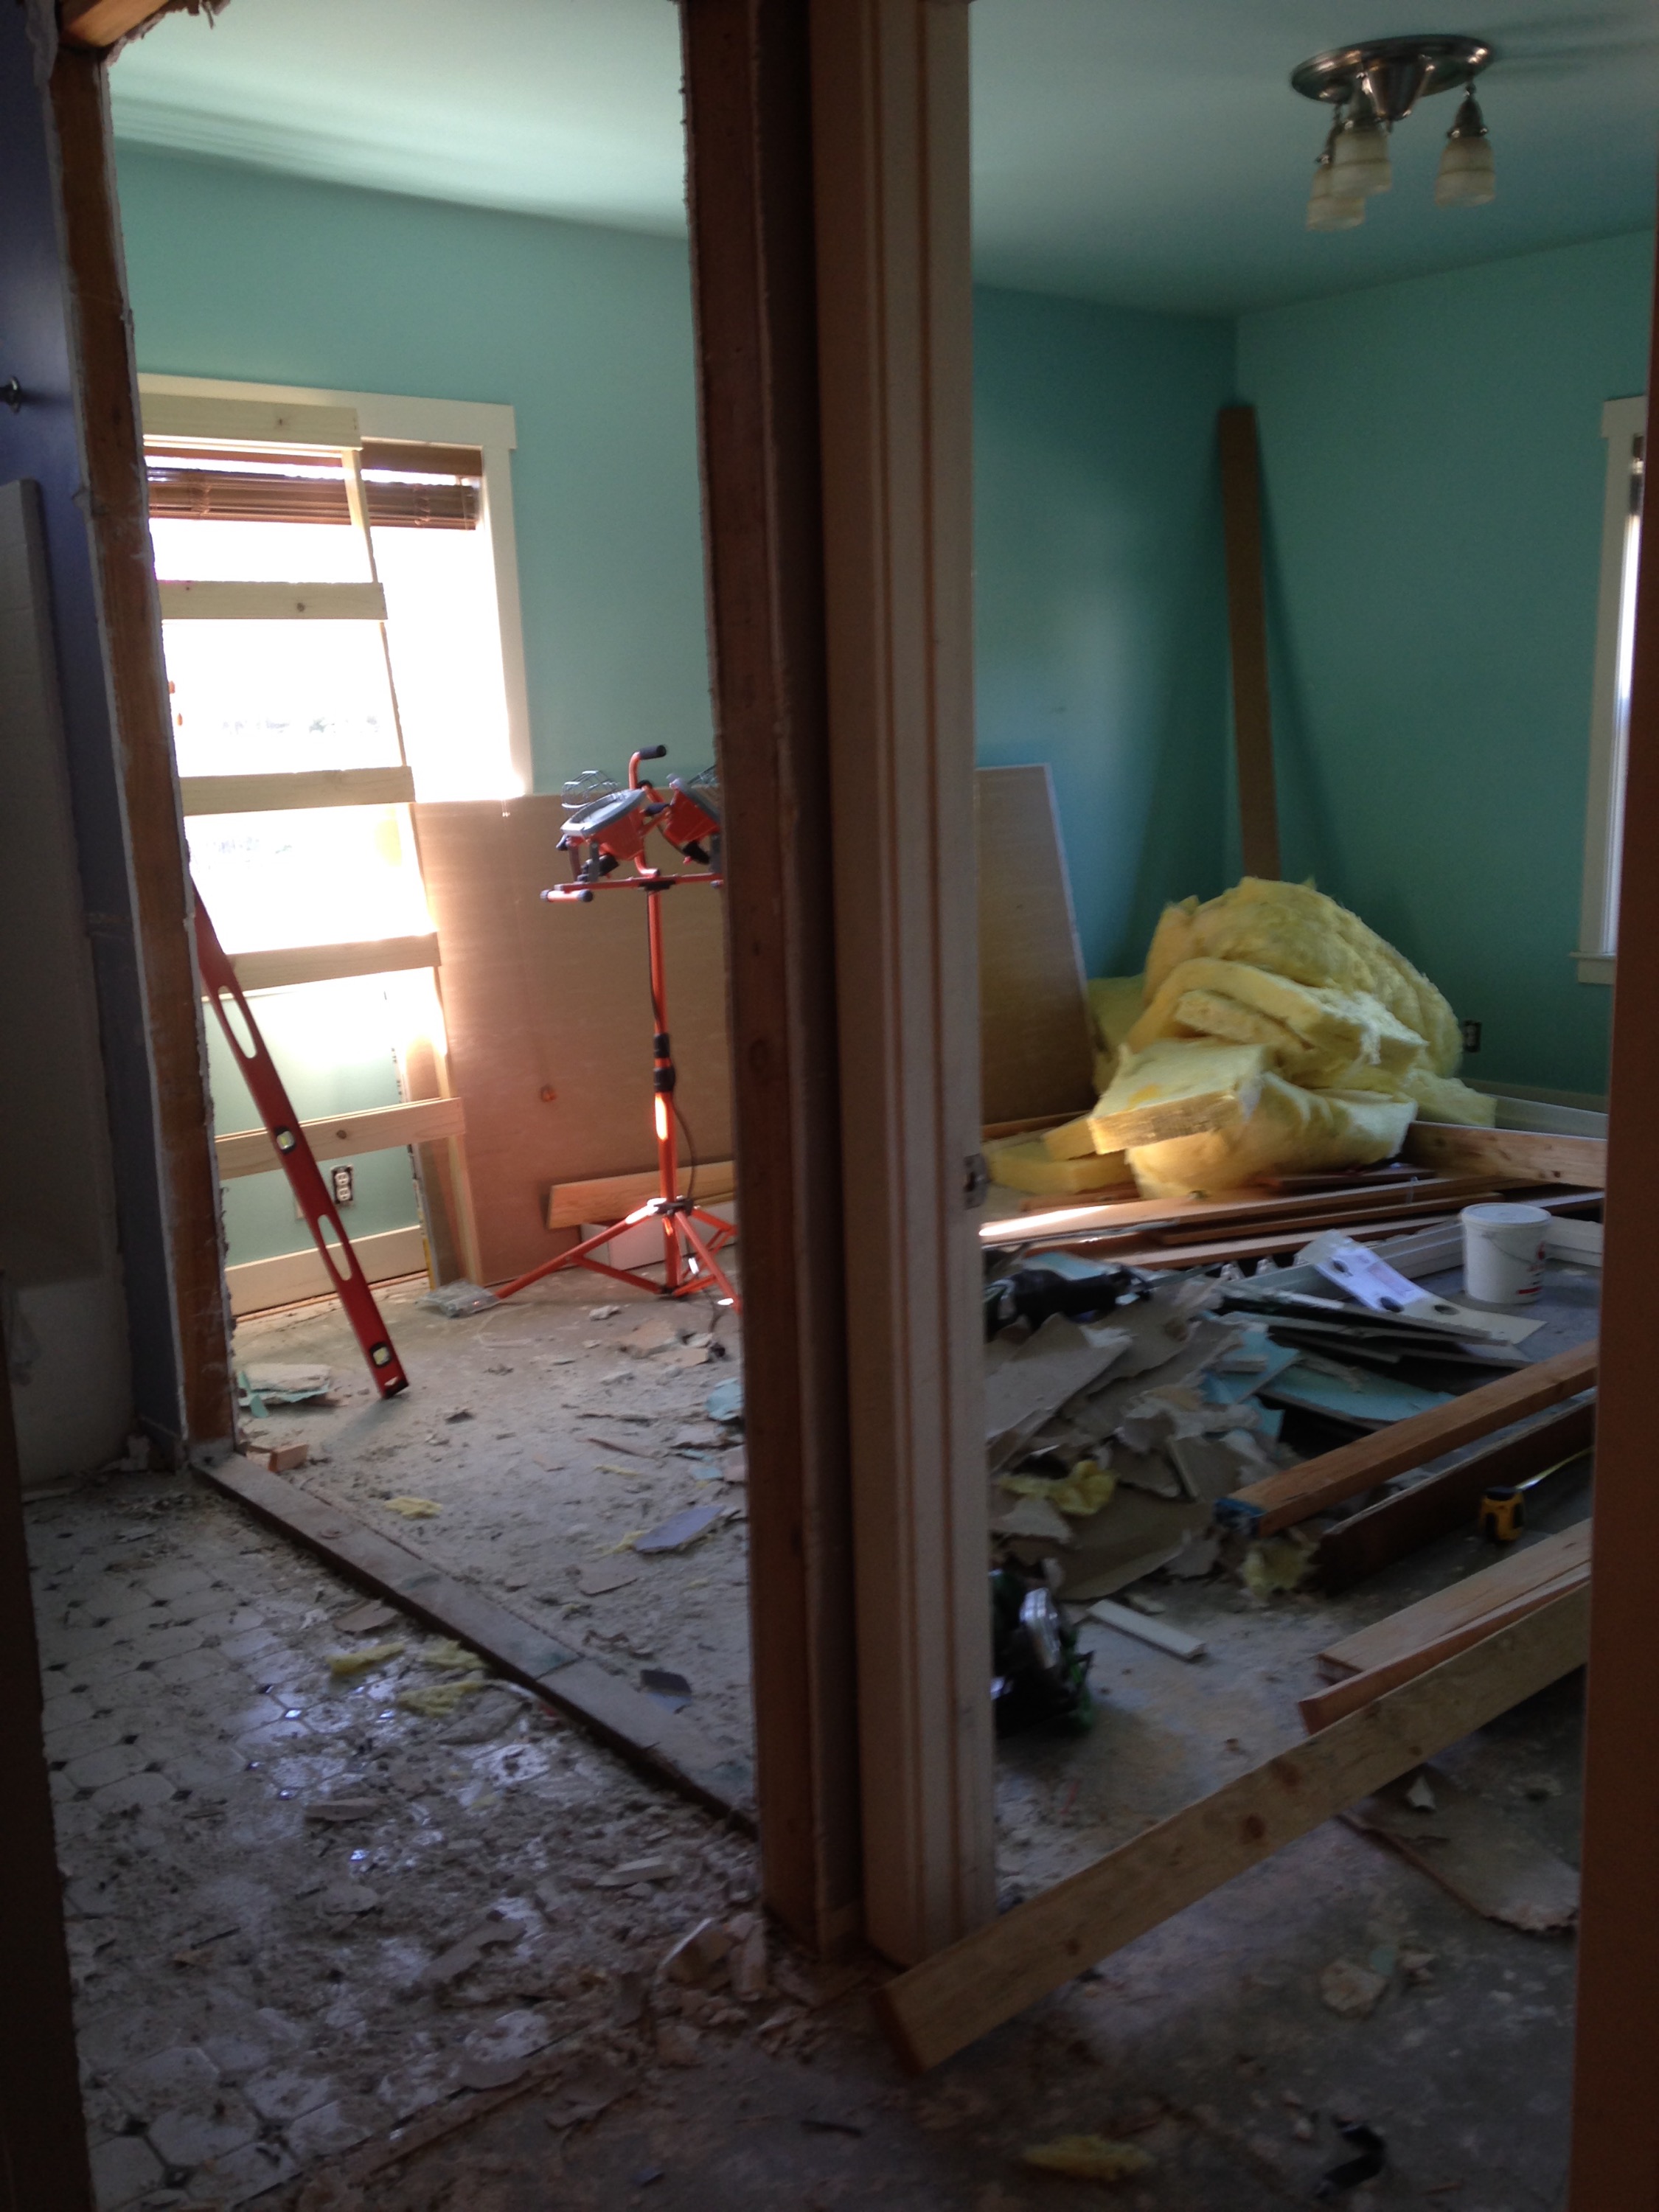
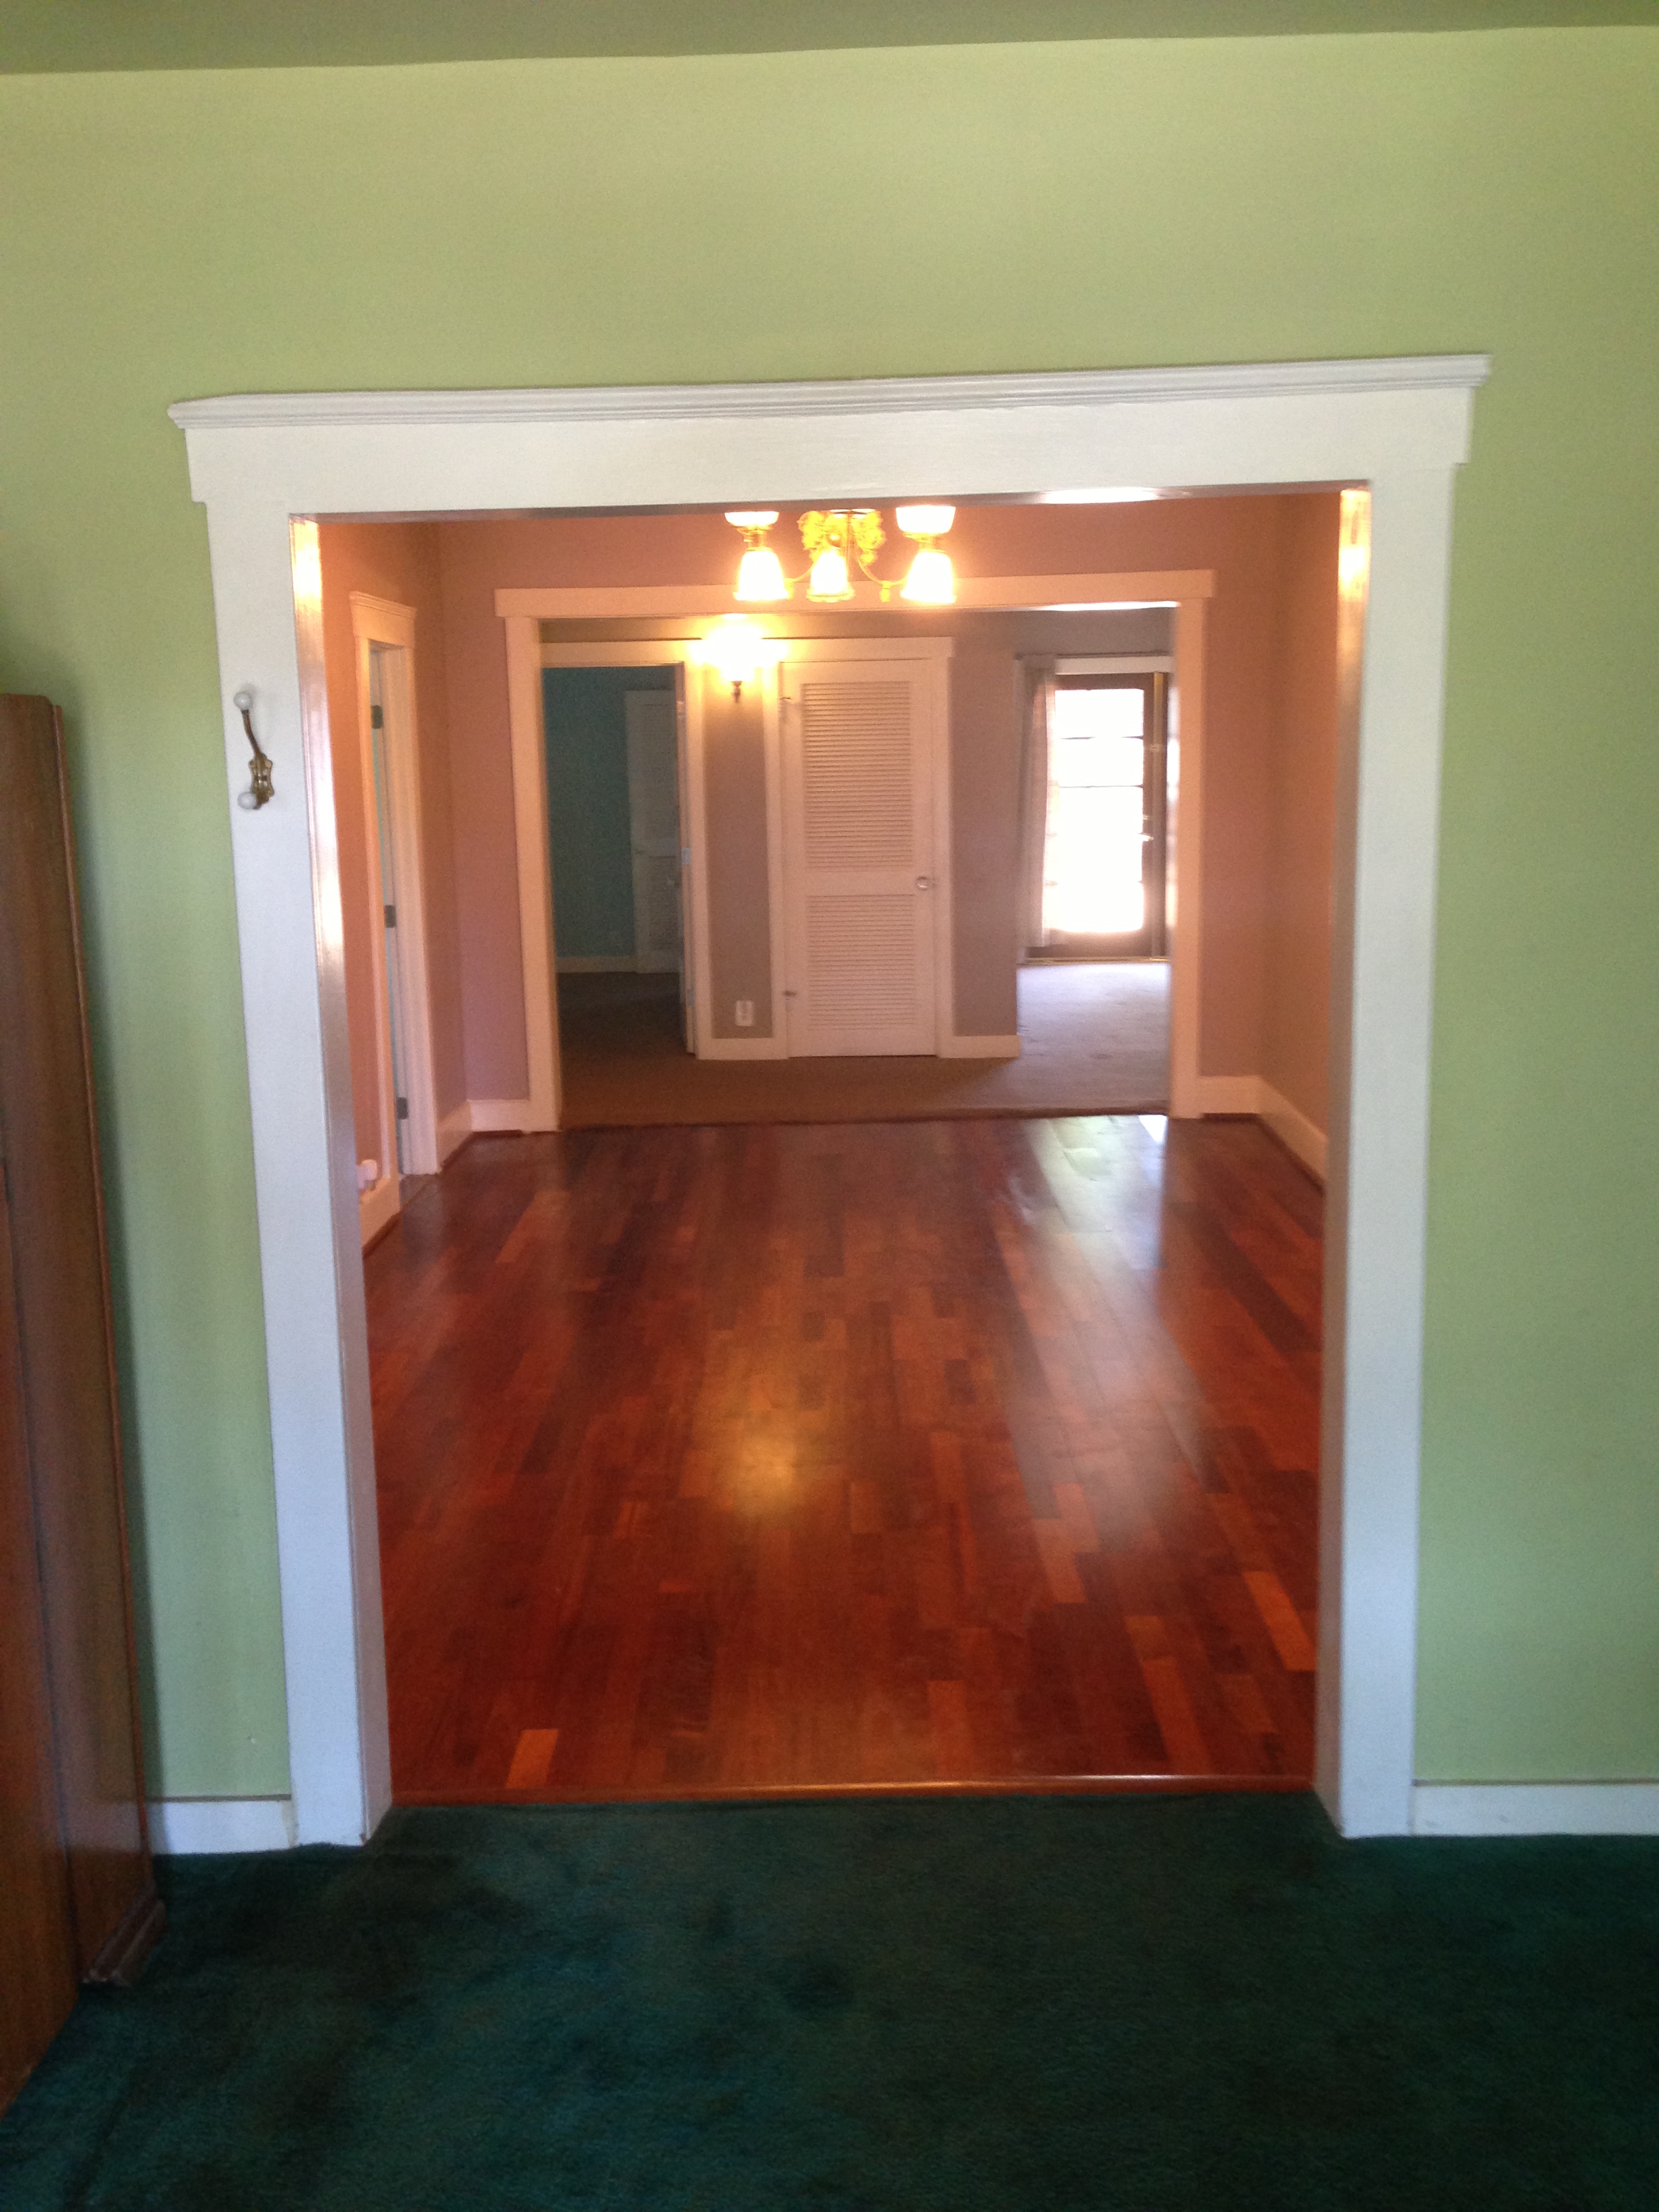
No more walls! Looking from the dining room into master bedroom.

Nice open concept eh?
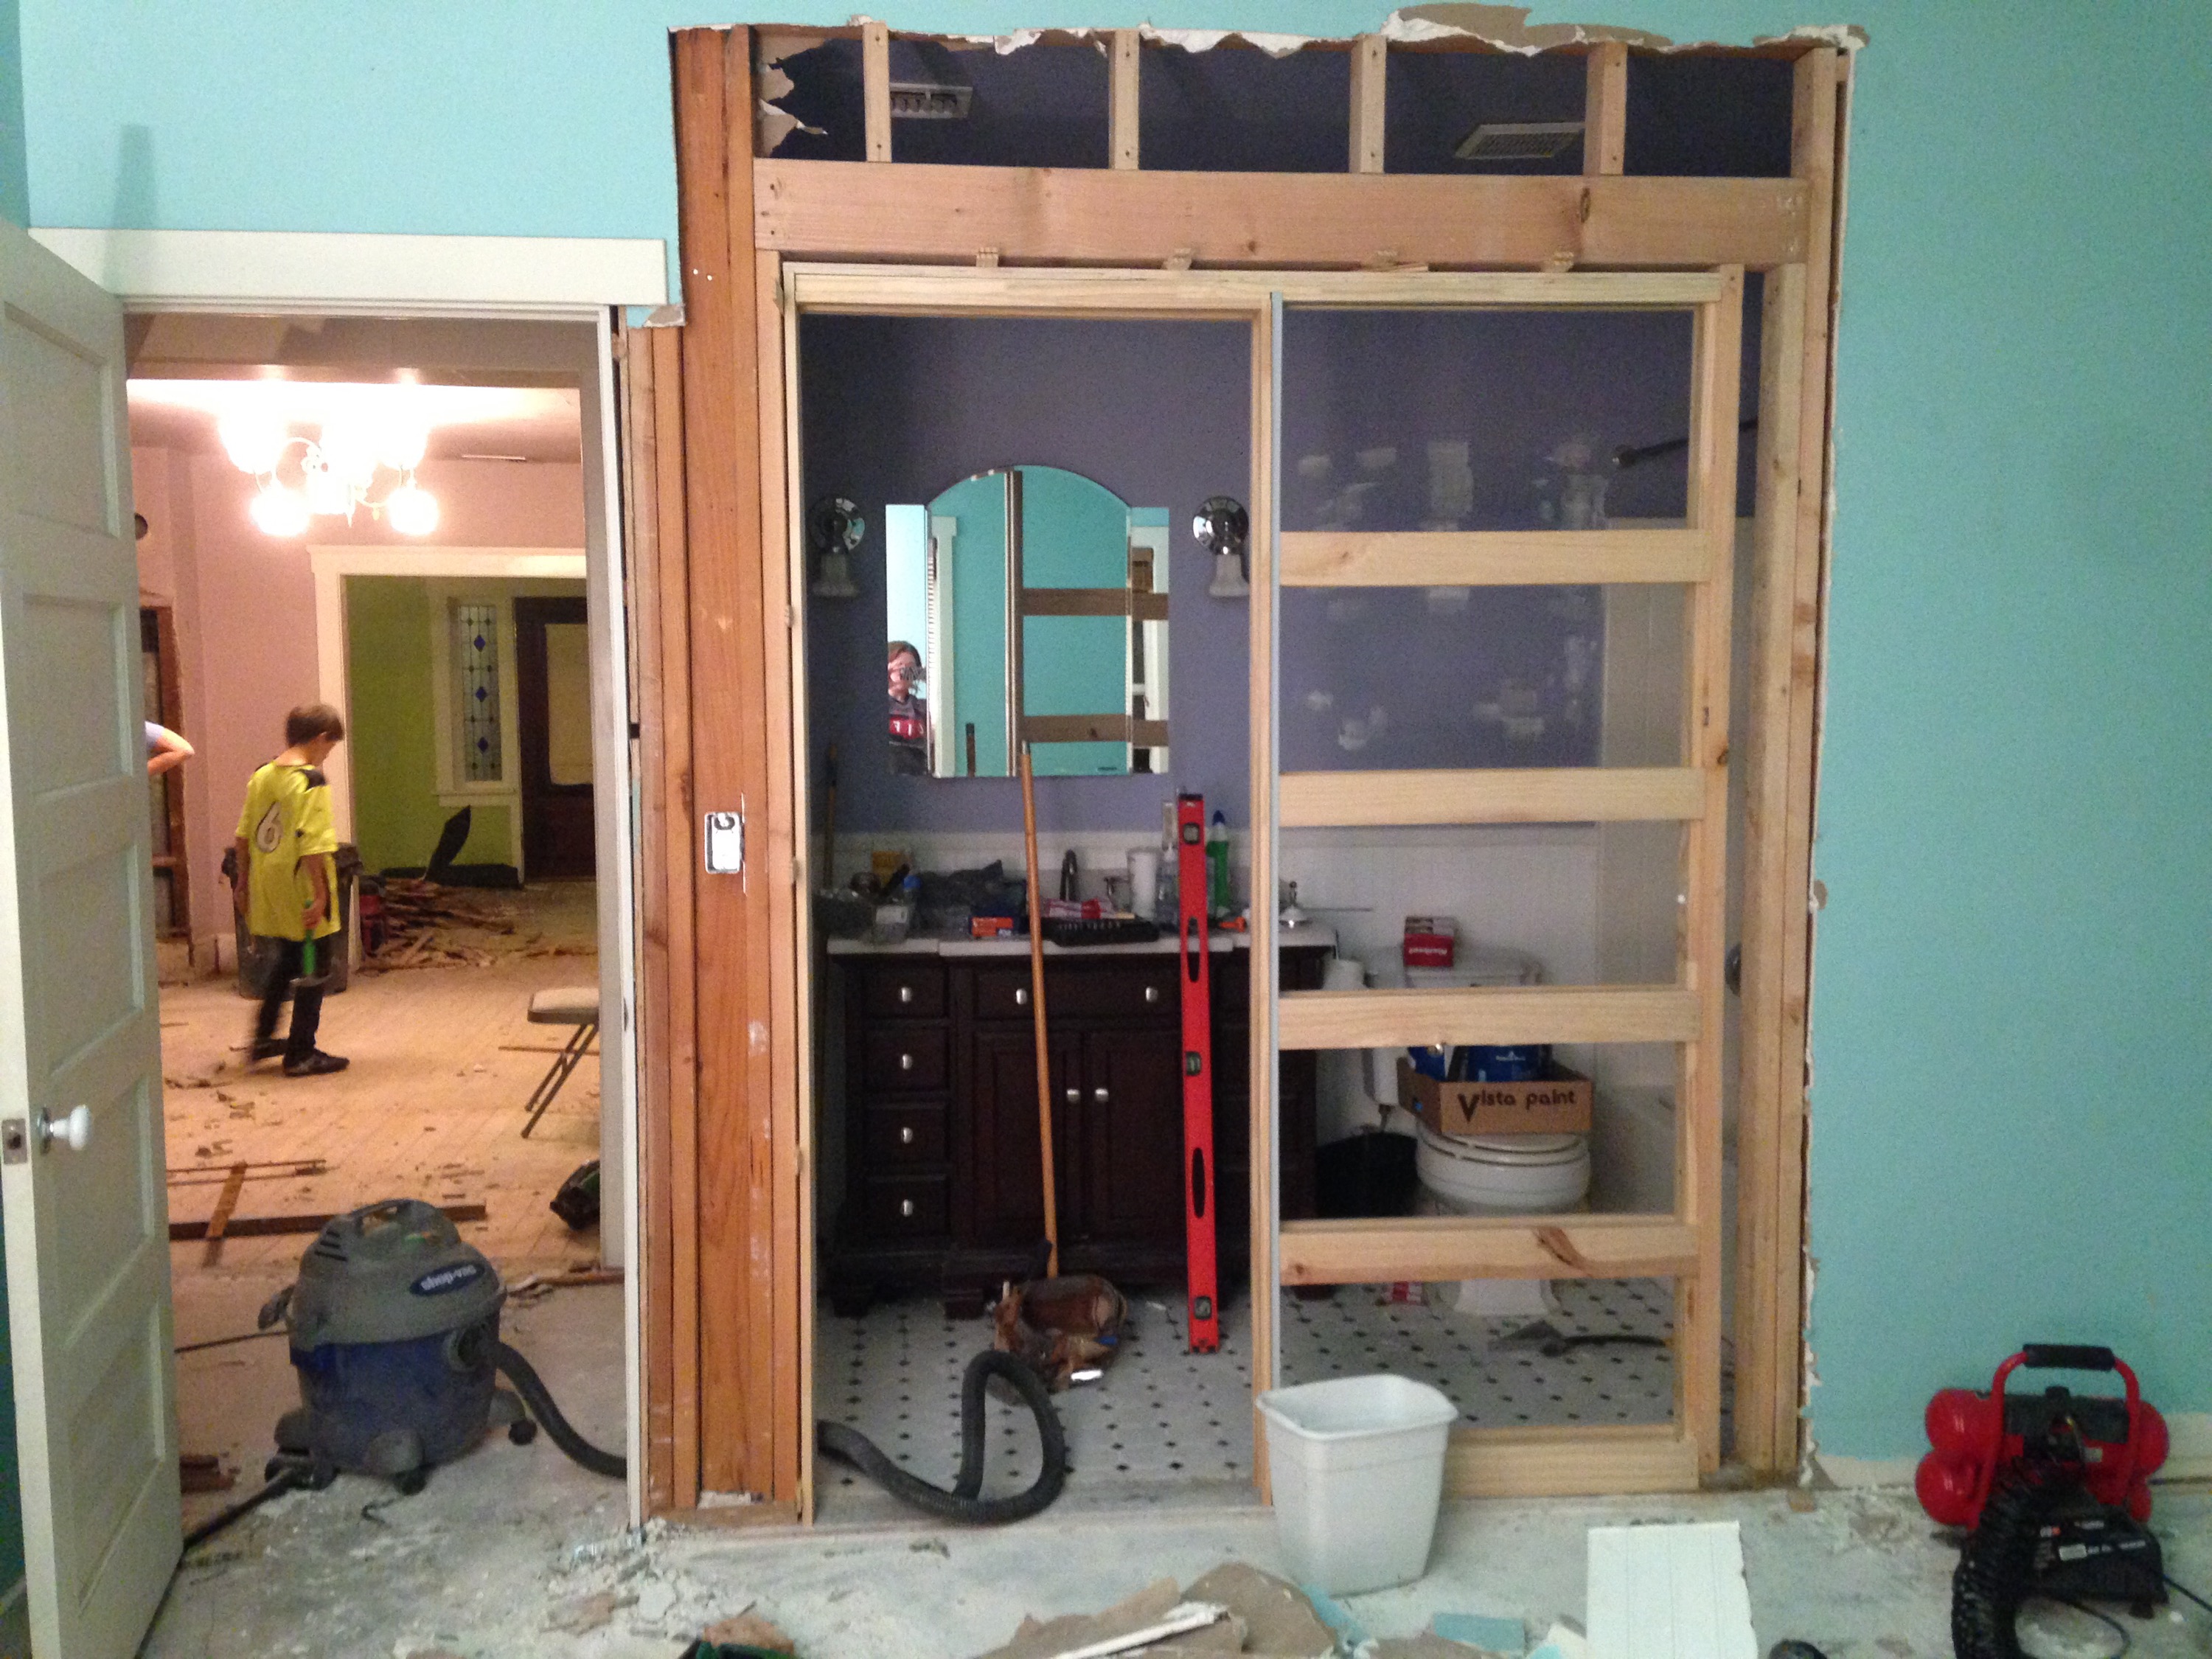
In just one day, Kevin and the guys ripped out the wall and put in the pocket door frame!
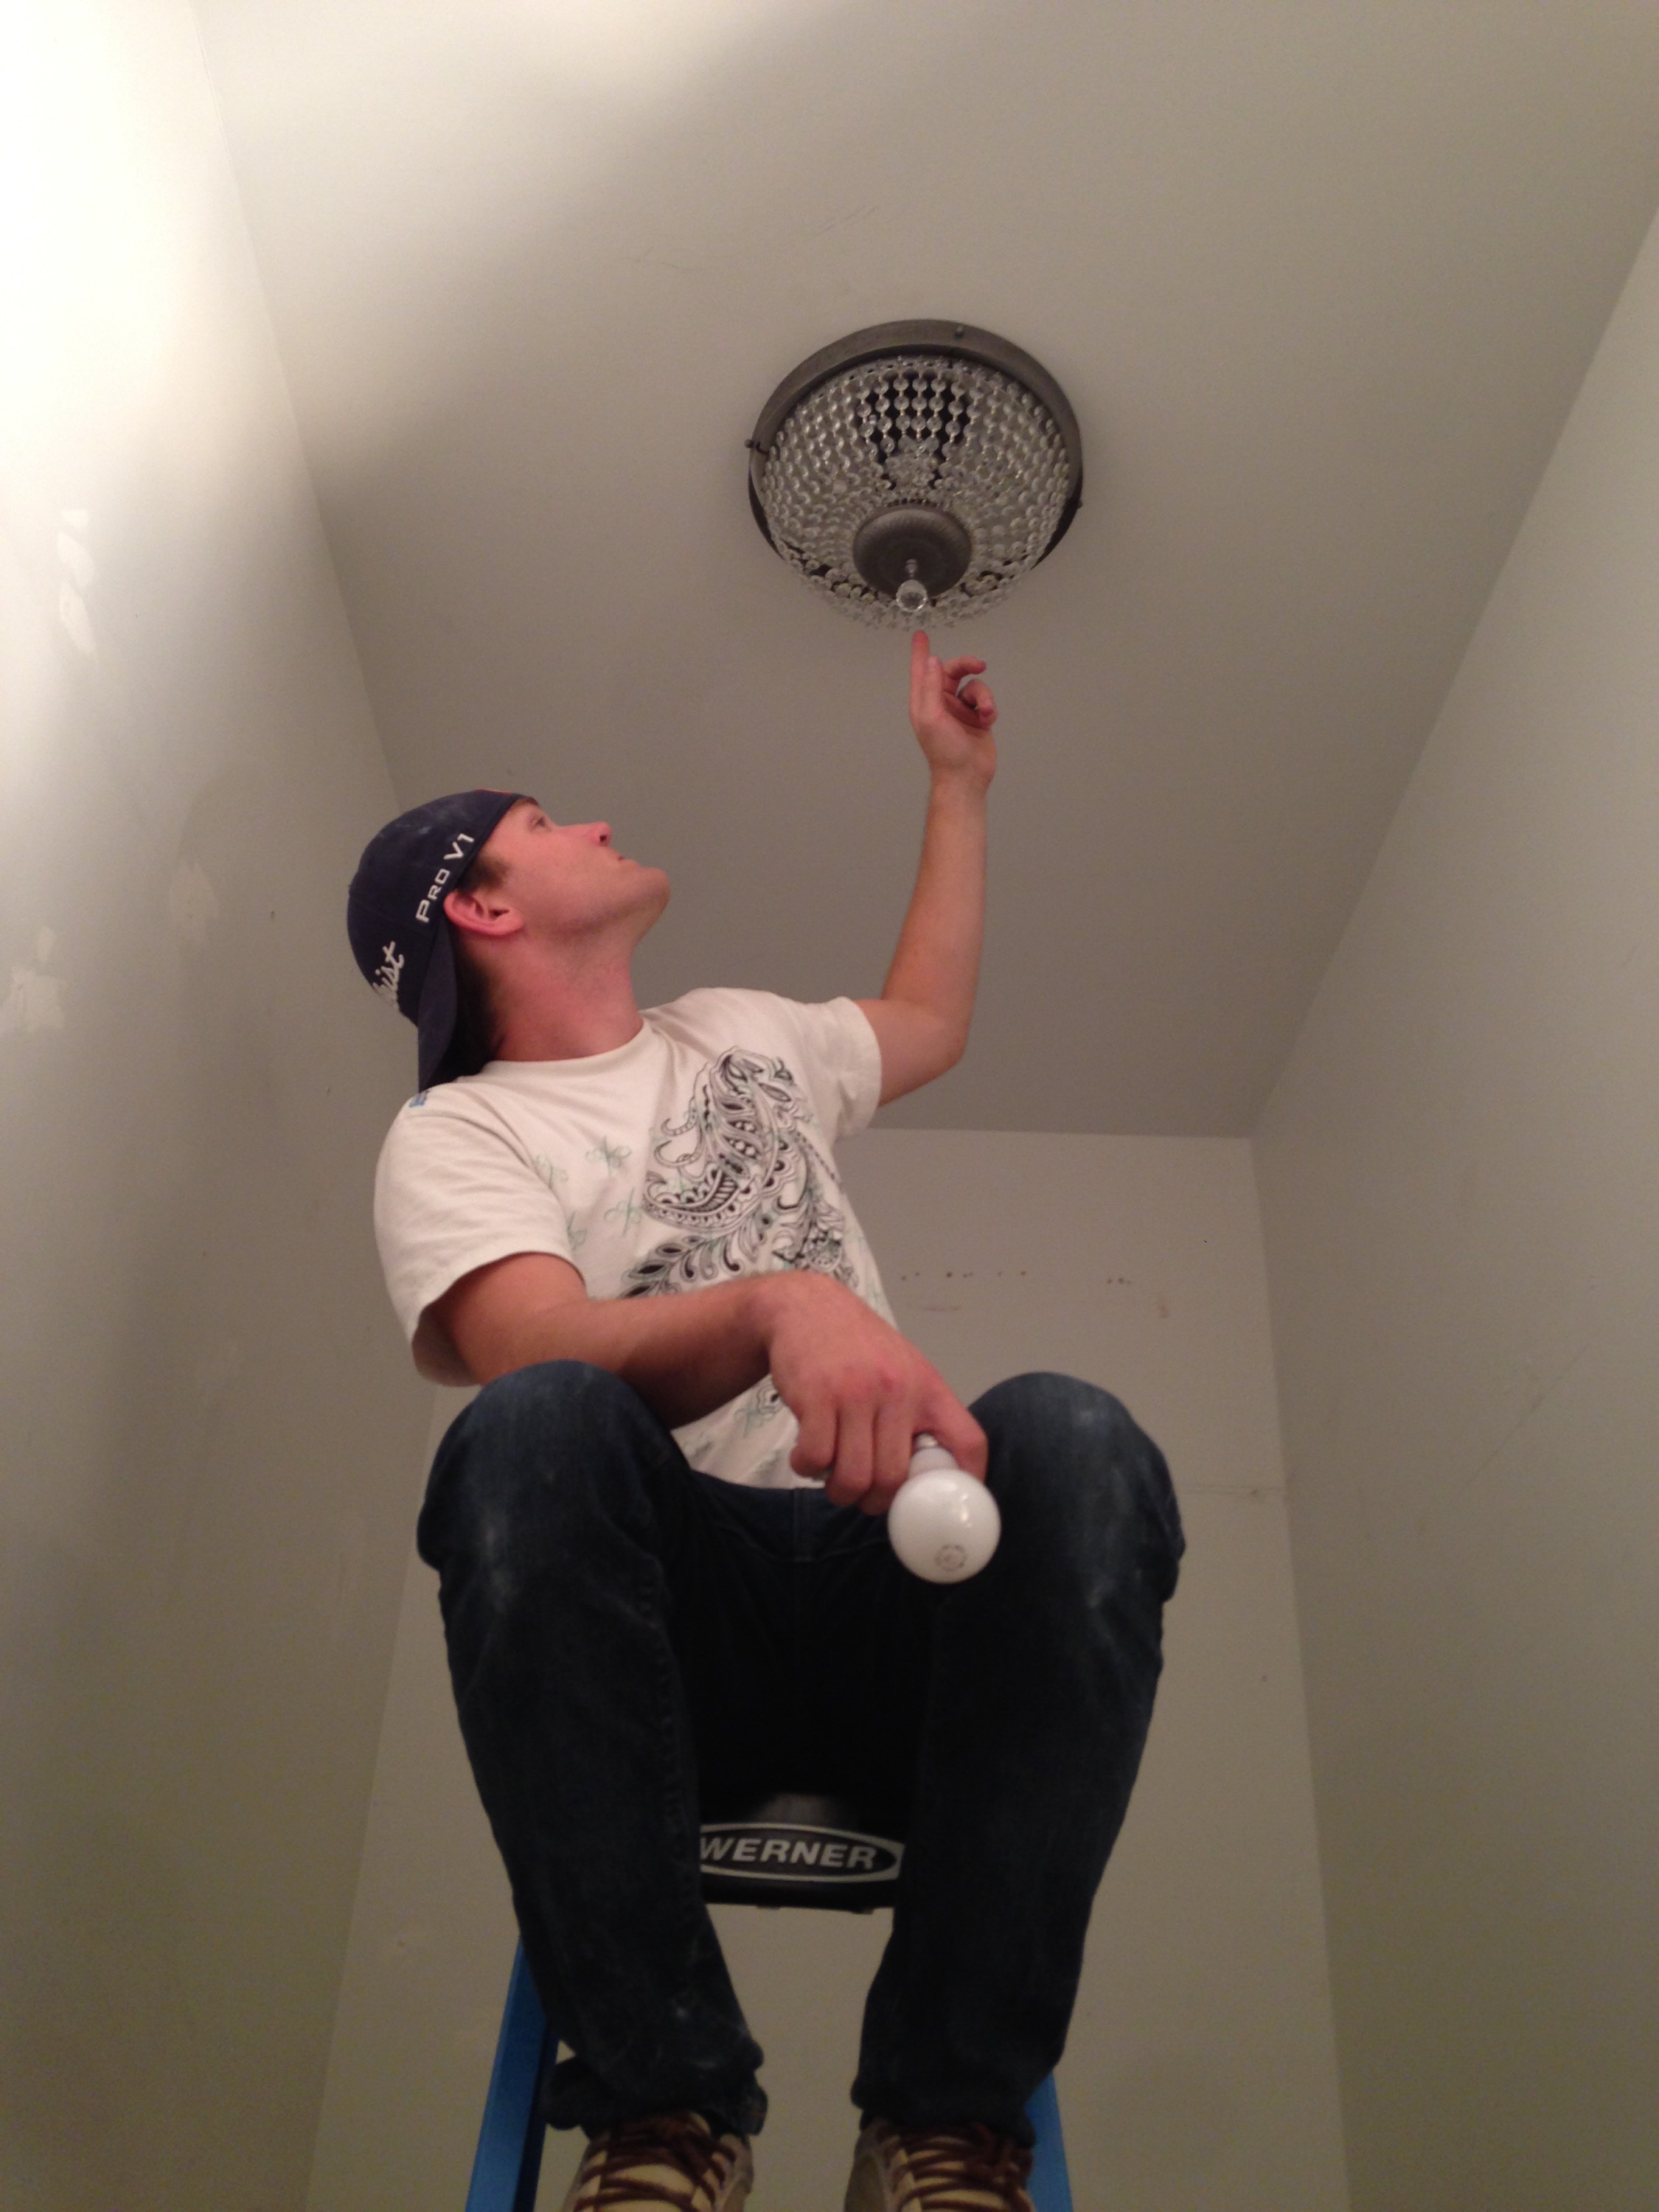
Removed the plywood shelving in the master closet and installed this beautiful light!
HELPERS: Jason, Dan, Matt Baker, Steve DuBransky, Monica, Whitney, Mom U., Dad R., Caleb, and Jake
VISITORS: Heidi, Grandpa & Loretta, Dad U., Dayna Rychen, Chris Ostos, and Josh & Kelsey