As we anticipated the arrival of baby 2 and the work-from-home opportunity given to me we had to get creative with space we have at home. We have a three bedroom house which currently uses one bedroom as an office (aka a catch-all for things that don’t have a place). We knew that we would need a quiet place to escape and get work done once two kids were running around and we also wanted the boys to have separate bedrooms for the sake of full night sleeps, so we decided to build an office in our garage. This decision was hard to make because it replaced the idea of creating a studio apartment back there that we could possibly rent… it also ate up a bunch of work space for Kevin!
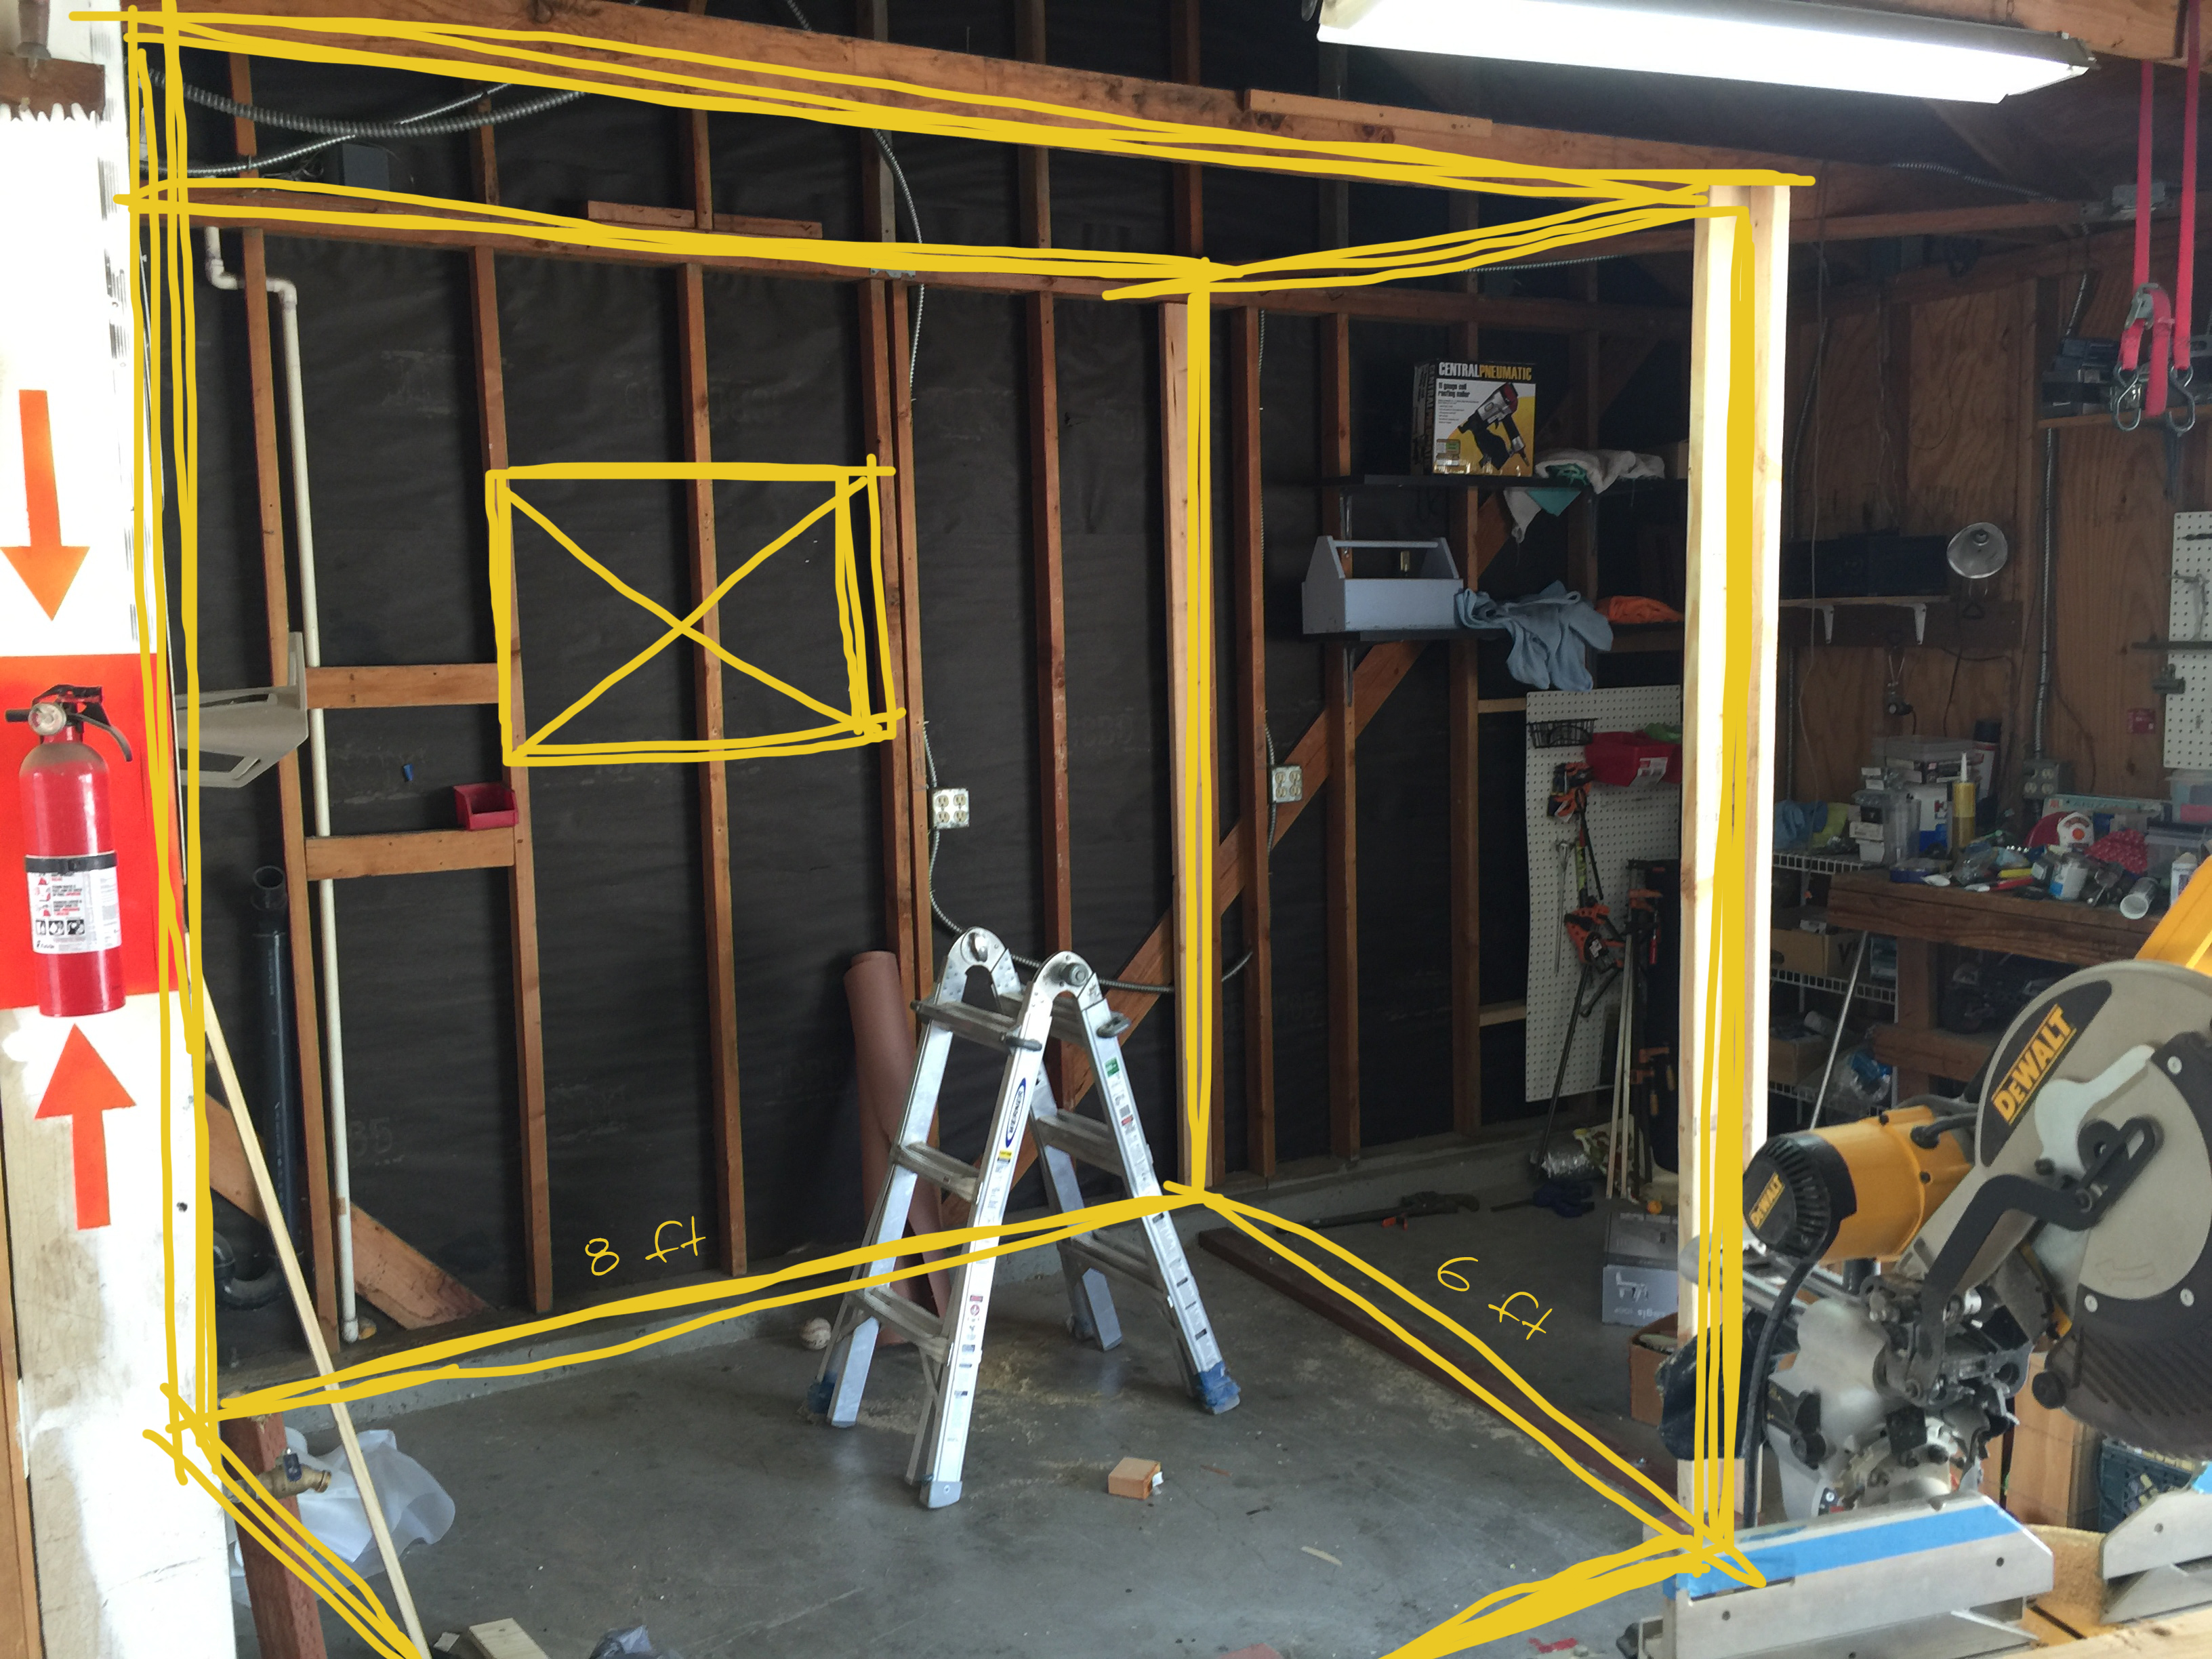
We still wanted to be able to park in the garage, and keep a space on the side for Kevin’s work bench and tools so we didn’t end up with much room… only 48 sq. ft! Adding a window is a MUST!

This garage project includes: fixing up the existing bathroom, creating an office (framing, electrical, drywall, built-in cabinets and desk, flooring) and reorganizing the tool/storage area.
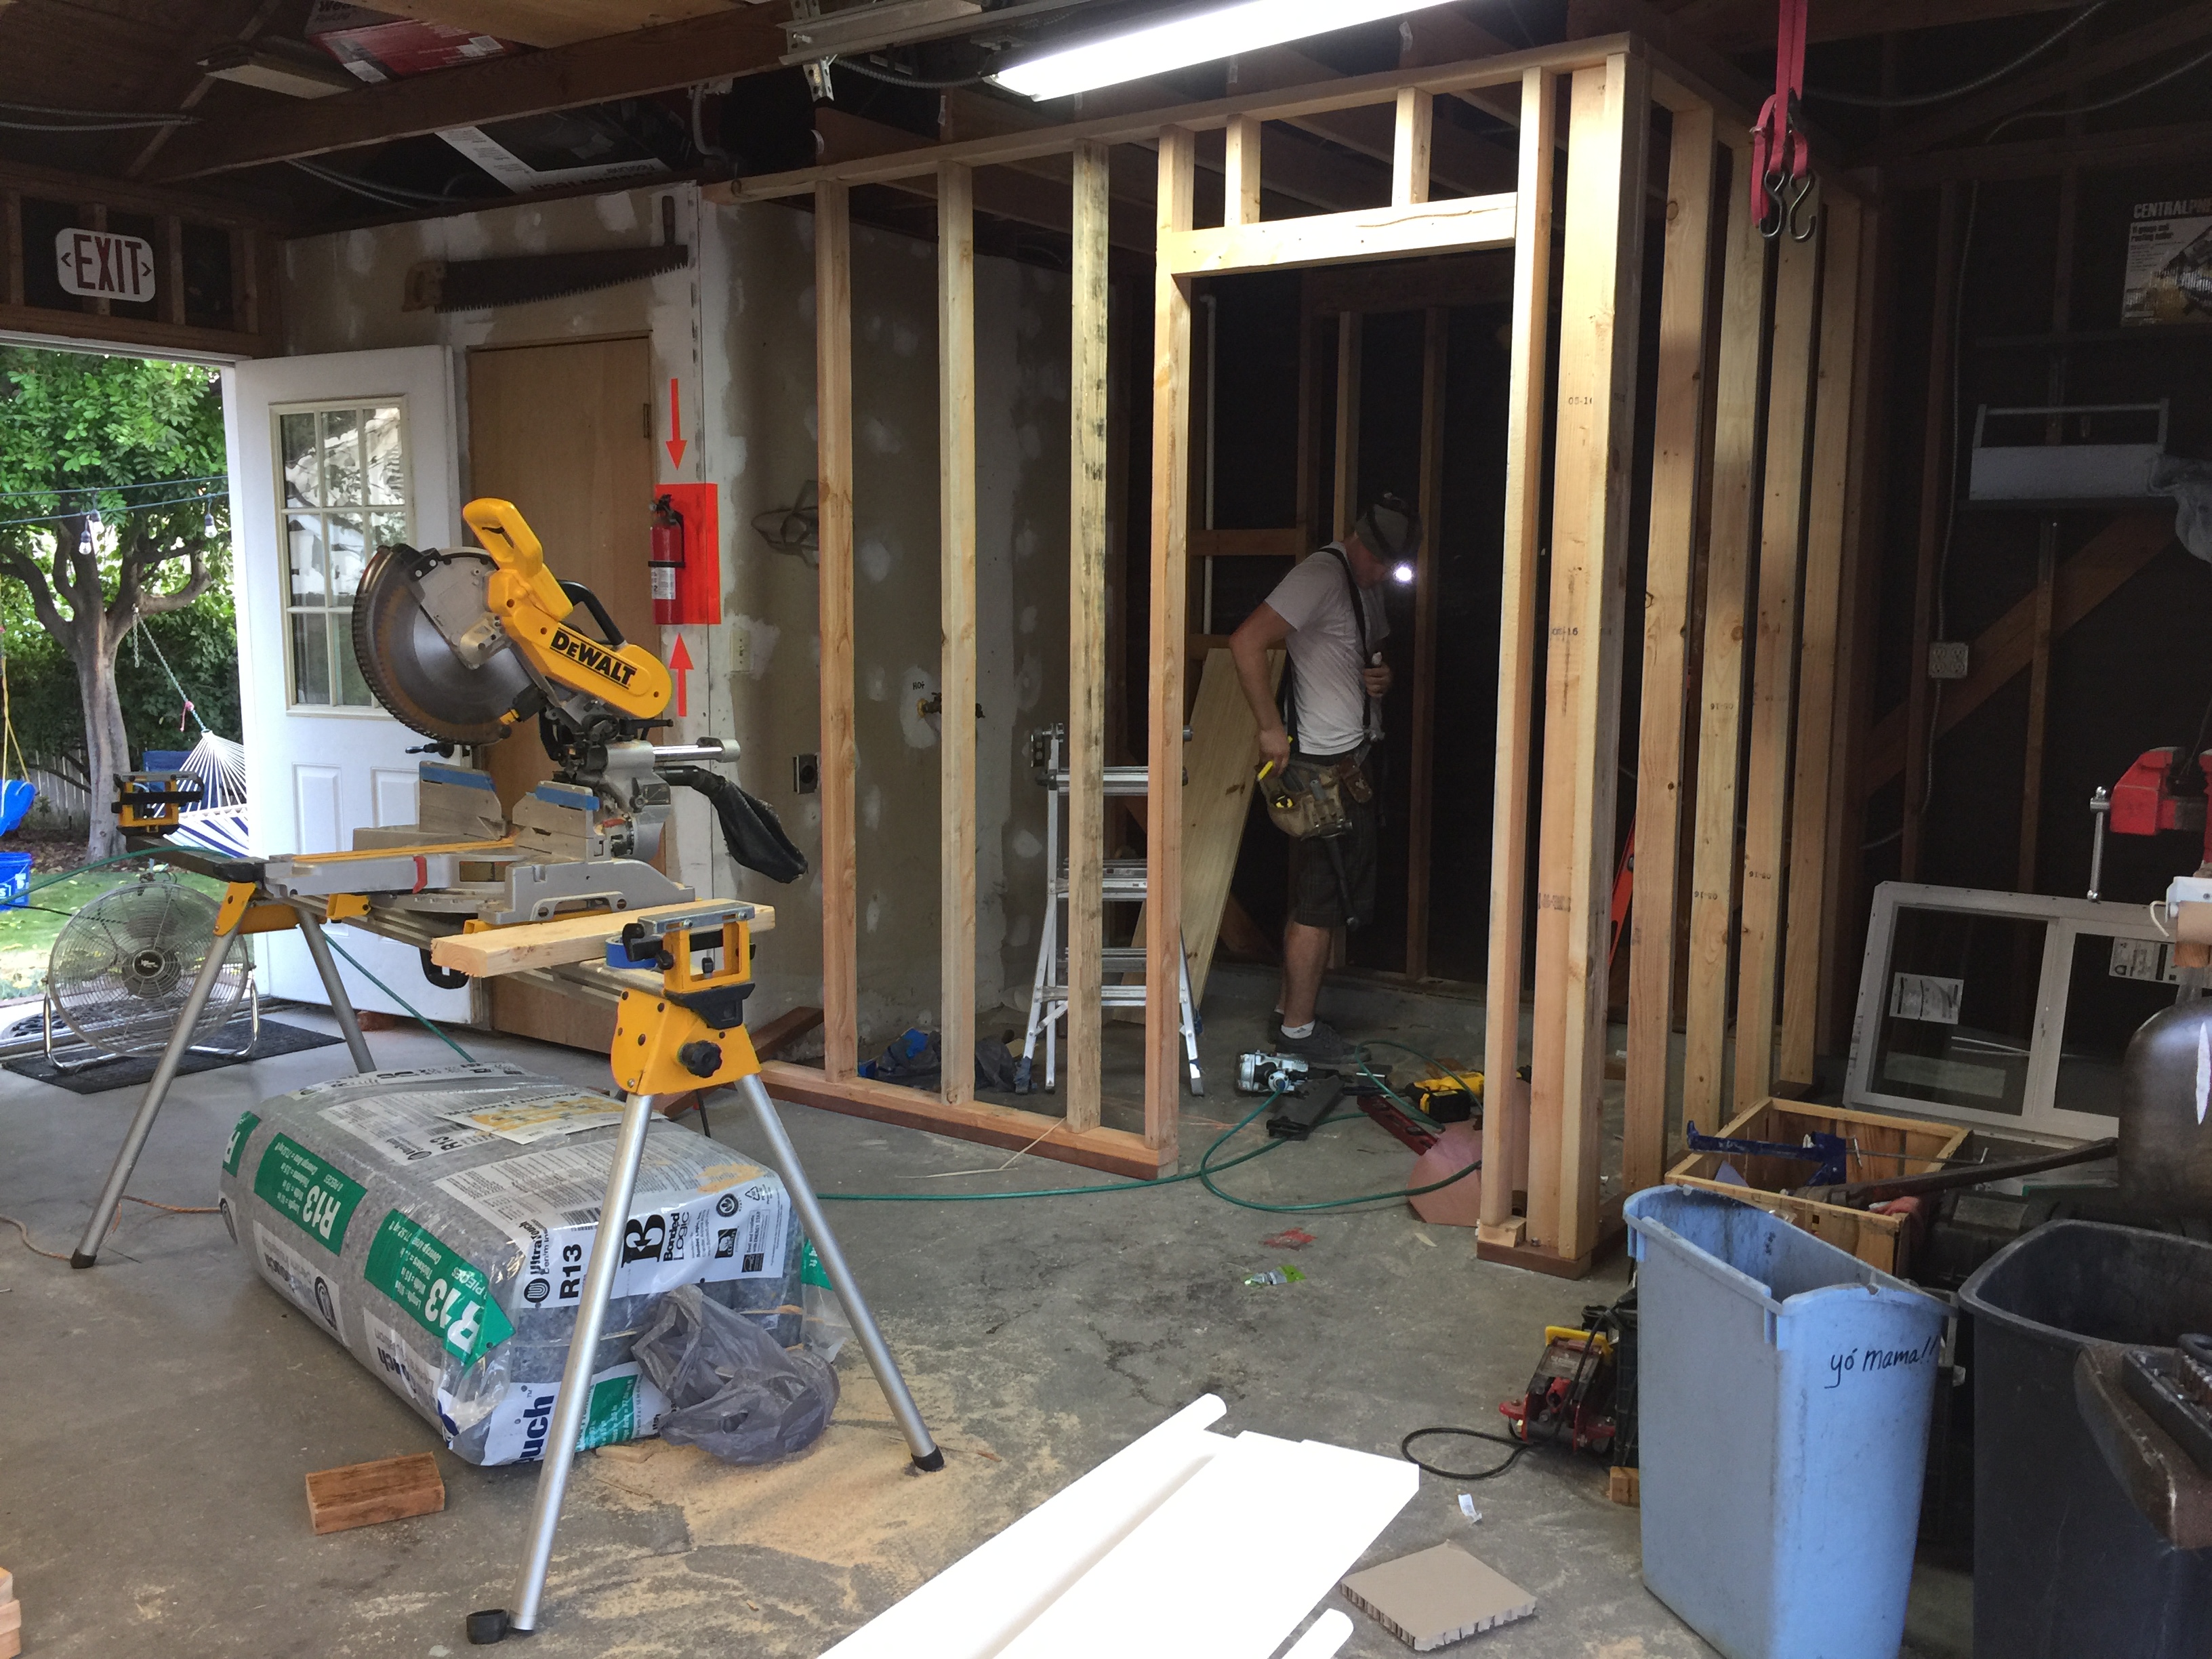
This stud (pun intended ;)) put up the framing in just one, extremely hot, afternoon!

Cutting a hole for the window!
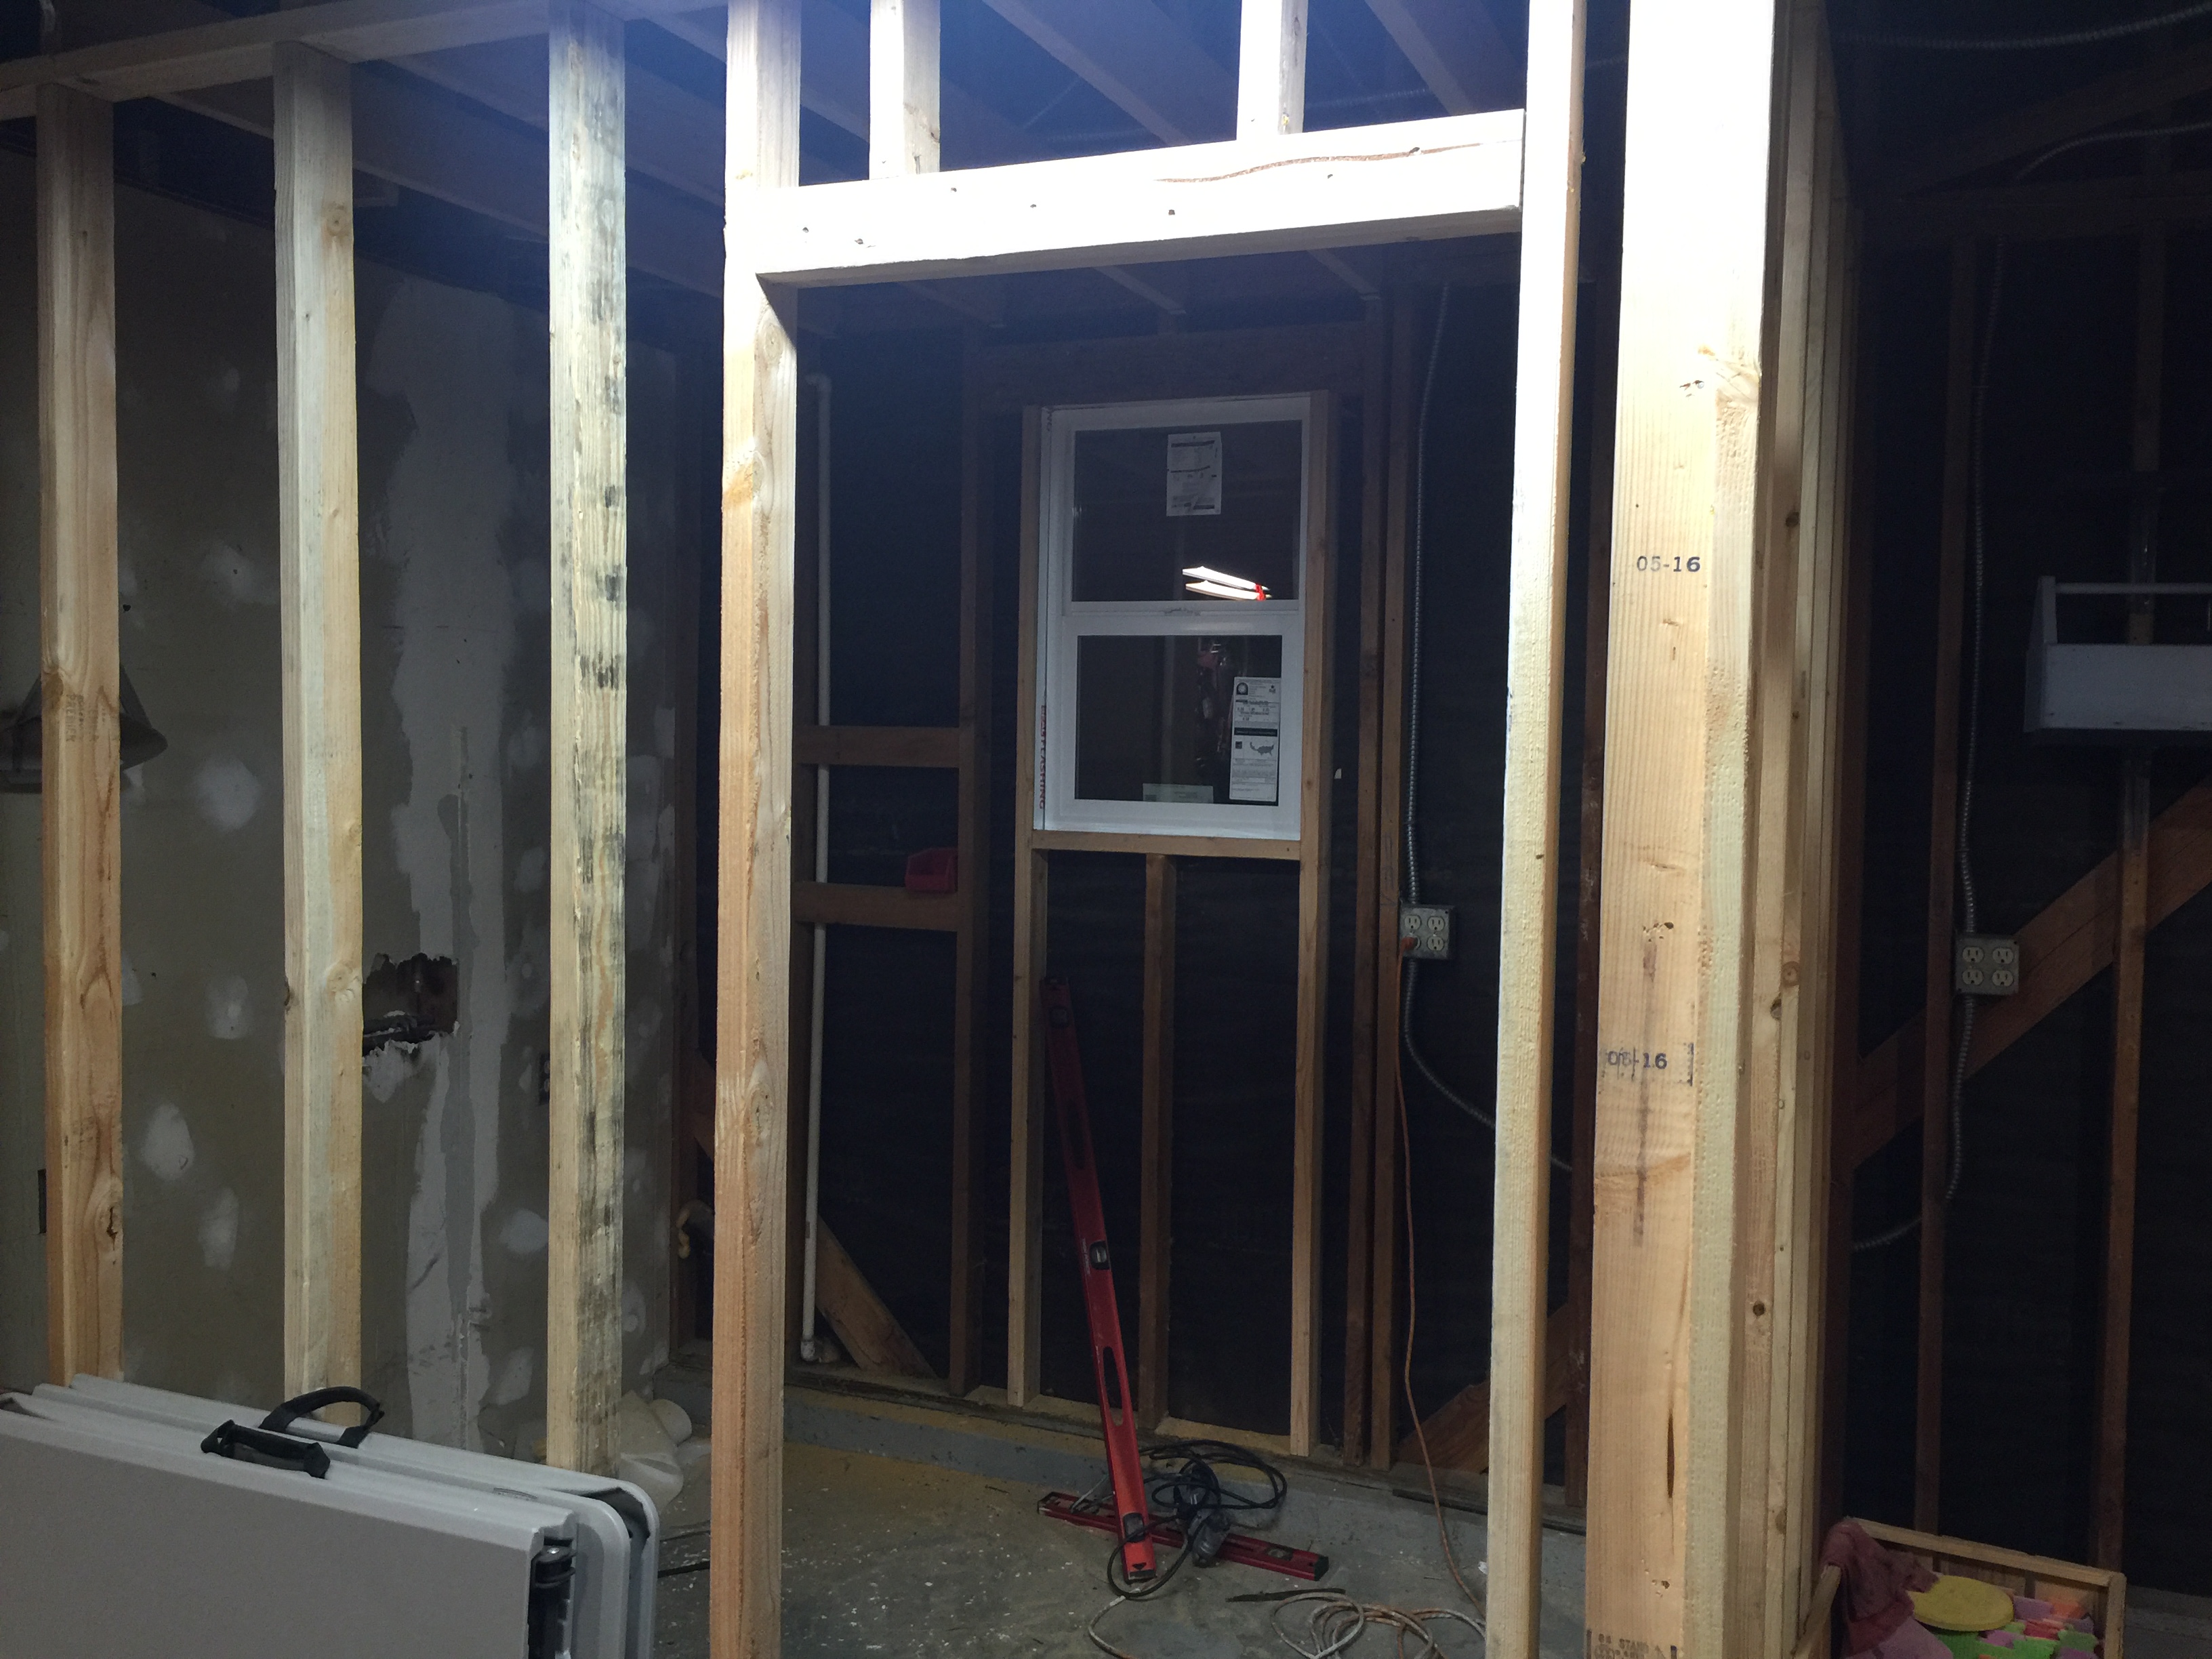
There she is!
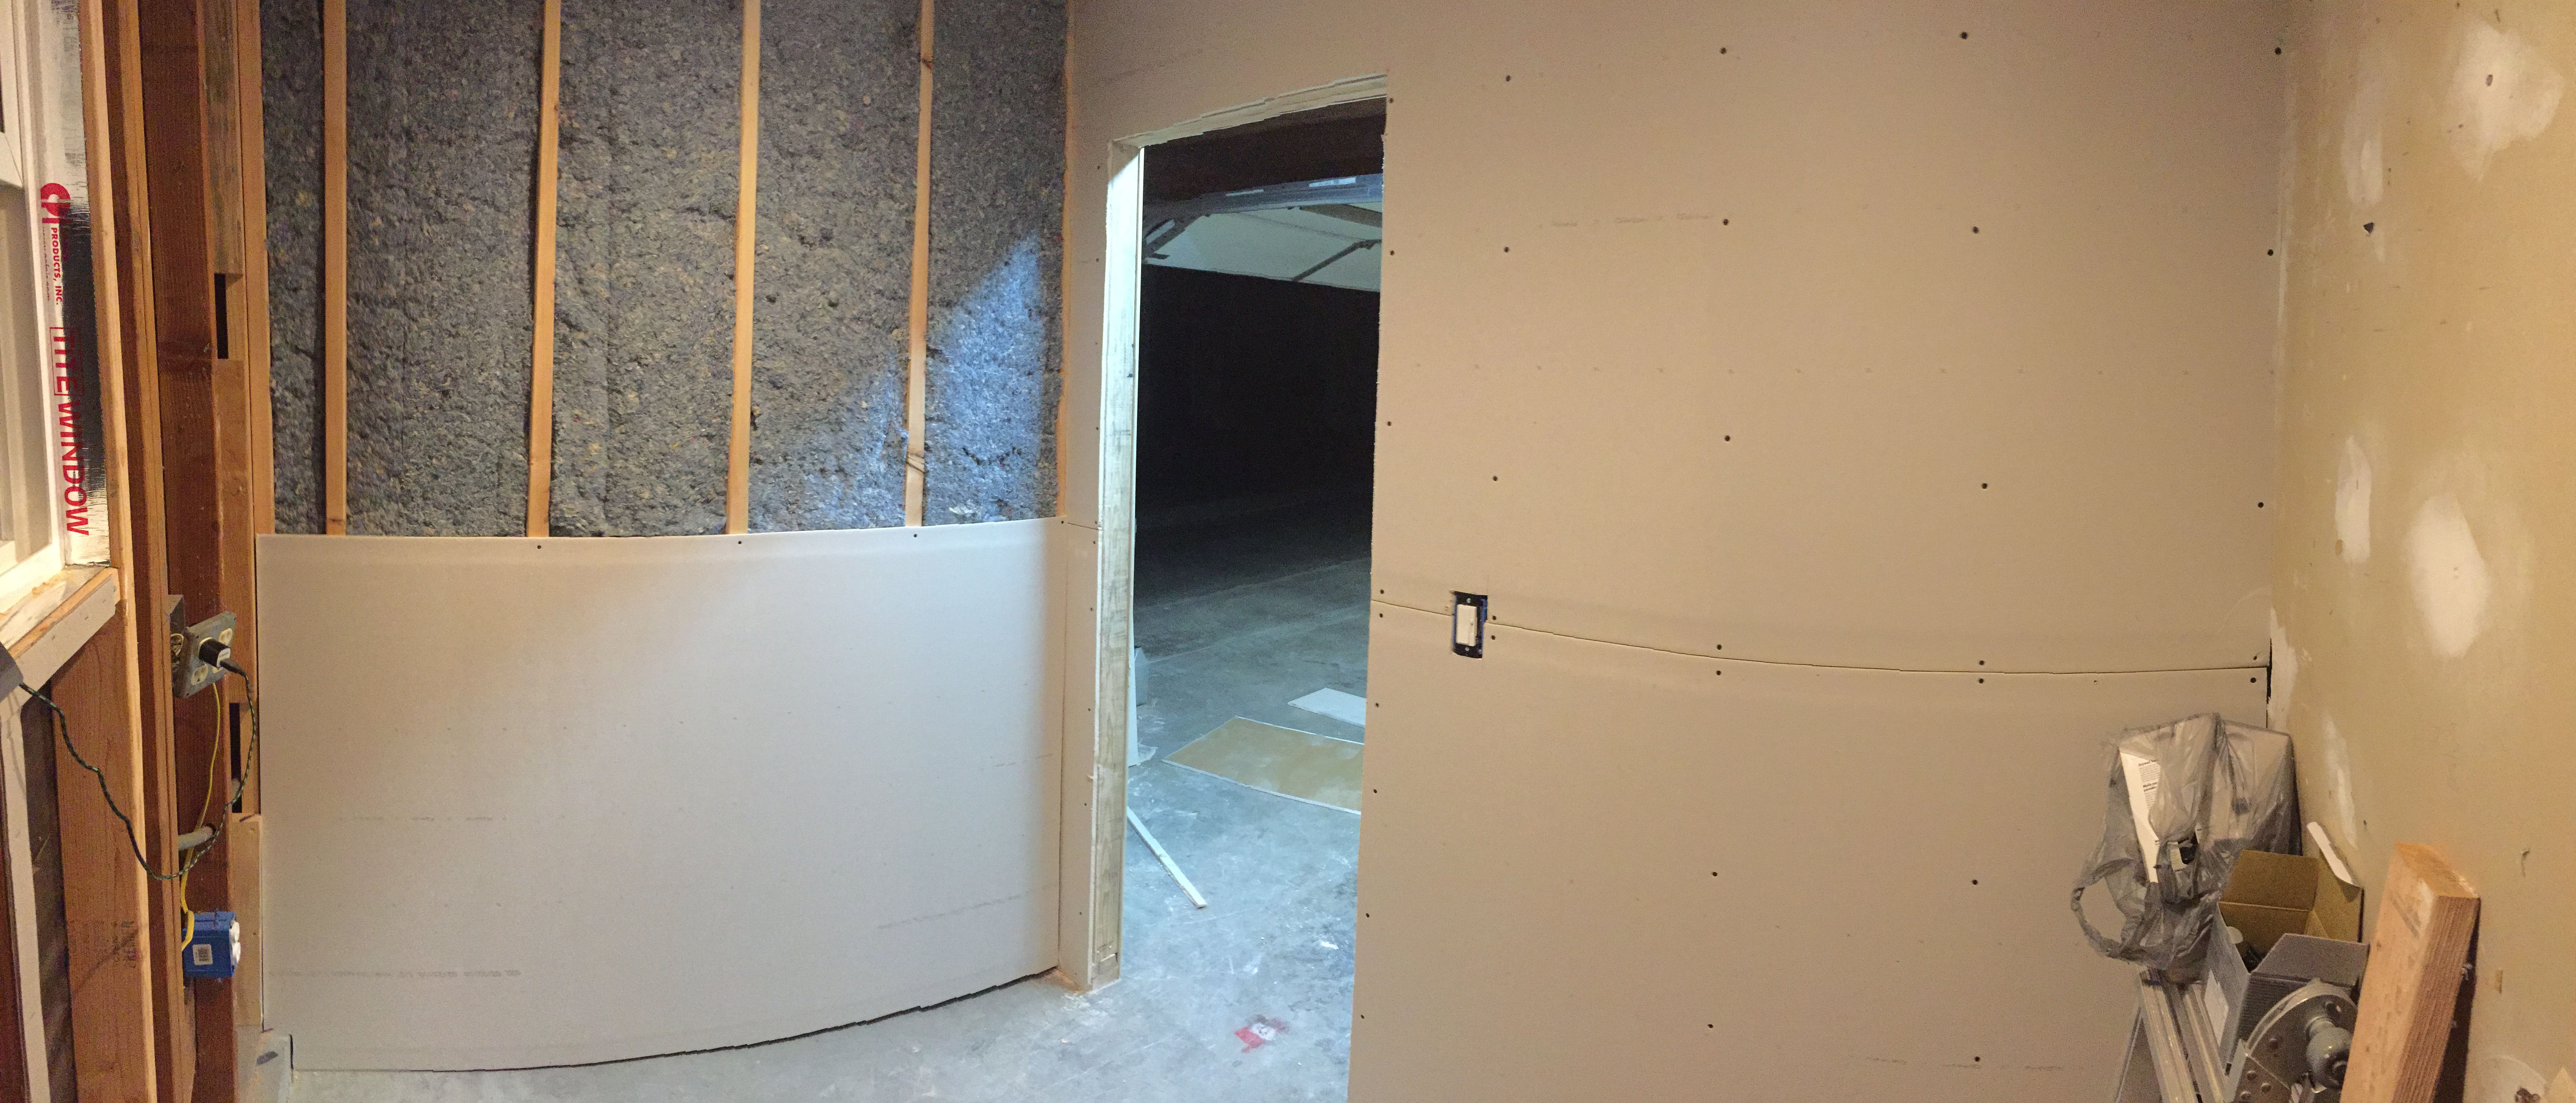
Weekend 2: Insulation √, drywall √, electrical ran √, can lights installed √
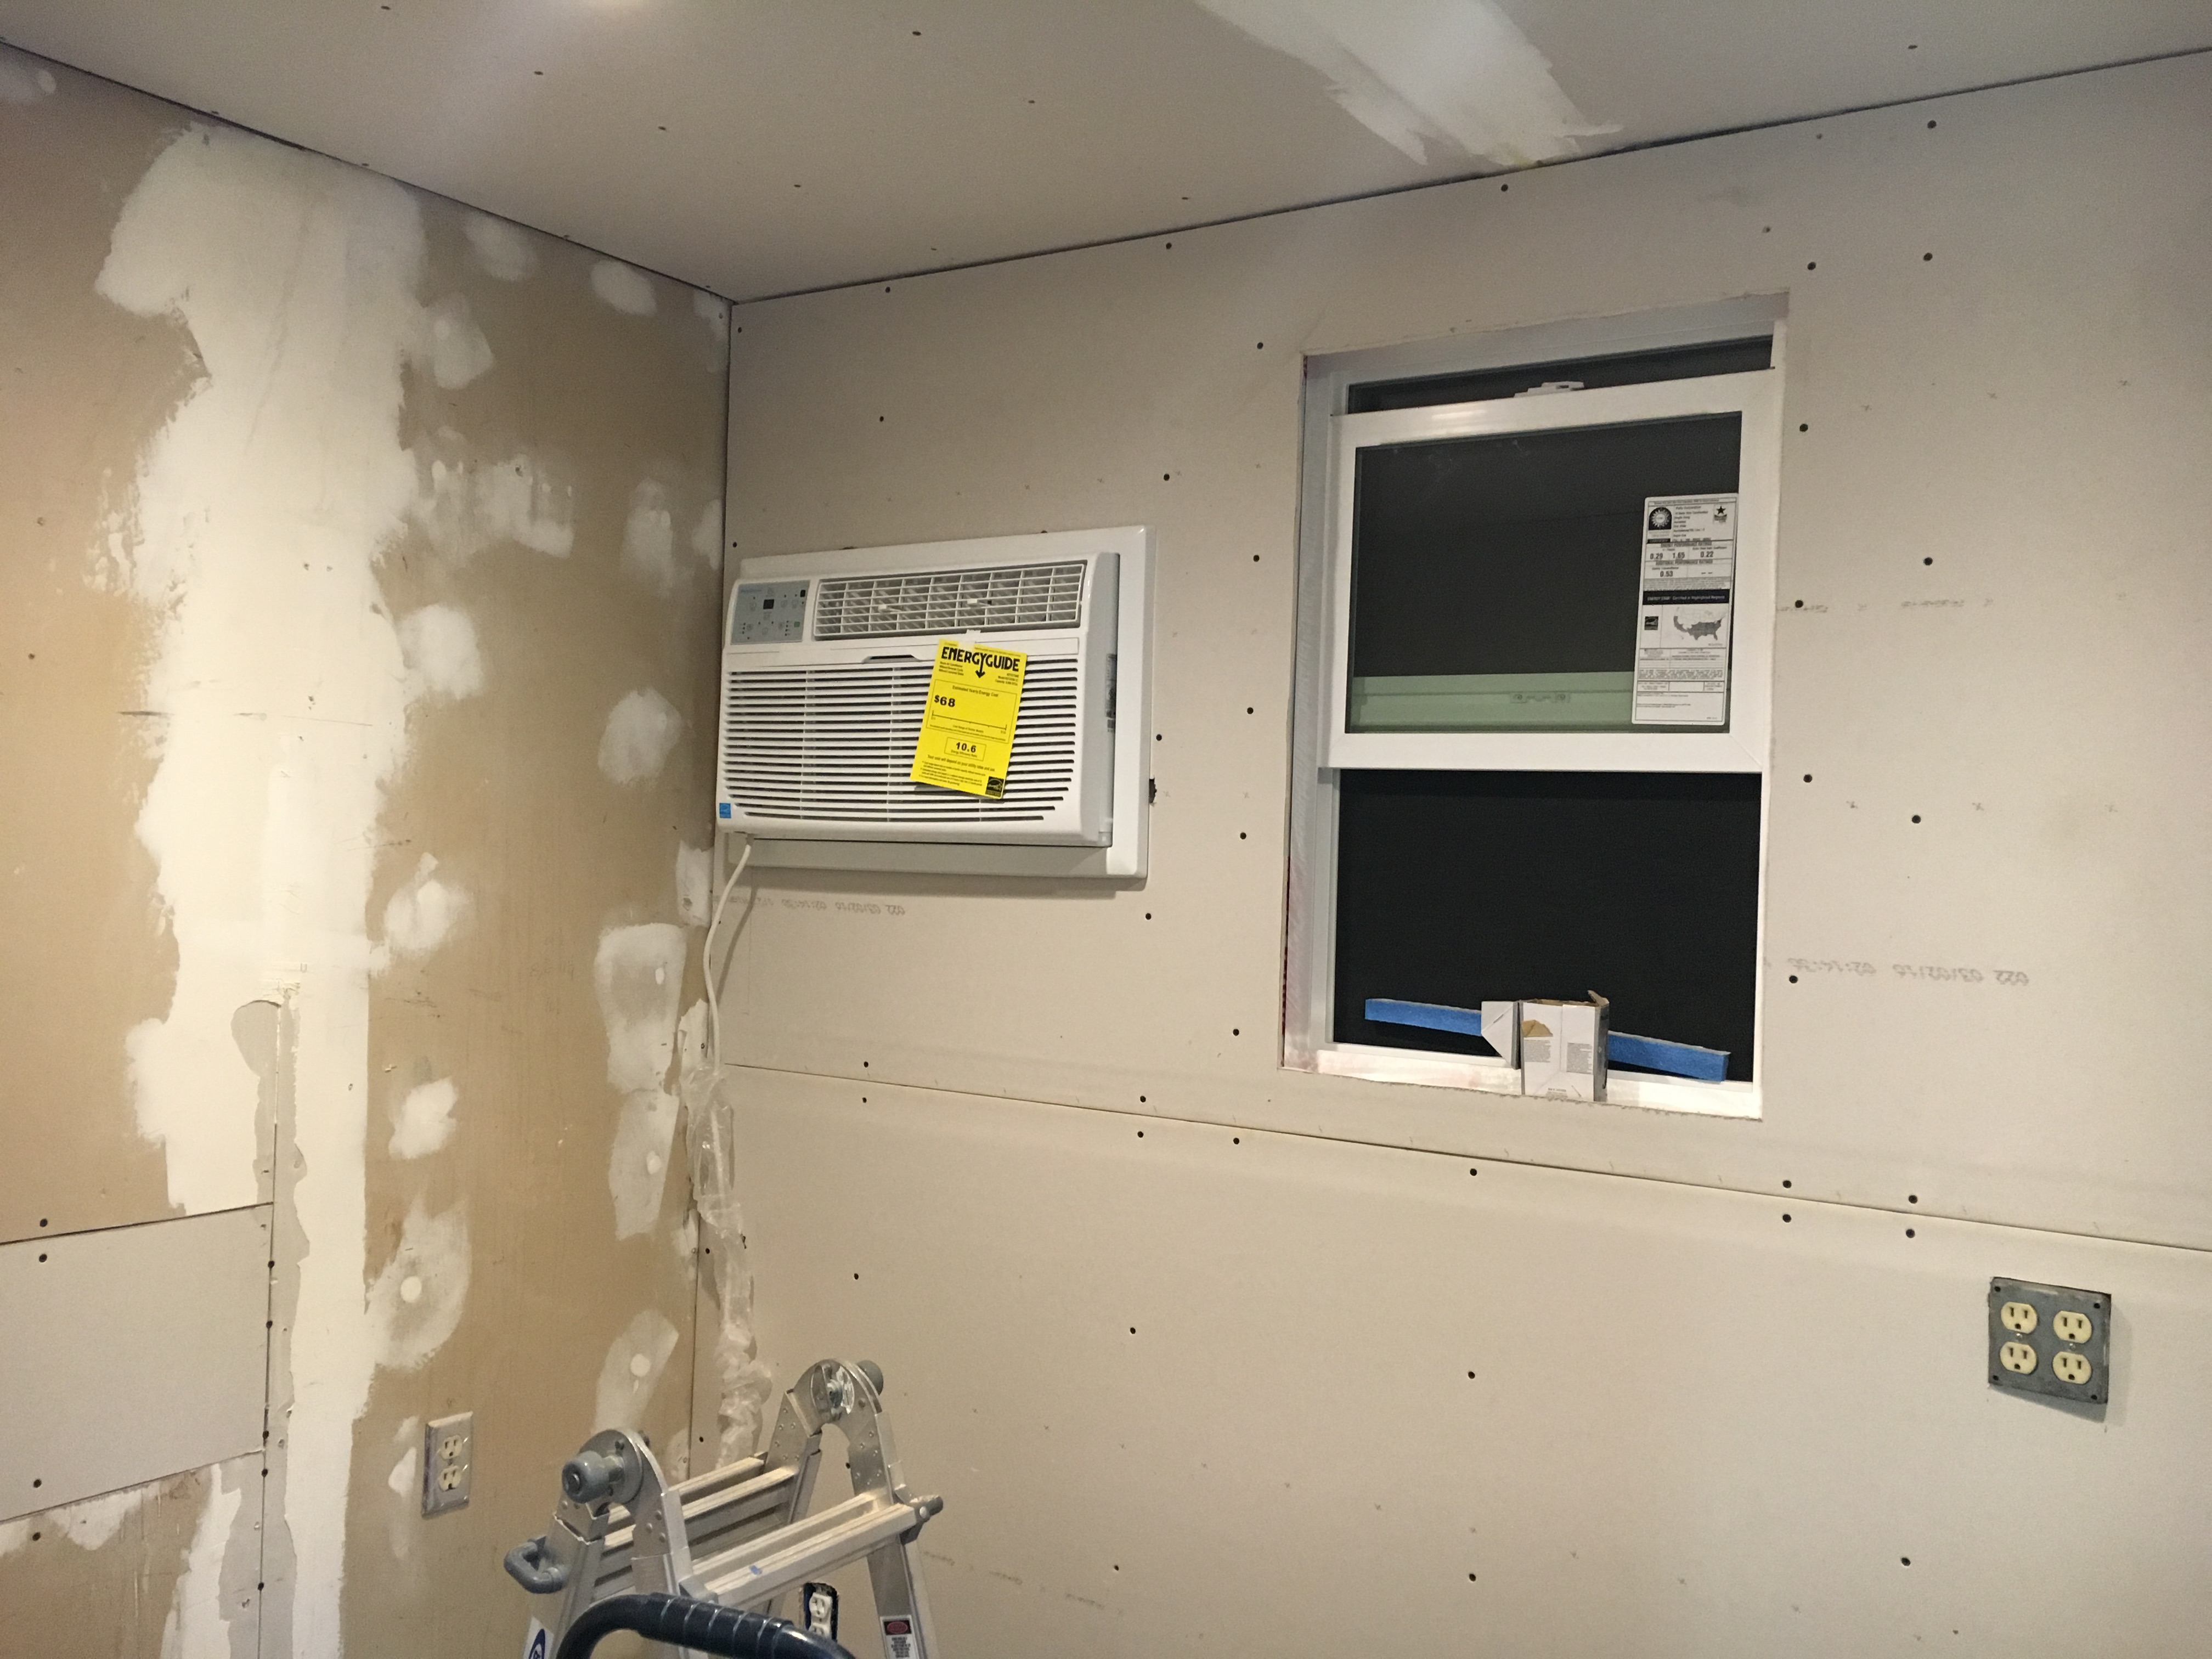
AC unit installed!
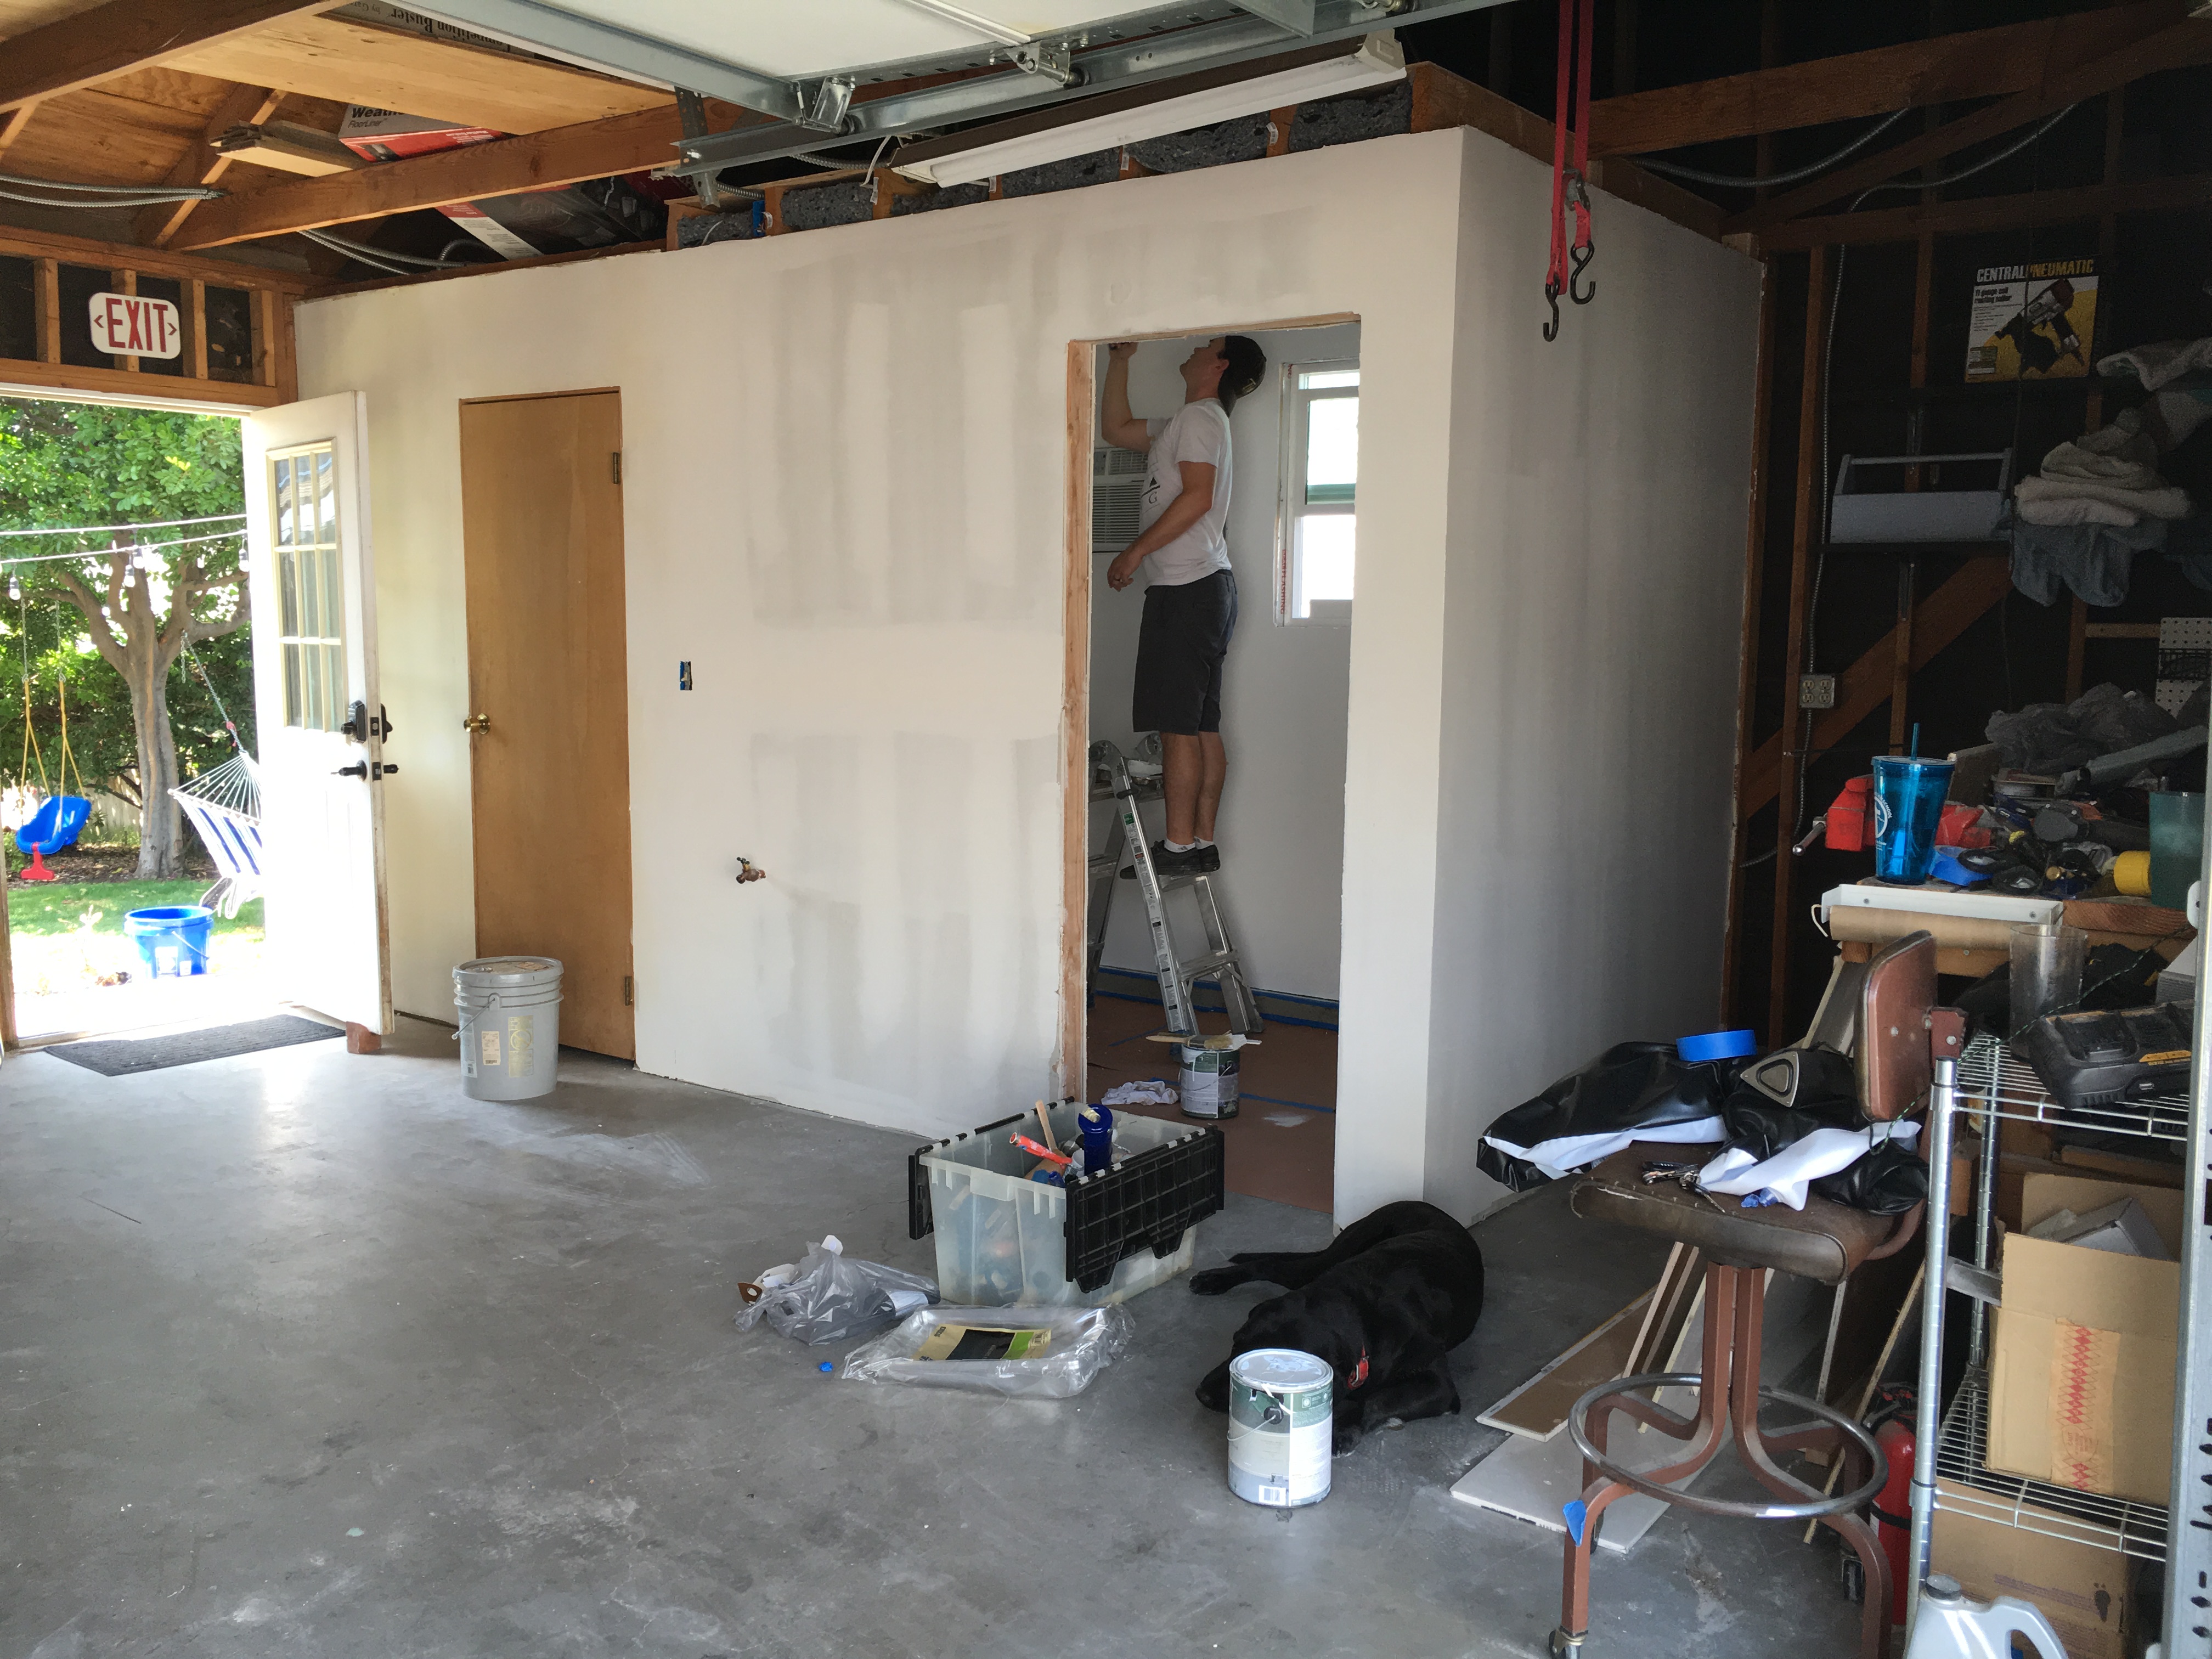
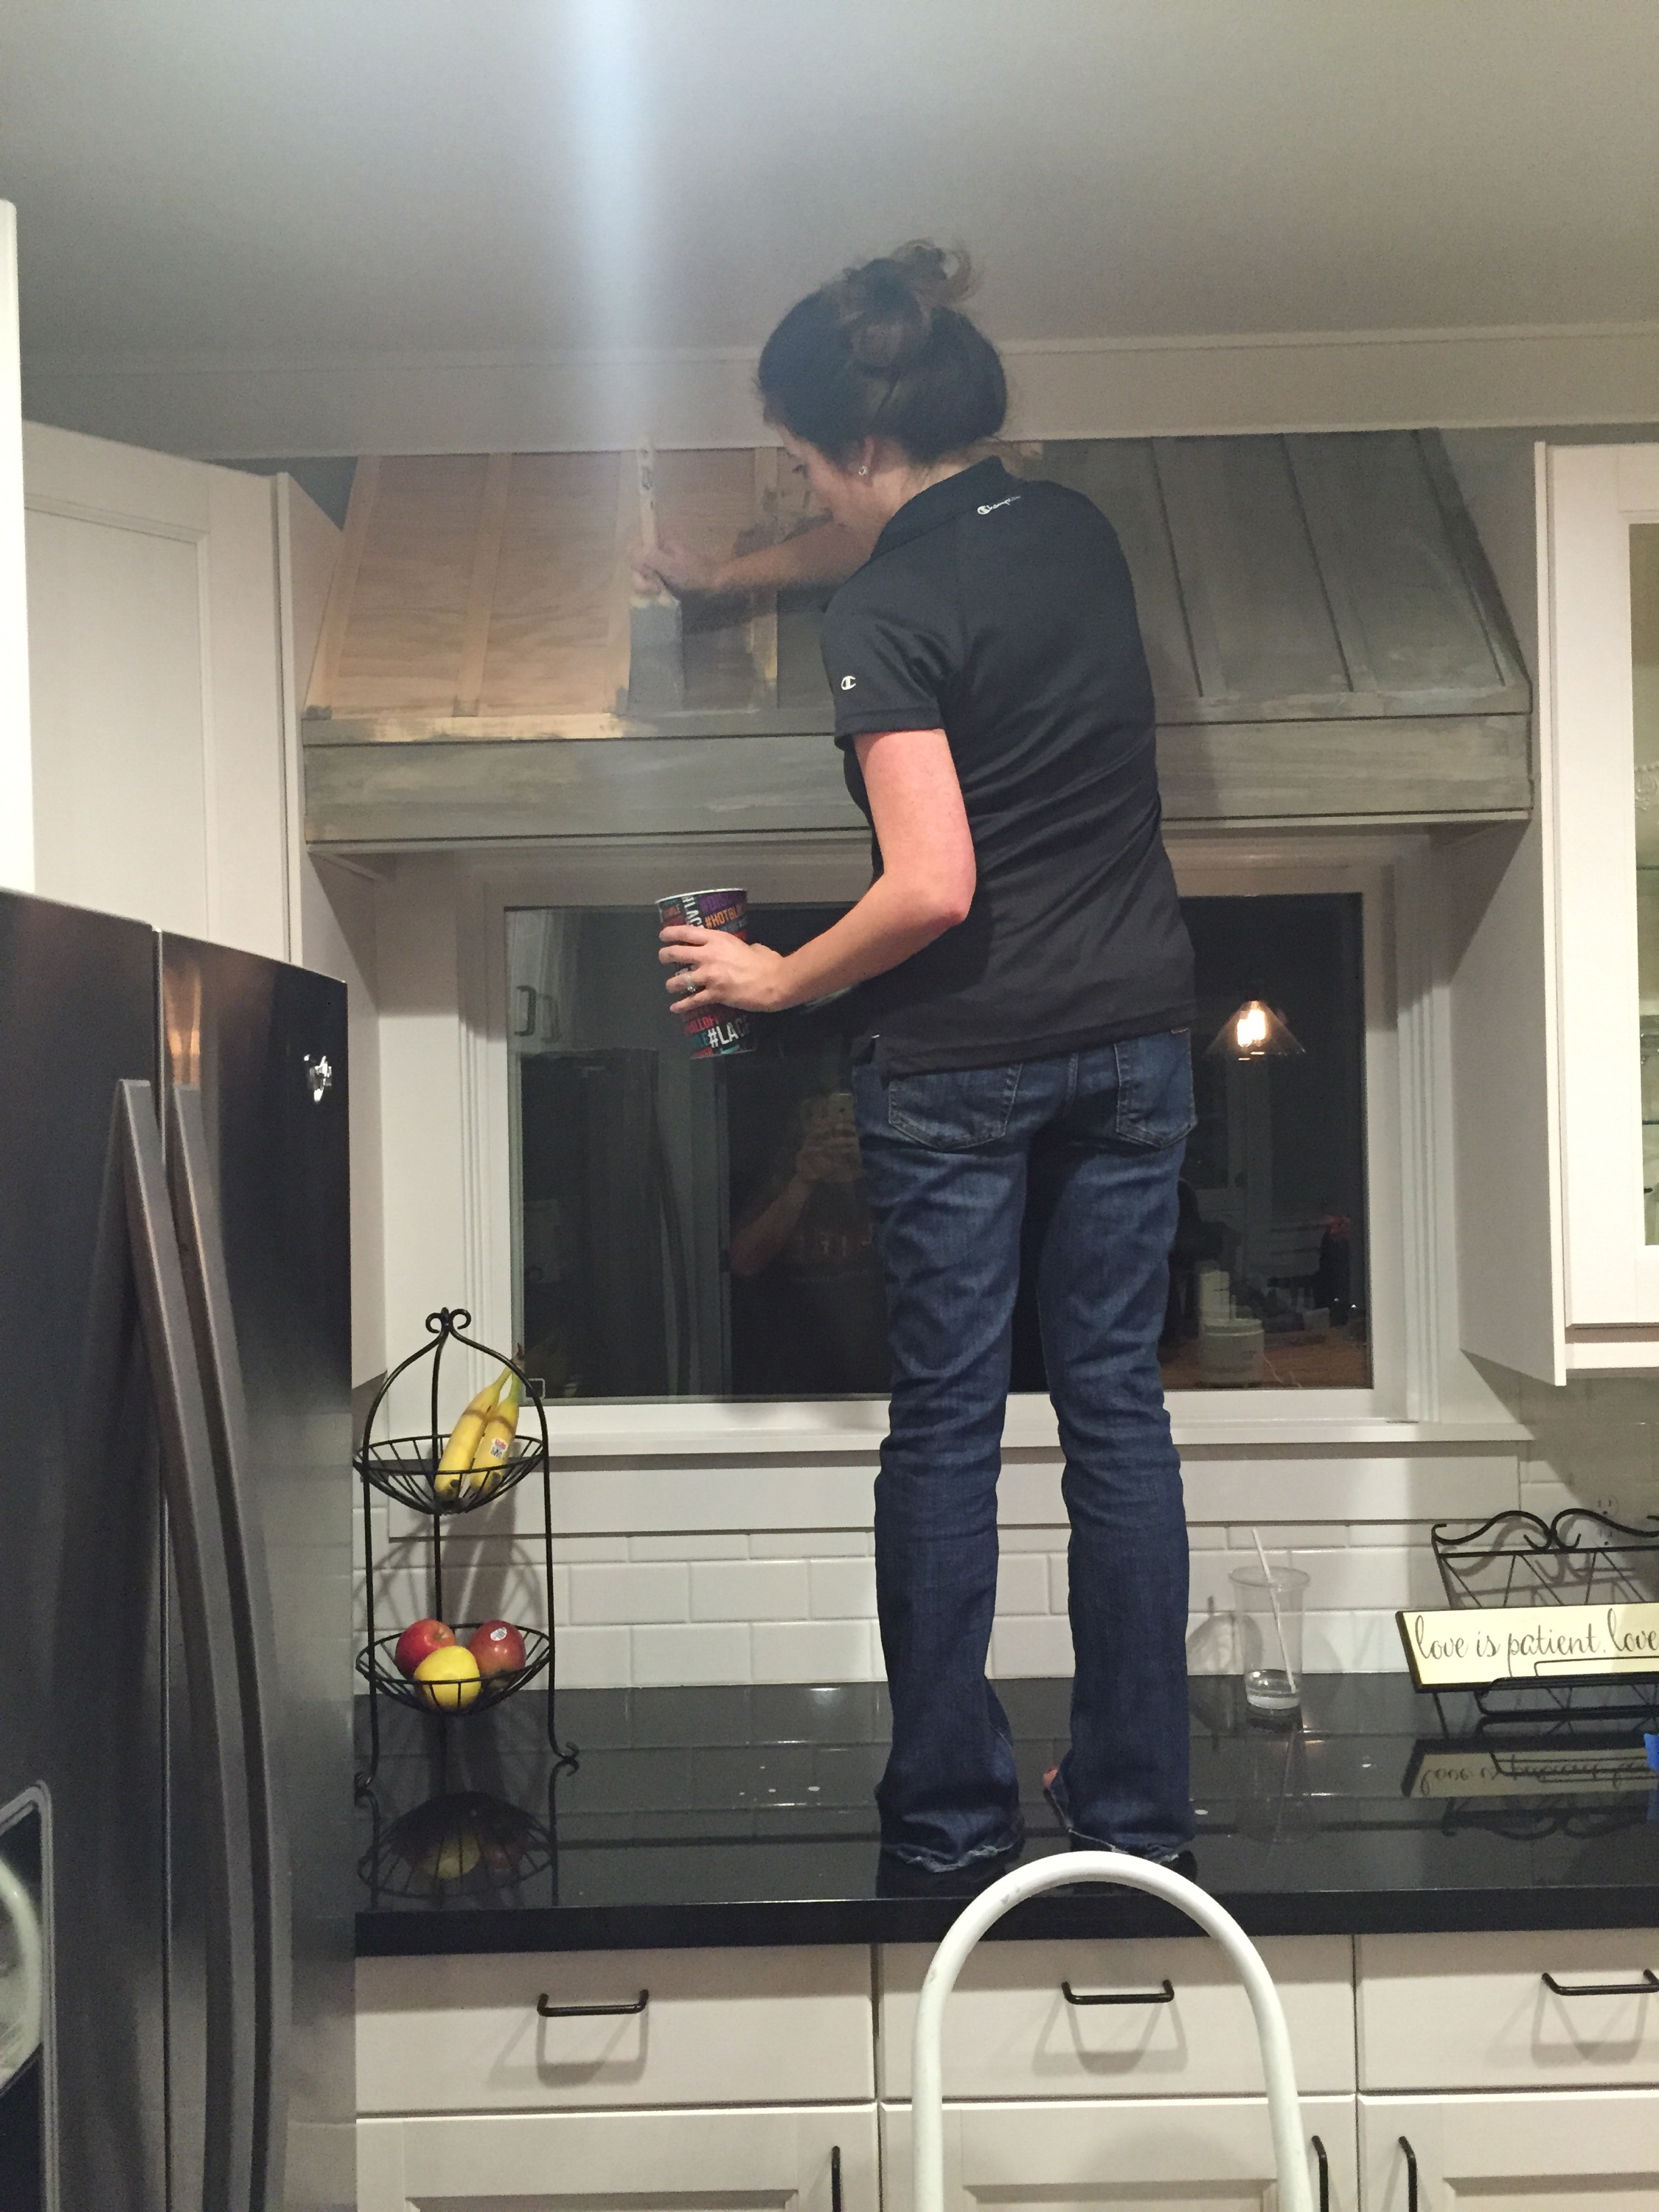
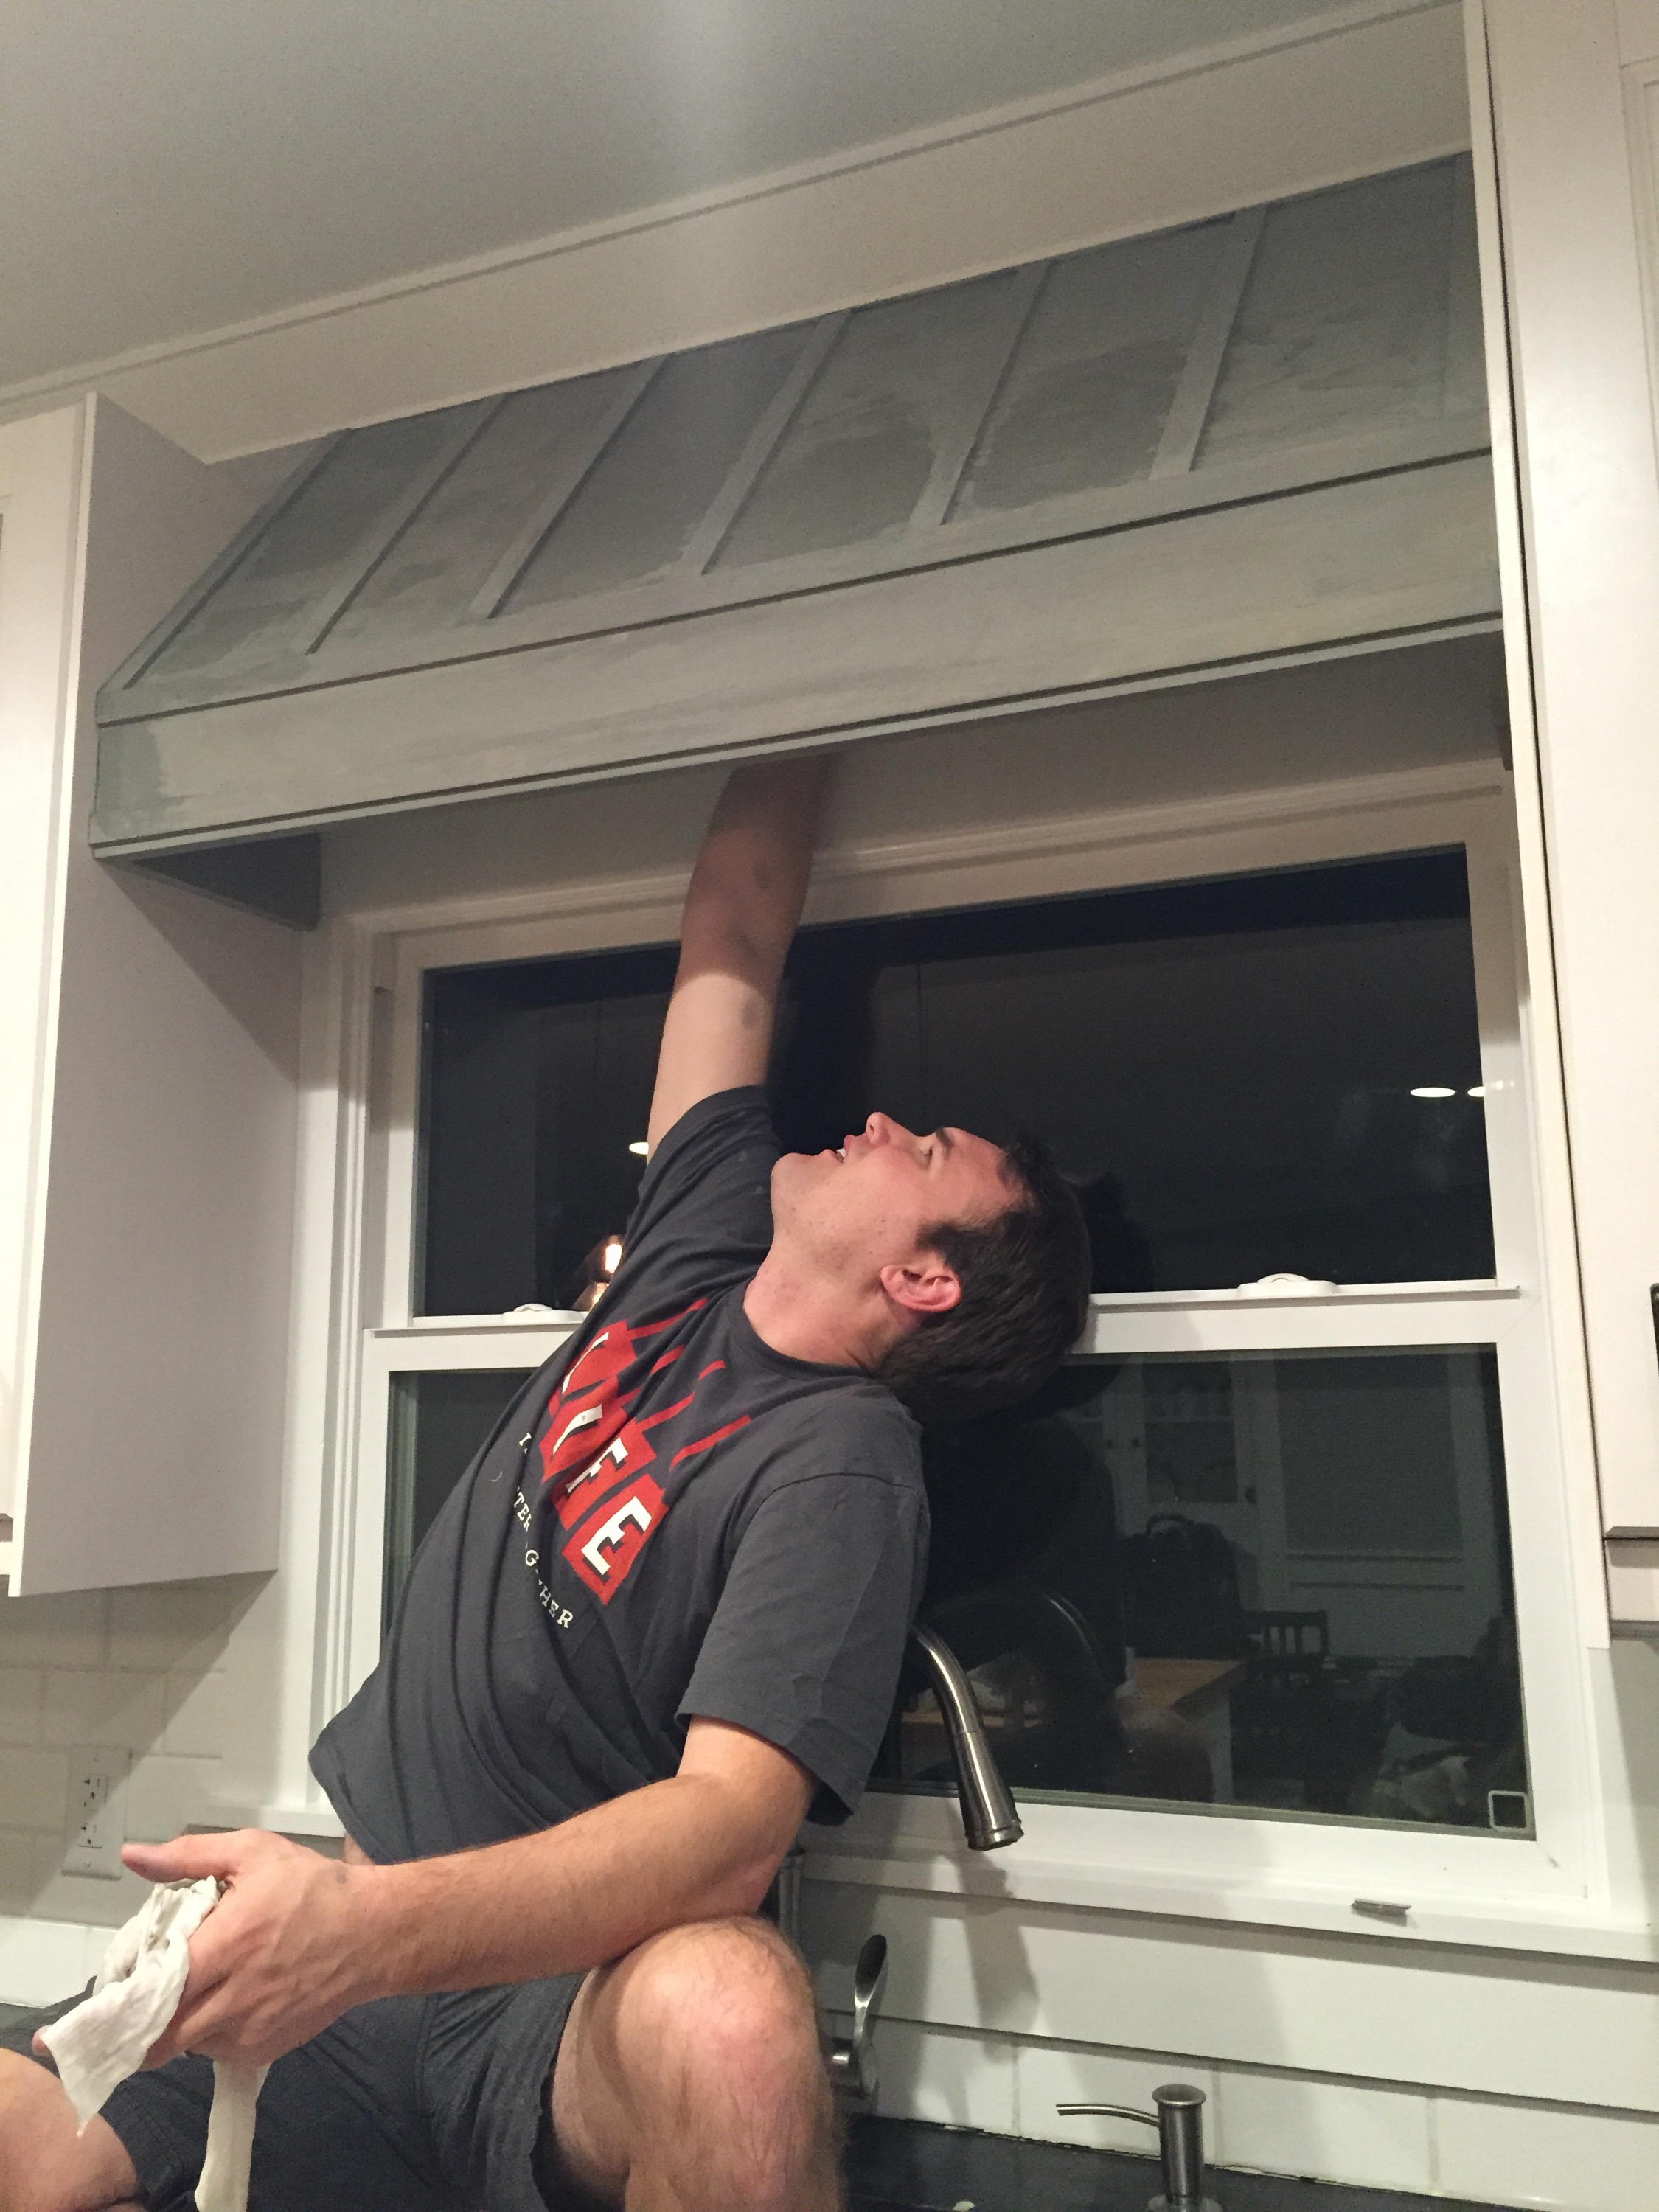
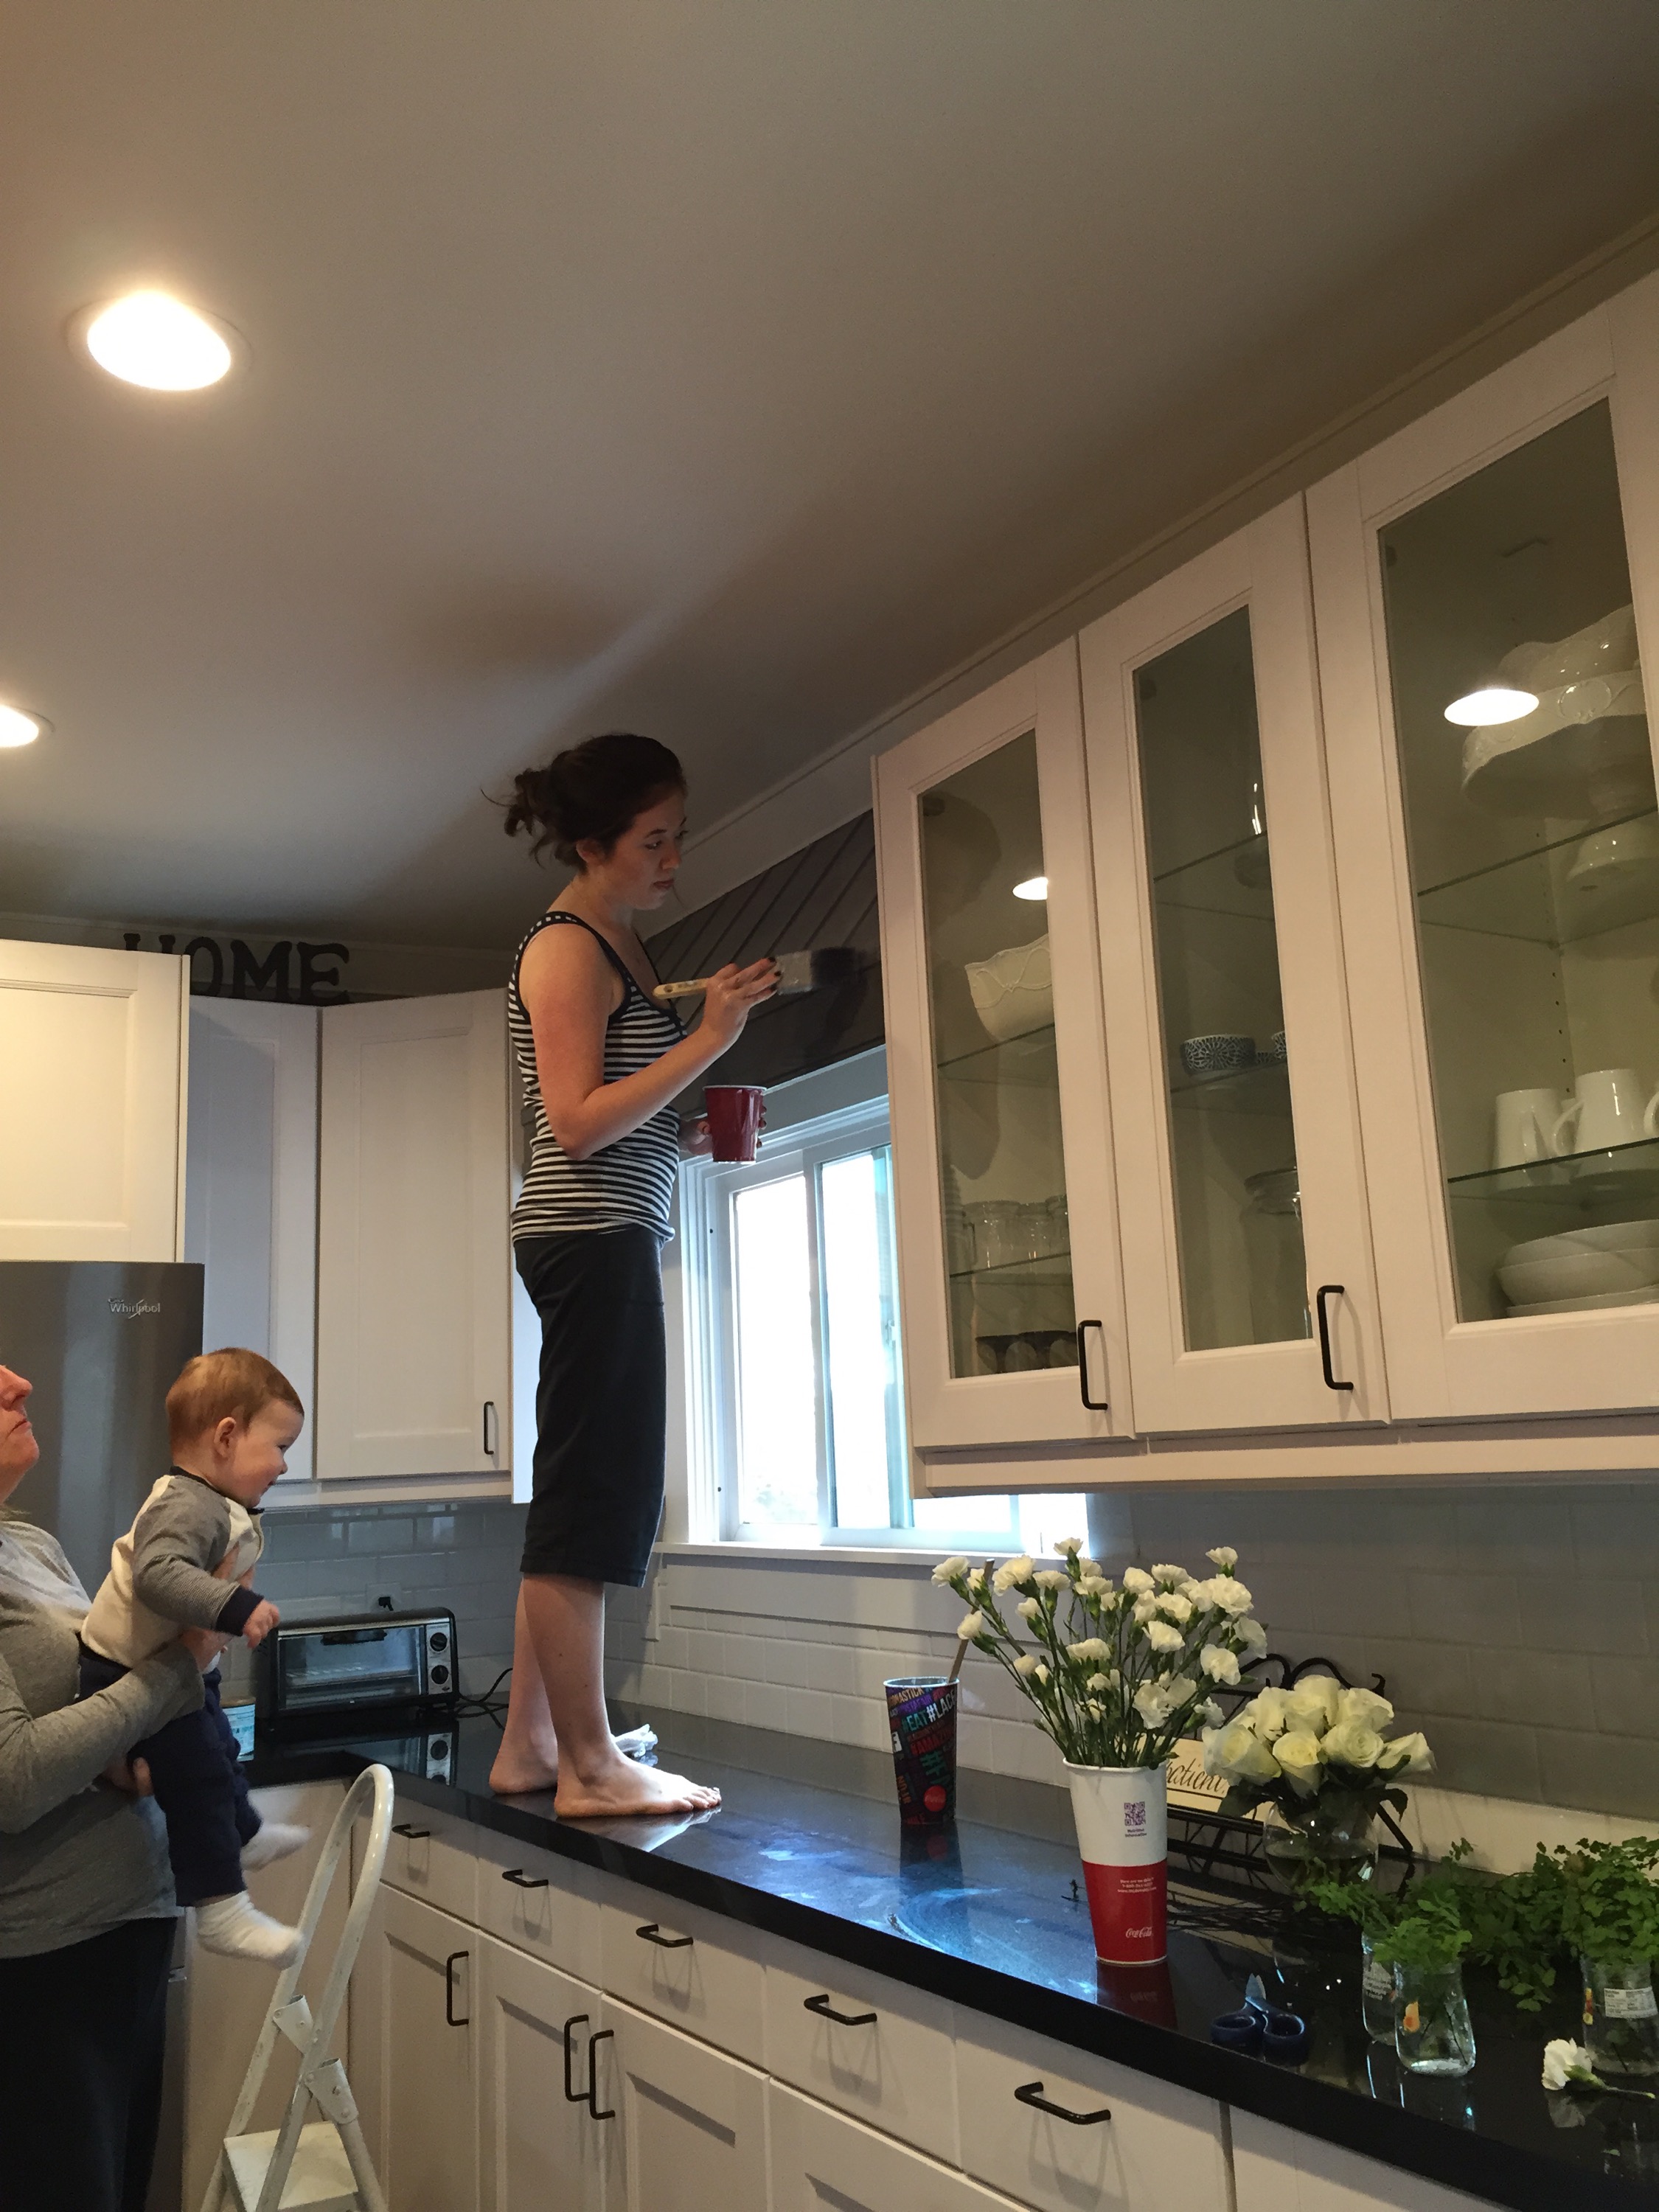
Drywall Complete. Kevin painting the interior.

The beginning of the custom cabinet.
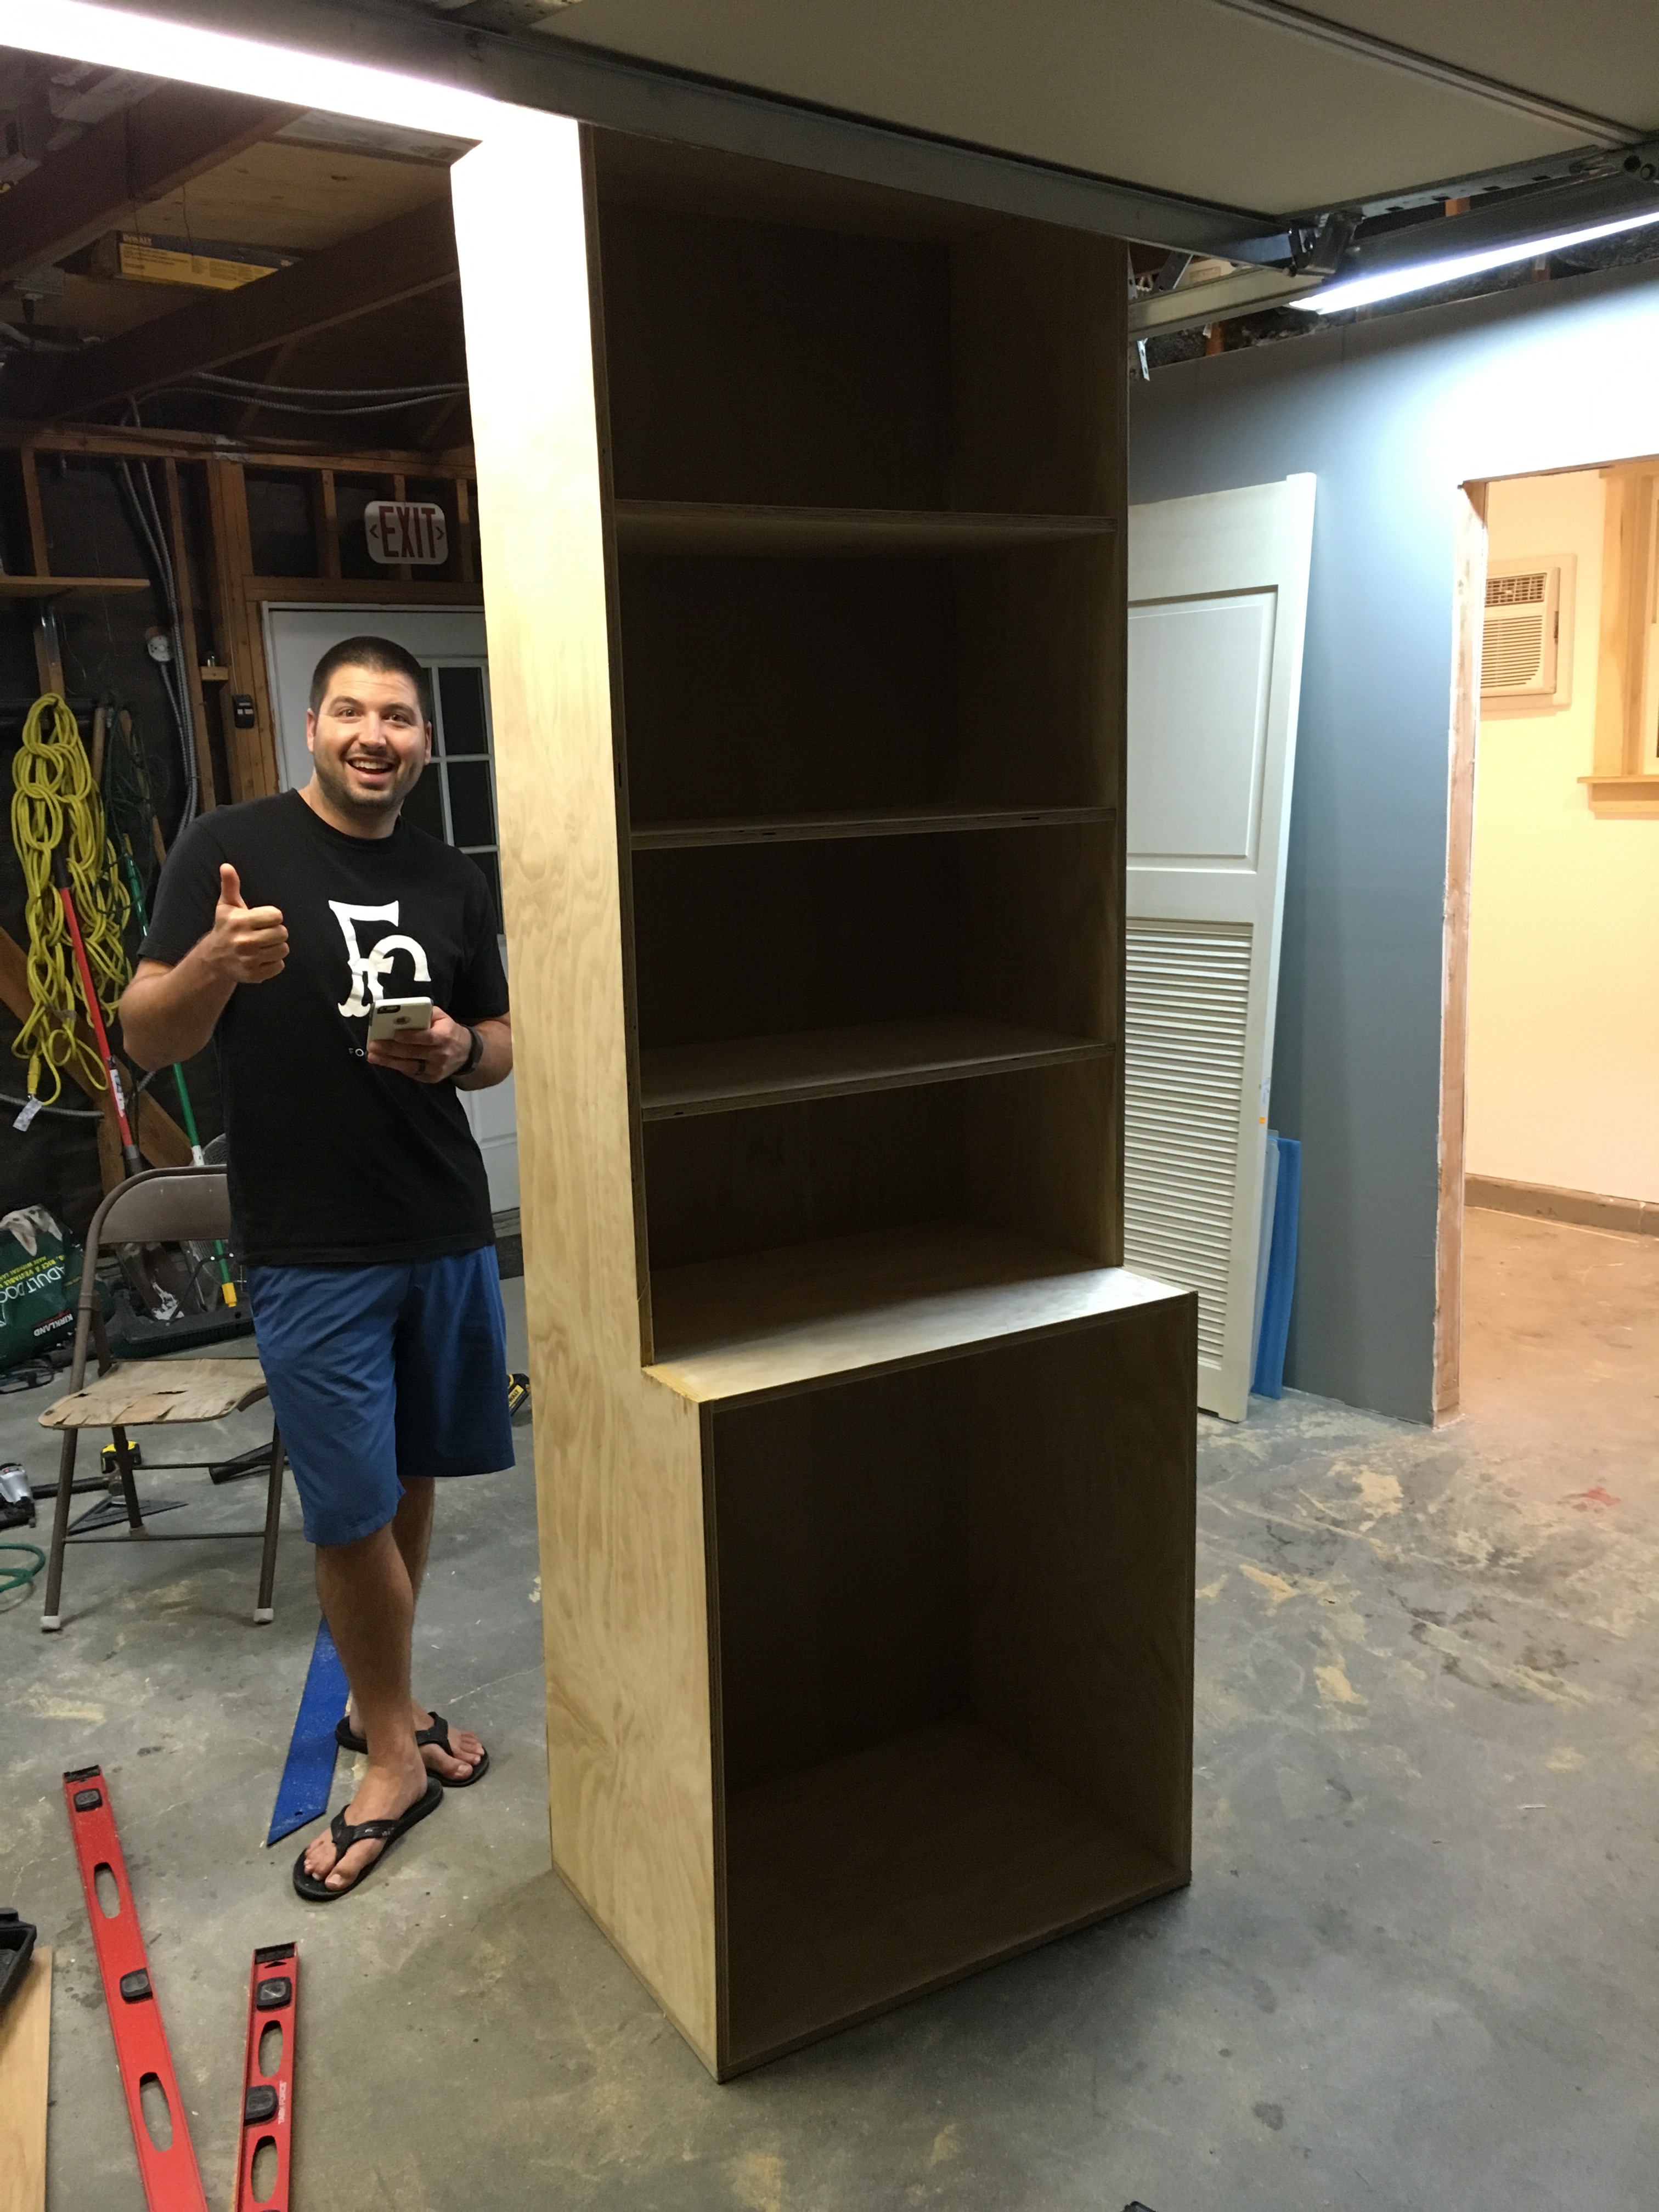
Josh approves!

Cabinet getting fitted into the space. Next up… trim work, doors (for the bottom half which will cover the filing cabinets), and paint!
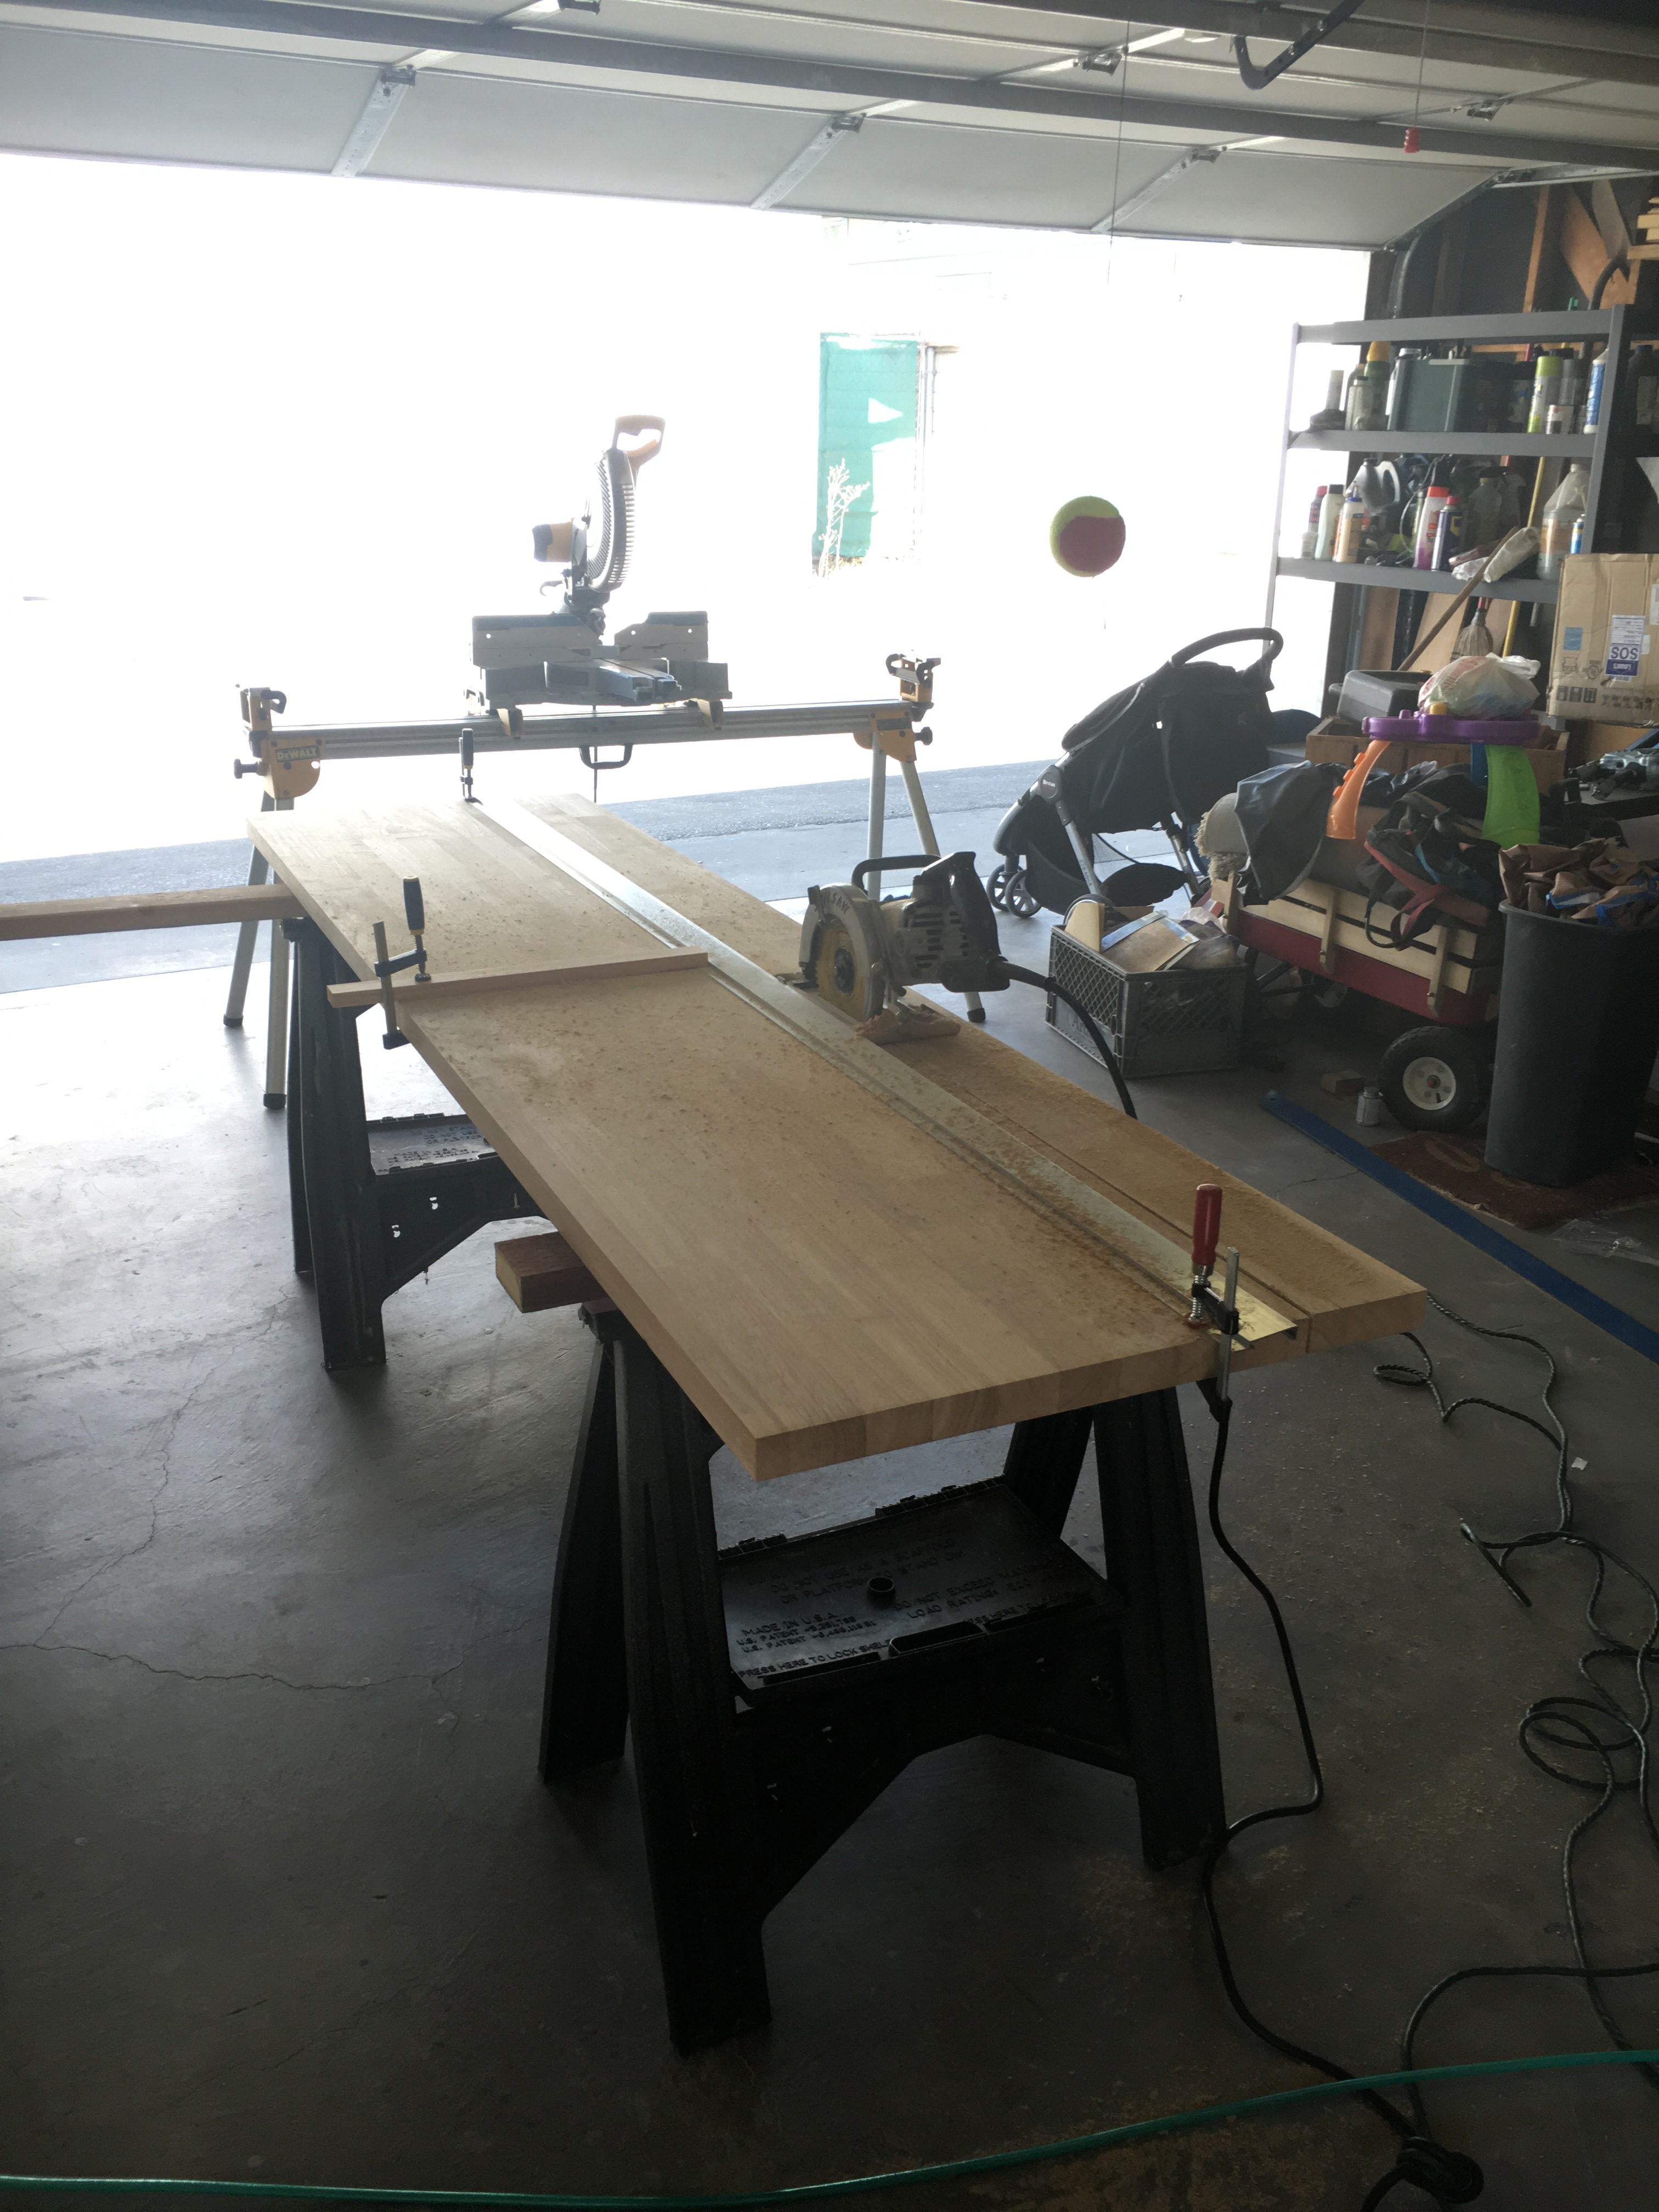
Cutting down the butcher block that will be used for the desktop.


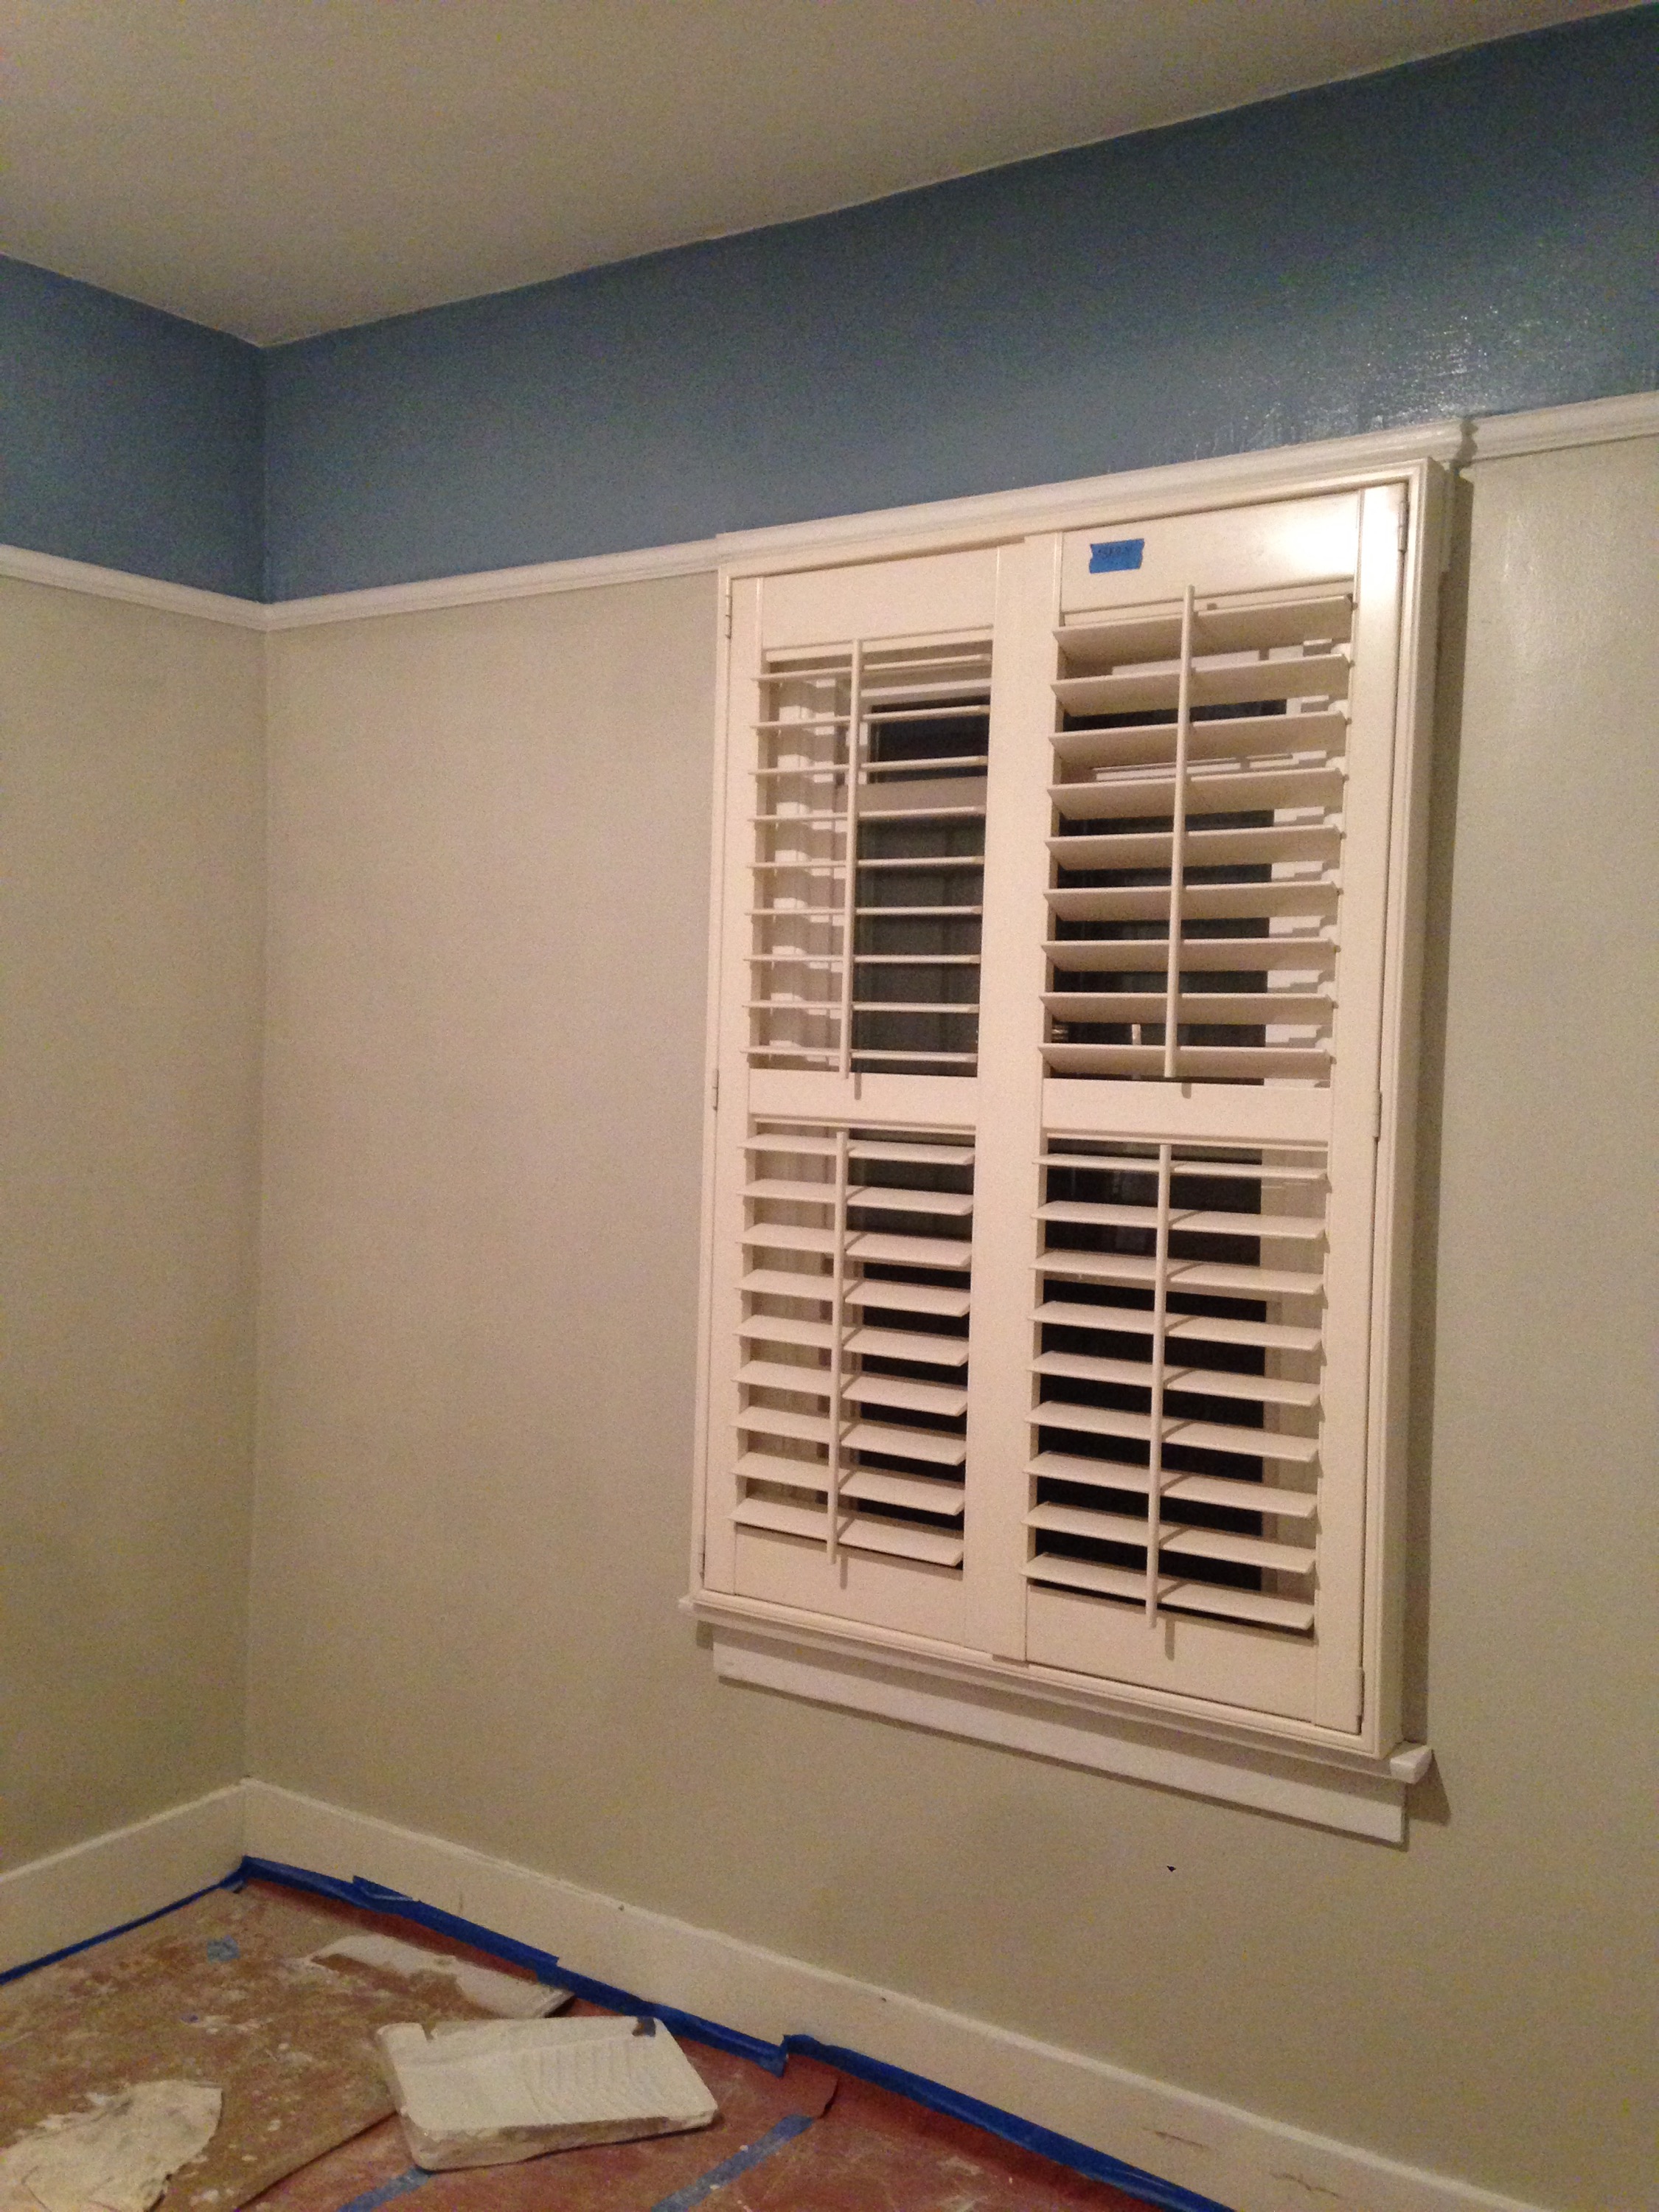
Desktop installed and trim work around the window finished!
We use to take pride in the speed of completing projects… well those days have changed. Free time is a thing of the past and late night work sessions have been replaced with late night feedings. So stay tuned to see the grand reveal…