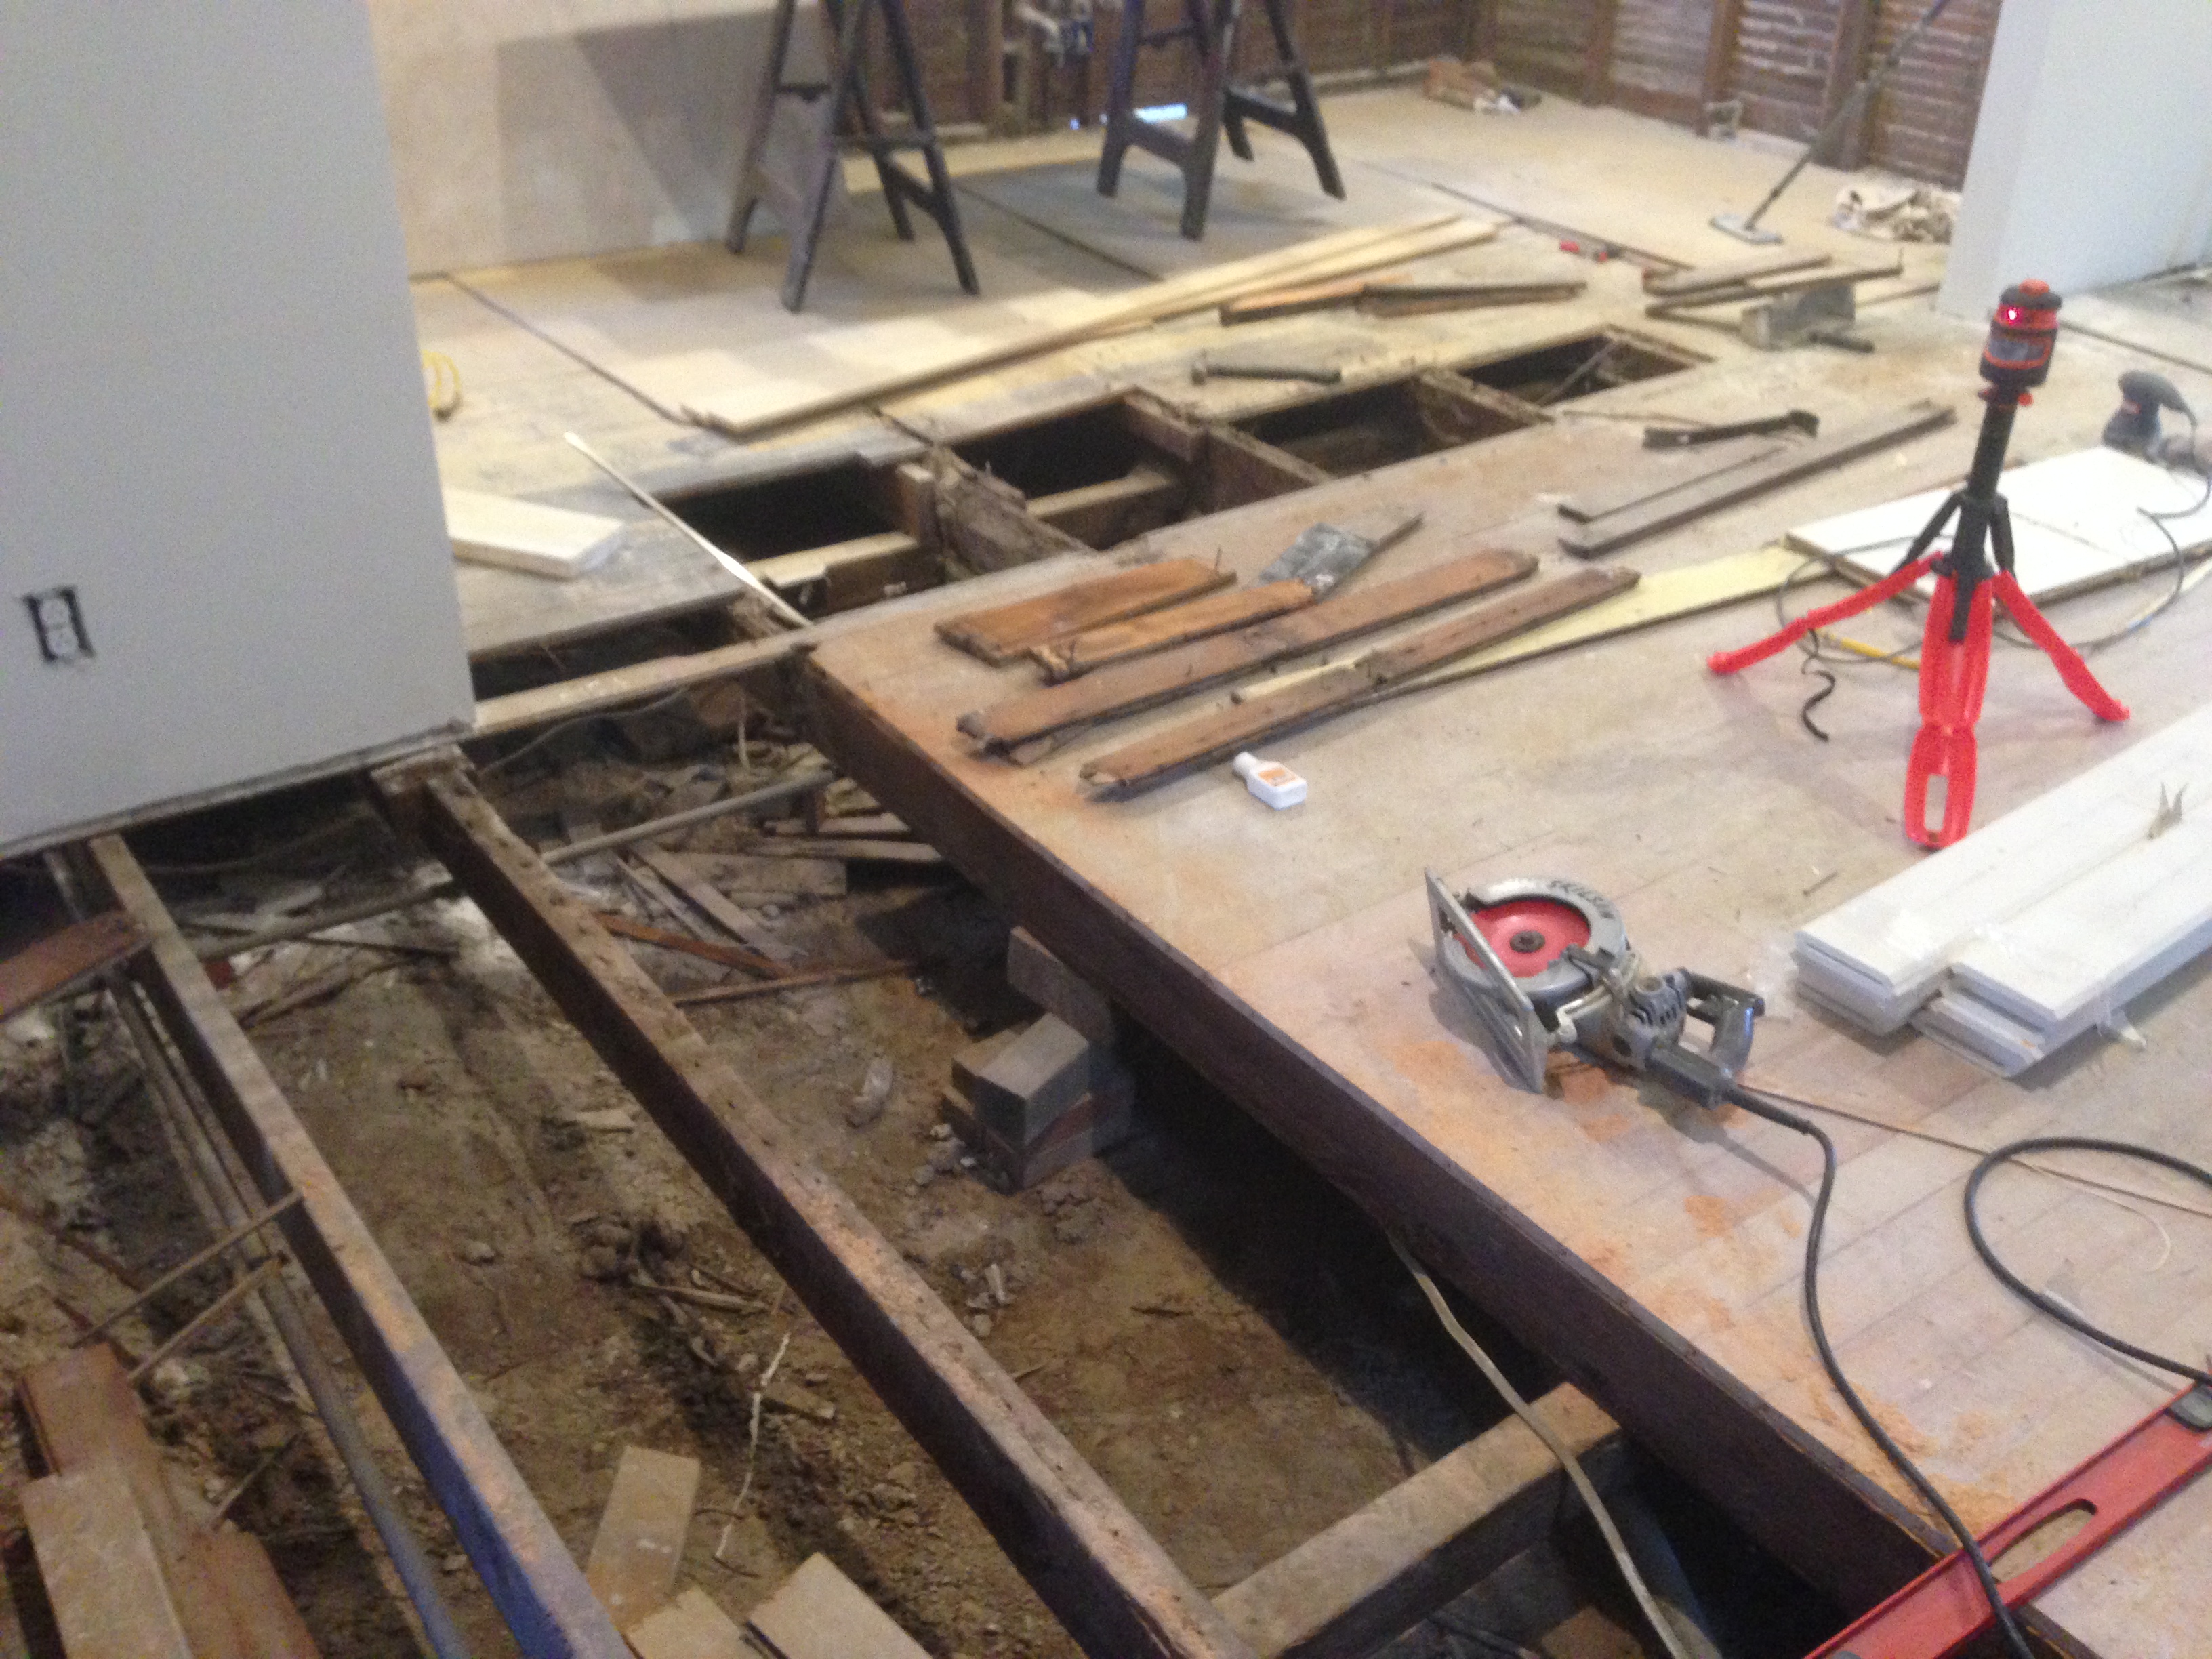
Day 112
We are finally ready for flooring! After sanding, painting, installing moldings, cleaning, and removing tack strip the family room is ready for floor. We purchased dark brown, engineered hard wood HERE and we are going to install it ourselves! We have installed wood floors before on a raised foundation, but never directly on slab. We shall see what it’s like to have to use glue…
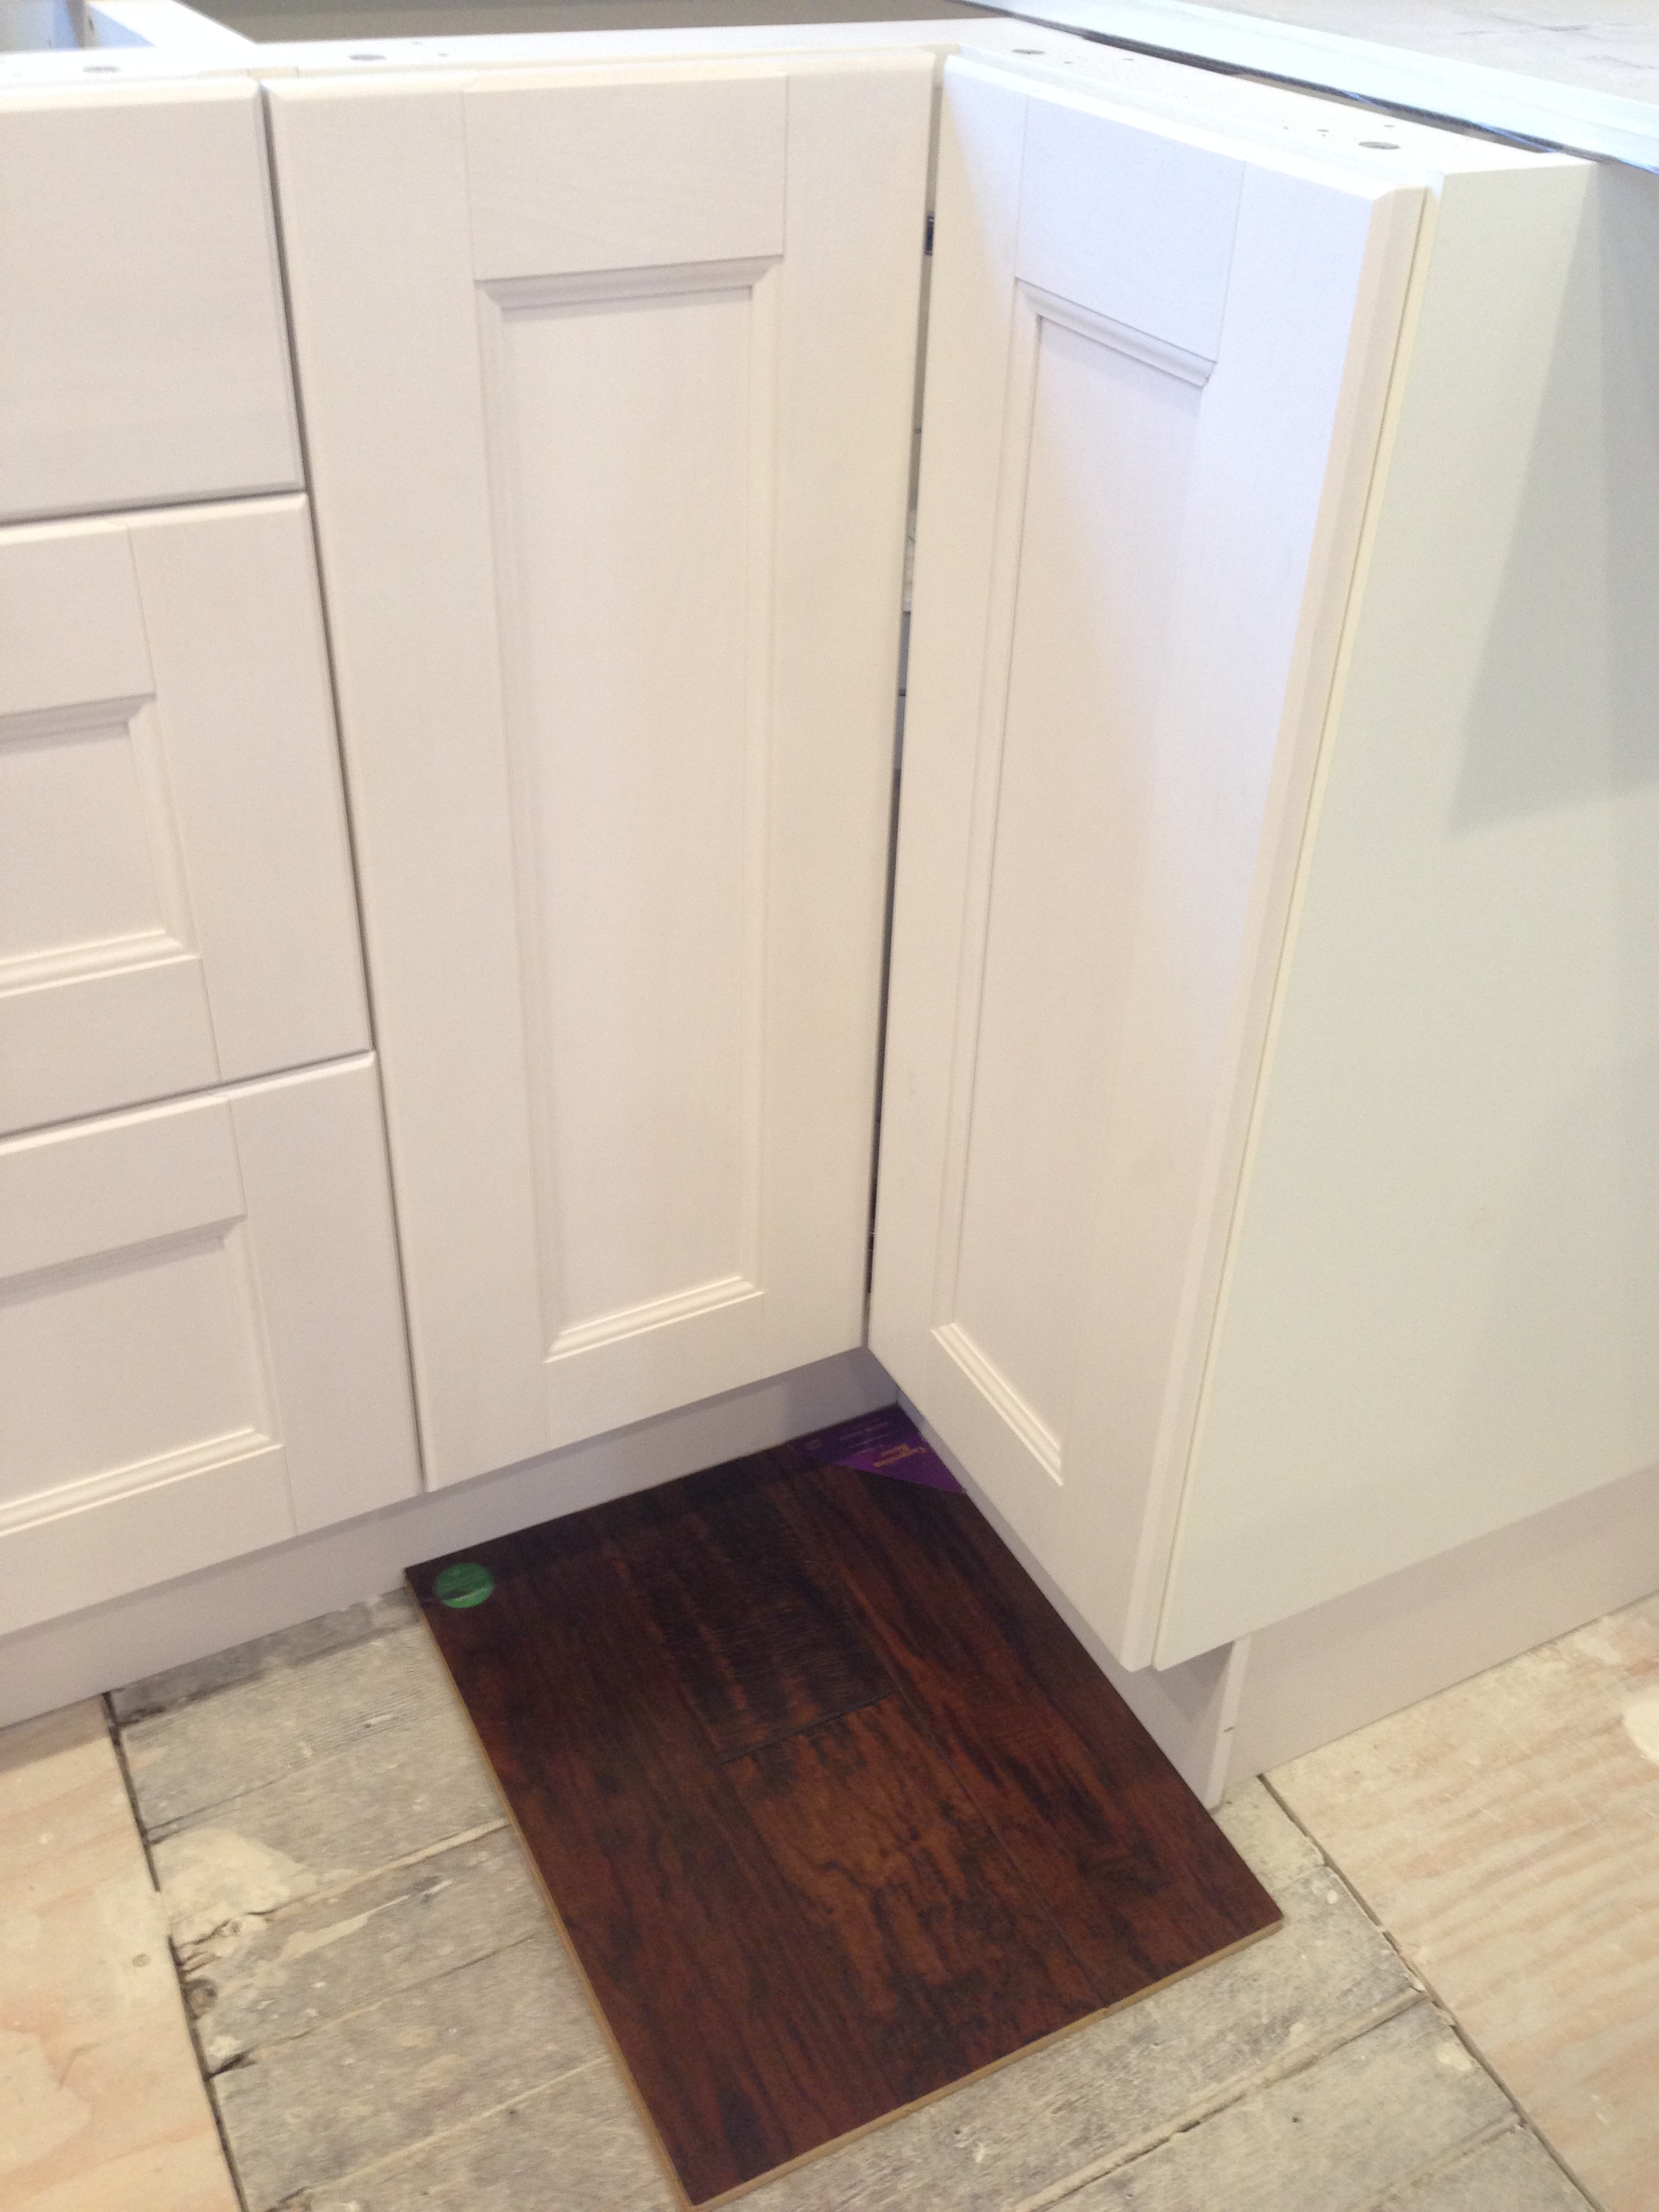
Sample of the wood we chose next to the kitchen cabinets.
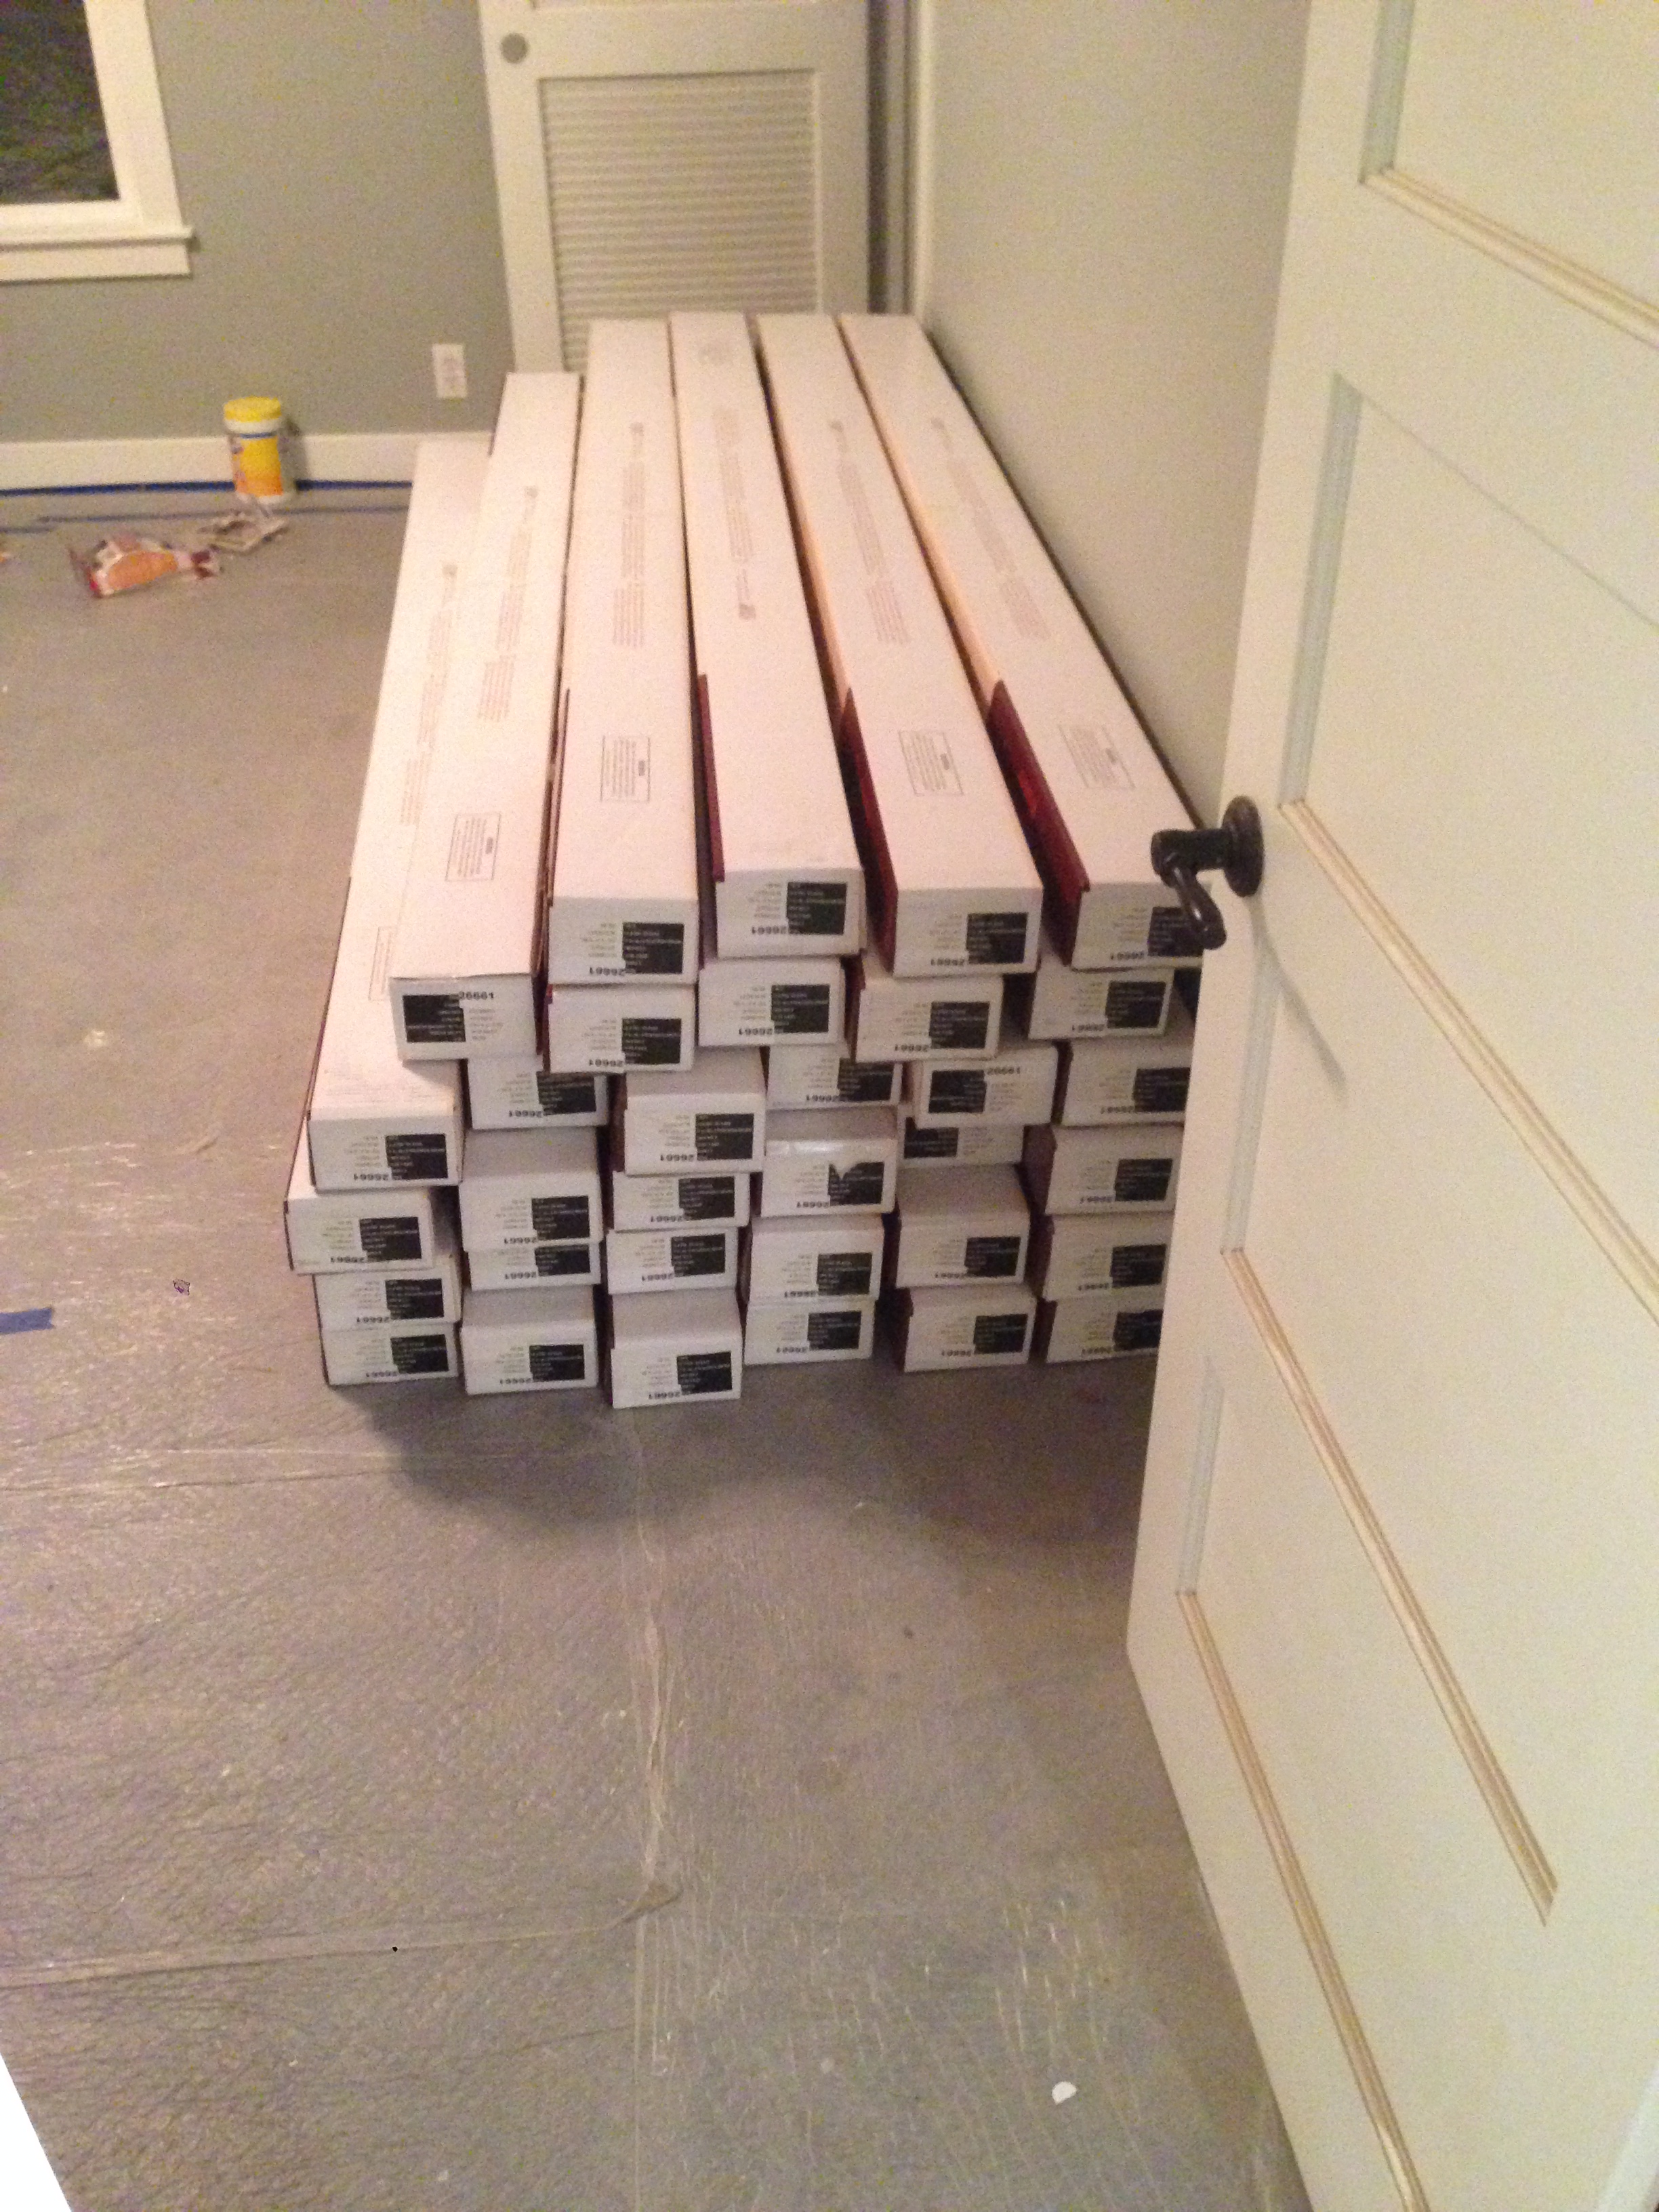
Always leave the boxes of wood inside the area where they will be installed 2 days prior to installation. It allows them to acclimate to the temperature so that they won’t expand or contract once they are in place.