Trading Spaces BTS!

Be warned: this post is longgggg.

I still can’t believe that we were on TLC’s Trading Spaces. I am writing this post a few weeks post-filming because we have had such a busy month and haven’t had time to actually sit down and think. I am wracking my memory trying to write down every last detail so that I don’t let this experience fade away. I will probably over-share and give more information than necessary, it will be a lot to read, but I want to make sure I remember everything!

Let’s start at the very beginning…

July 13 –  I was perusing Facebook and I saw a post about how TLC was looking for families interested in being on their show Trading Spaces, which had been off the air for over 10 years and which they were bringing back. I remembered watching this show as a kid and being utterly amazed at the concept, it was truly the first of its kind (I actually think I can contribute my interest in design at a young age to this show)! So I texted my friend Krista who 1. has excellent design style and 2. lives right down the street. She texted back immediately and said, “Oh my gosh yes!!!!!!”.

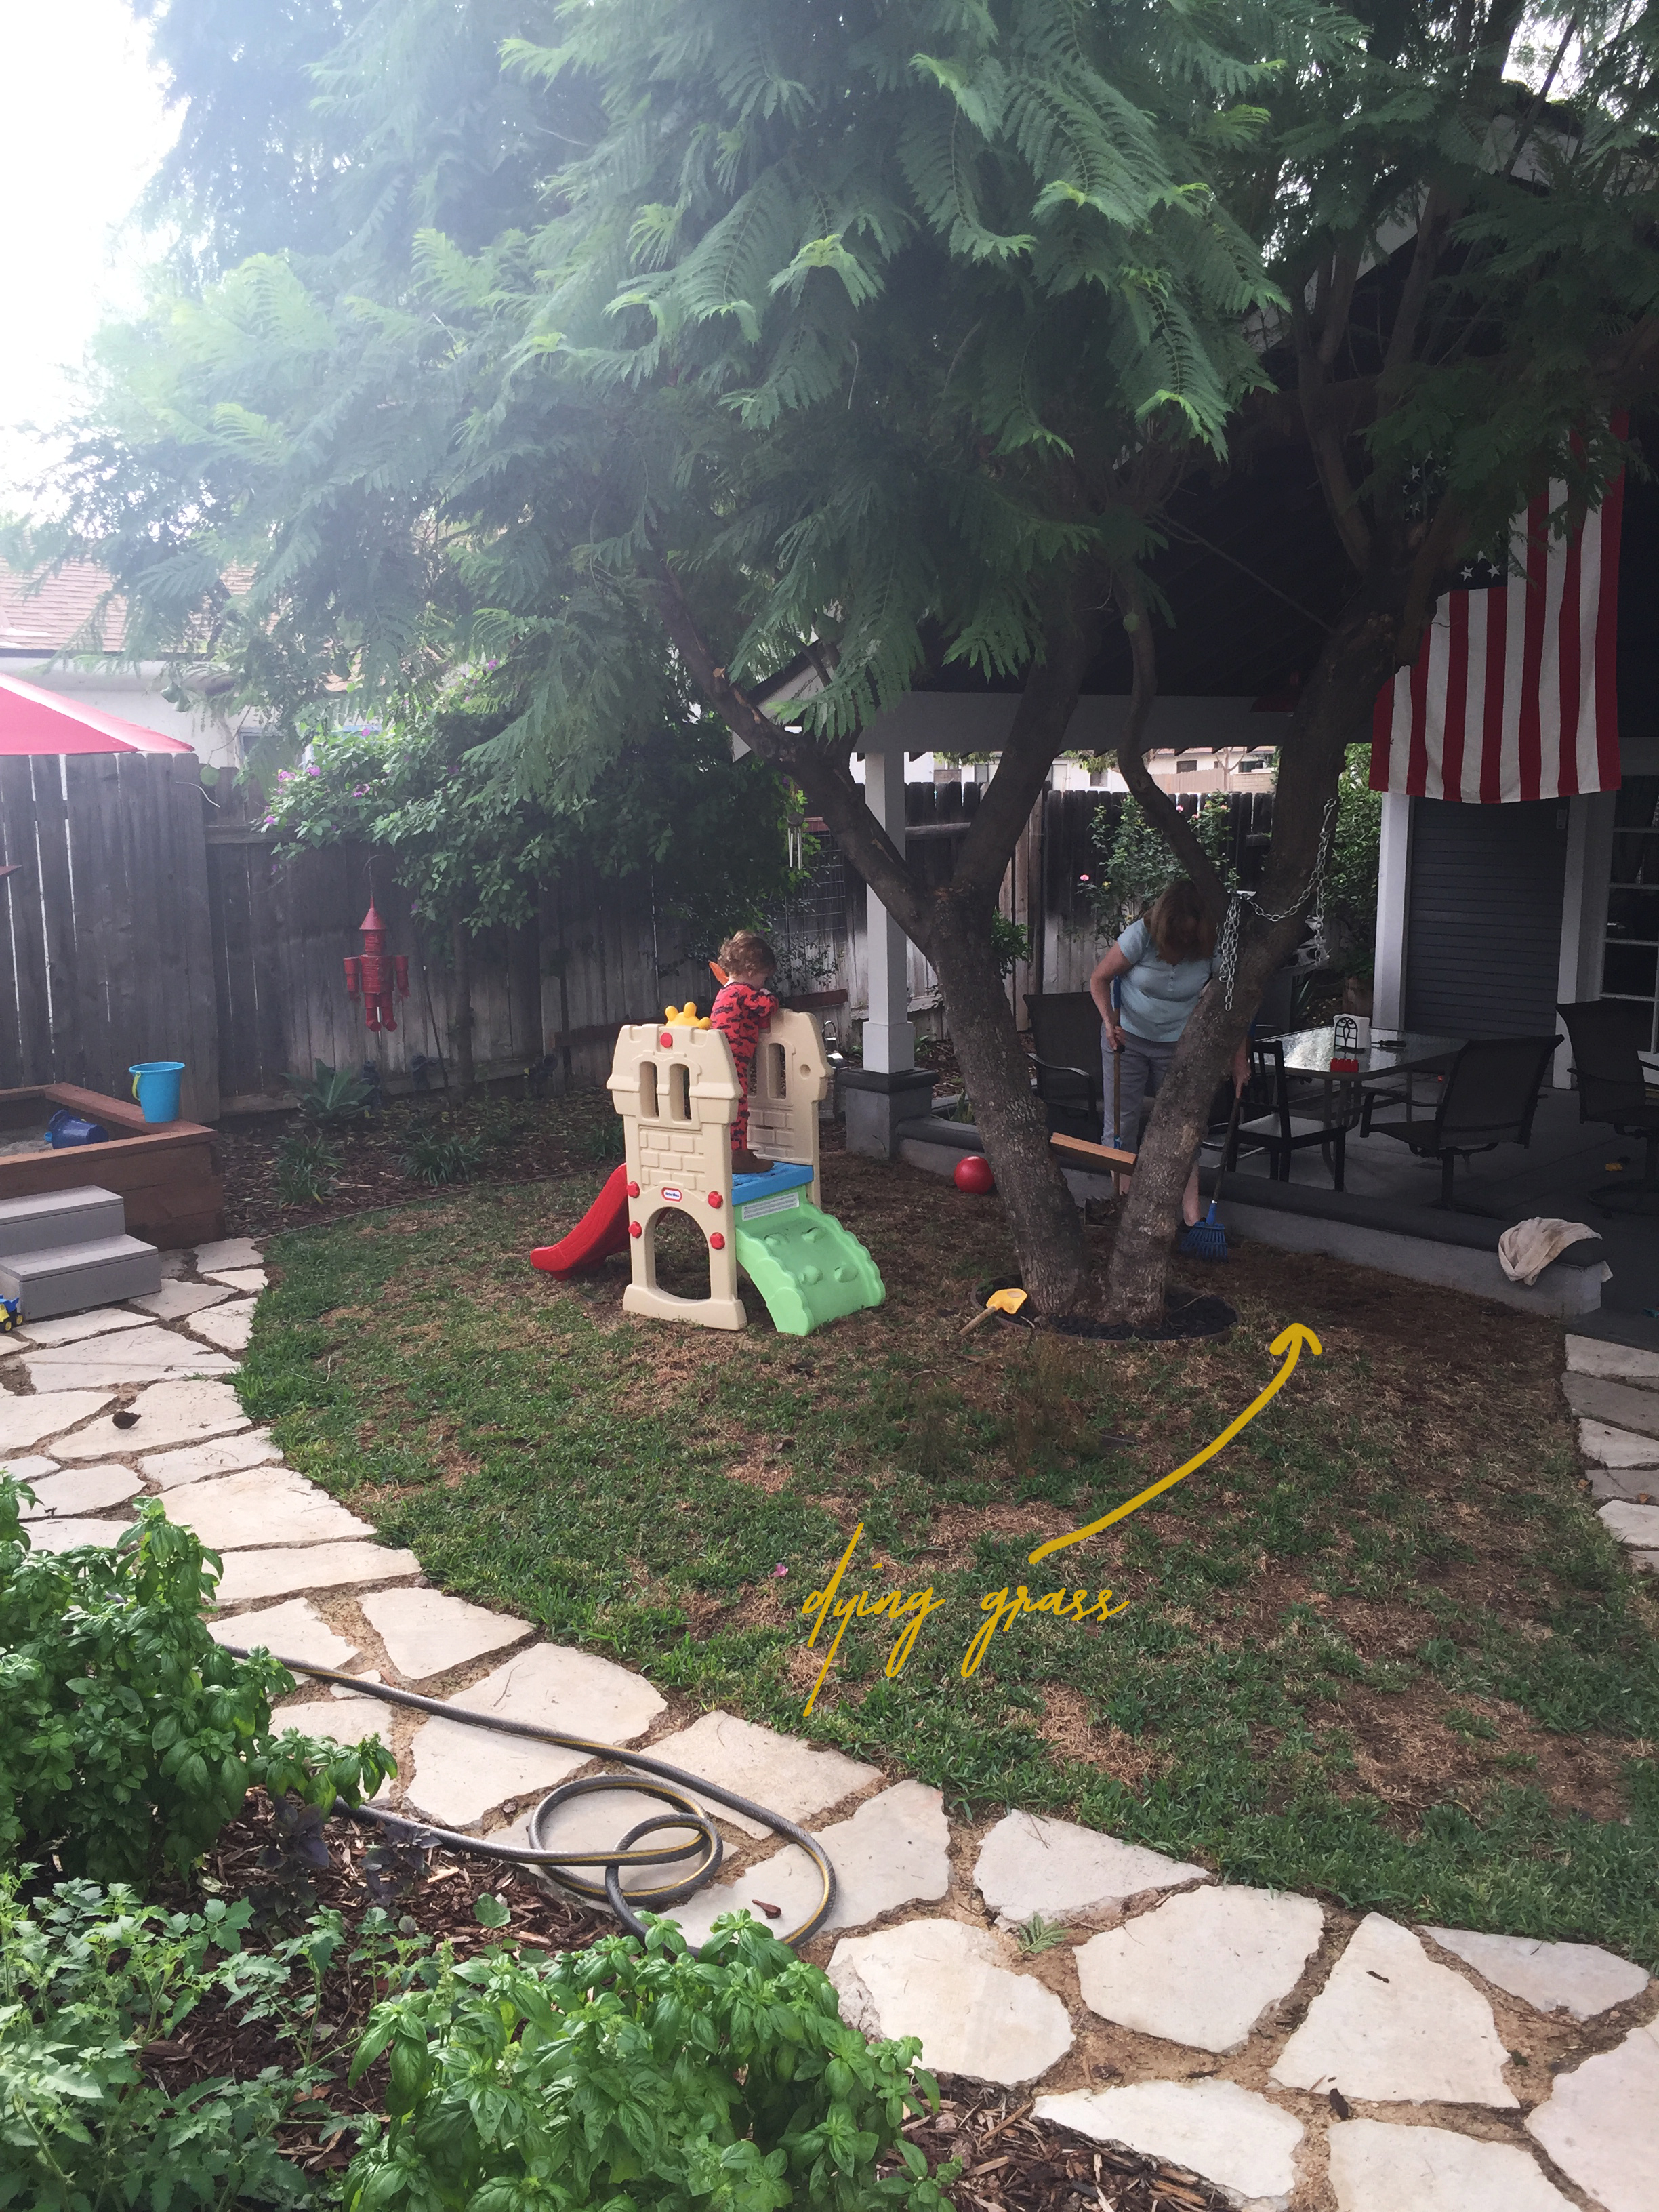
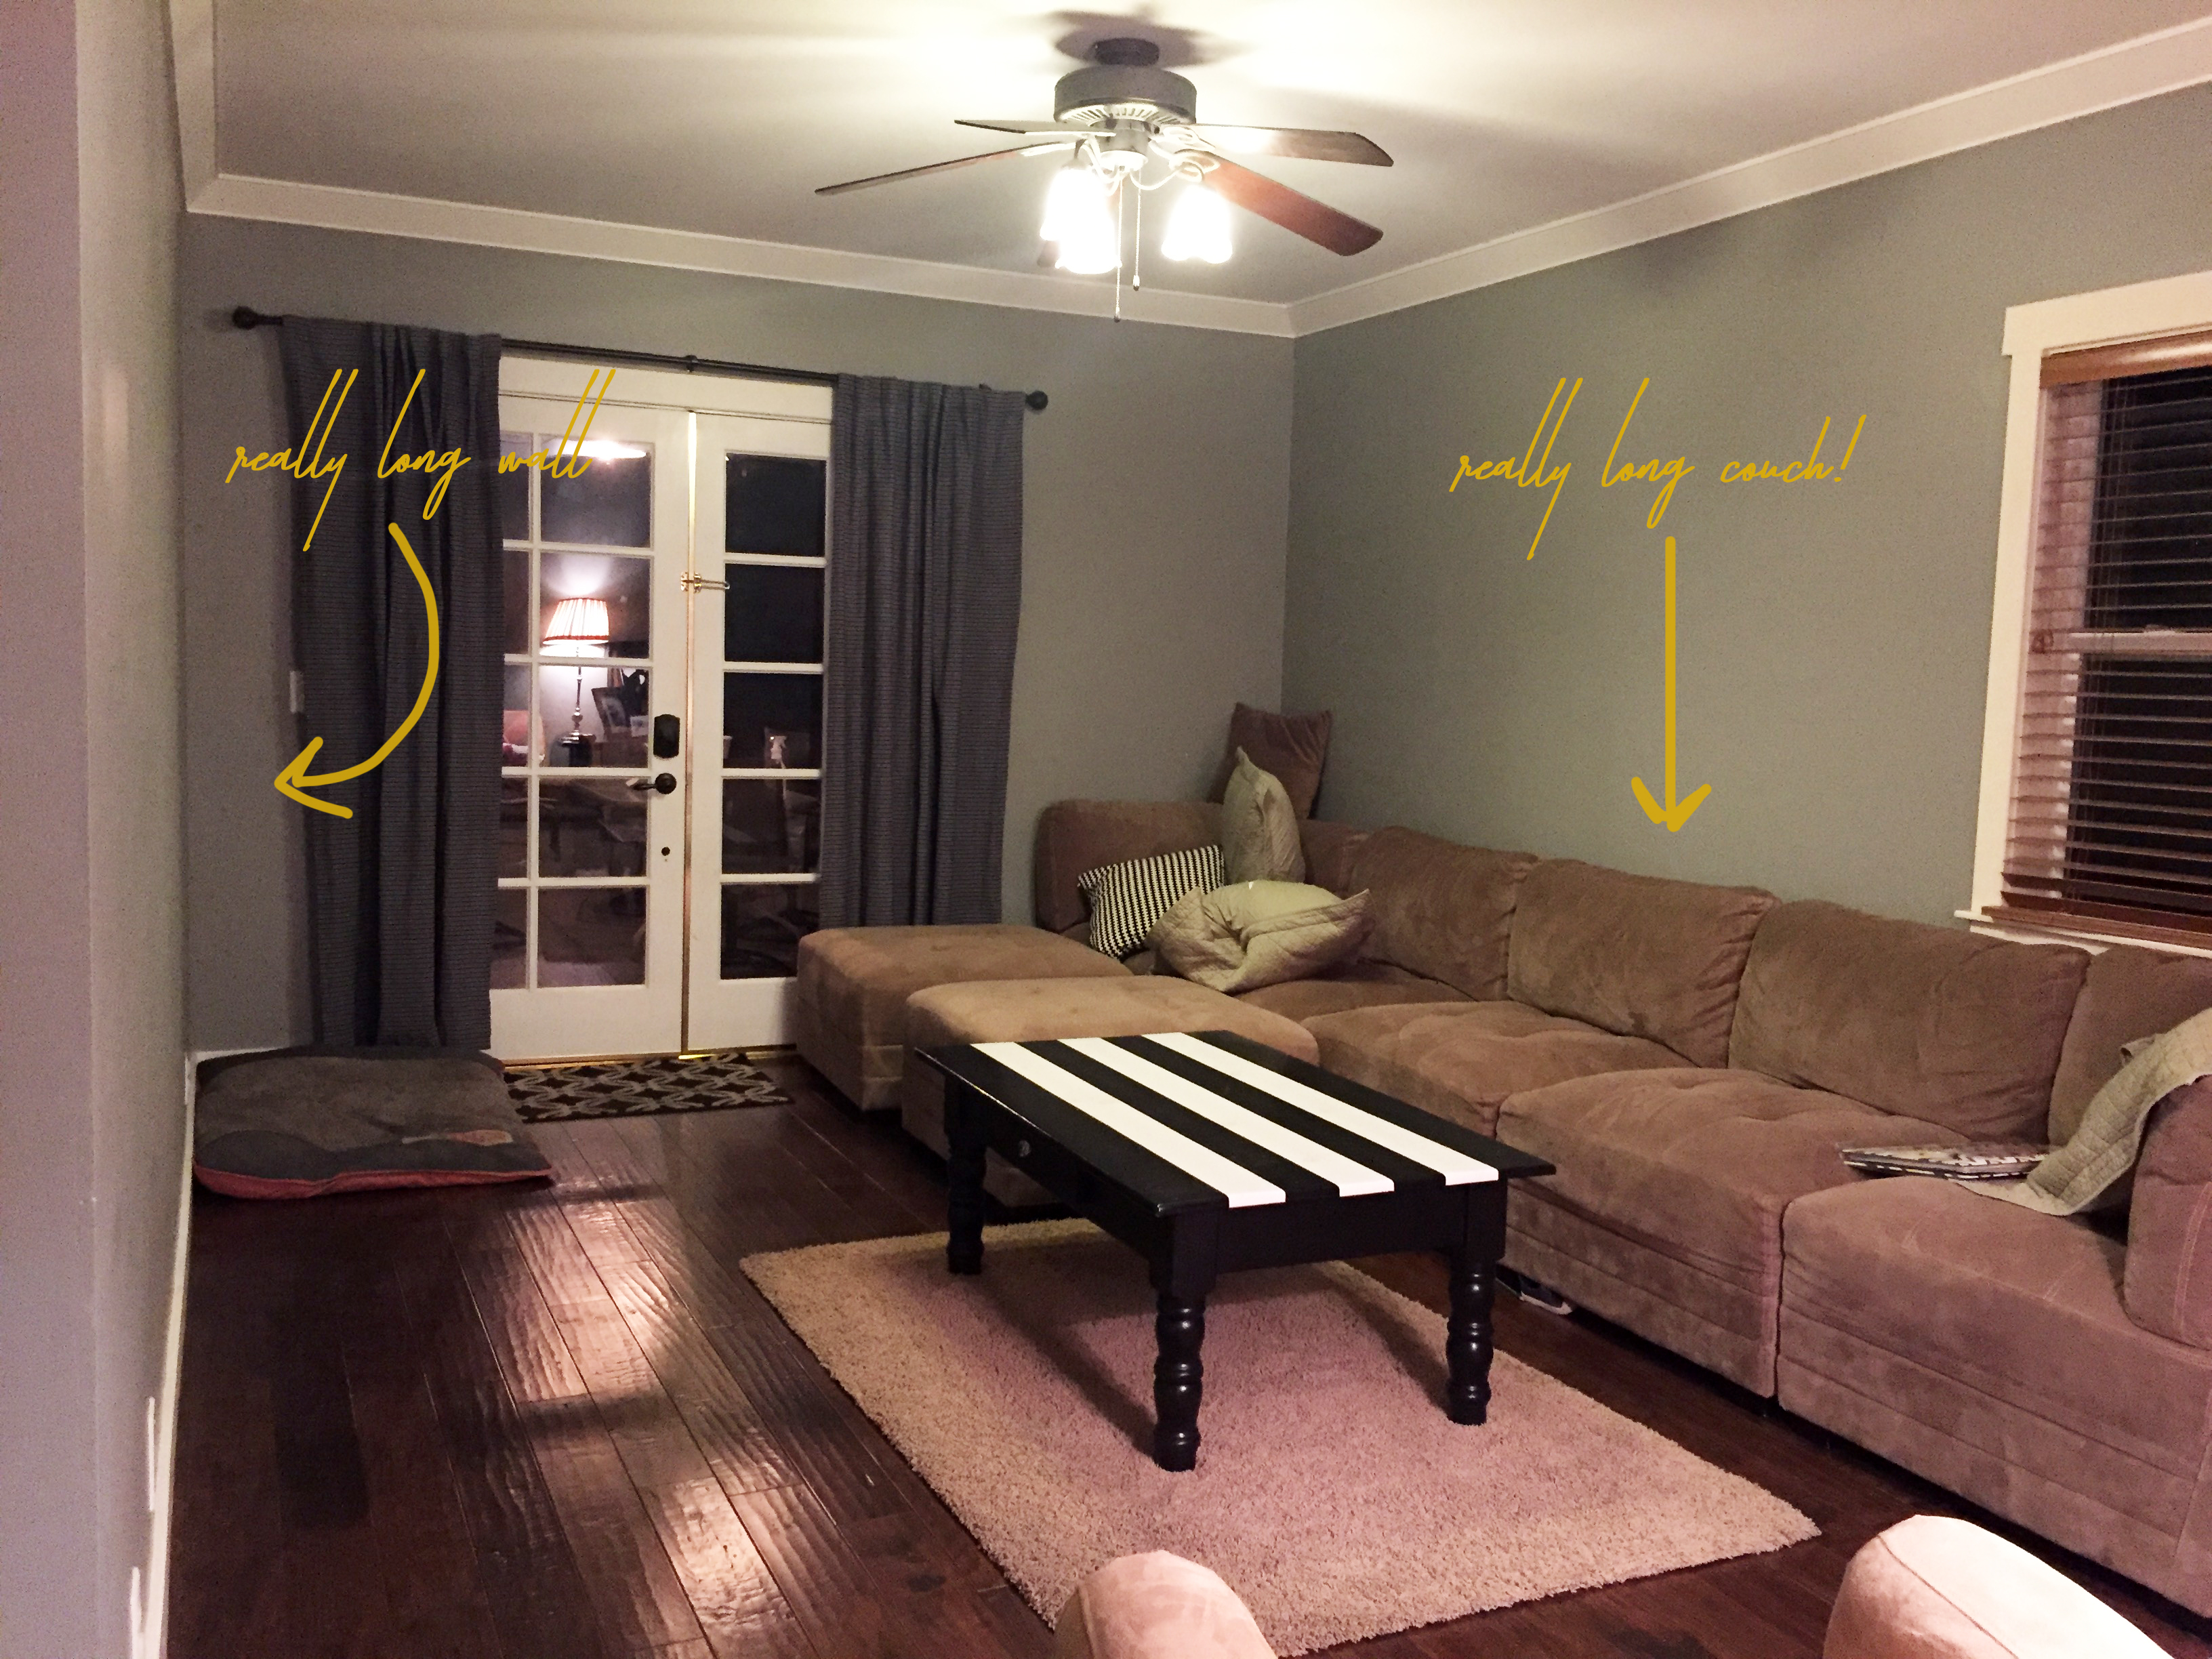
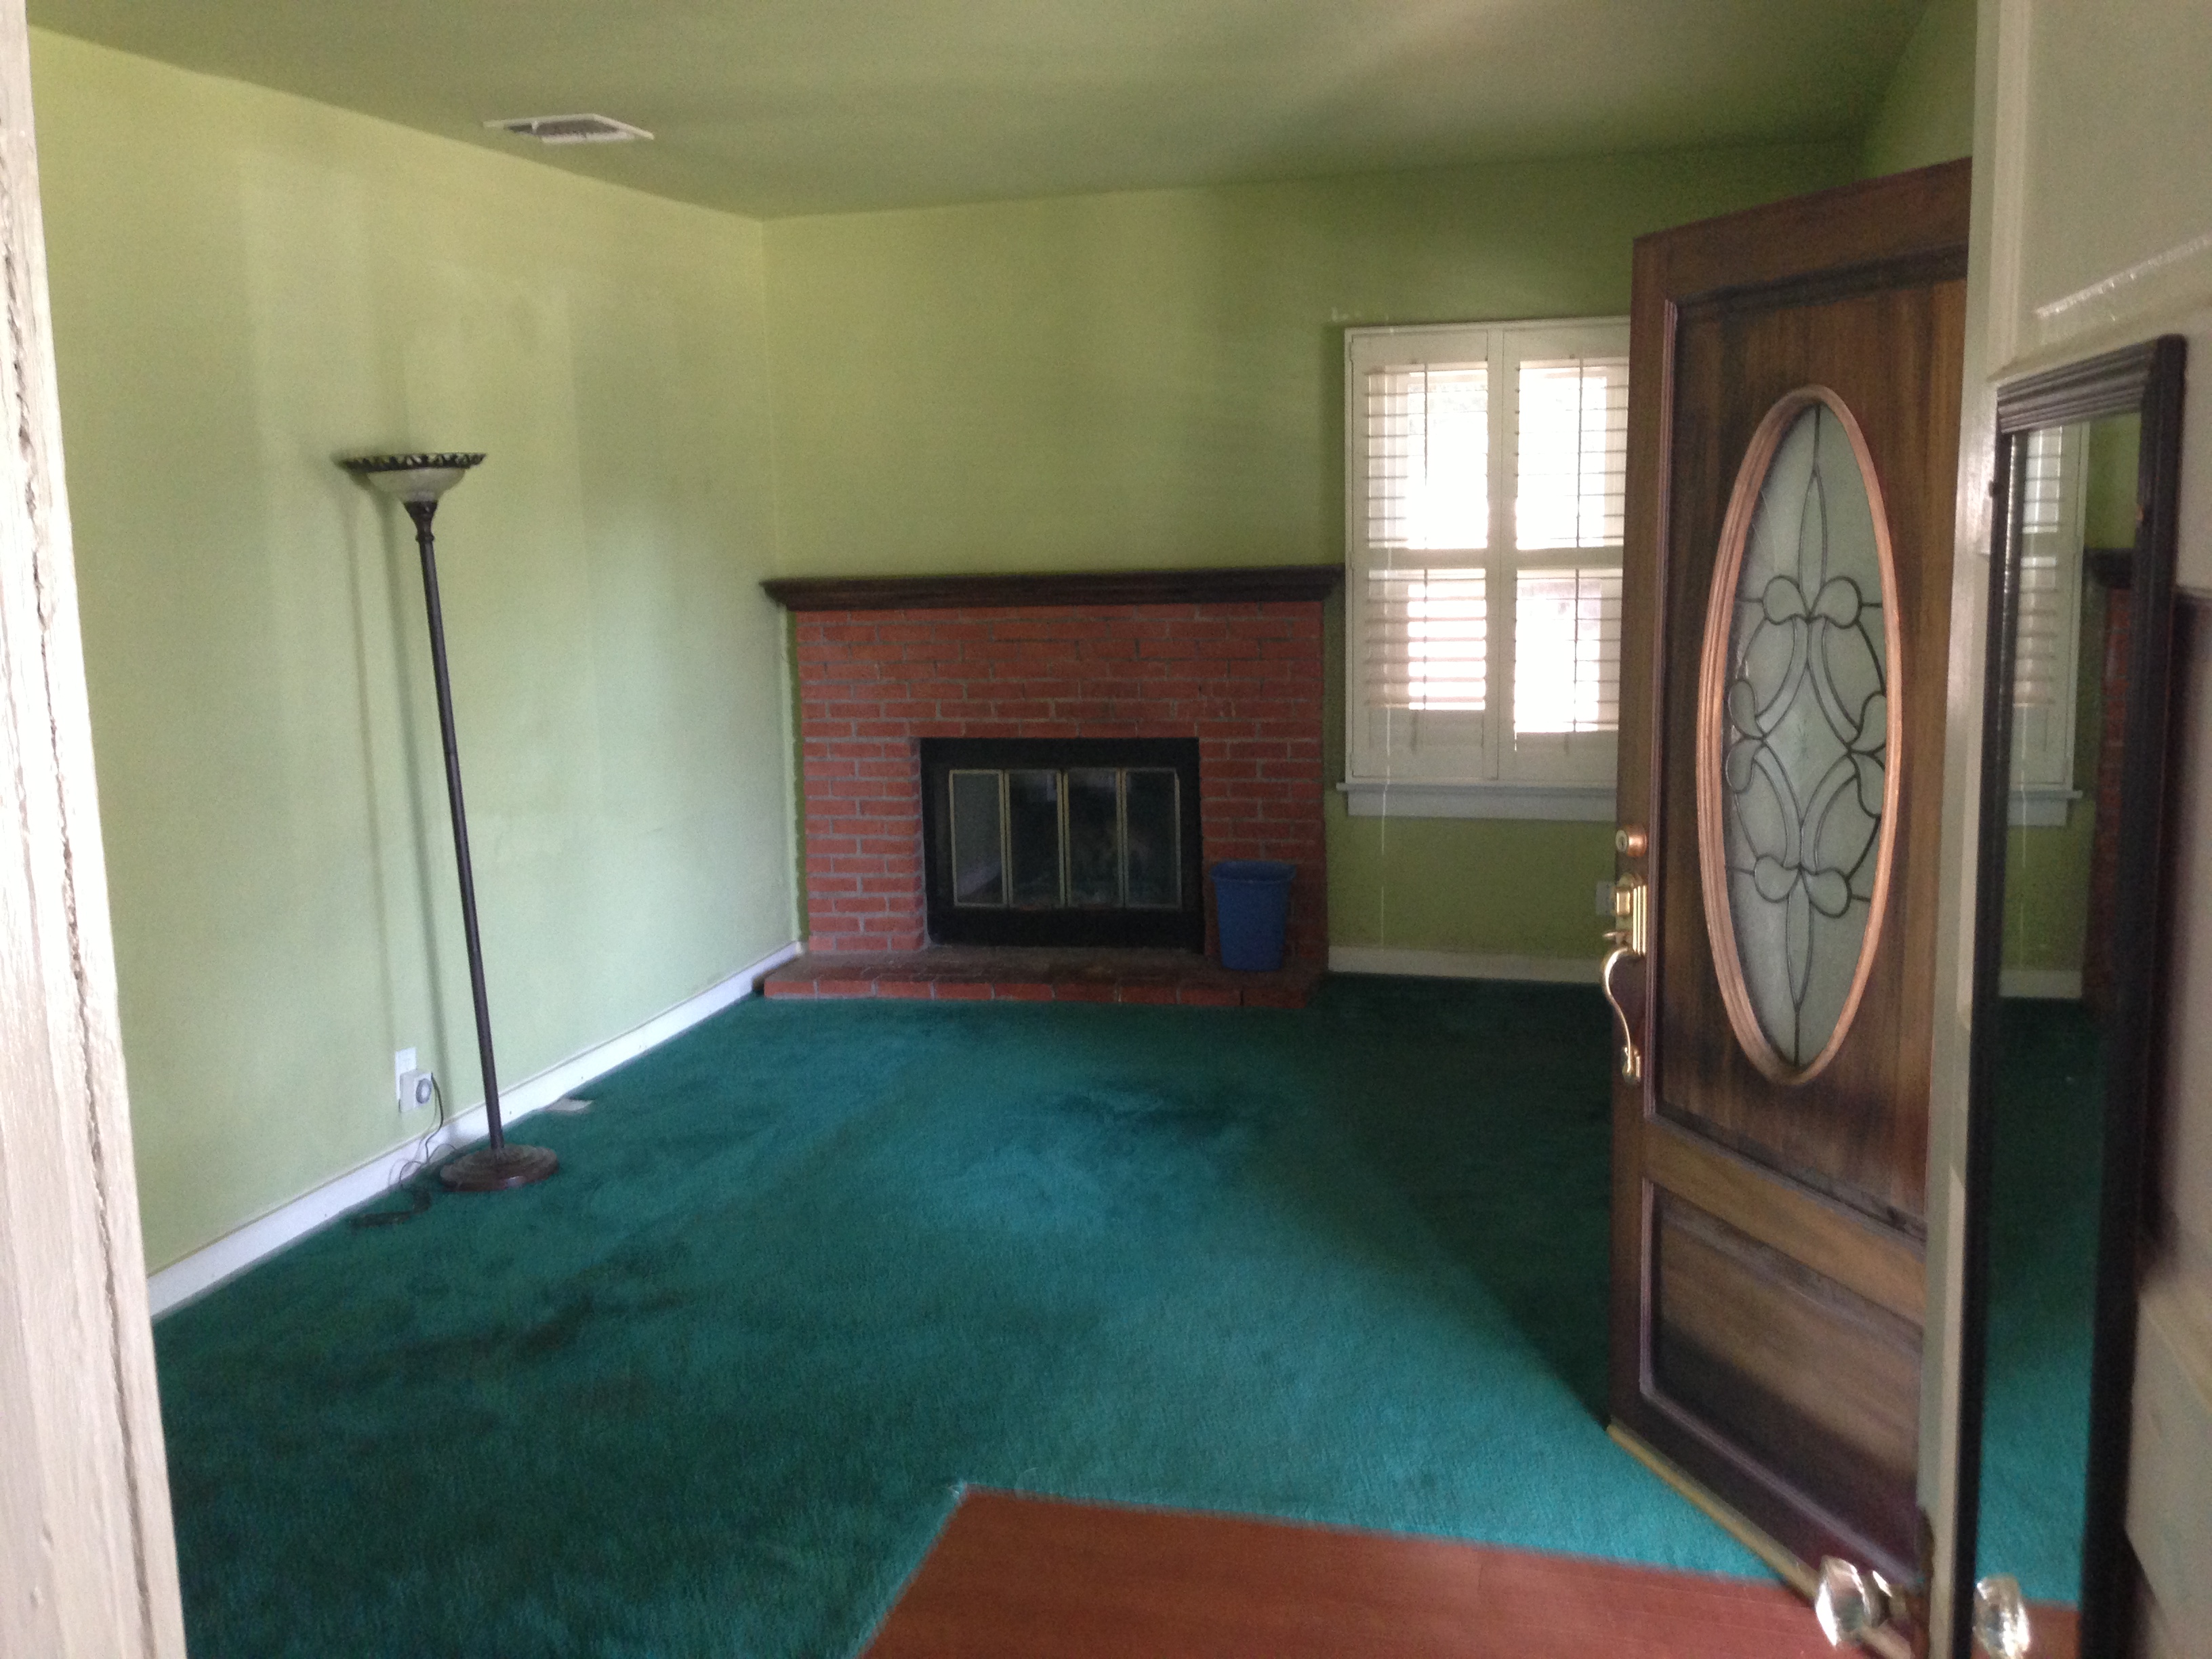
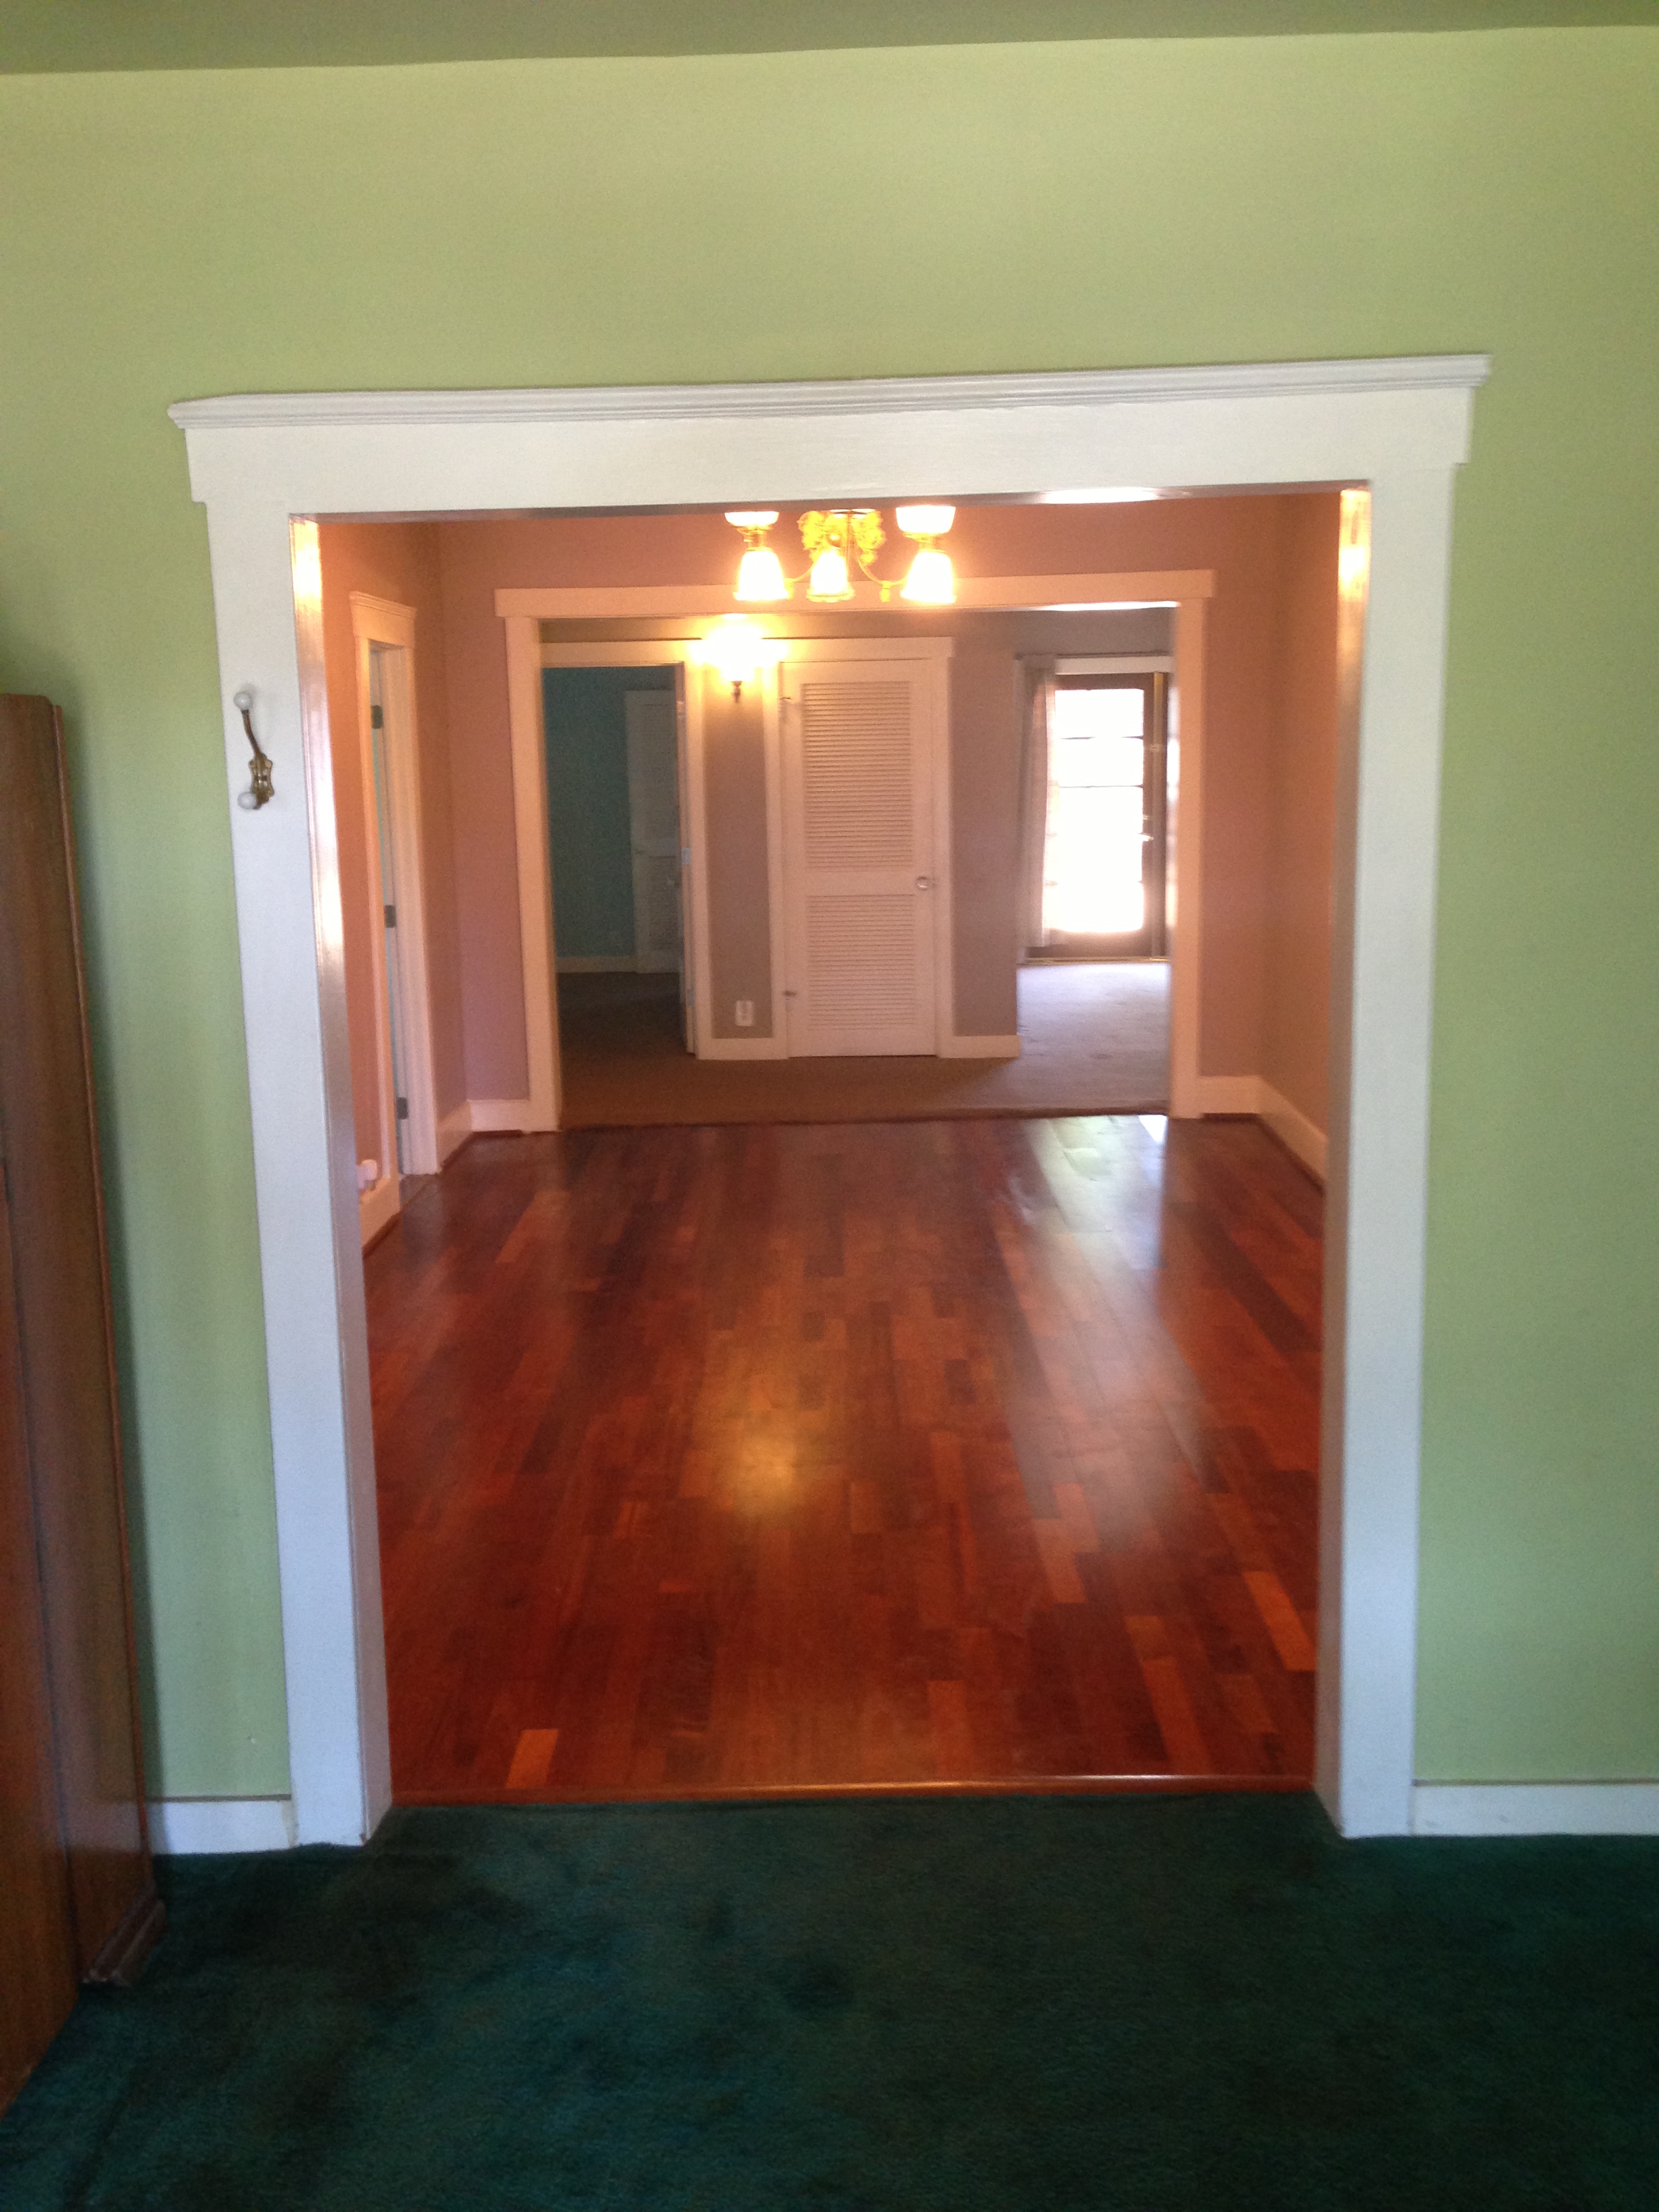
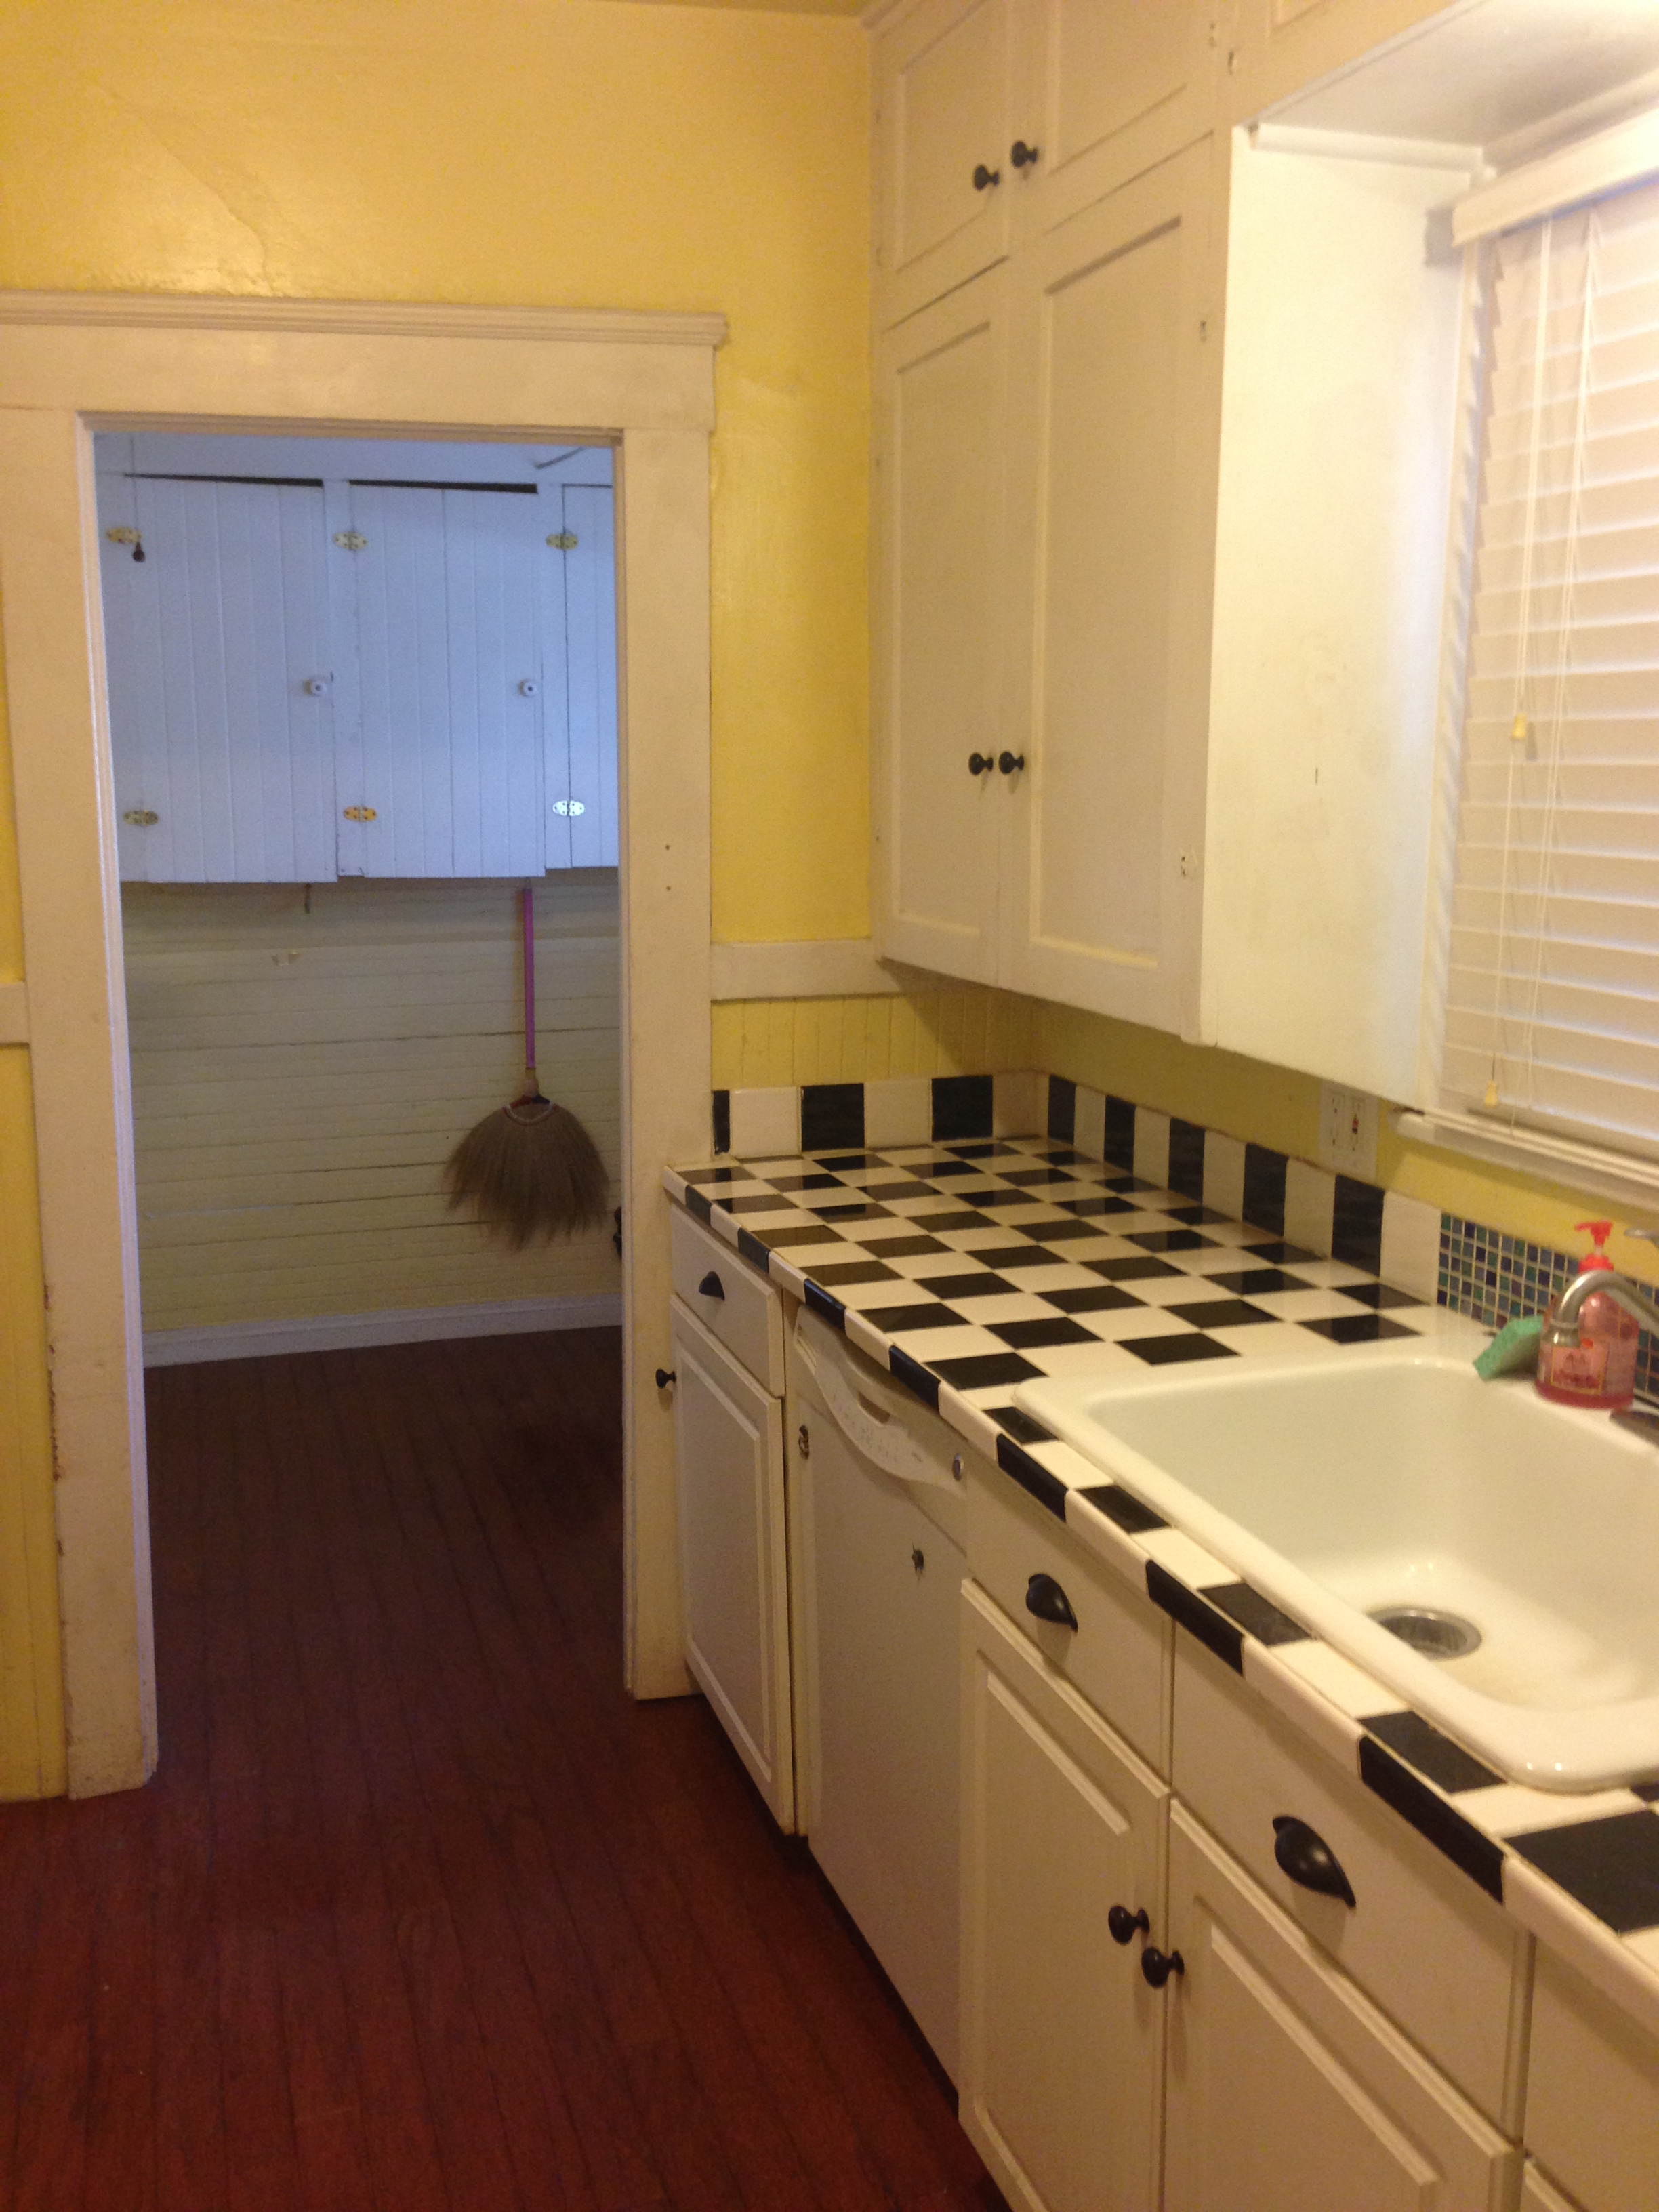
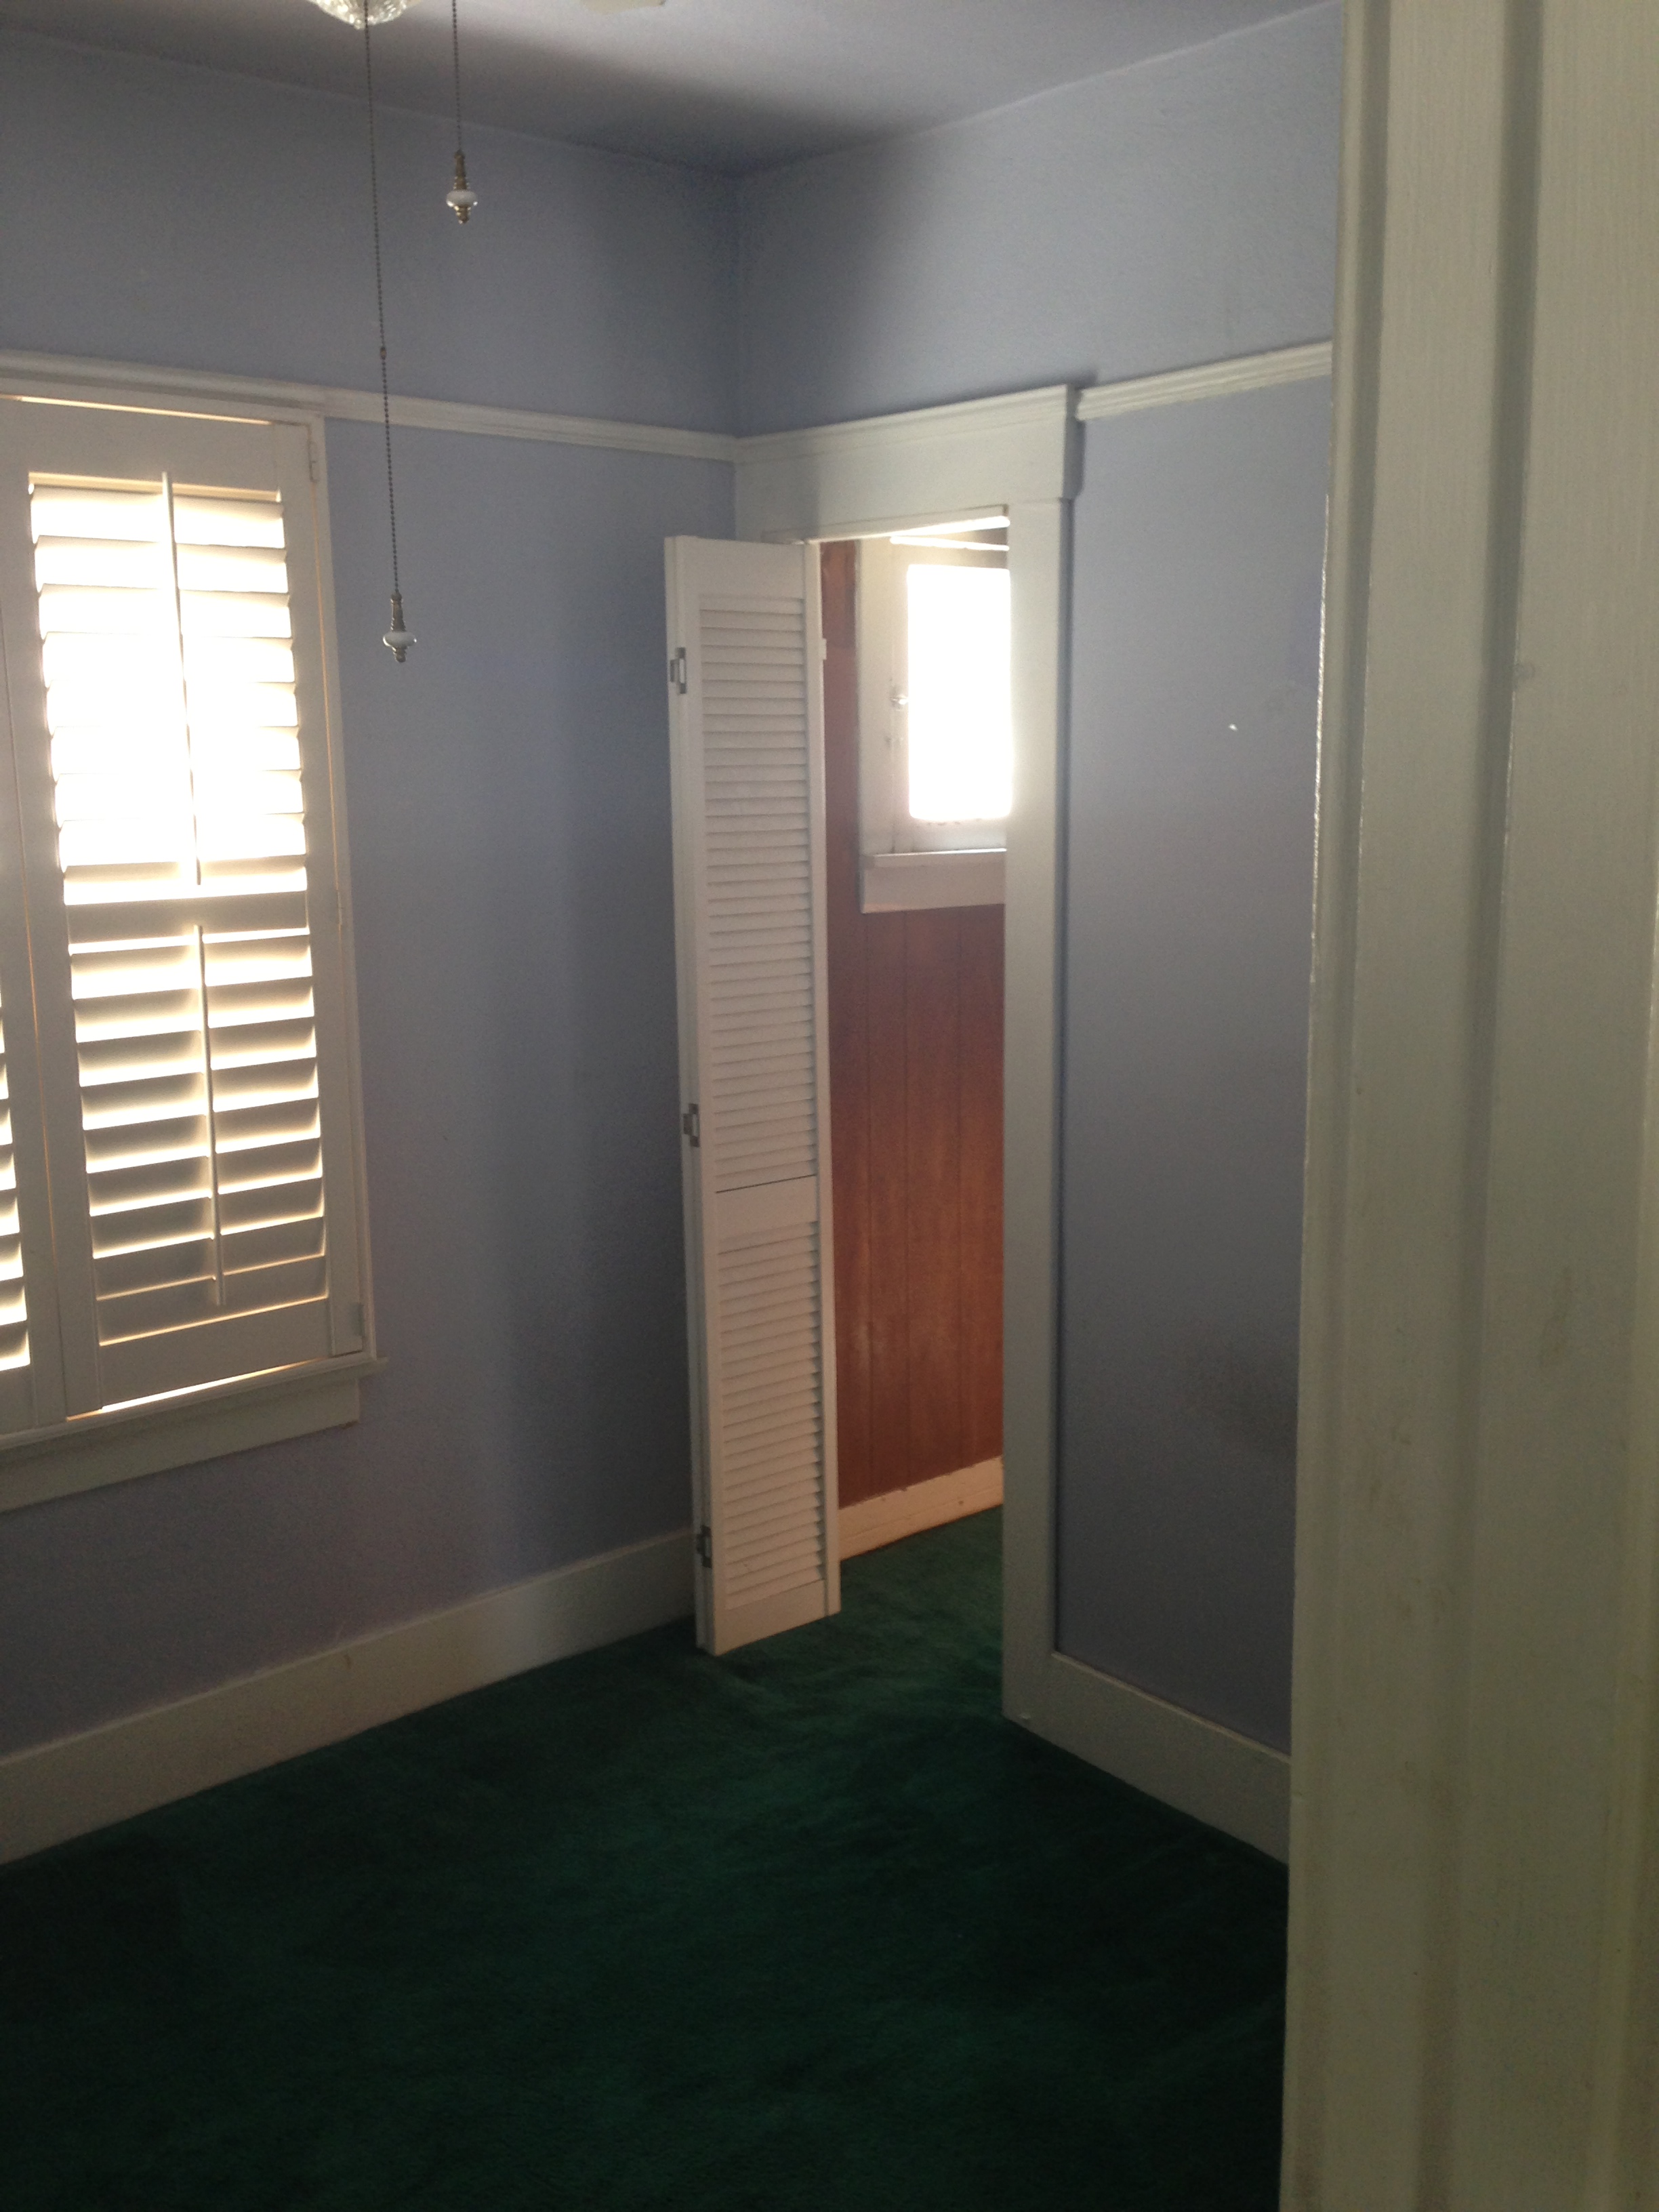
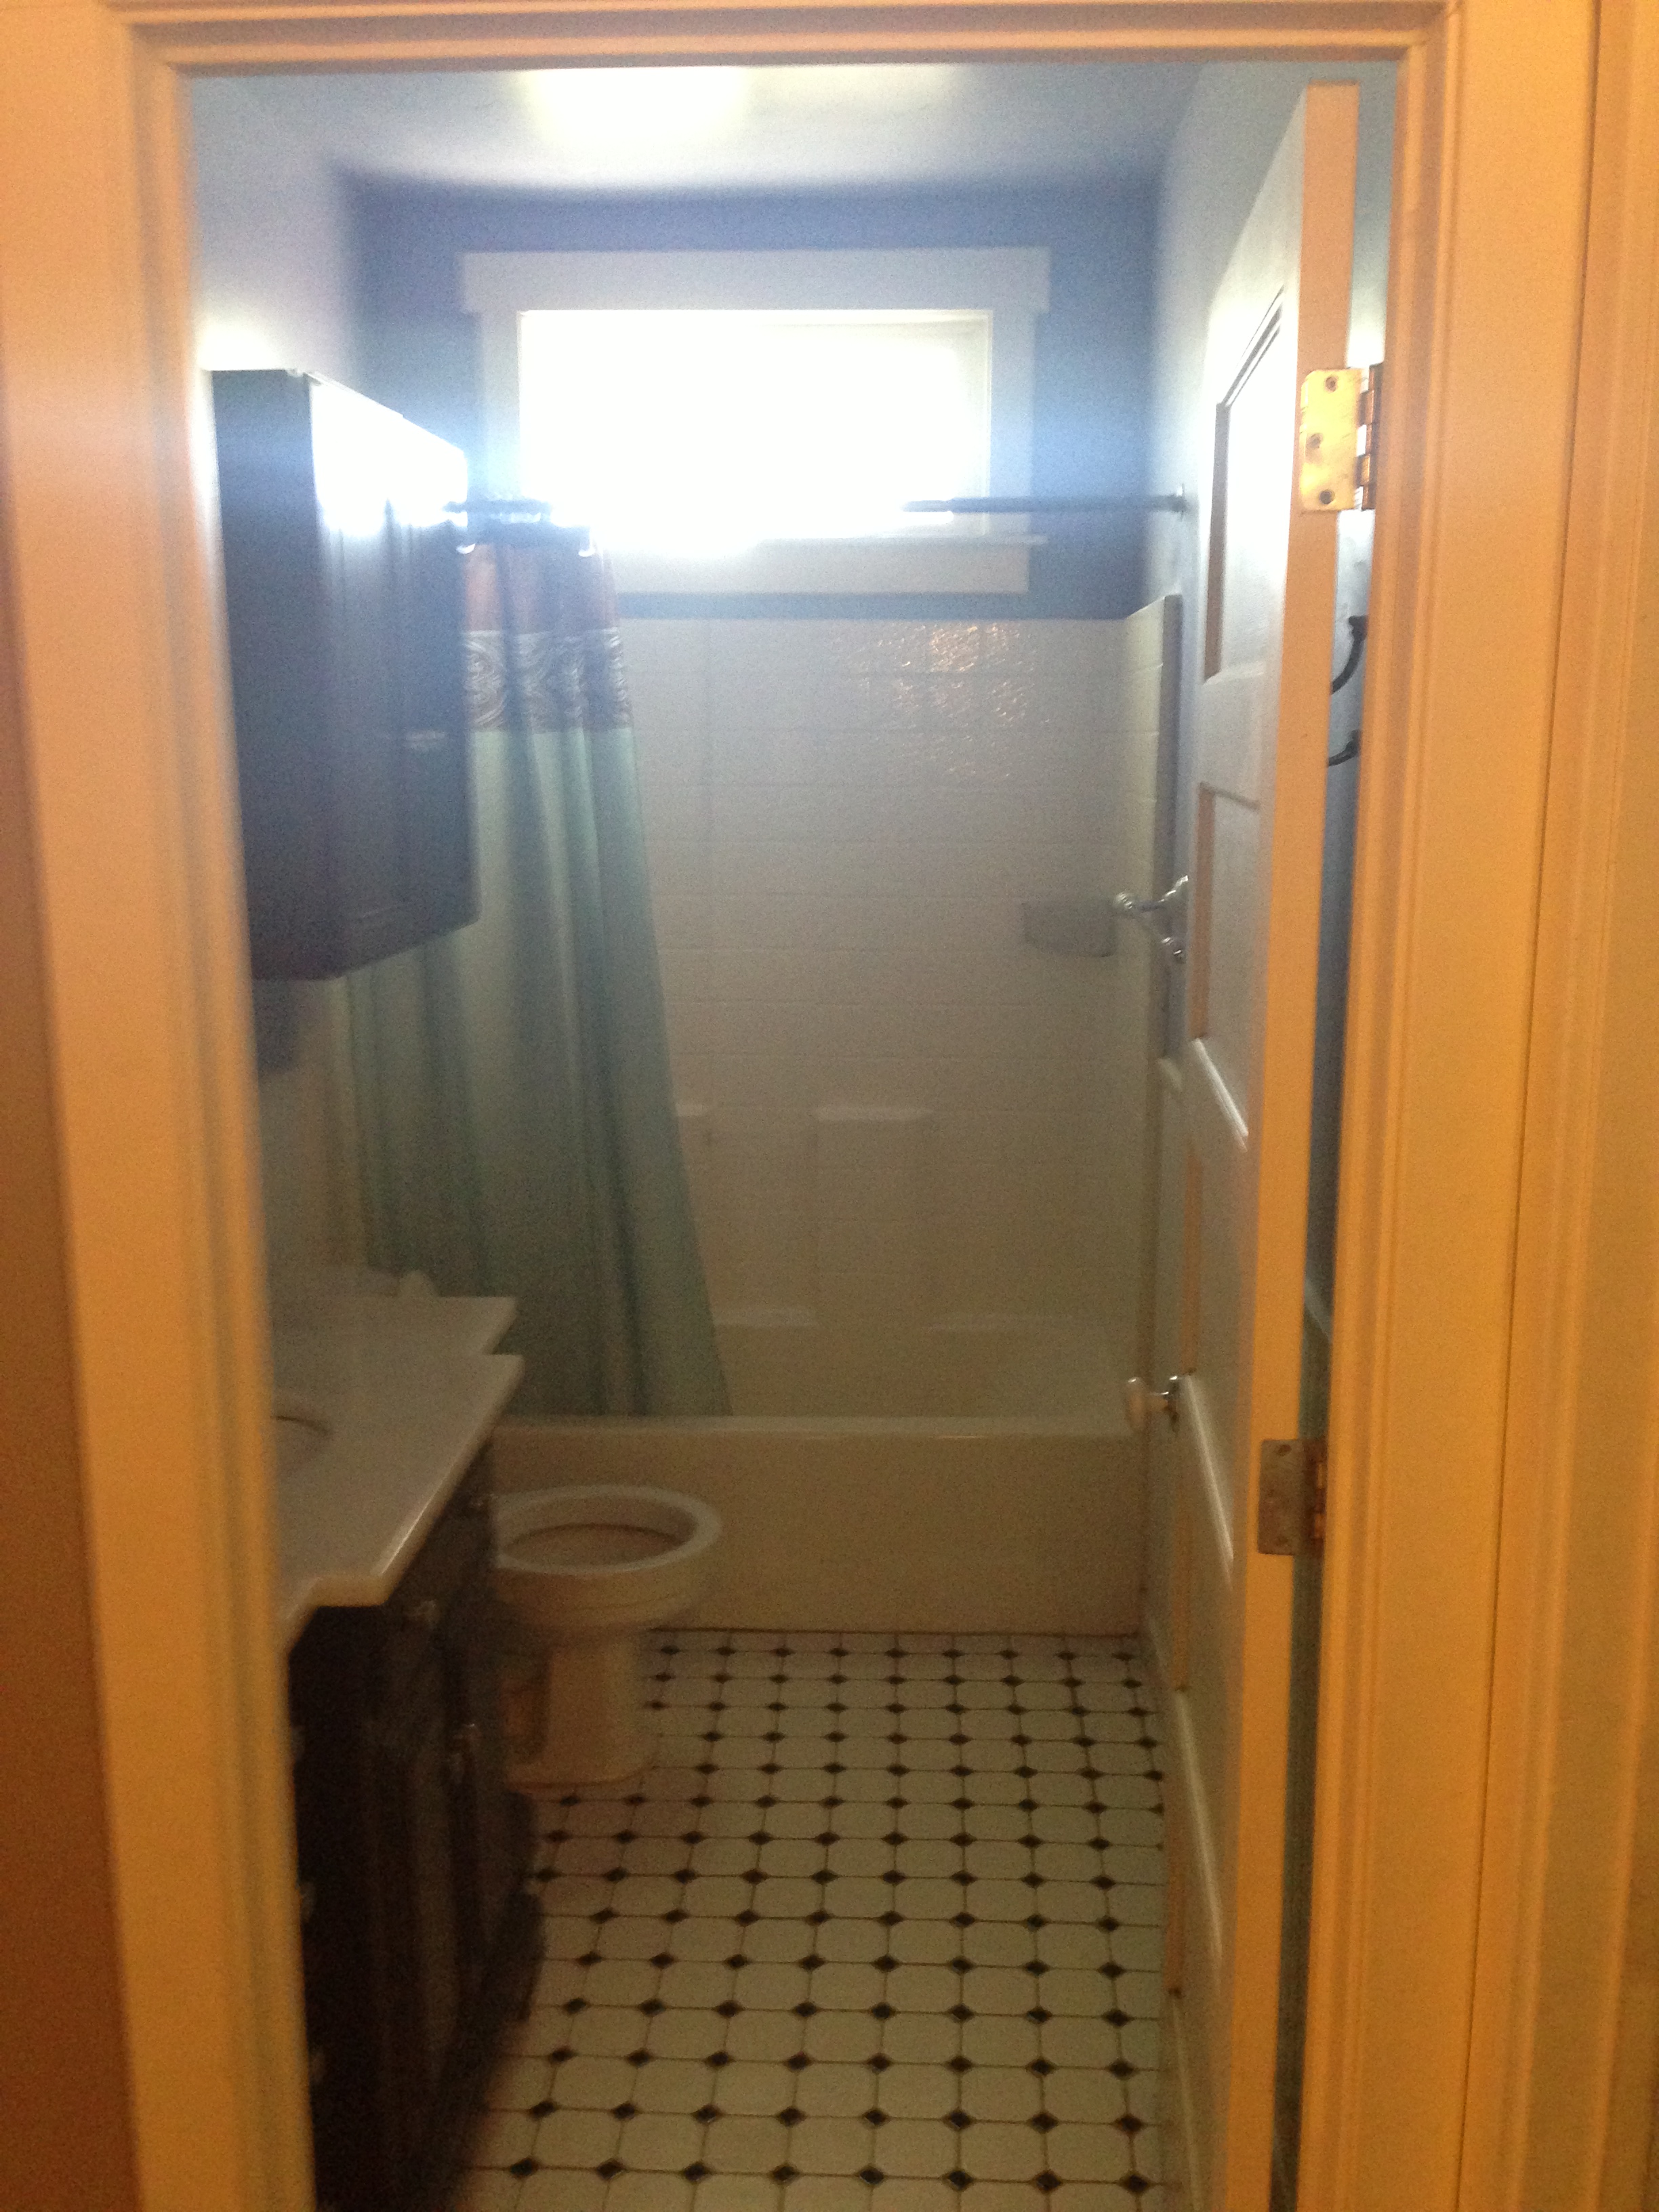
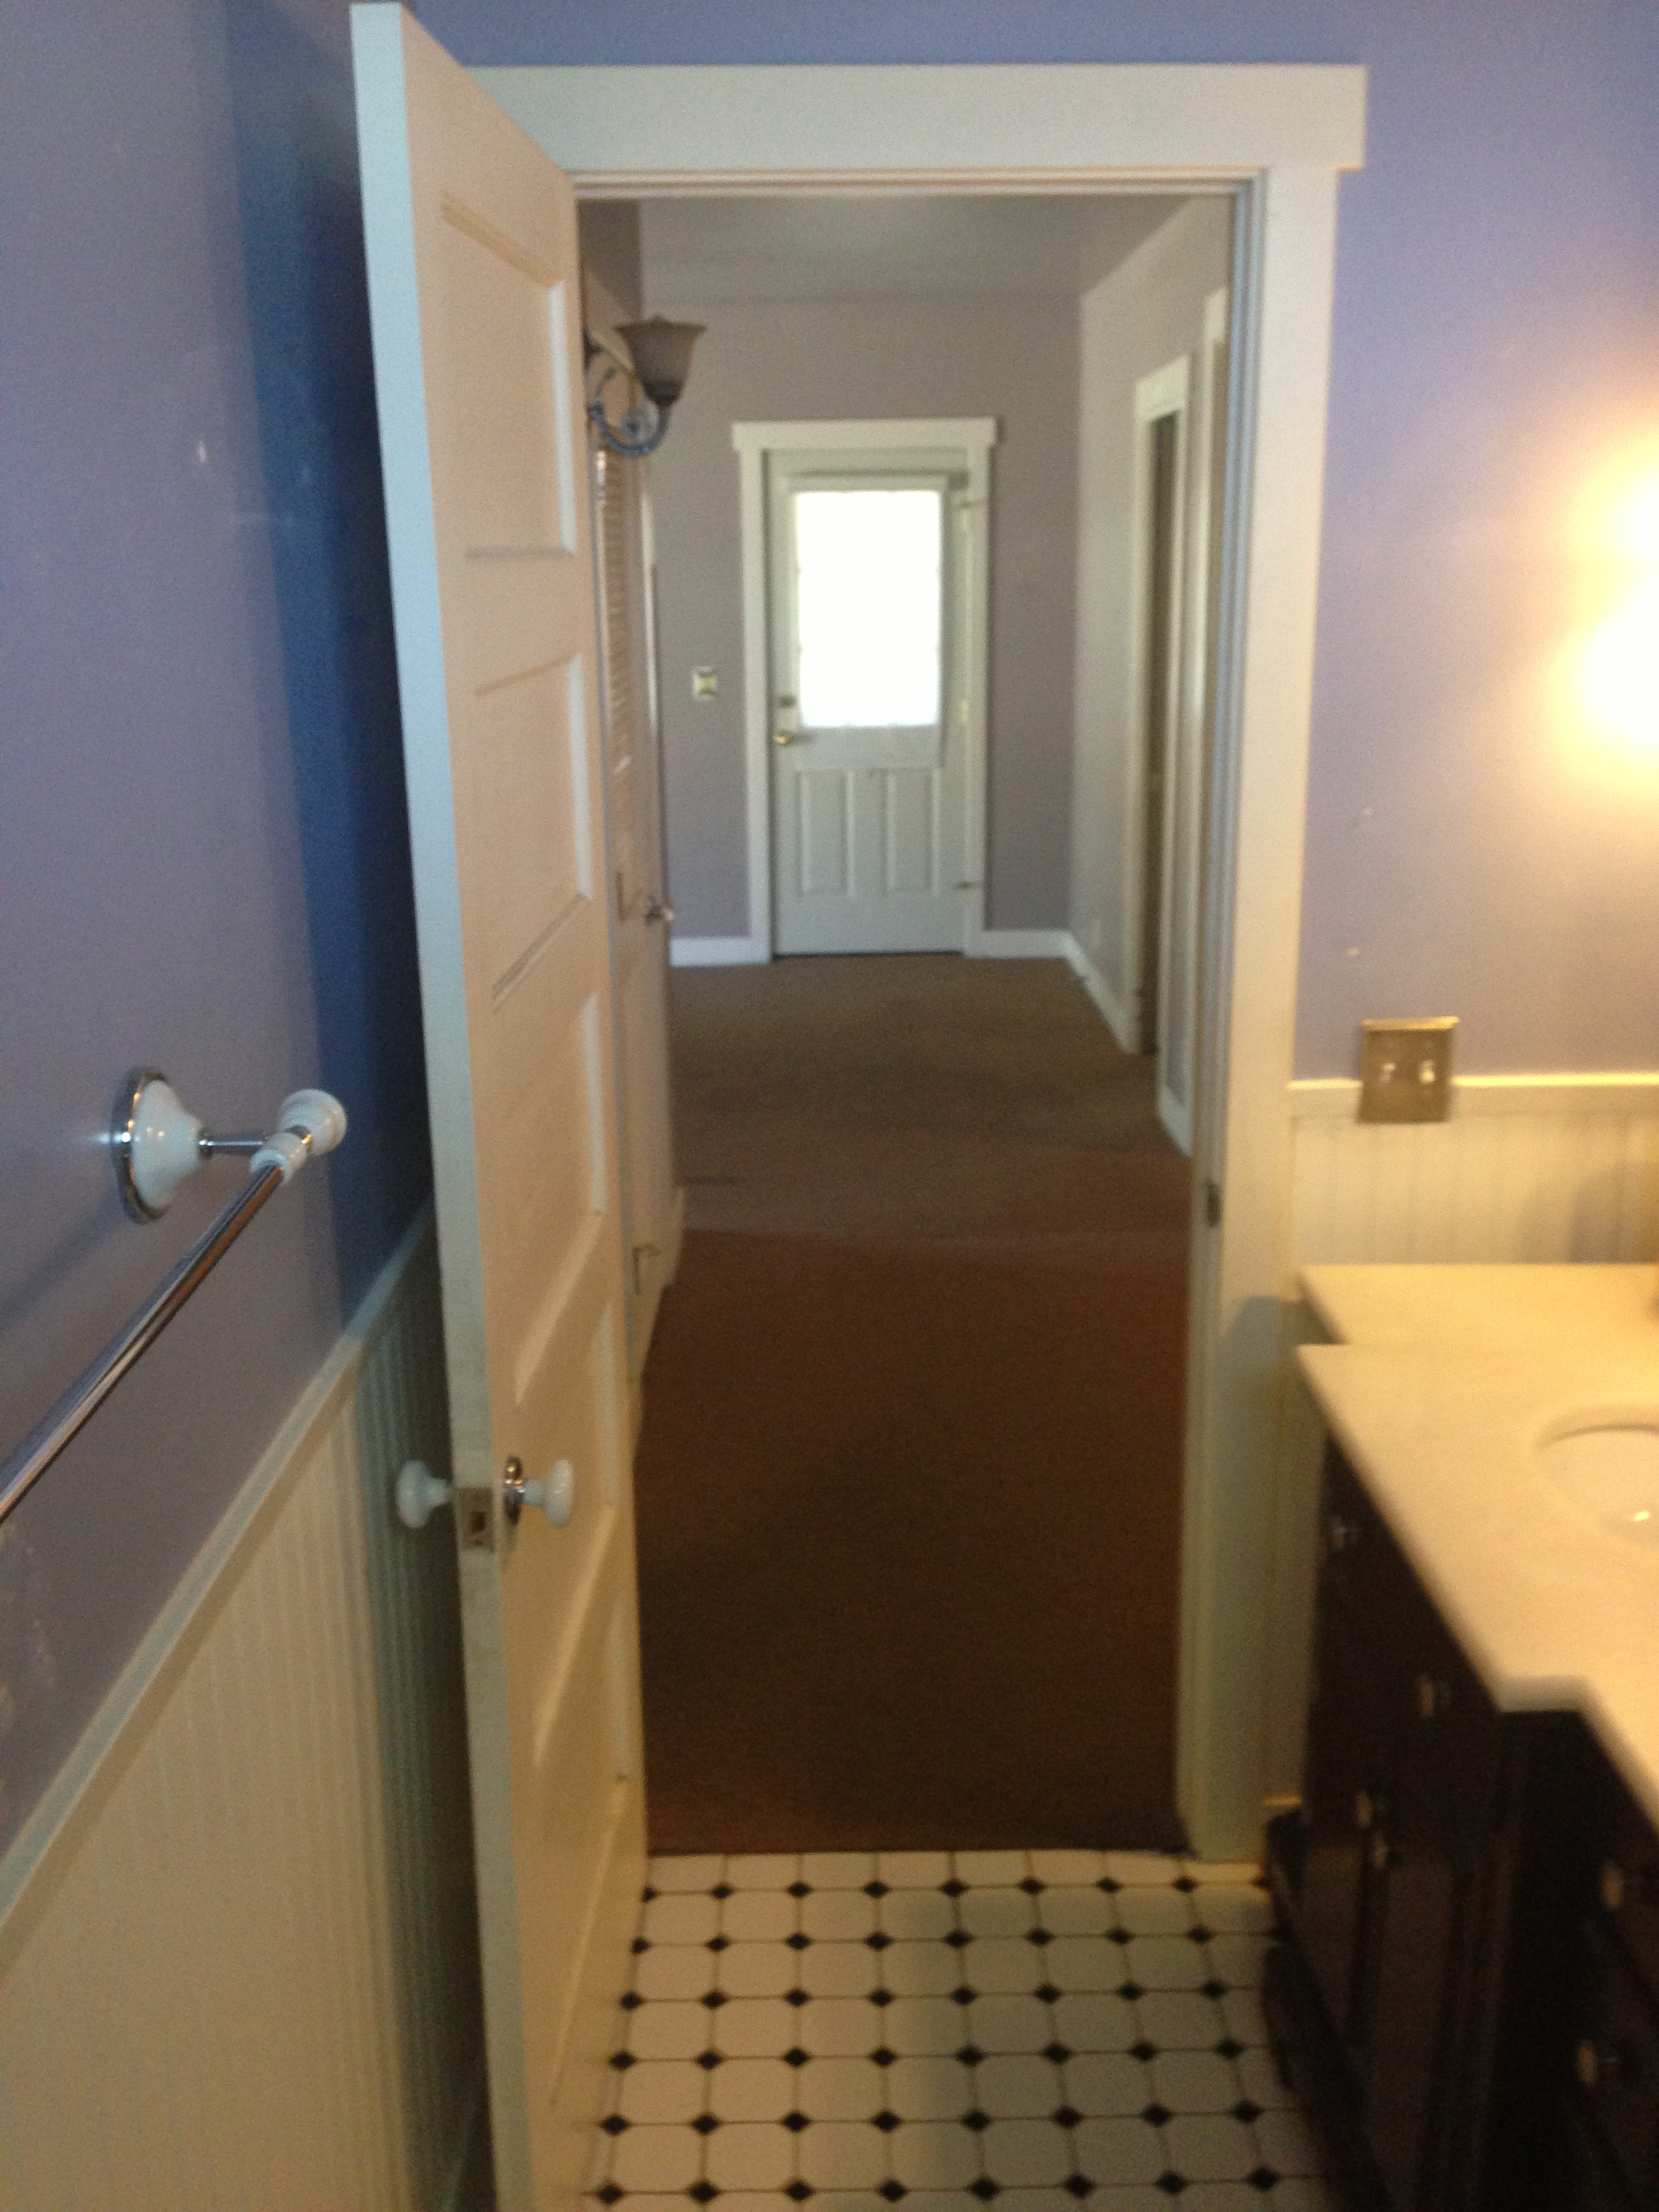
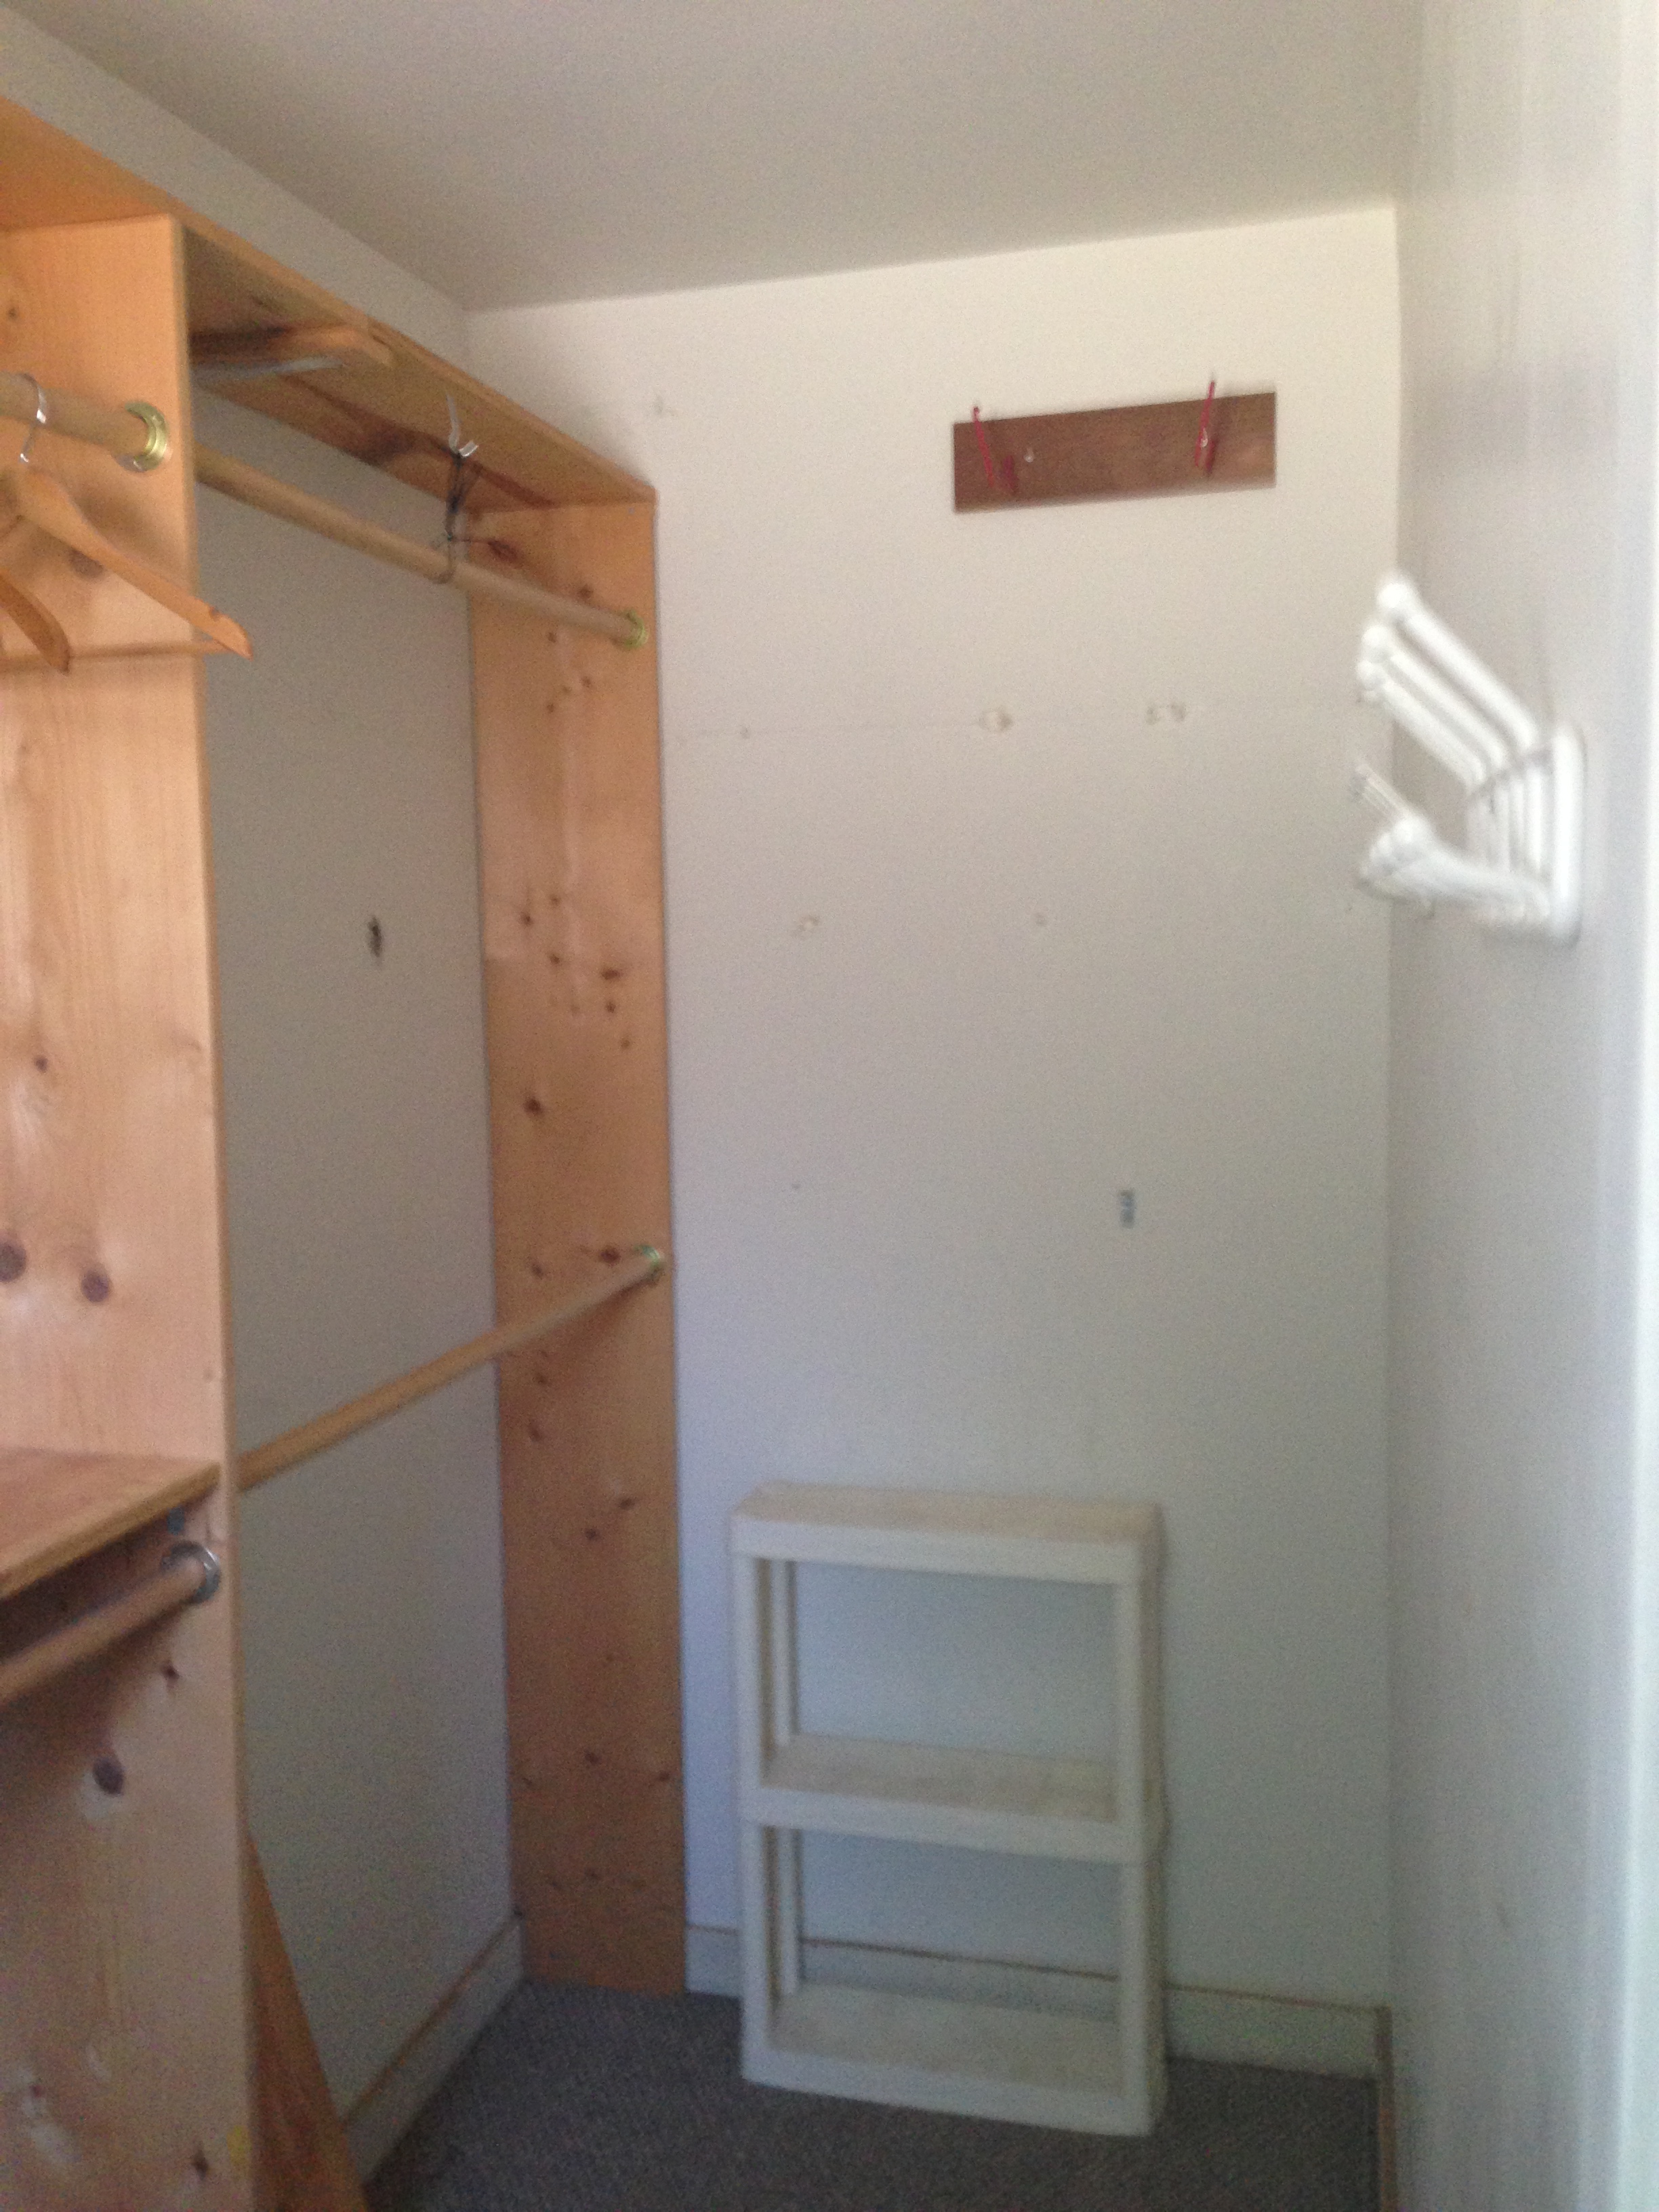
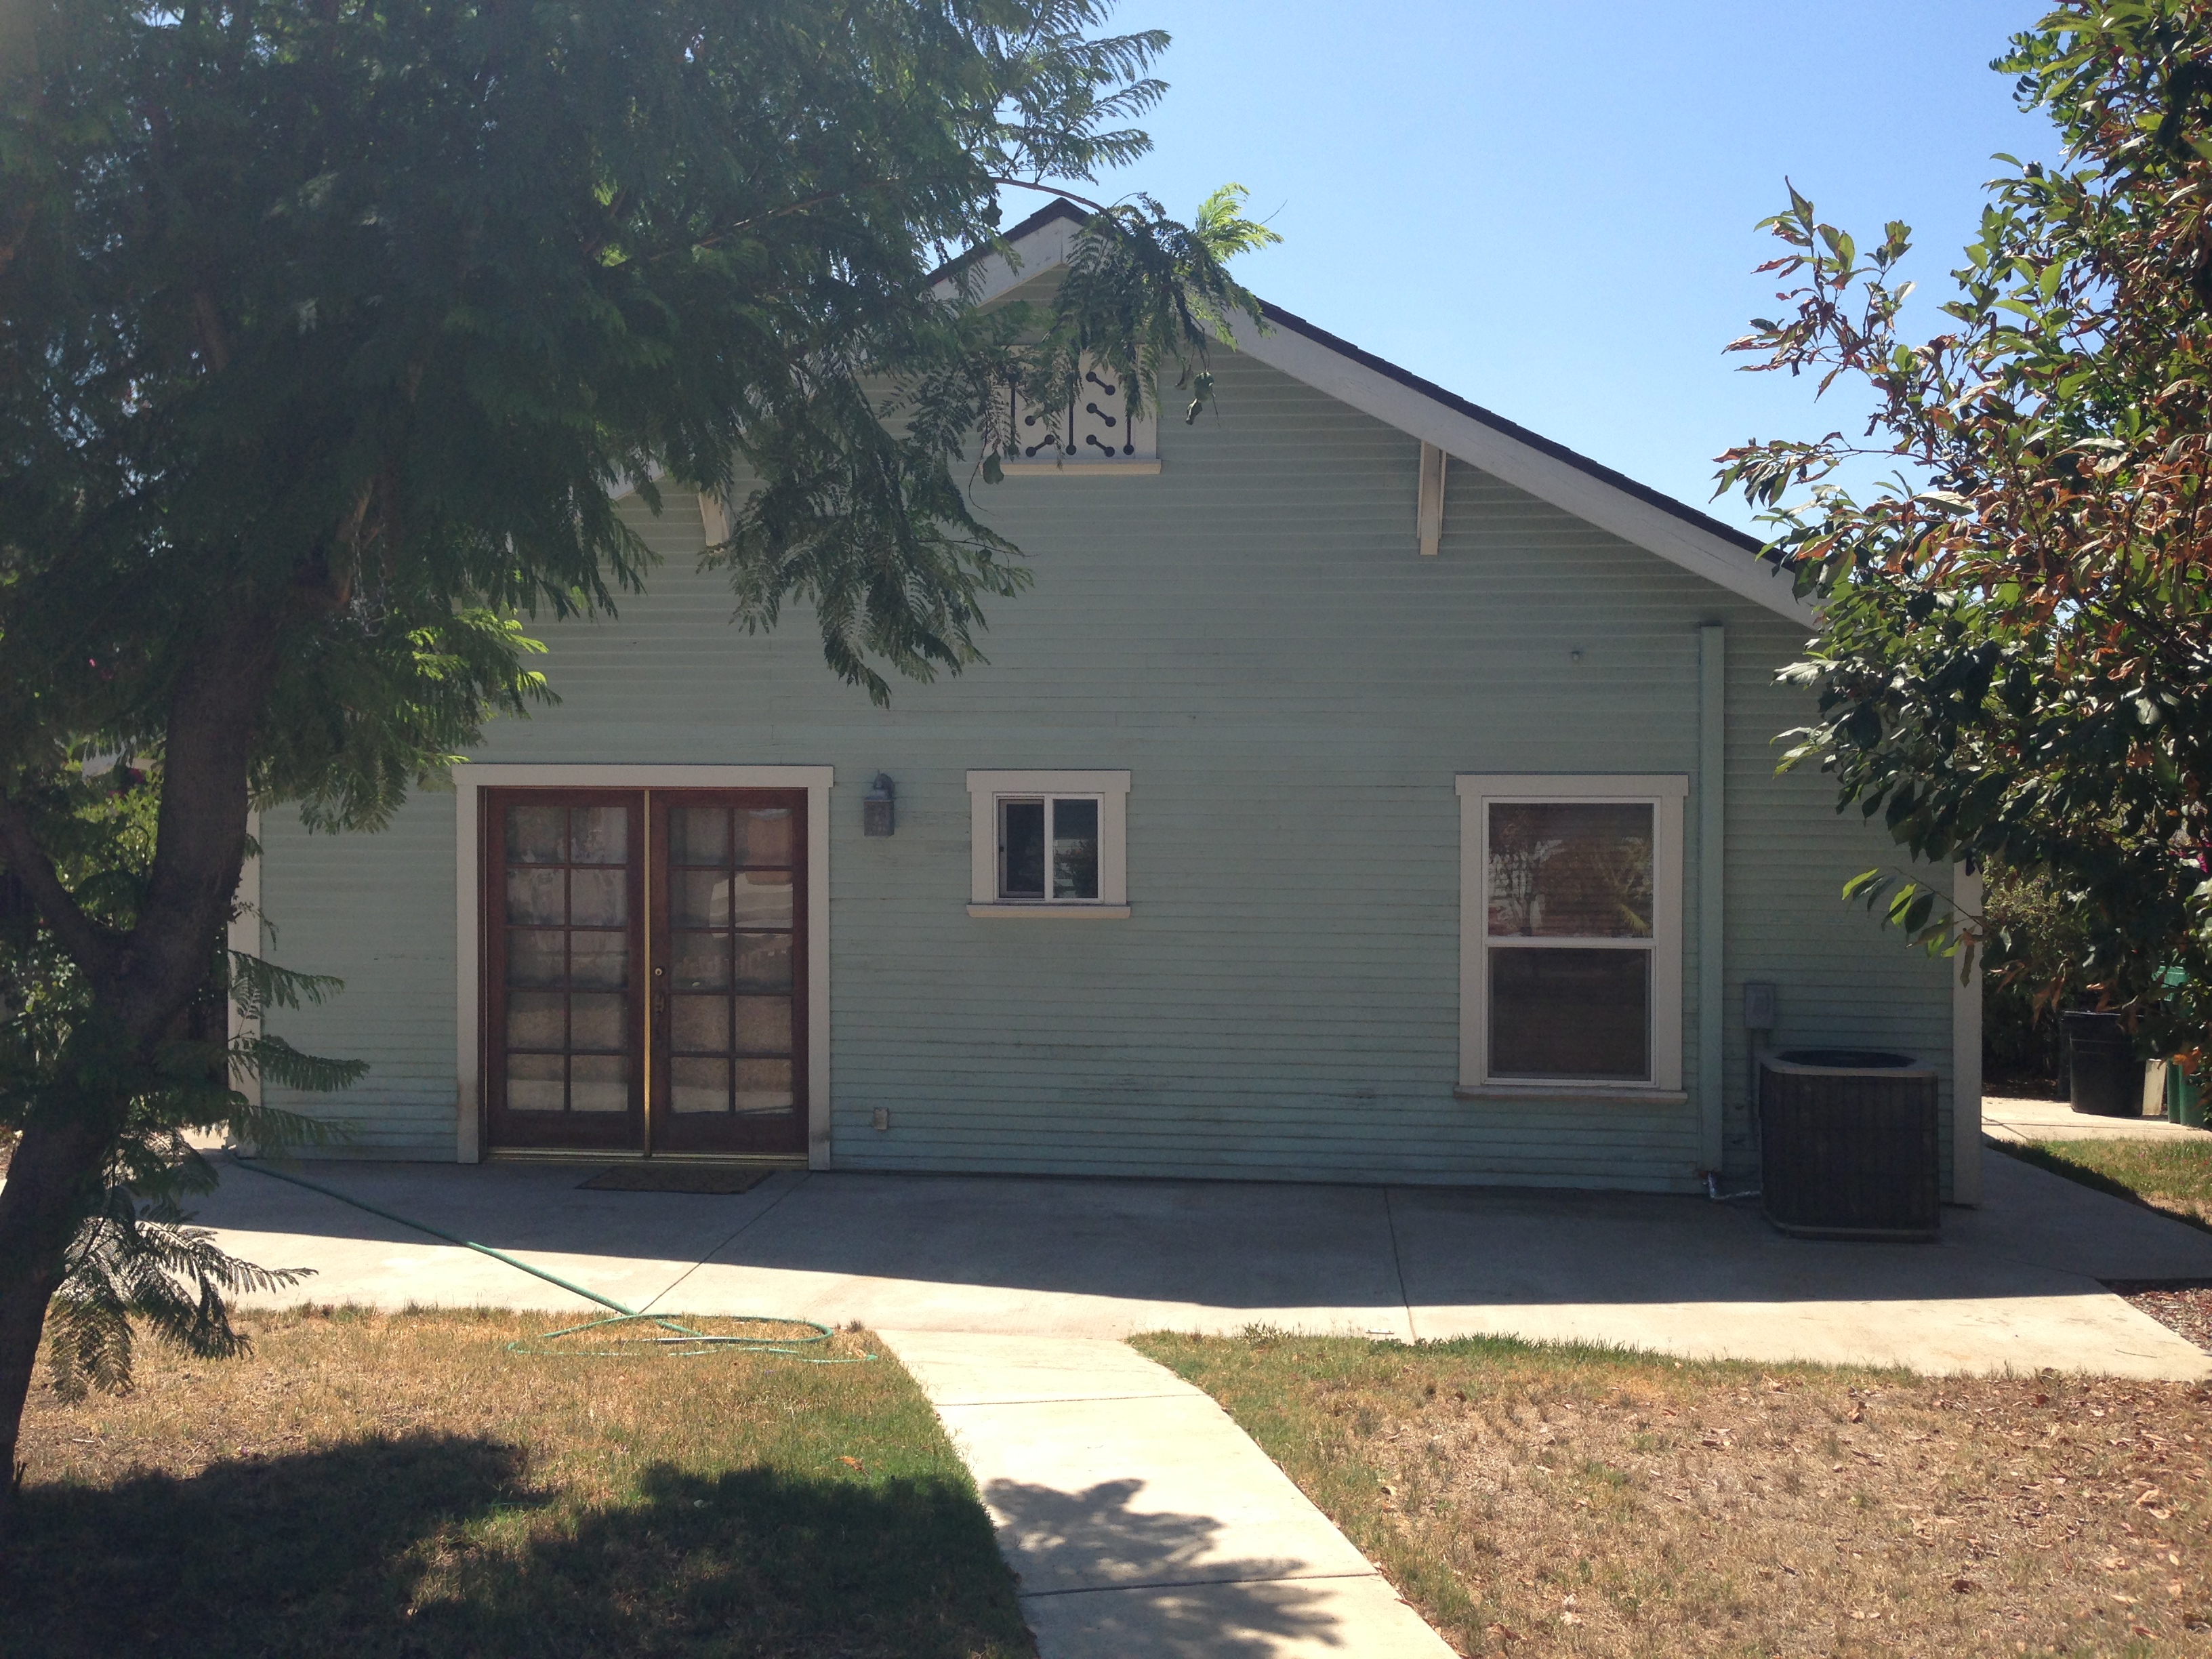
July 31 – We finally get around to filling out the application. We took some before pictures of our toddlerized homes and sent it in.

August 1 – THE NEXT DAY received an e-mail asking to set up a Skype interview with the four of us.

August 11 – Jacobsens come over for a 3 hour Skype interview with the casting director.

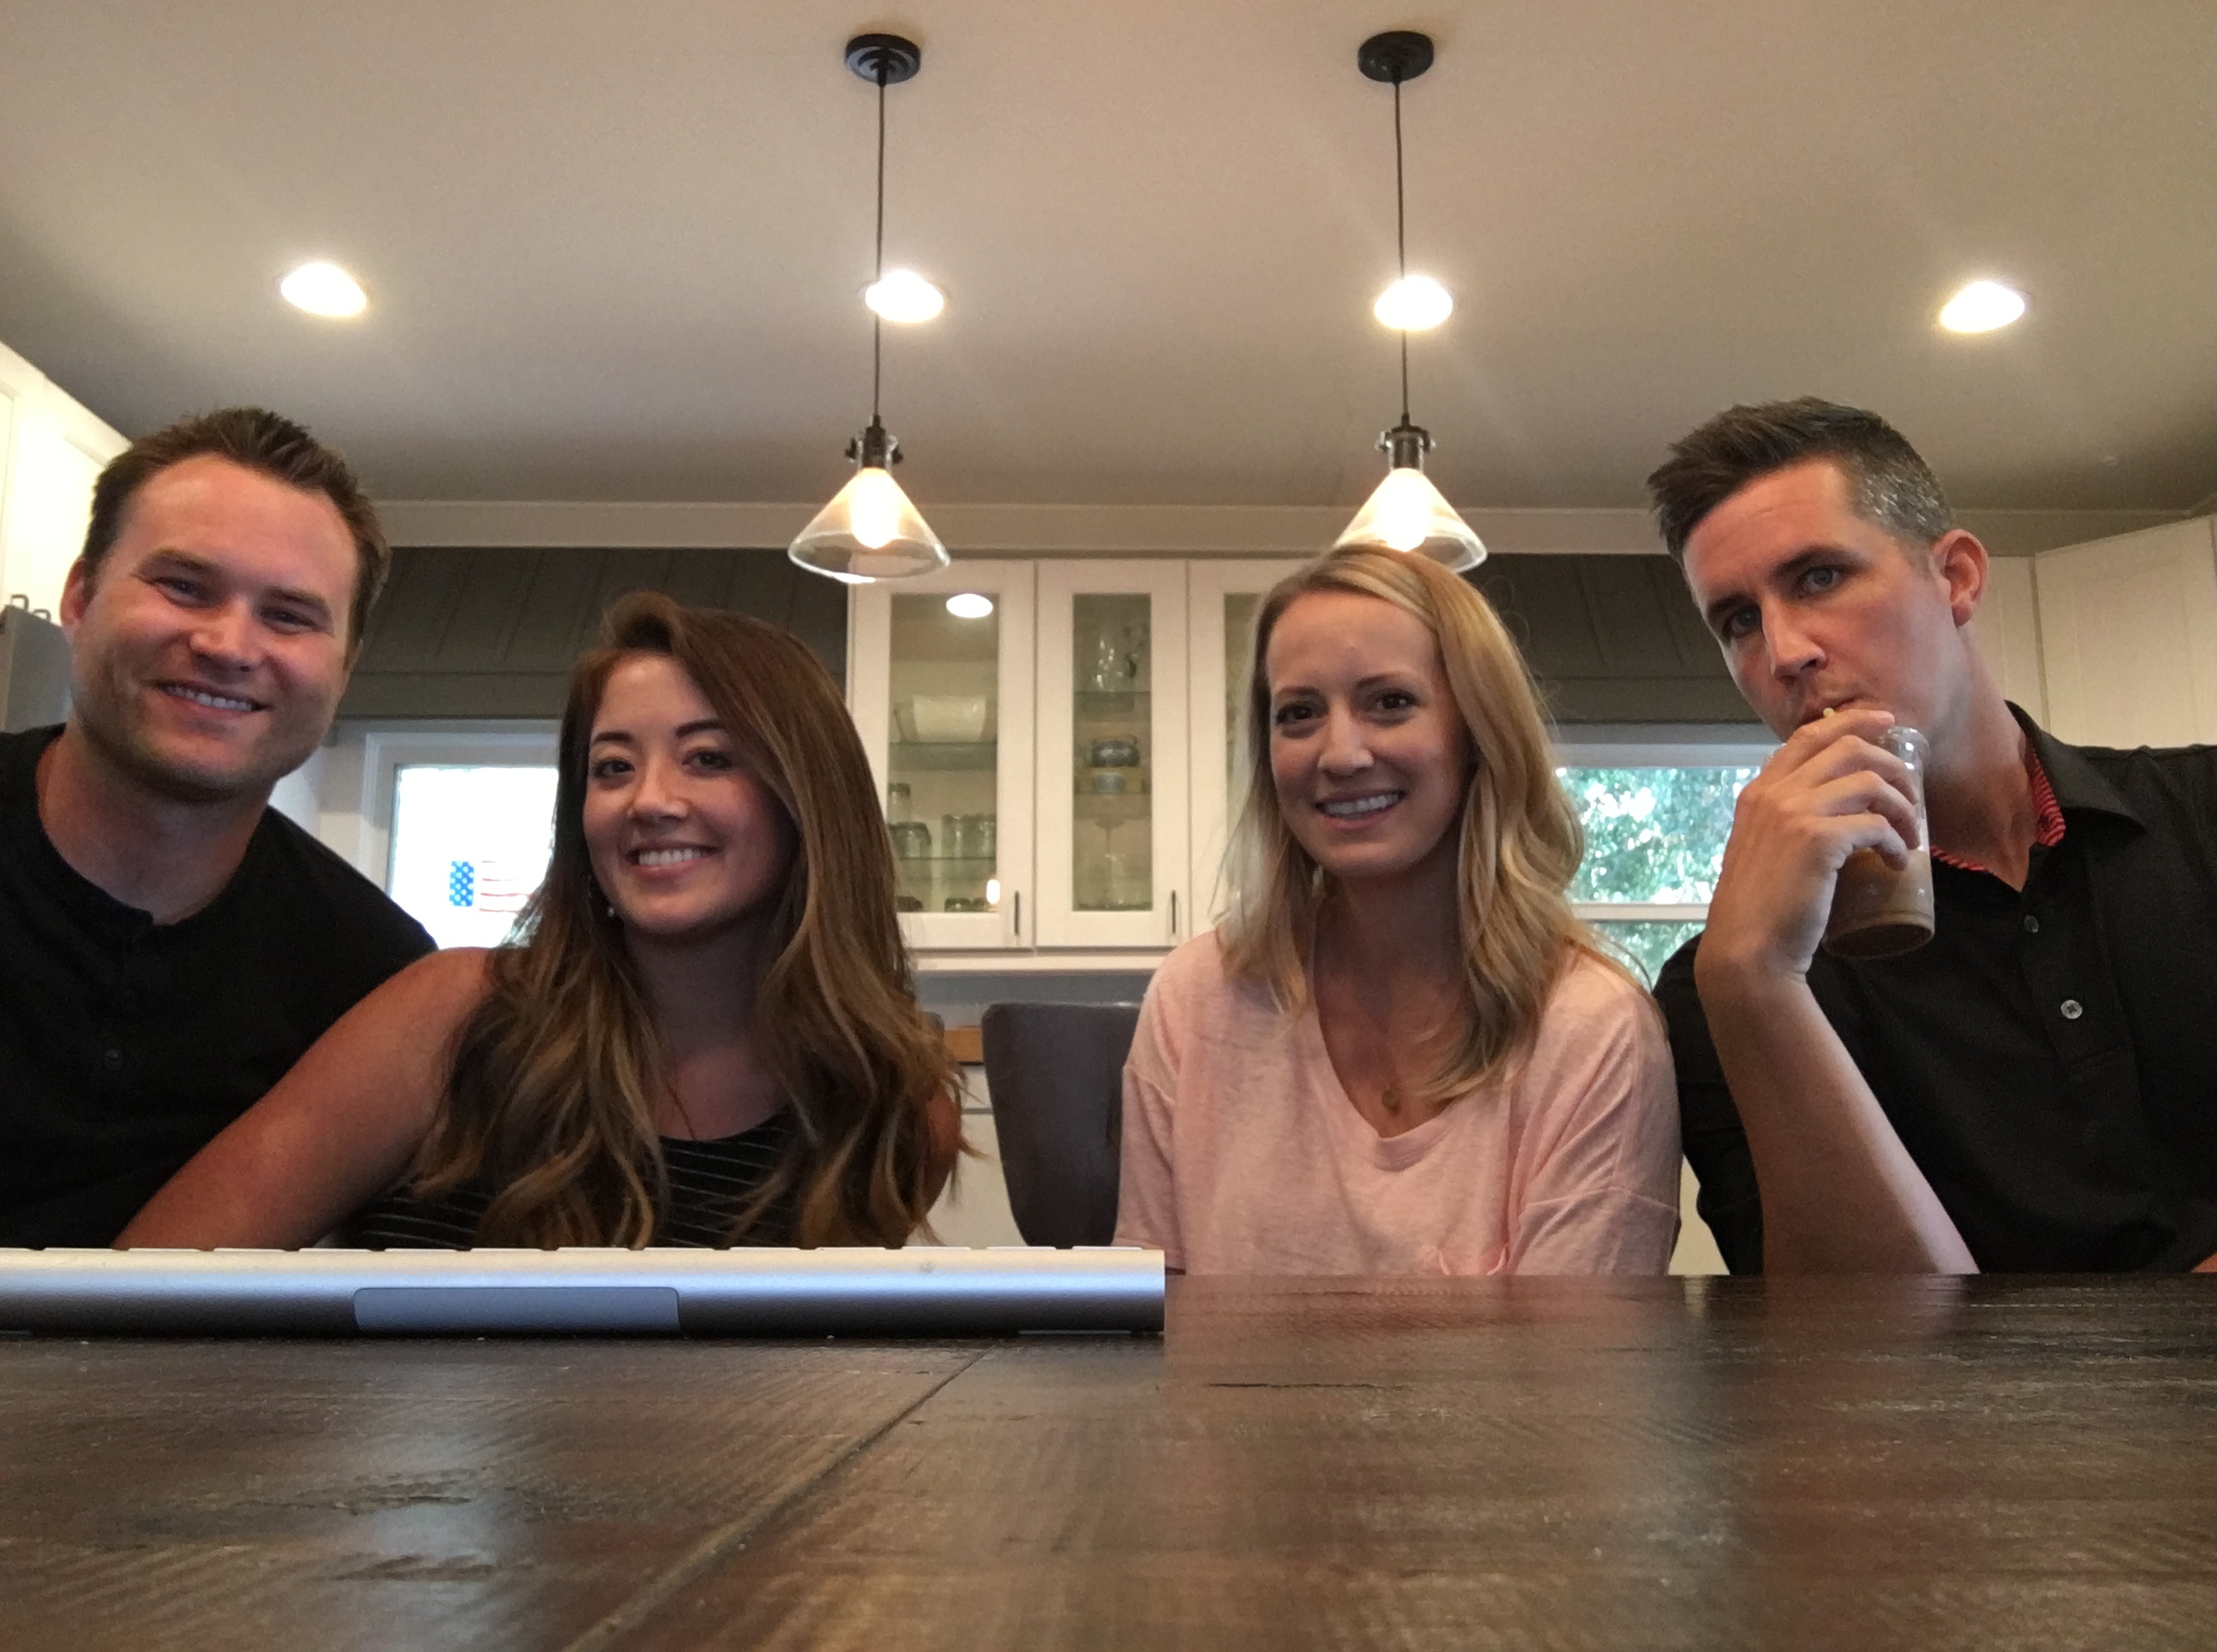
Skype Interview Ready

August 12 – Casting requests more photos and videos.

August 18 – “Congratulations on being selected as a finalist for TradingSpaces!” Pending background checks…

August 28 – Receive a call that the producers want to visit our homes!

August 31 – Producers come and visit the space. We are getting VERY excited.

September ? – We get the call that we are being selected! During this time there is lots of discussion between Krista and I about WHO our designers could be!

September 11 – Producers returns to do some videos of us greeting our unknown designers.

September 28  – Lots of phone calls with more questions, more photos requested, etc.
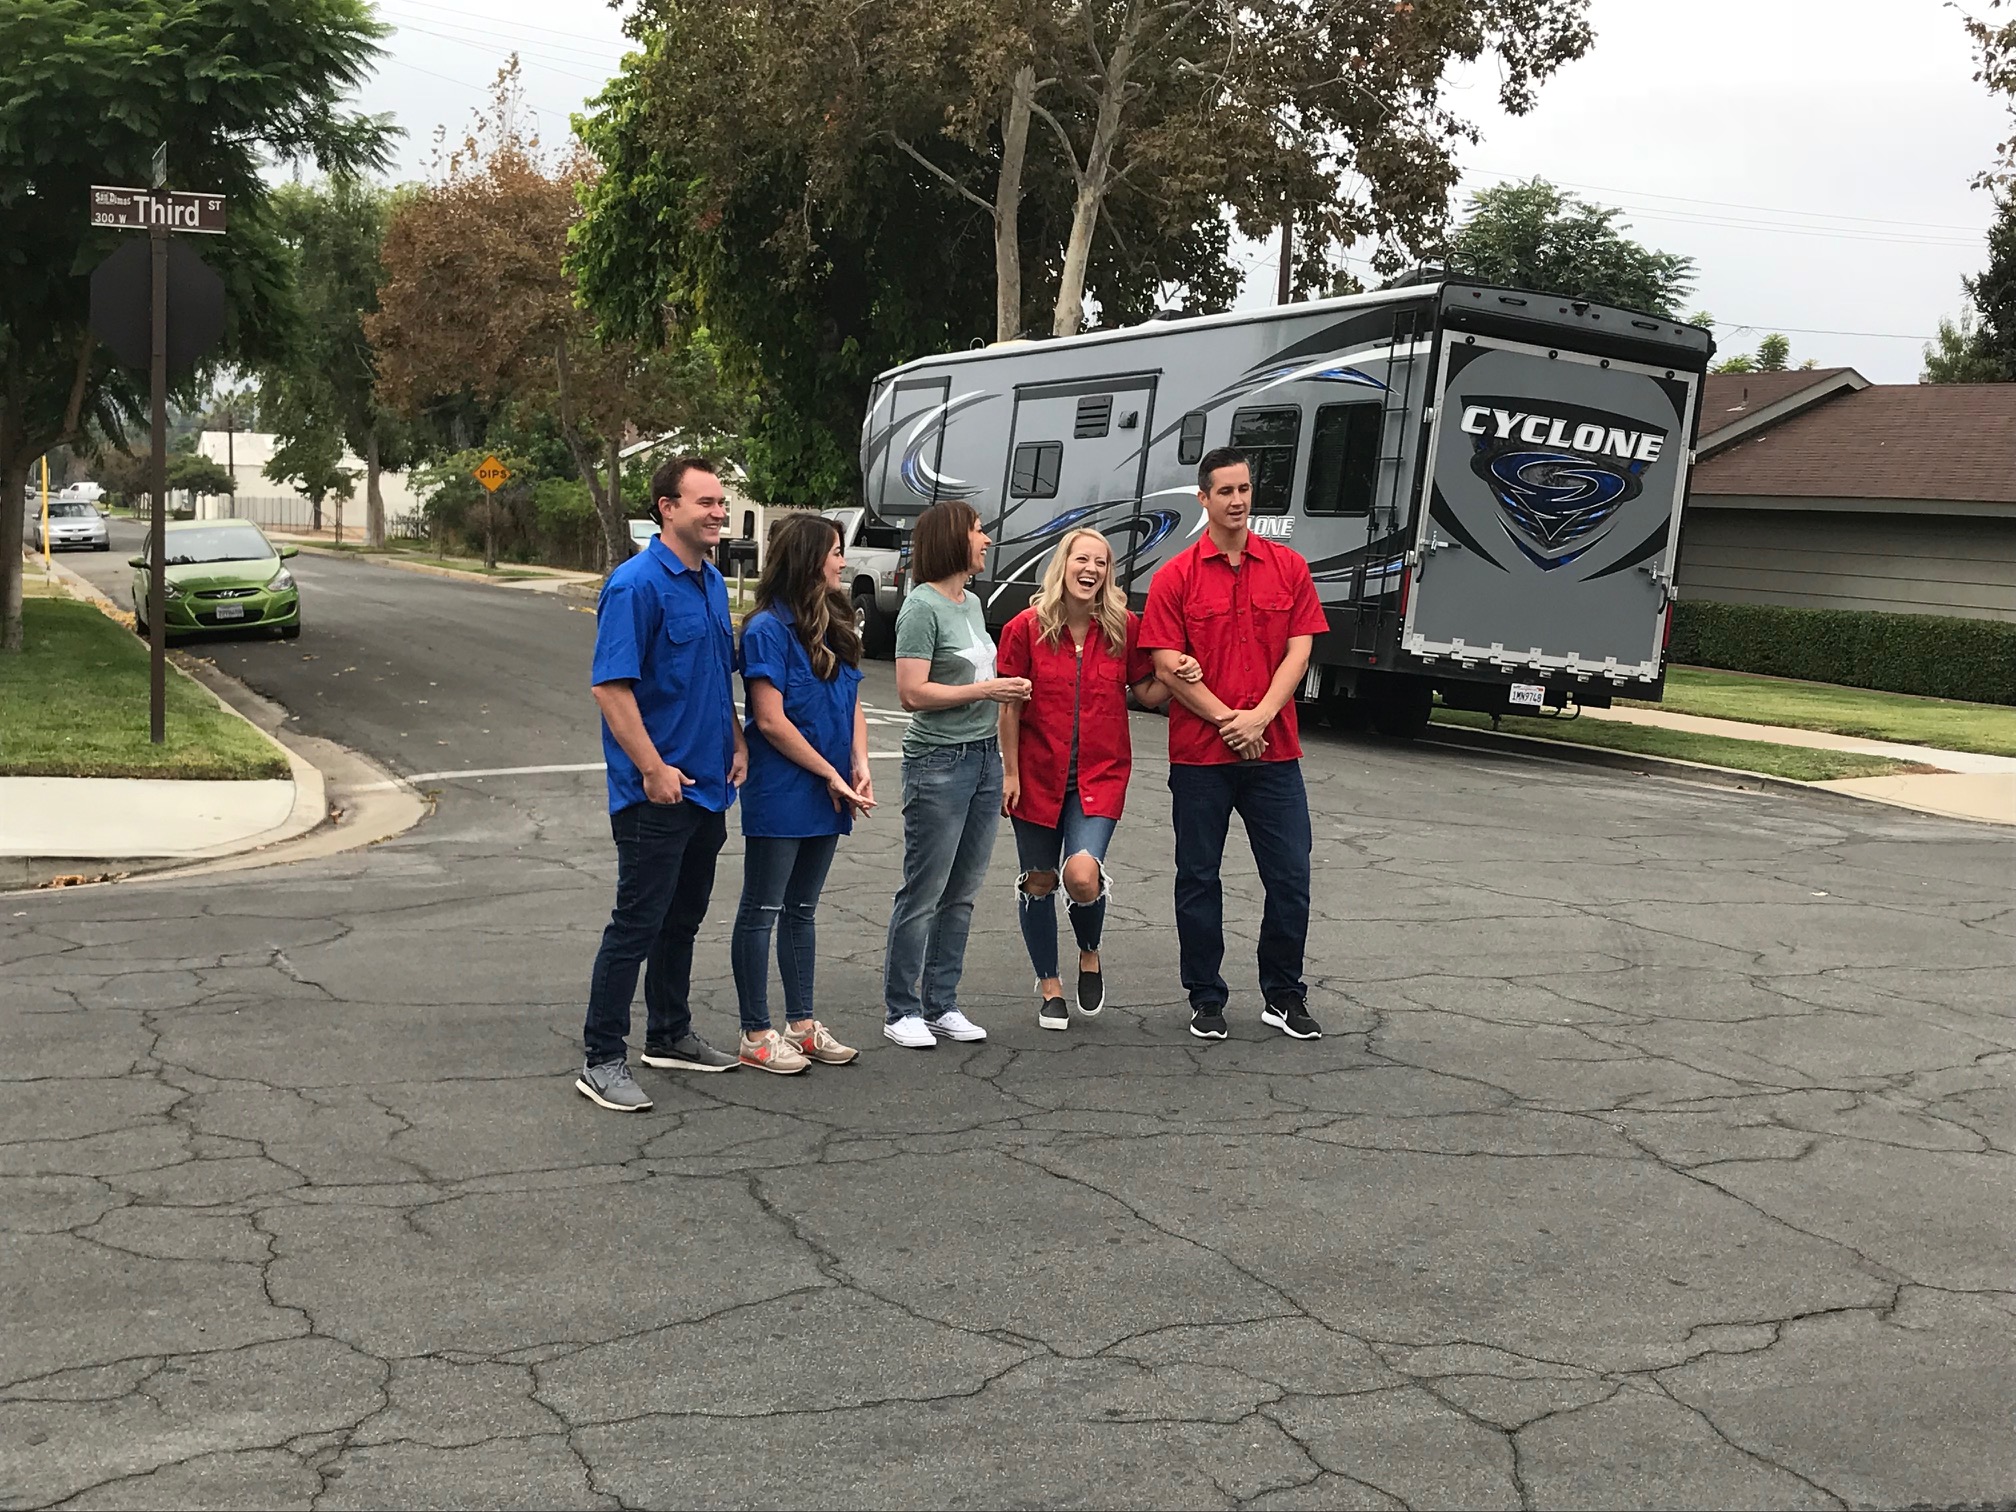
September 29DAY 0 Load In and Filming Begin! We couldn’t believe the amount of stuff and people it required! 2 FULL garages of equipment and nearly 50 people between the two houses. We sat around a lot this day, hidden away in the garage, because the designers (whom we didn’t know yet) were being filmed inside the house. Krista and I were giddy all day trying to guess who they could be and just being overwhelmed by the excitement of everything. Towards the end of the day we shot our introductions and a few group shots out on the porch. But STILL didn’t know who the designers were! Getting very anxious!

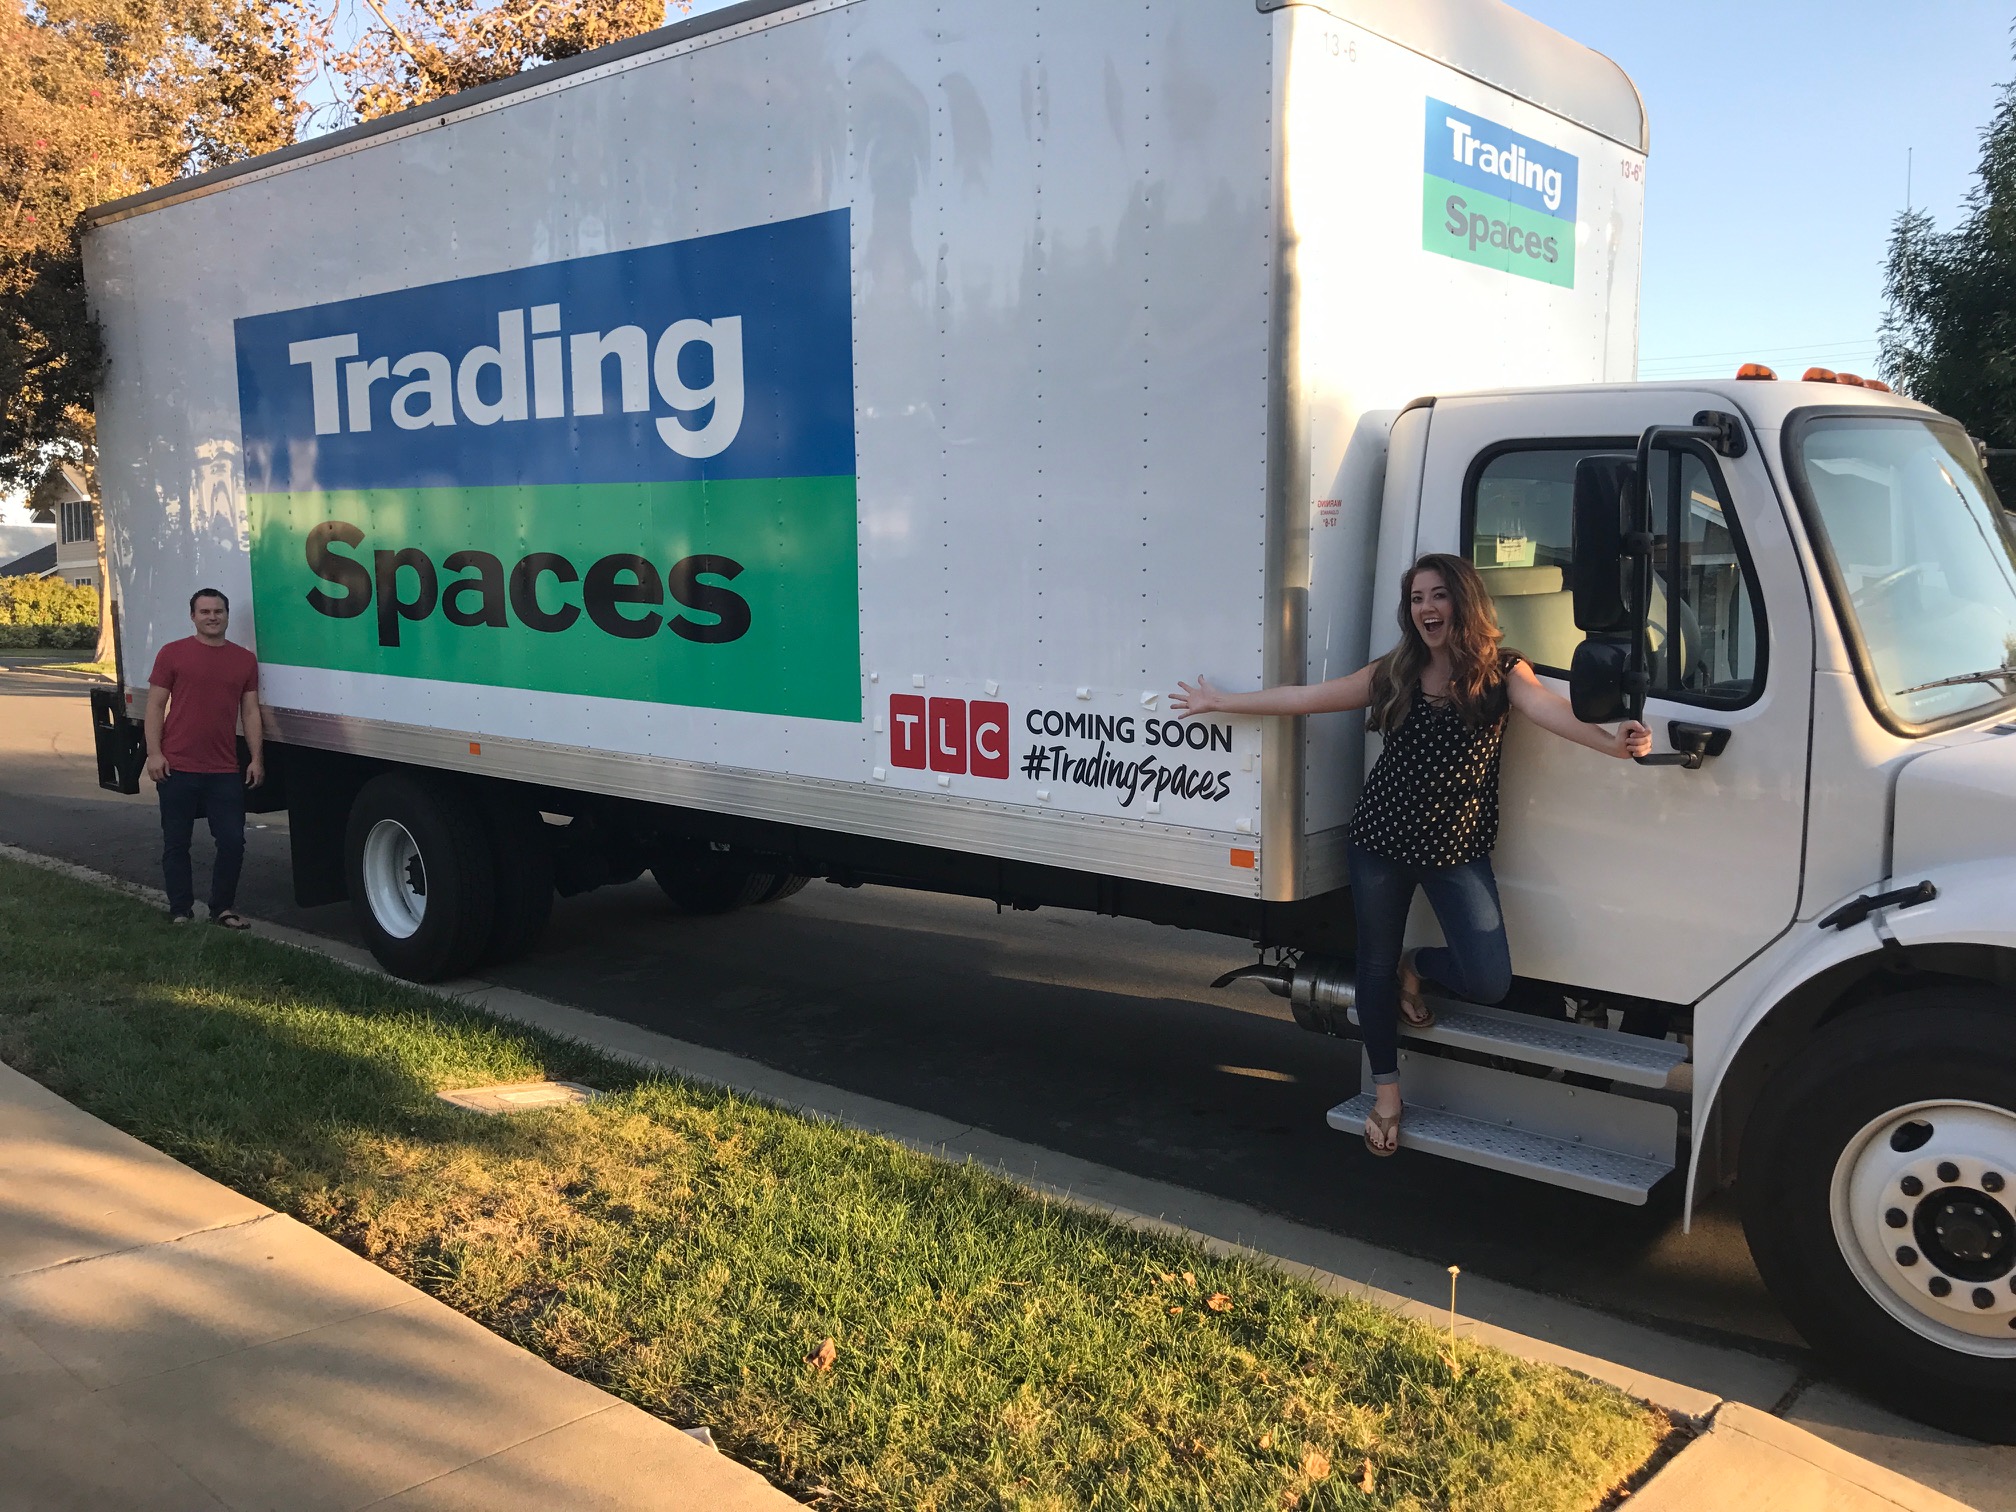
Trading Spaces in the neighborhood!

This was the picture I received from Krista when she looked out her kitchen window, morning 1. The crew has landed!

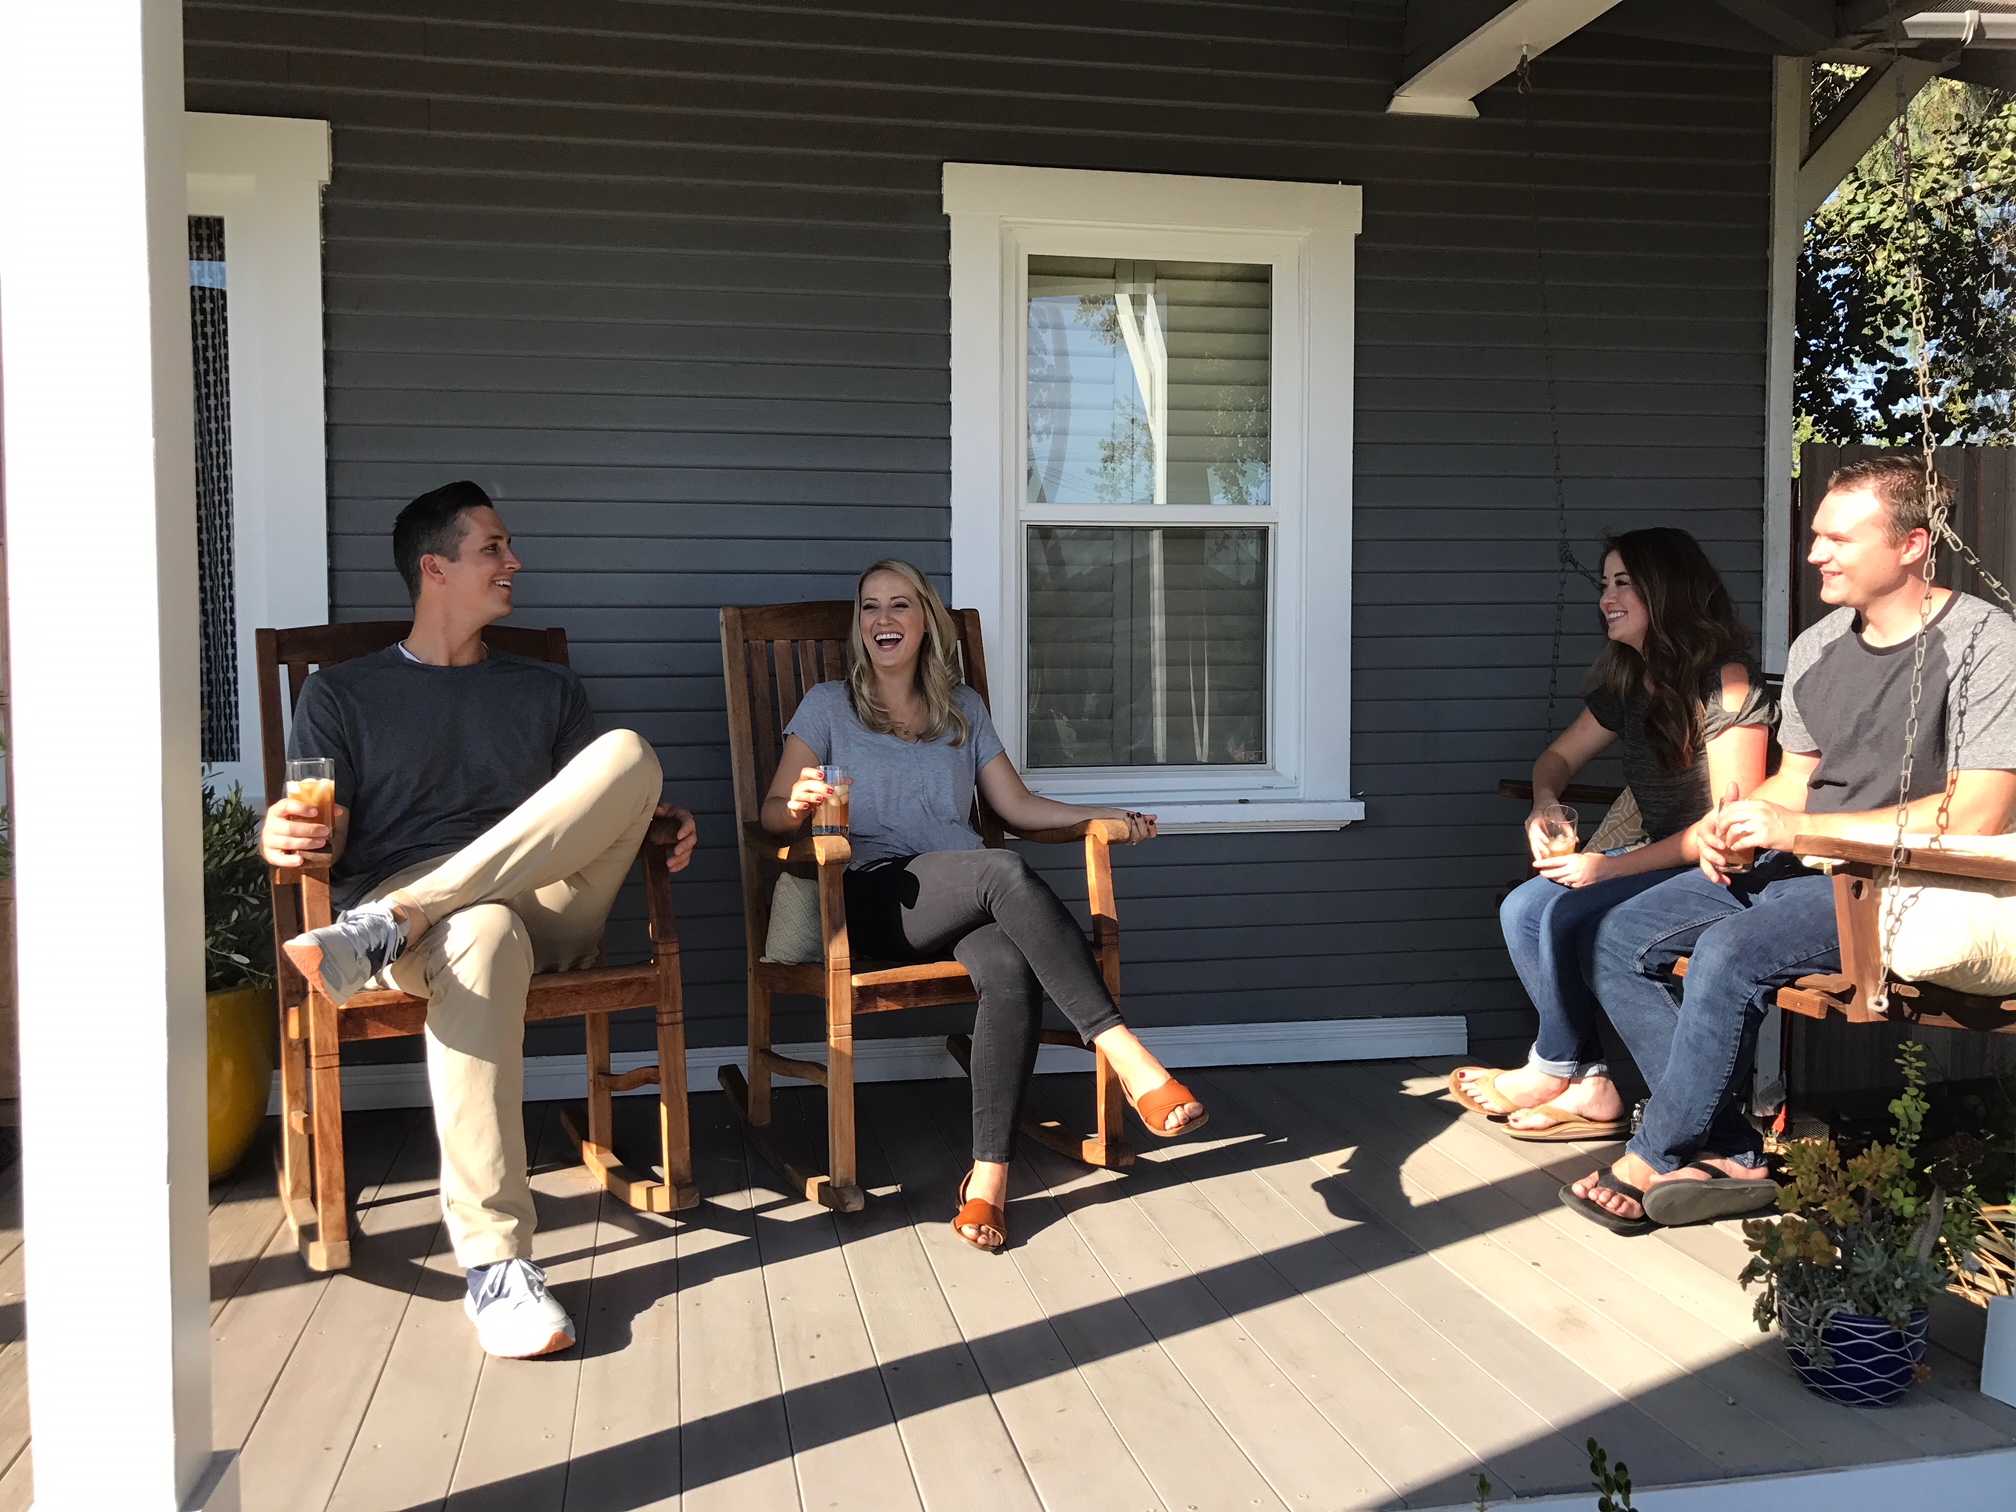
Oh you know, just casually sipping tea out on the porch!

Filming our introductions.

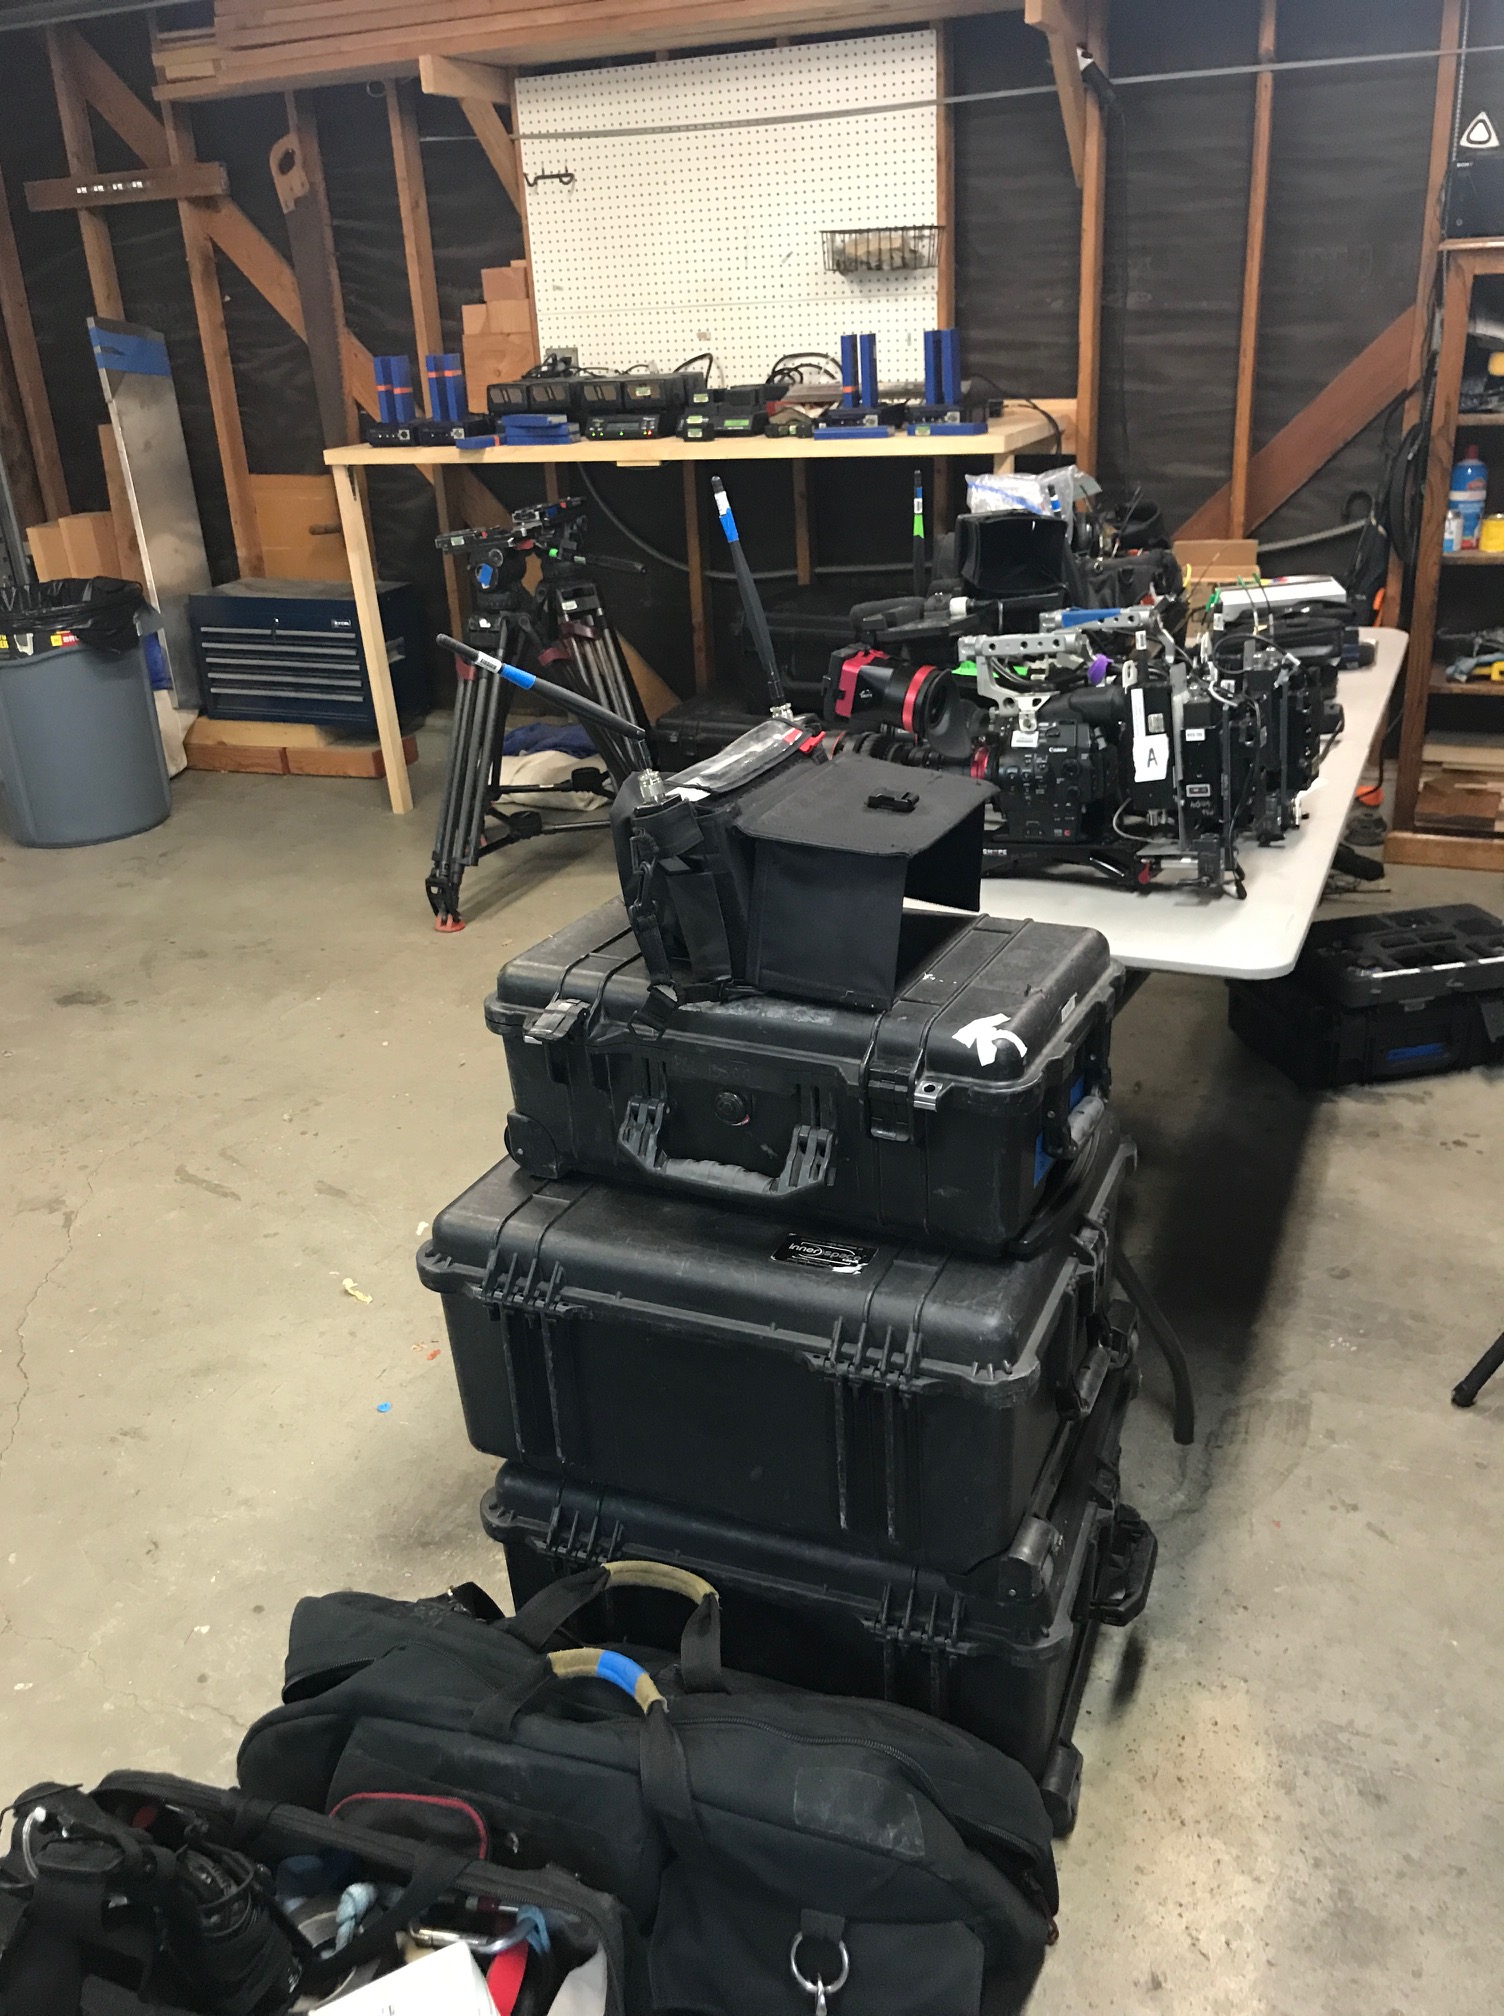
Look at just HALF of the equipment it takes to film. The other half was in the Jacobsens garage!

September 30 – NO SHOOTING! Usually they shoot three consecutive days but the designers were unable to shoot this day so we had to take a painstakingly long 24-hour break… the entire time wondering who they could be.

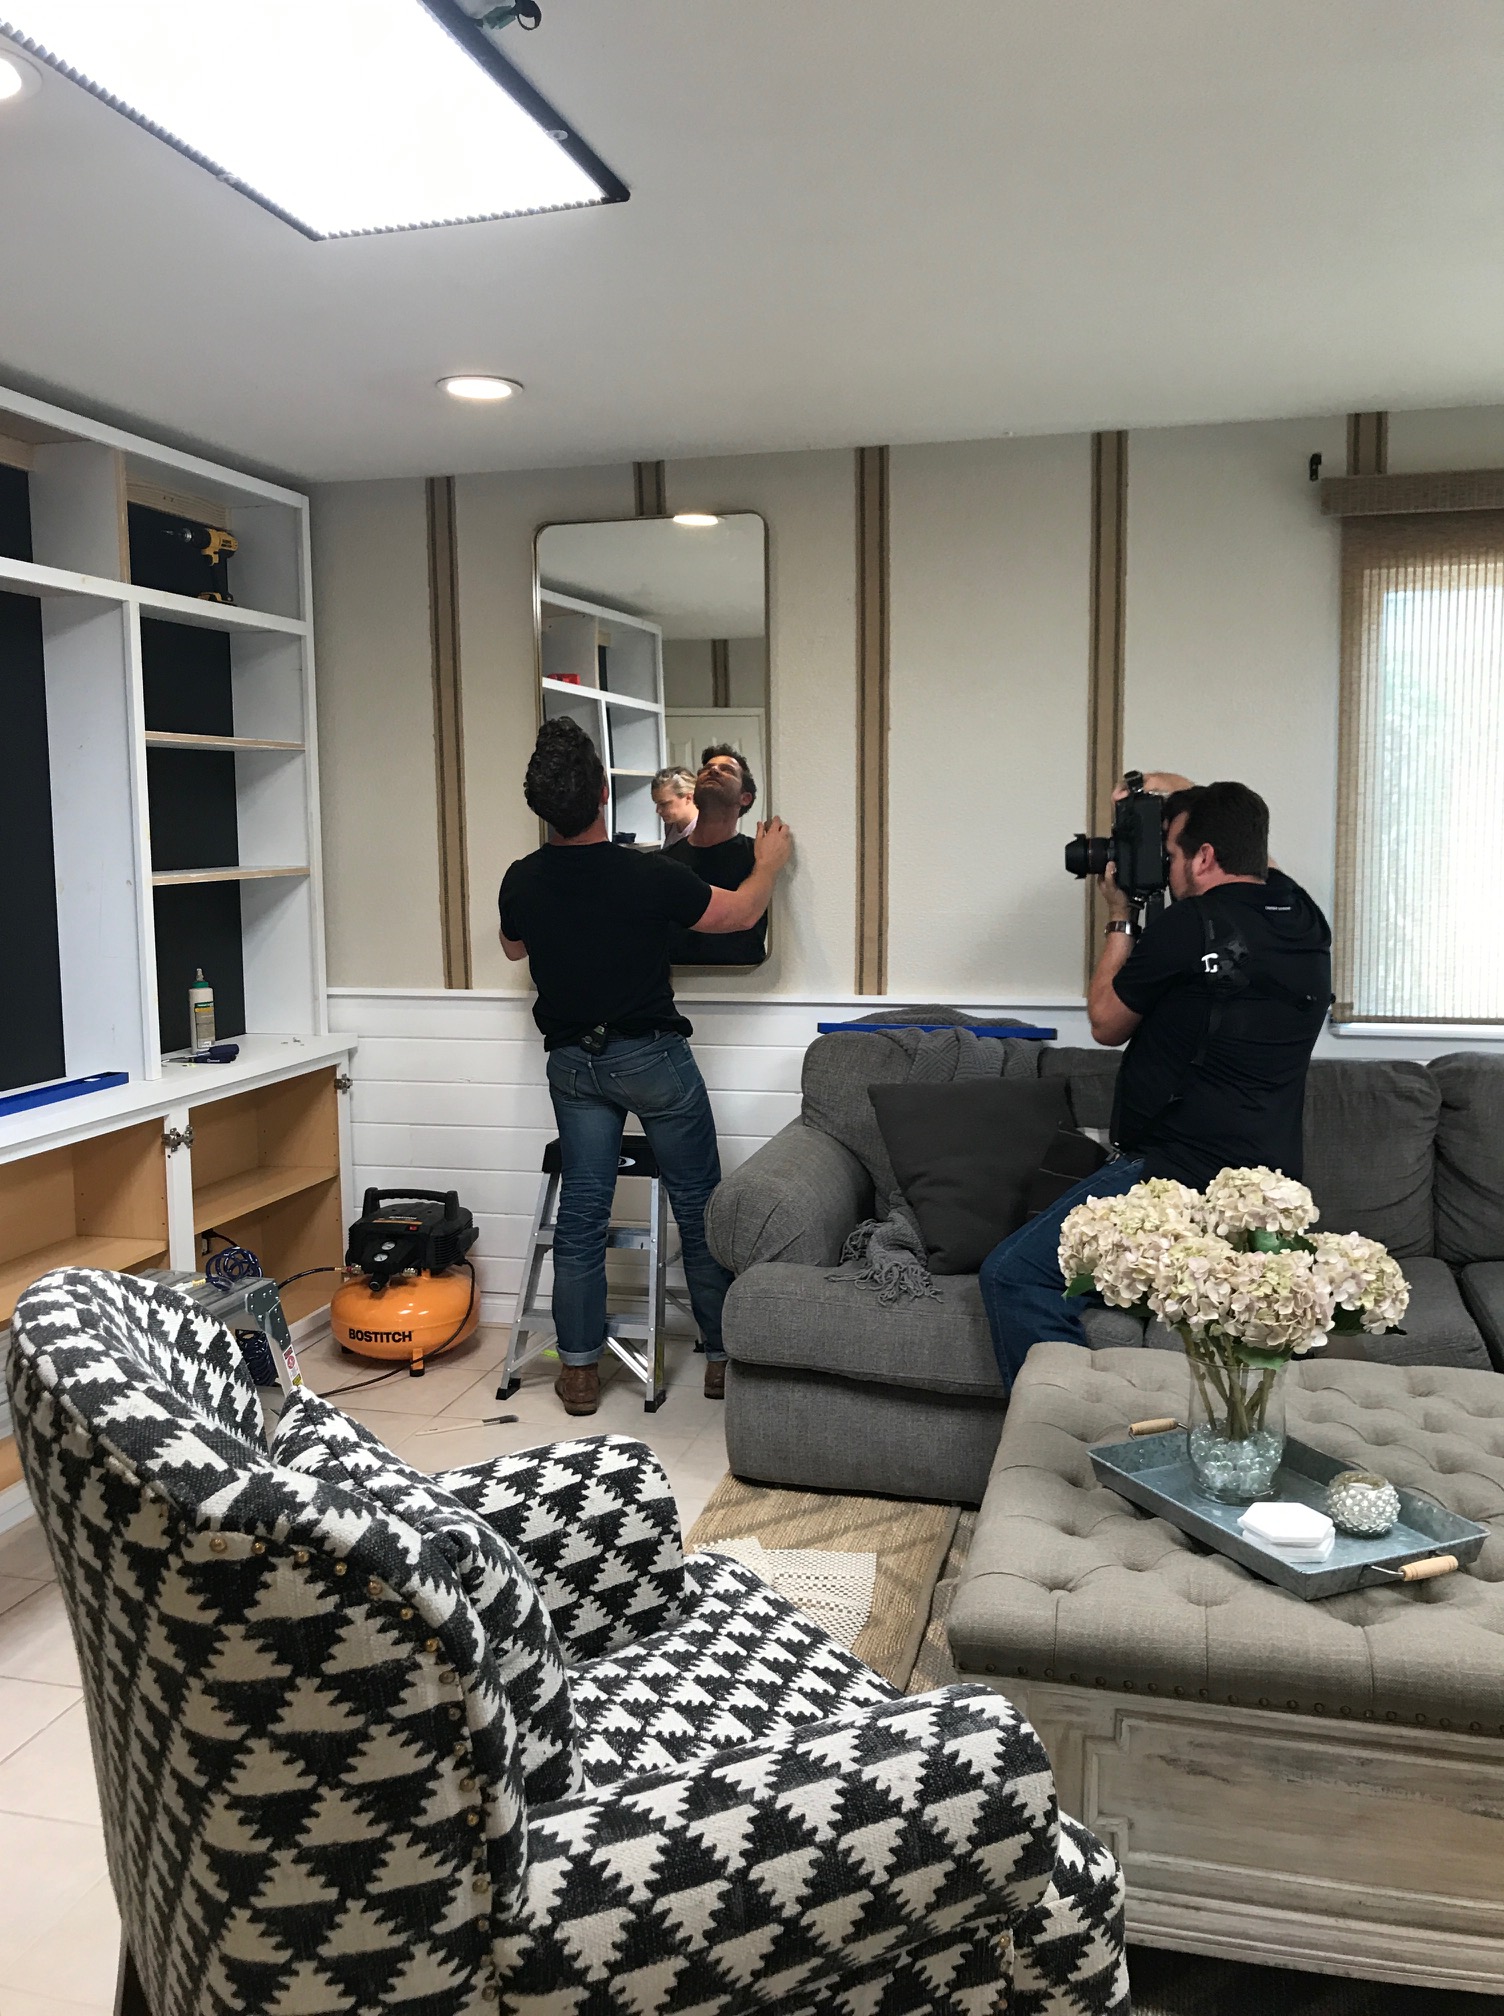
October 1 – Day 1 of filming begins! Kids are picked up by grandma and grandpa and we officially begin the next 48 hours of shooting. We are brought out into the middle of the intersection, Paige explains the rules, we switch keys and run to each other’s homes. Once we reached the Jacobsen’s gate we are told that our designer would be waiting for us in the living room. We run in and to our surprise it’s… Nate Berkus! Honestly, my first thought was, “I’m pretty sure this is Nate Berkus… it is right?” Of course I knew his name from buying his products at Target and remembering his name from the Oprah show but I couldn’t exactly place his face. However, it didn’t take long to figure it out and become an instant fan (if I knew as much about him then as I do now I would have been so star struck!). His genuine kindness and composure that’s displayed on TV is exactly how he is in person. He was a joy to be around, so thoughtful and calm and intentional… it was a true privilege to have worked with him! Right off the bat he began explaining what he wanted to do to the Jacobsen’s room and I loved all the ideas he came up with. My only hesitation was when he wanted to paint stripes on their very textured wall. I had a feeling it would end up looking too muddy because we wouldn’t be able to get a clean crisp line, to my surprise he was so willing to nix the idea and try something different. The next idea was to glue ribbon to the wall to create the stripes. I actually liked the idea (still kind of do) although it was probably the one “controversial” item we introduced… which isn’t even THAT controversial considering we could have glued hay to the walls or filled the living room with sand (previous Trading Spaces controversies). Side note, Krista and I had many a conversation leading up to this weekend about the do’s and dont’s for each of our rooms so I would have never allowed that haha! After discussing the plan for the room we got right to work. I helped Nate and Kevin built alongside the carpenters installing the shiplap that went around the base of the entire room. He didn’t stop working until probably 3 or 4 am! Nate commented that he had never met someone with Kevin’s work ethic! Side note about Kevin, he is seriously the hardest working, non-complaining, positive attitude, getter-doner that I know. 15+ years of knowing him and have never heard him complain! I’m serious. He loves to help and does it every time with a positive attitude! #wifebrag… Ok back to the story. Sometime mid-day we were given another surprise, Frank Bielec, an original TS designer, was “delivered” off the truck to help us! He bounced between the two homes helping where he could. He was seriously so fun to be around. He brought the laughs and got his hands dirty painting, gluing and crafting… in fact, he (and Paige) even stayed until about 1 in the morning OFF CAMERA to help us complete our homework! It was so fun listening to his stories and hearing him reminiscence about previous episodes. During our late night work-sesh a neighbor brought over Krispy Kreme donuts for us! How sweet!

Let’s still be friends after this, ok?

The camera crew getting set up for the opening shot of us with Paige in the middle of the street.

Getting the low down on rules from Paige Davis!

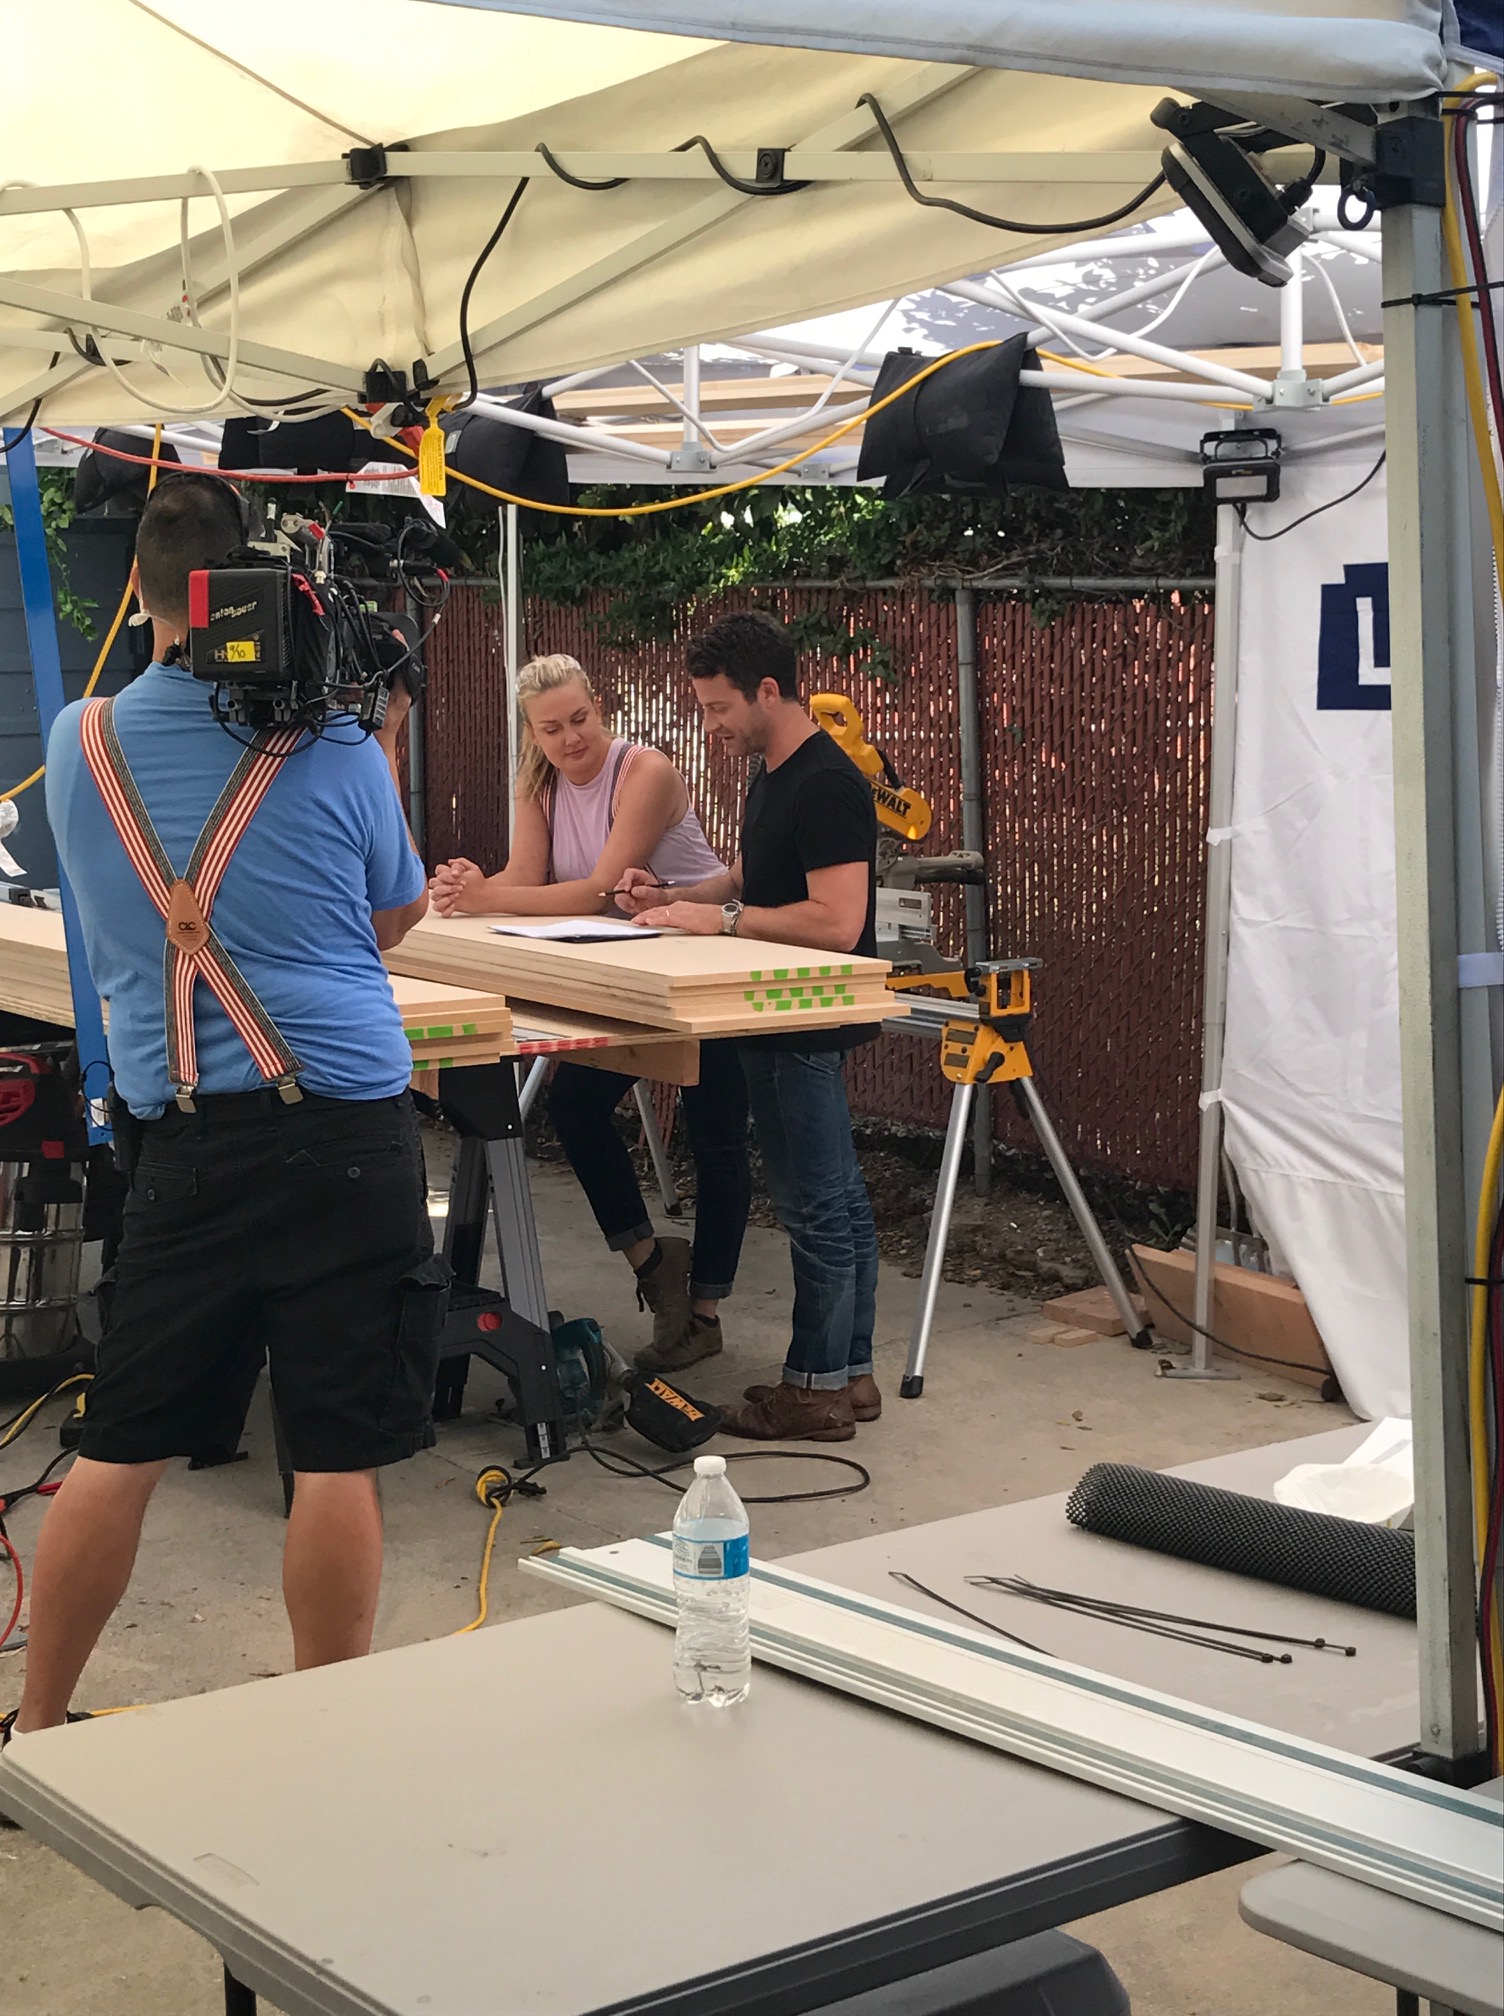
Nate & Jeremiah! We lucked out with the dream team!

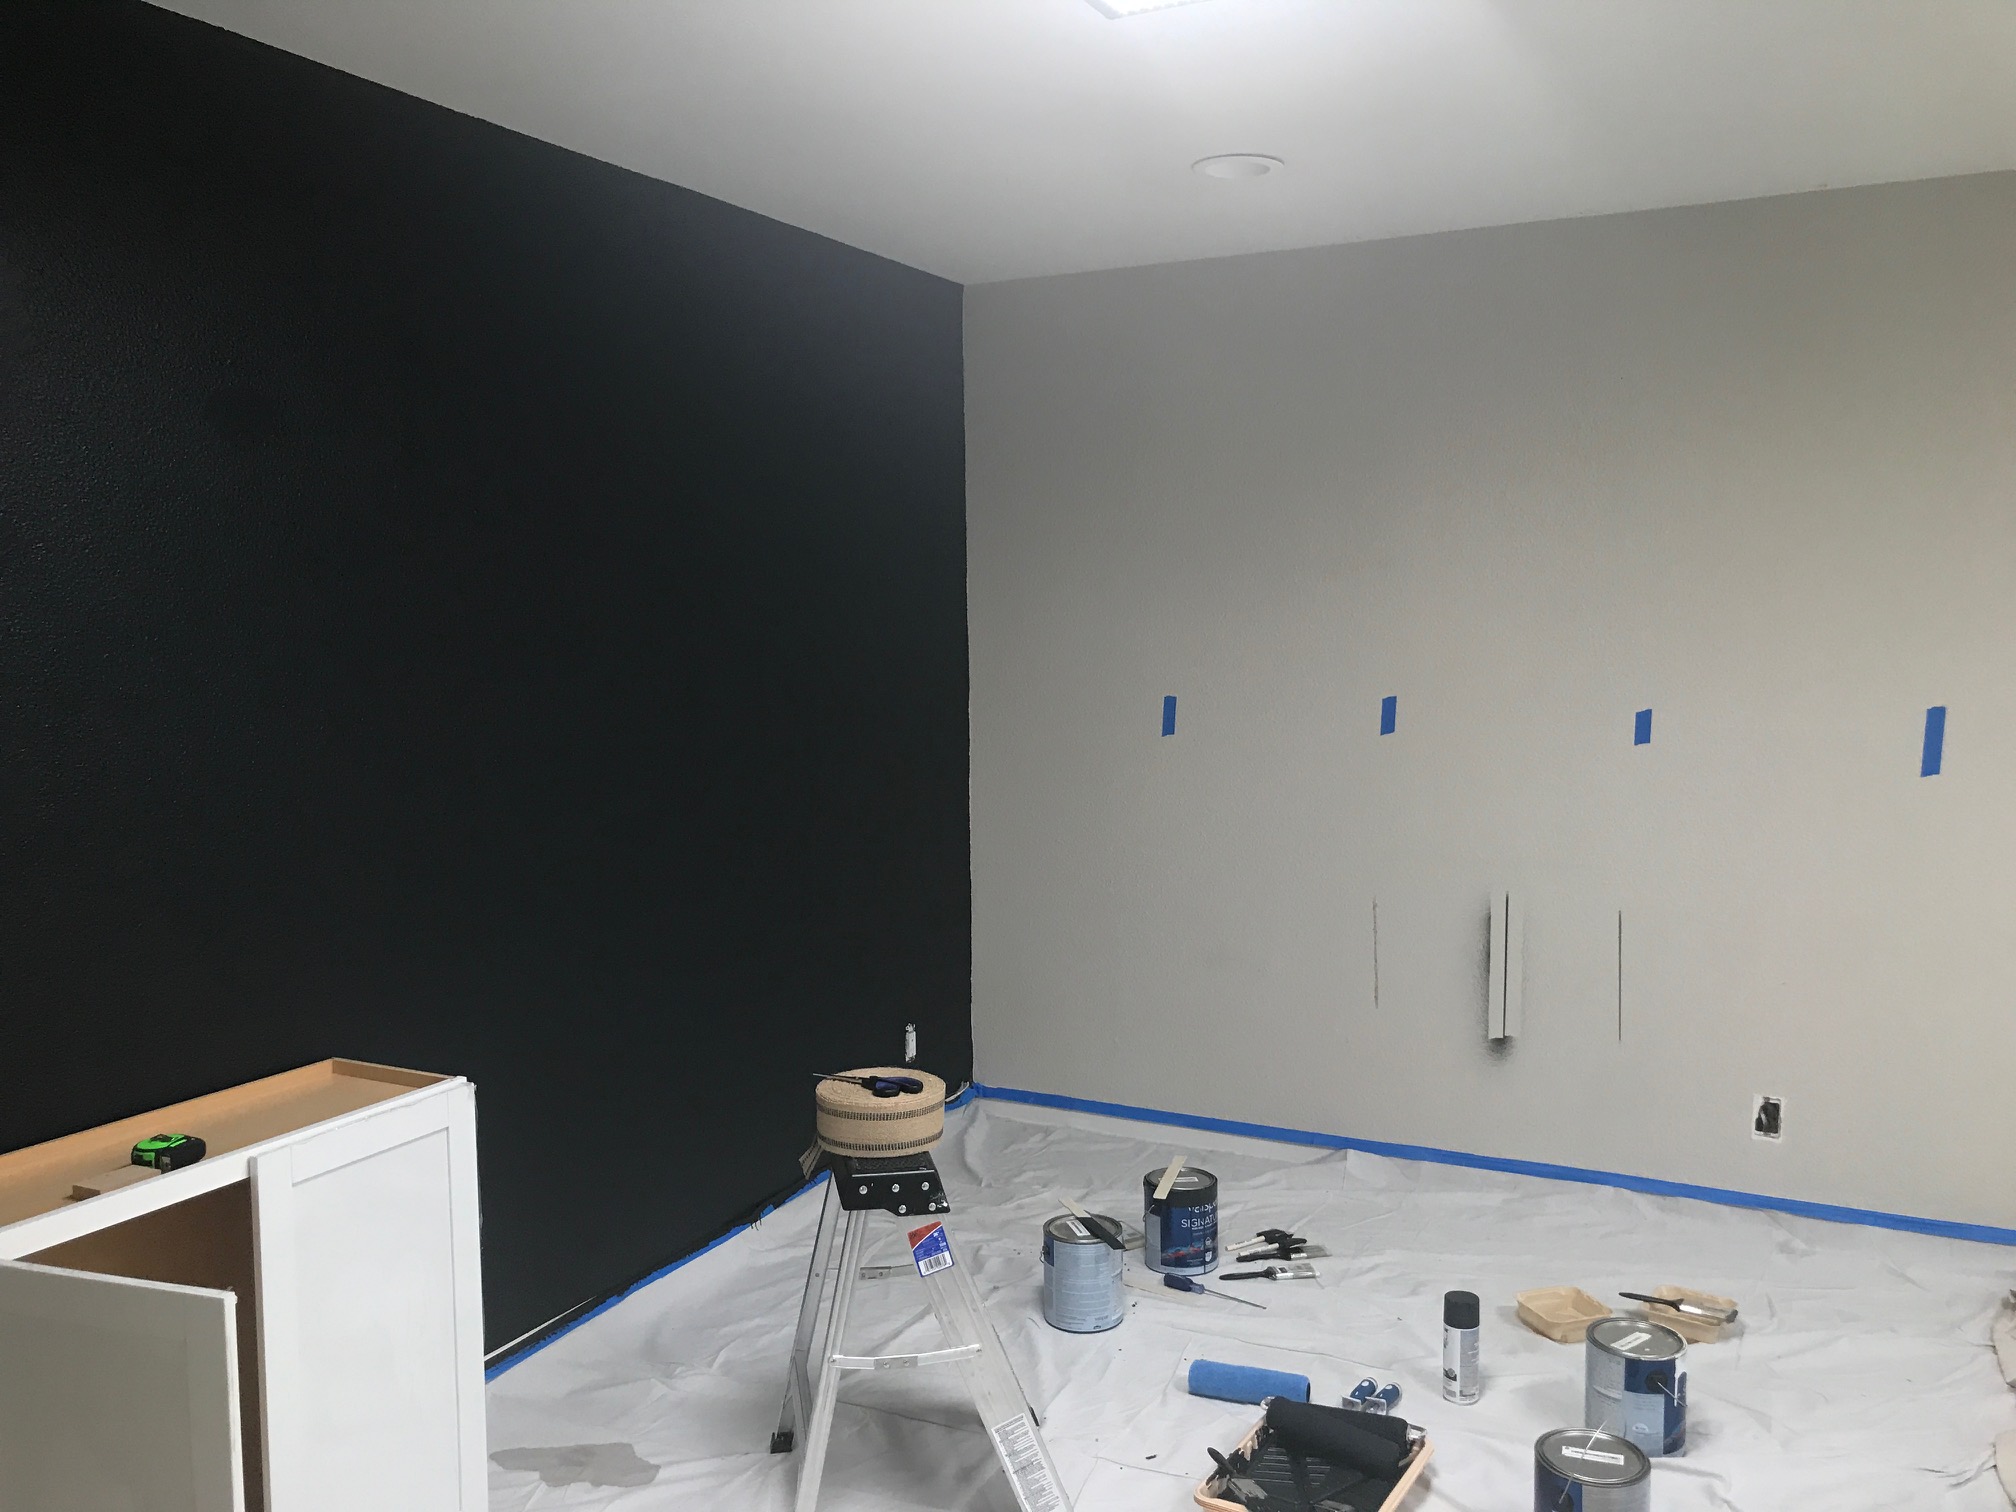
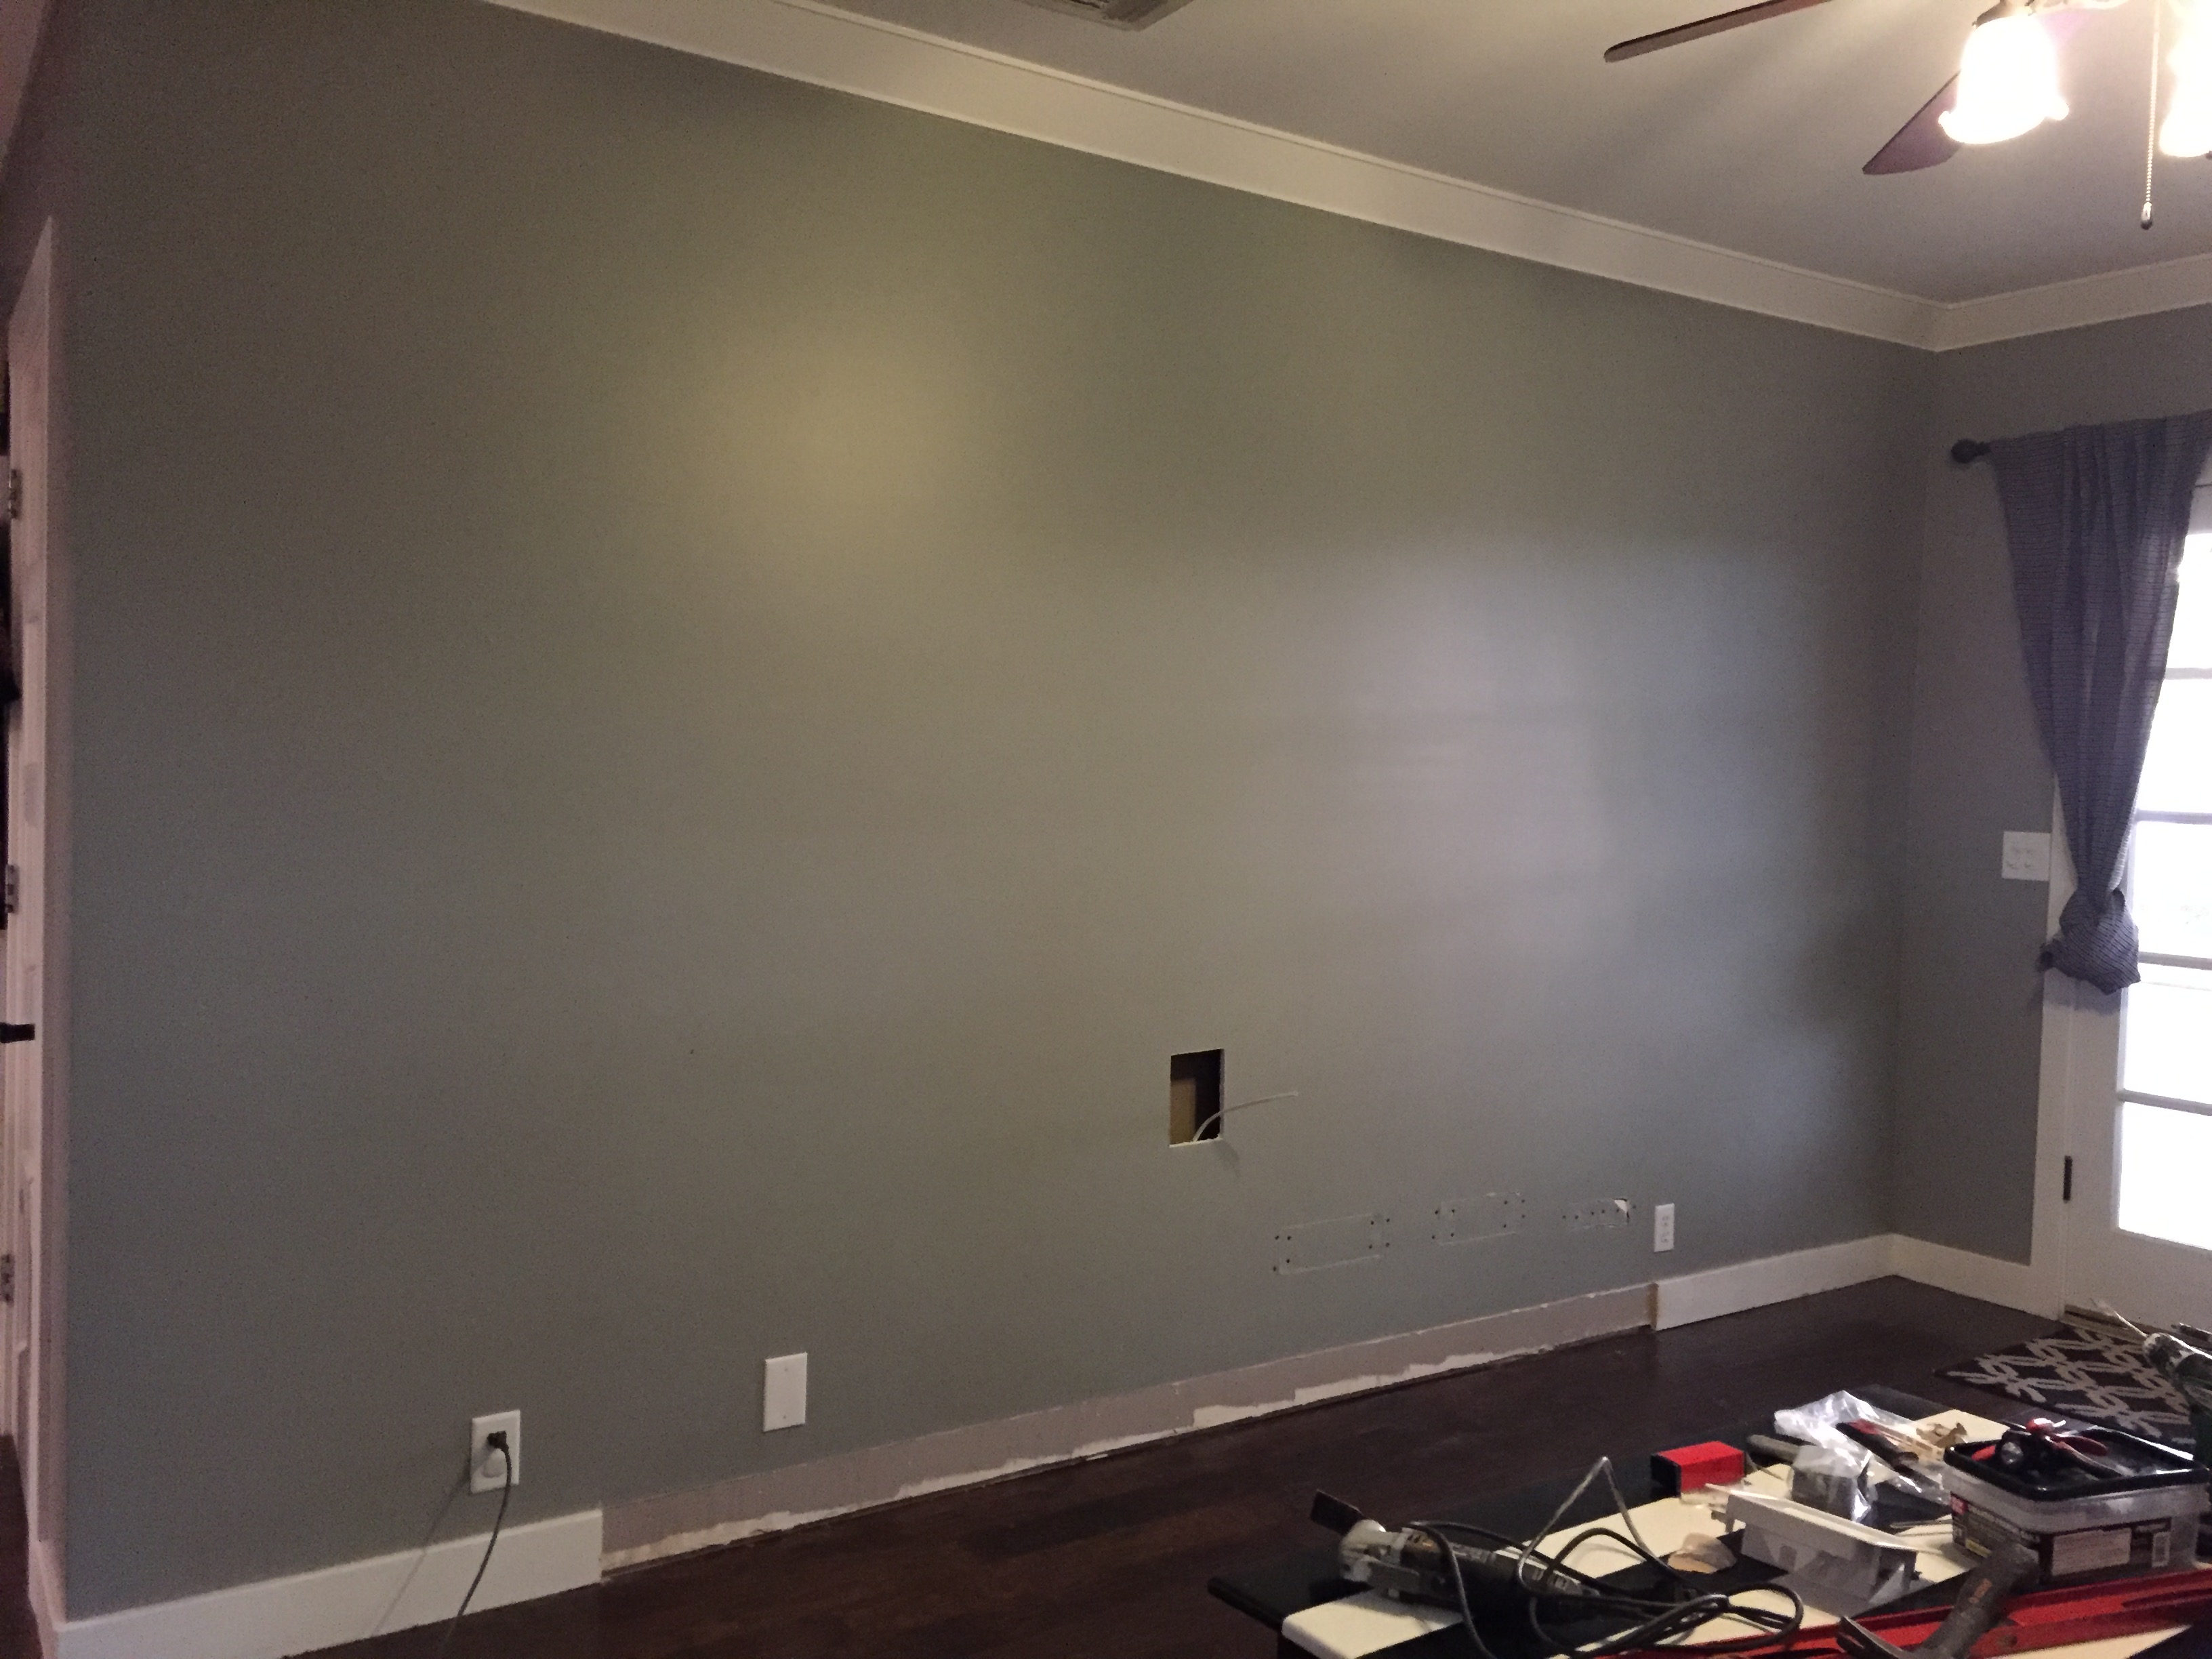
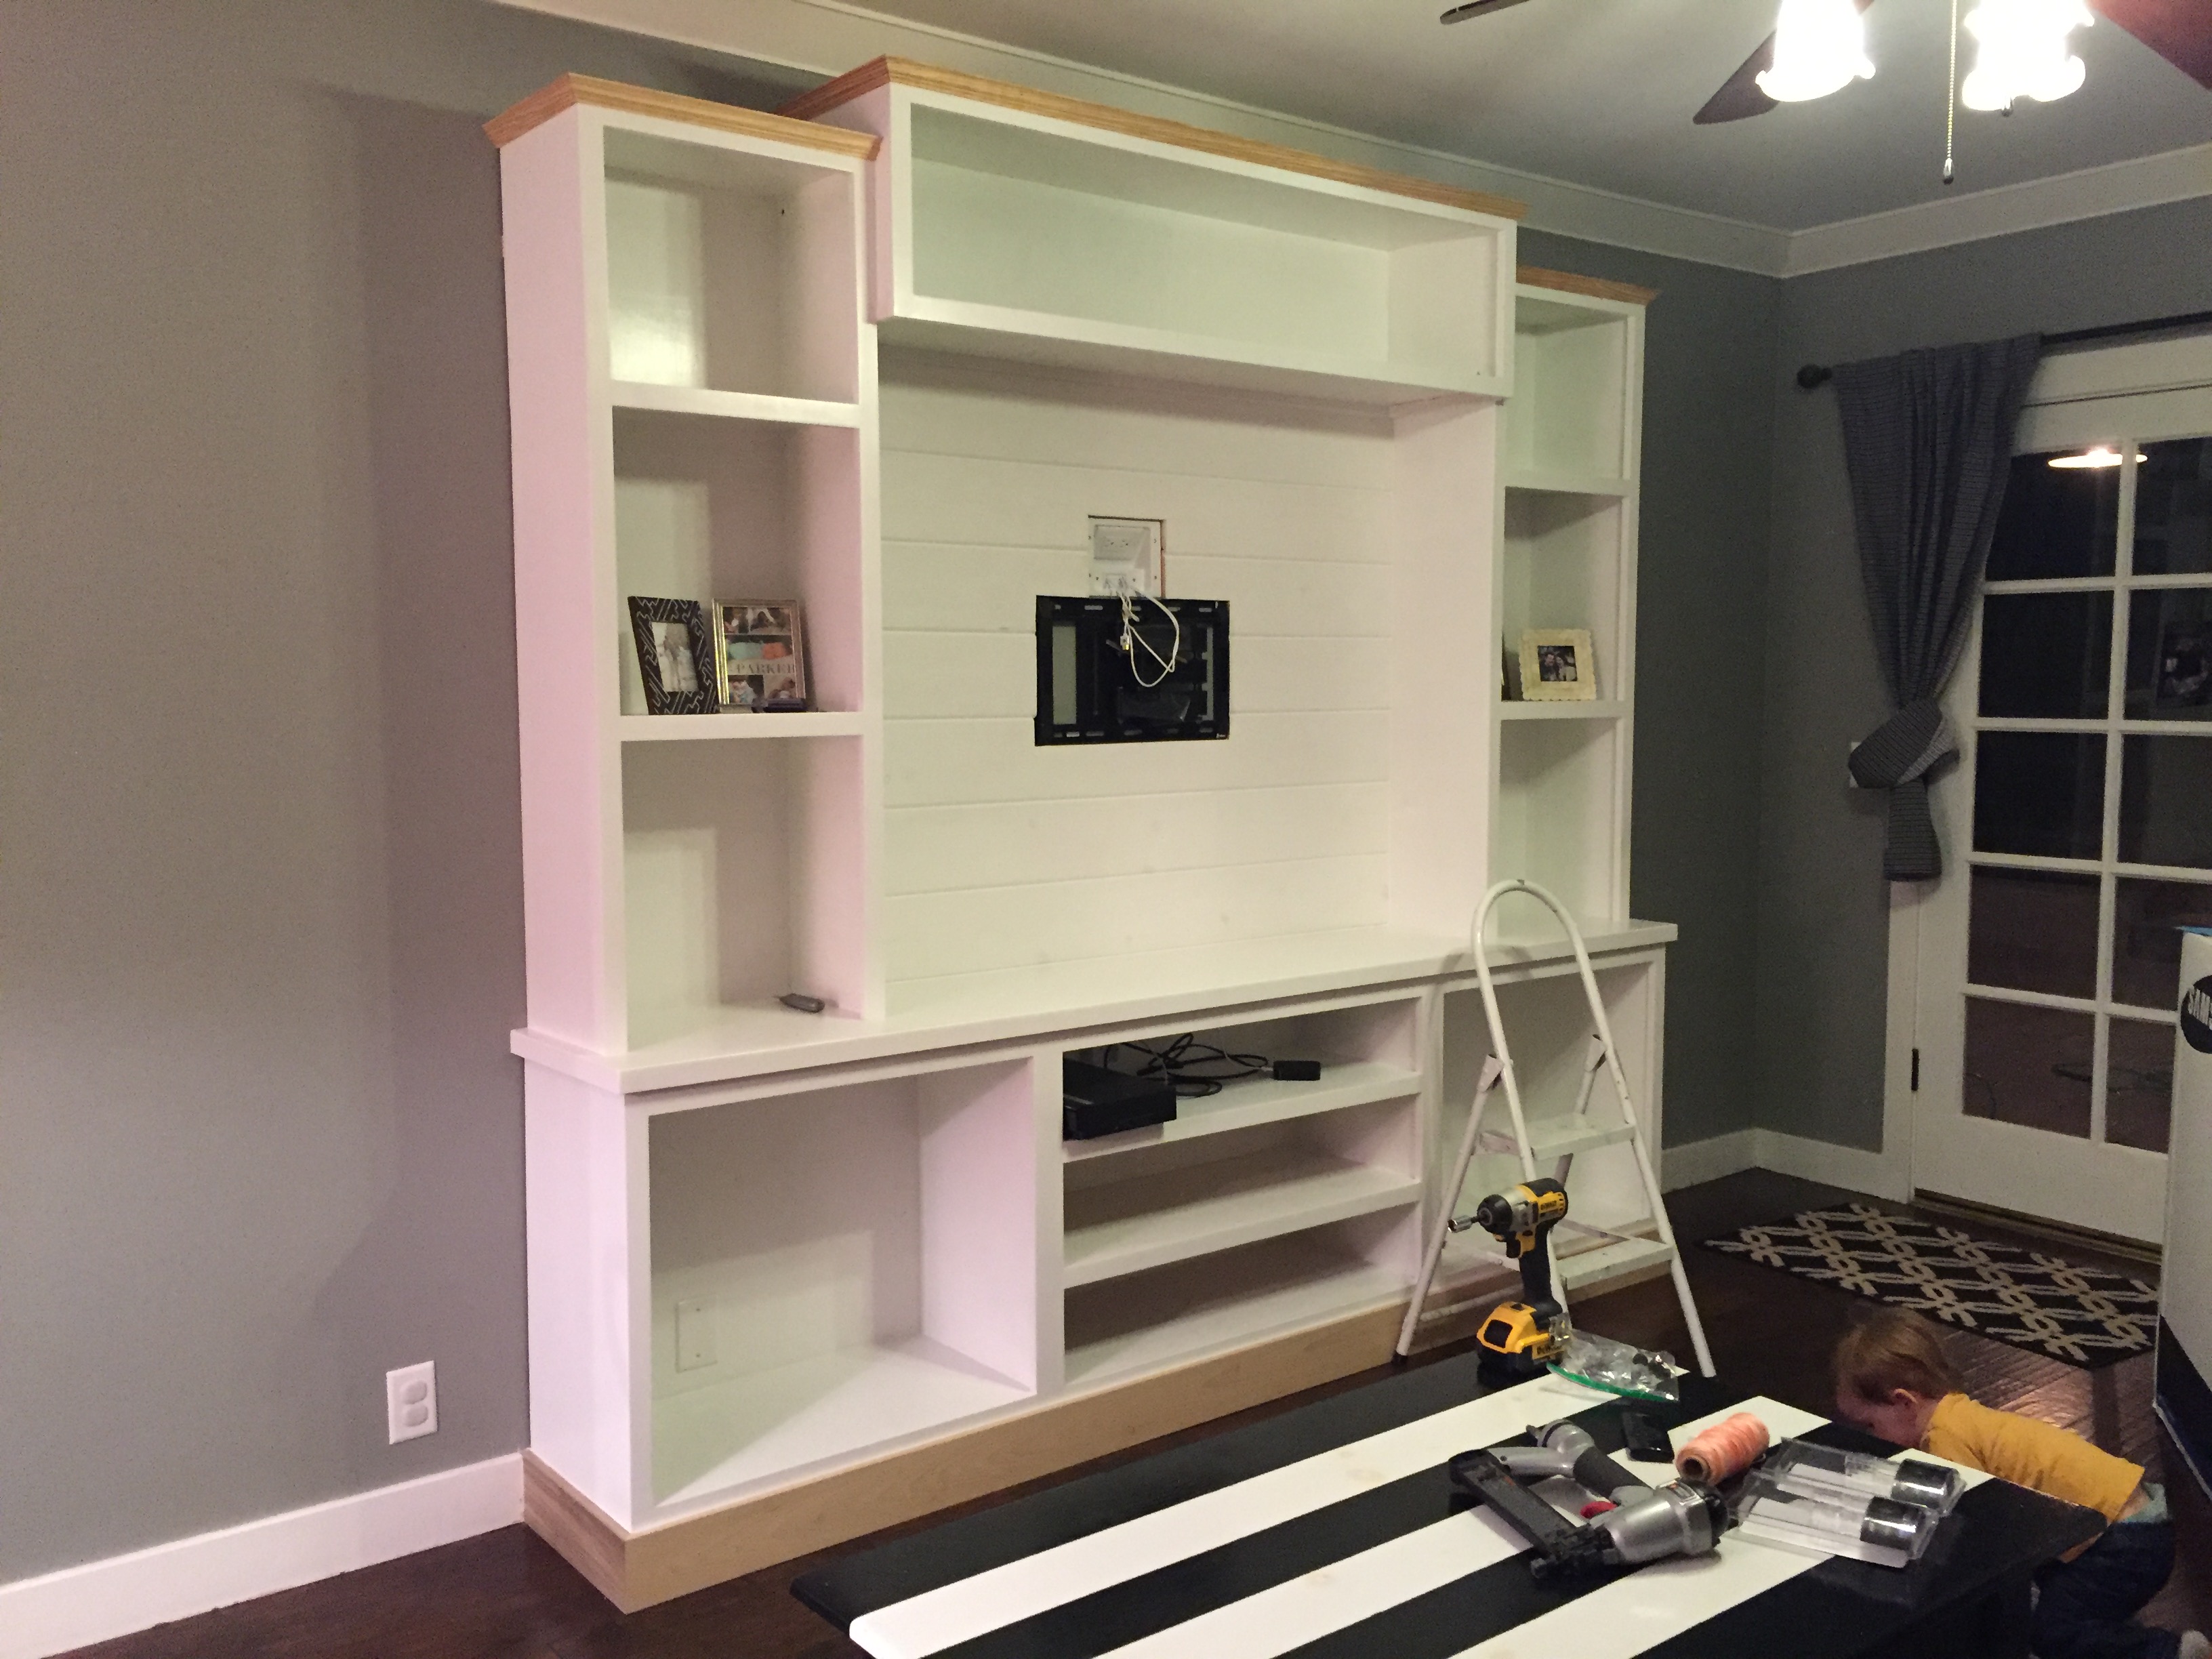
Painted the wall black that will go behind the entertainment center. Taped out where the ribbon stripes were going to go.

Nate & Joanie

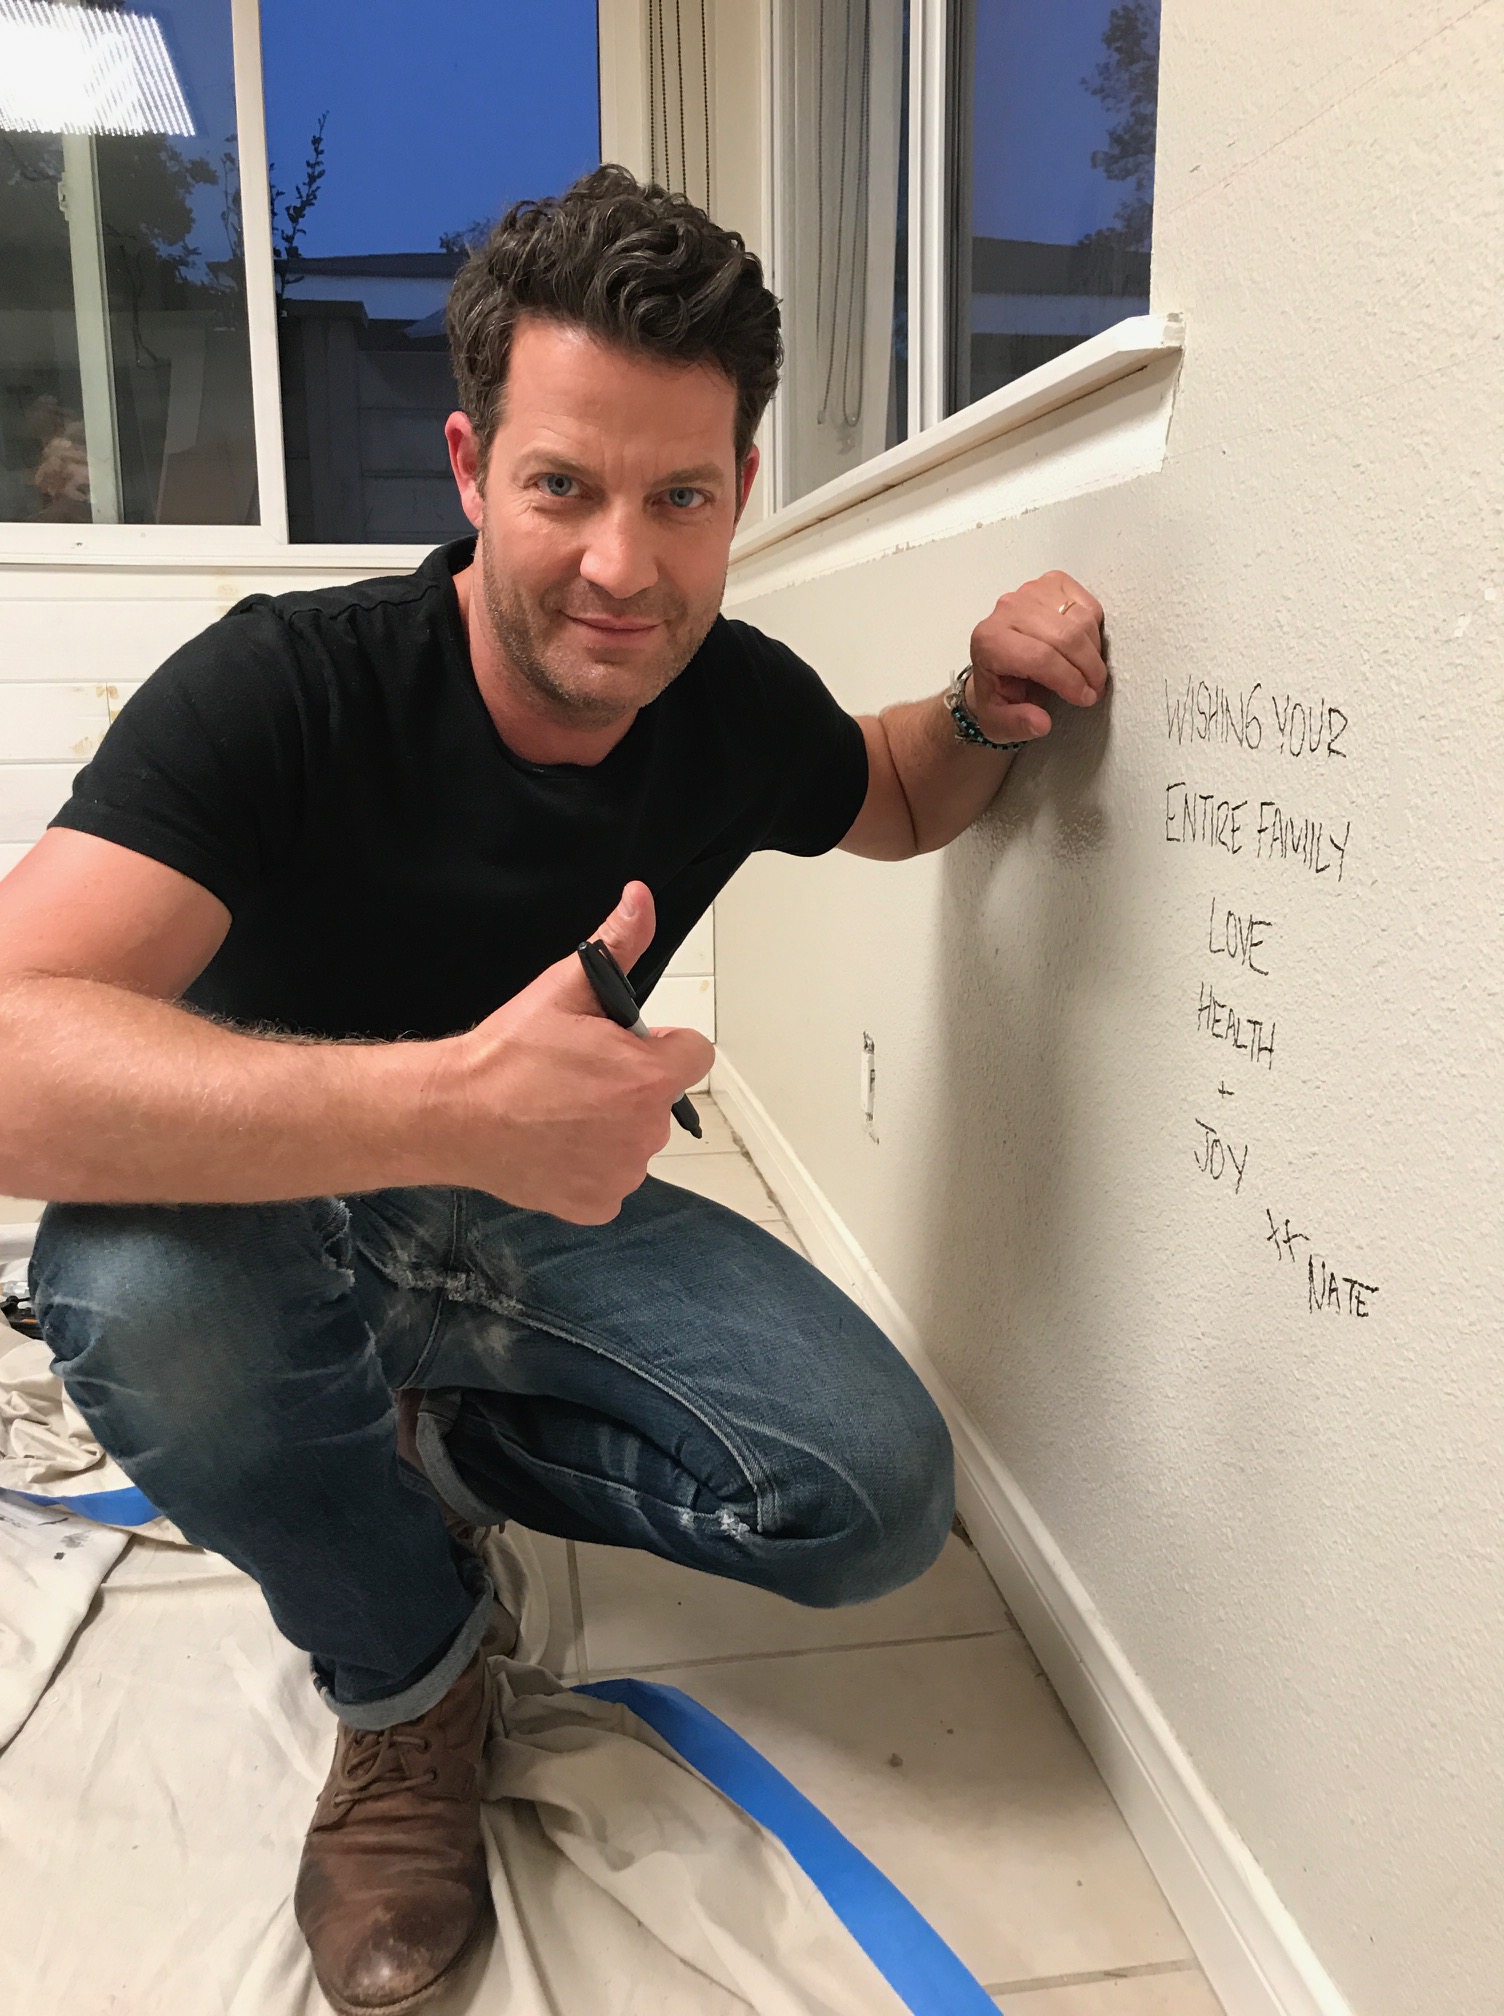
I asked Nate to write a note to the Jacobsens that would forever be inscribed behind the shiplap. “Wishing your family love health and joy xx Nate”

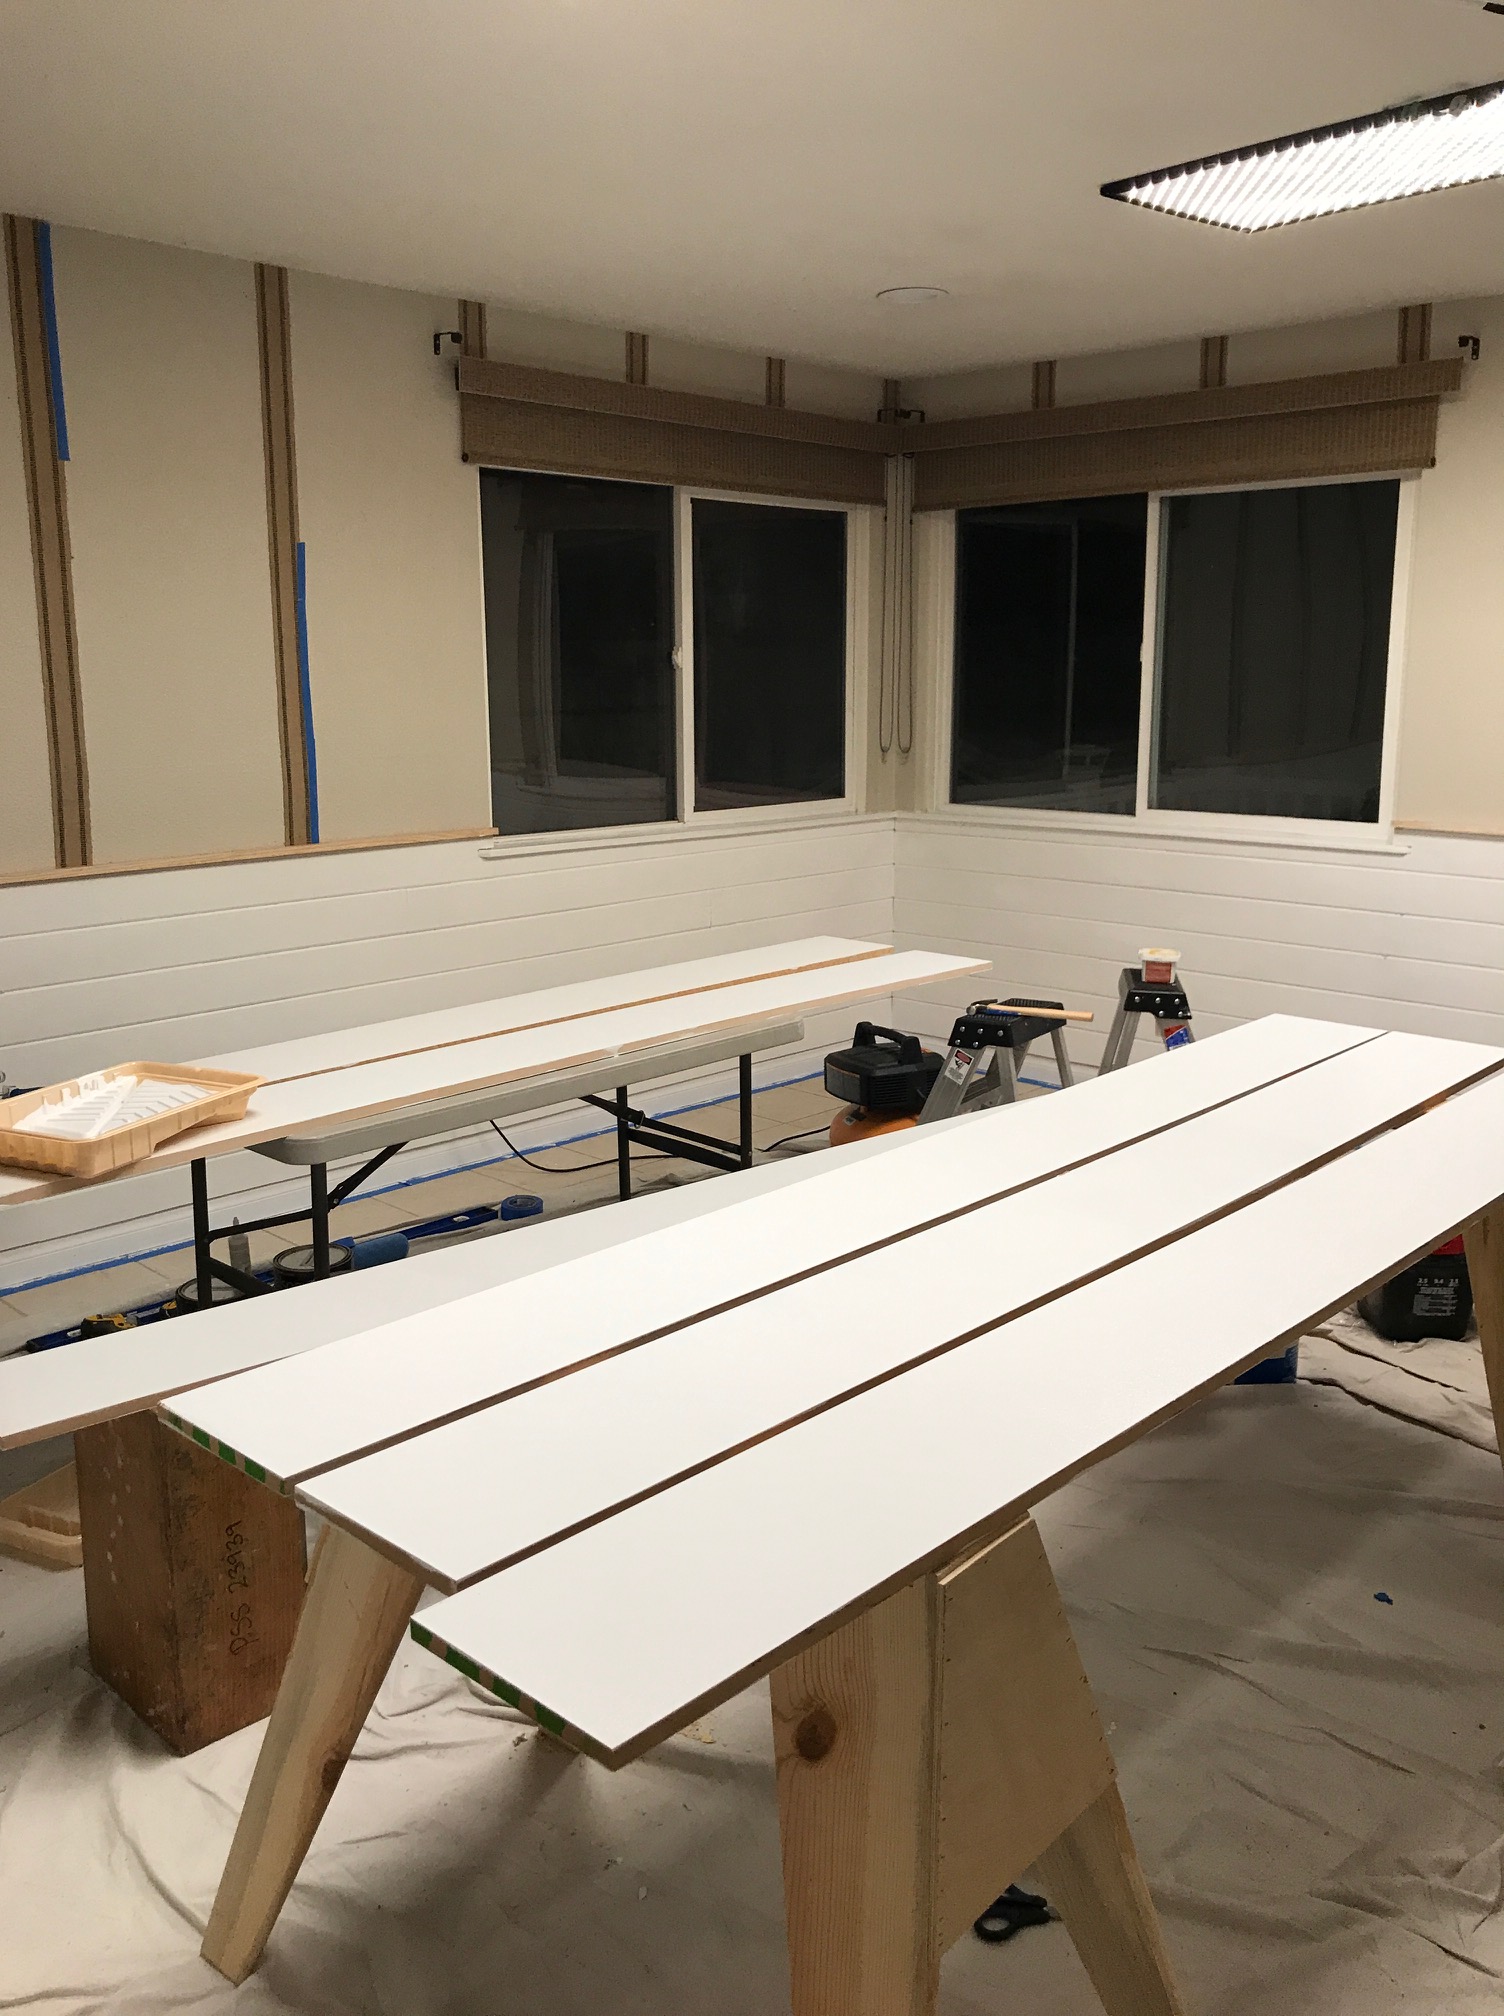
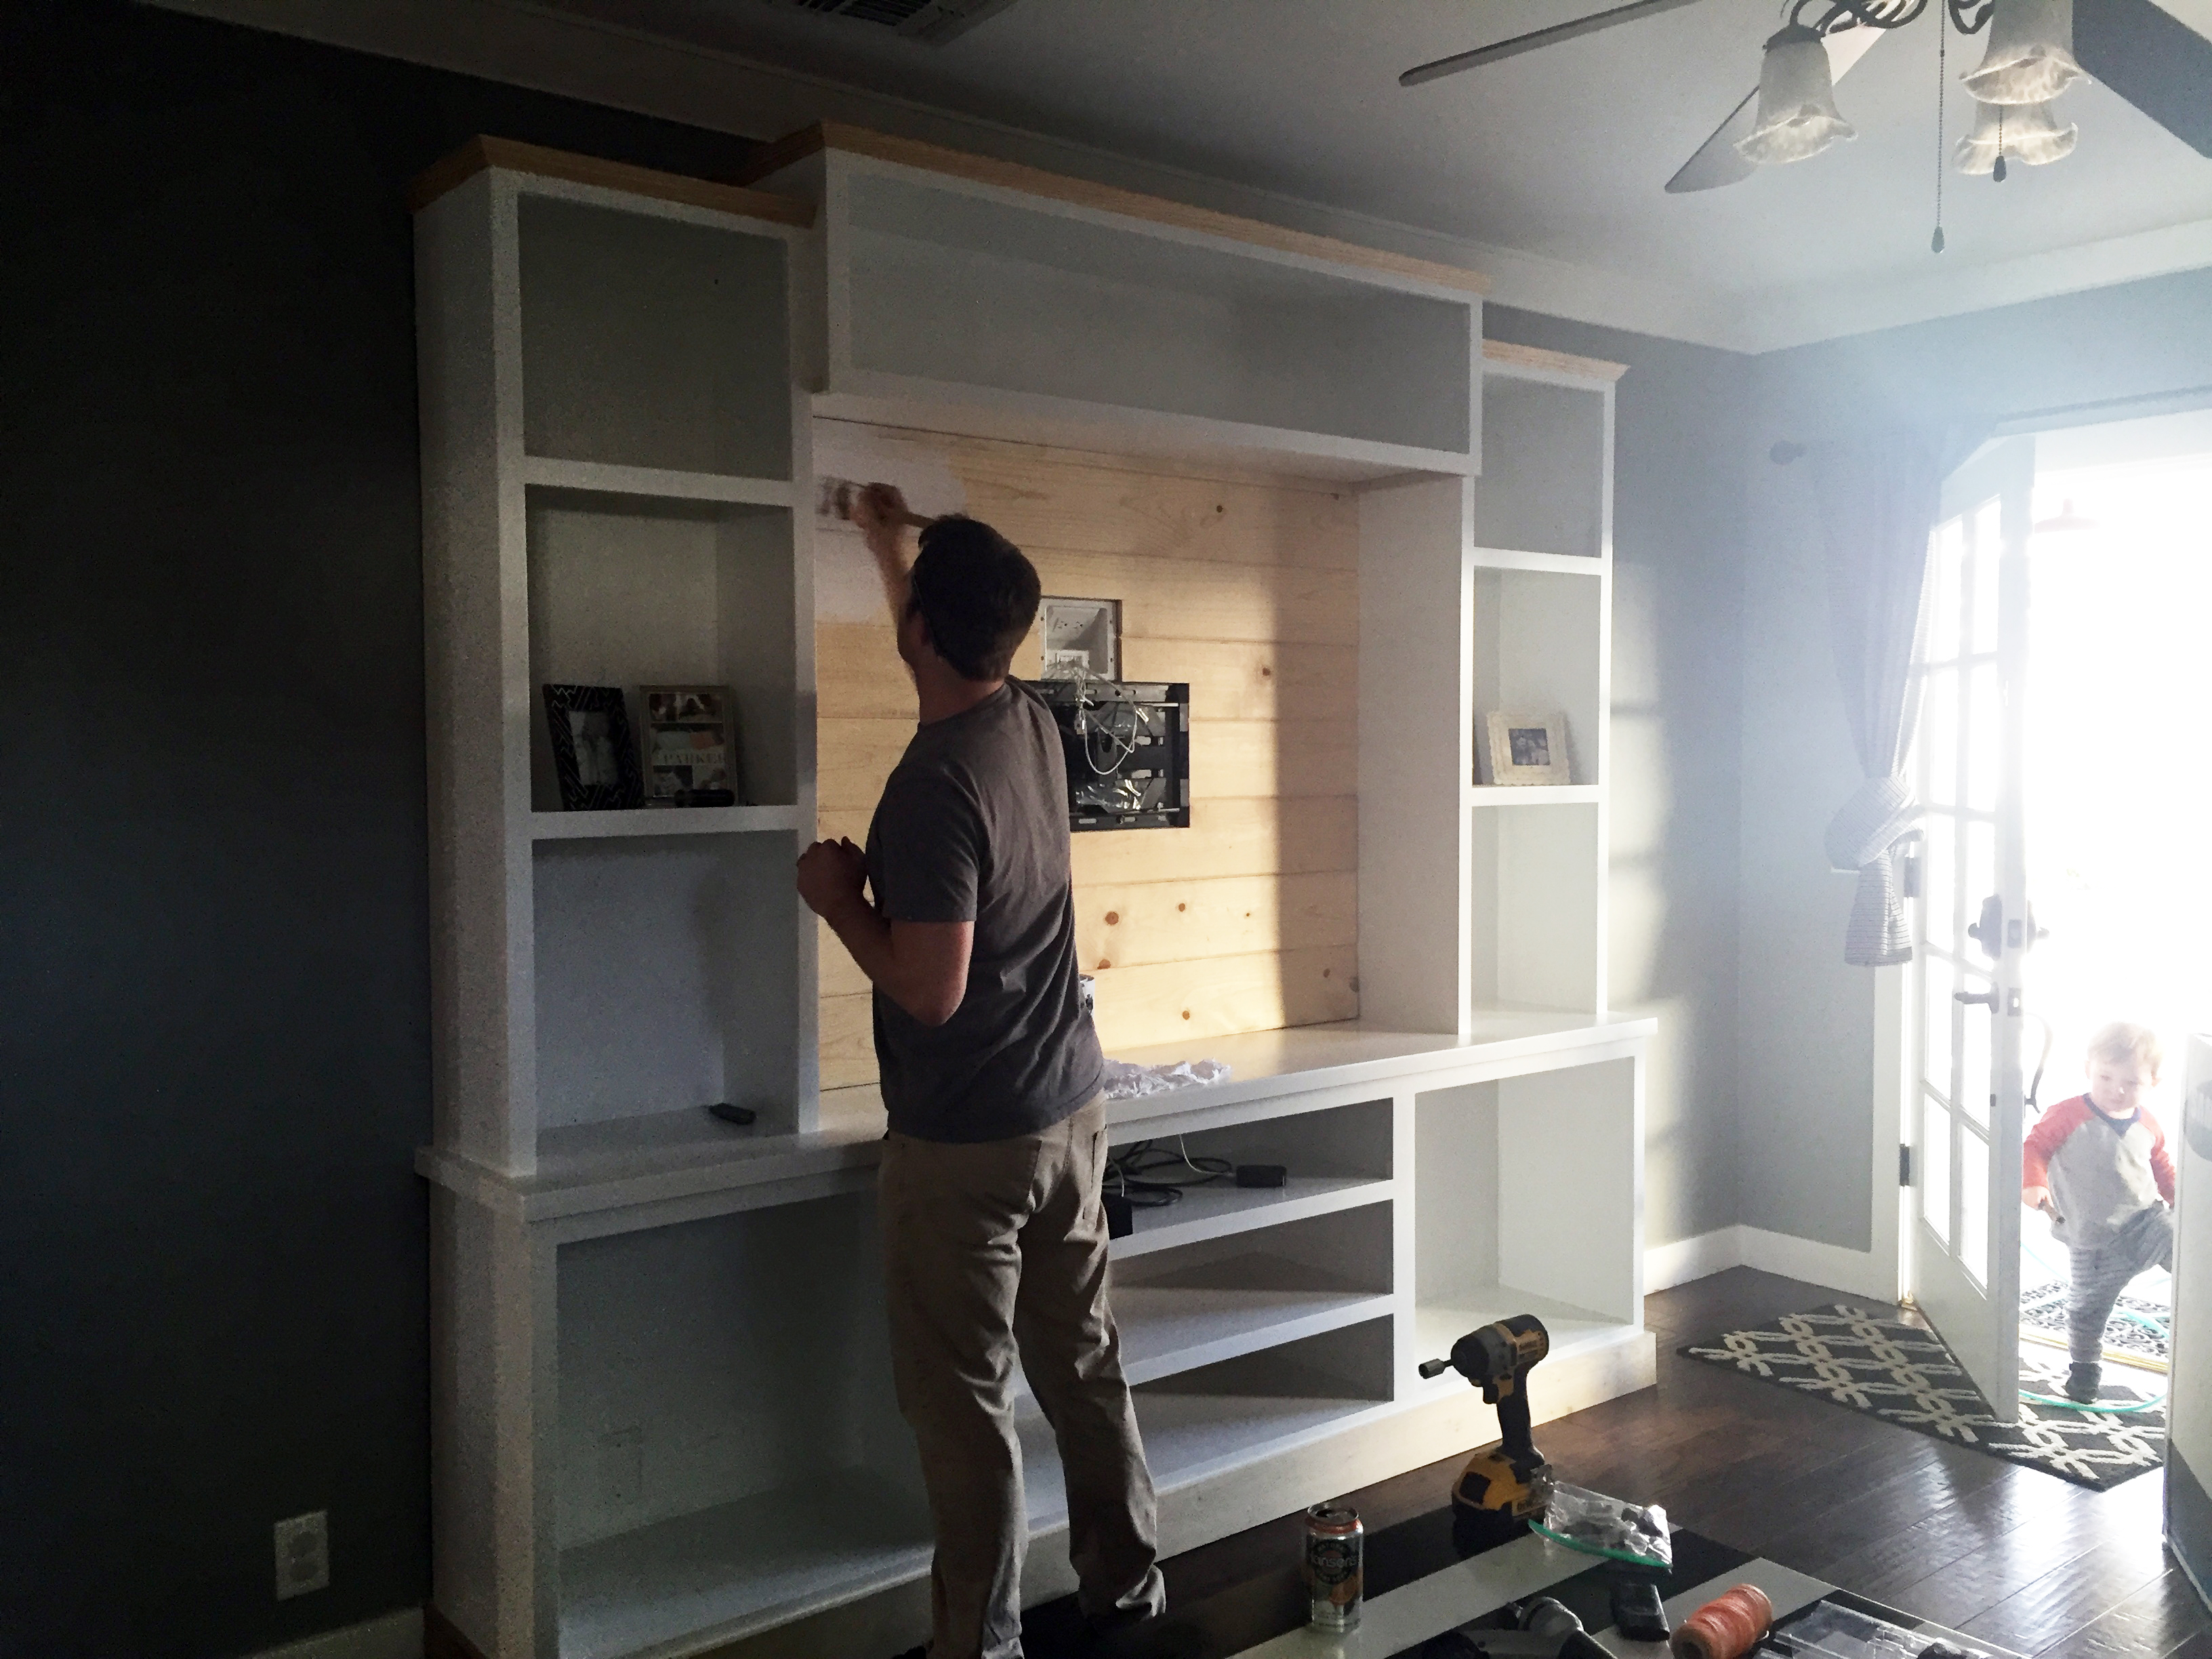
Progress! Stripes glued to walls. Shiplap painted and installed!

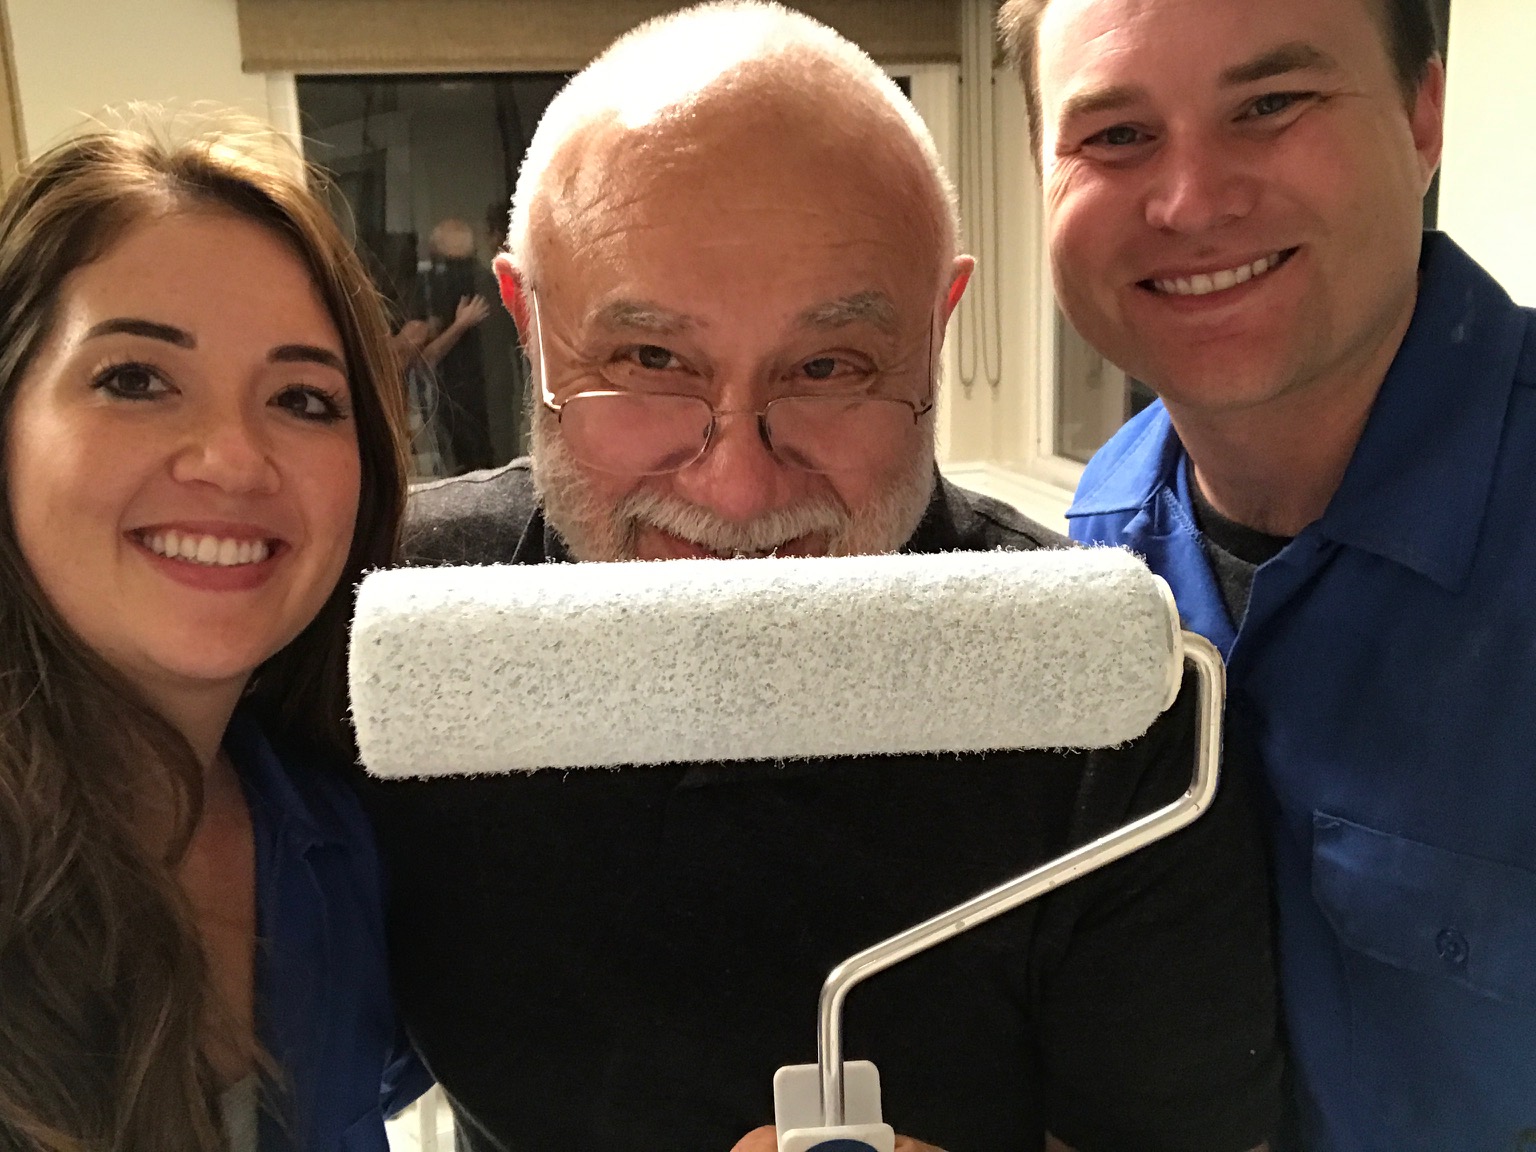
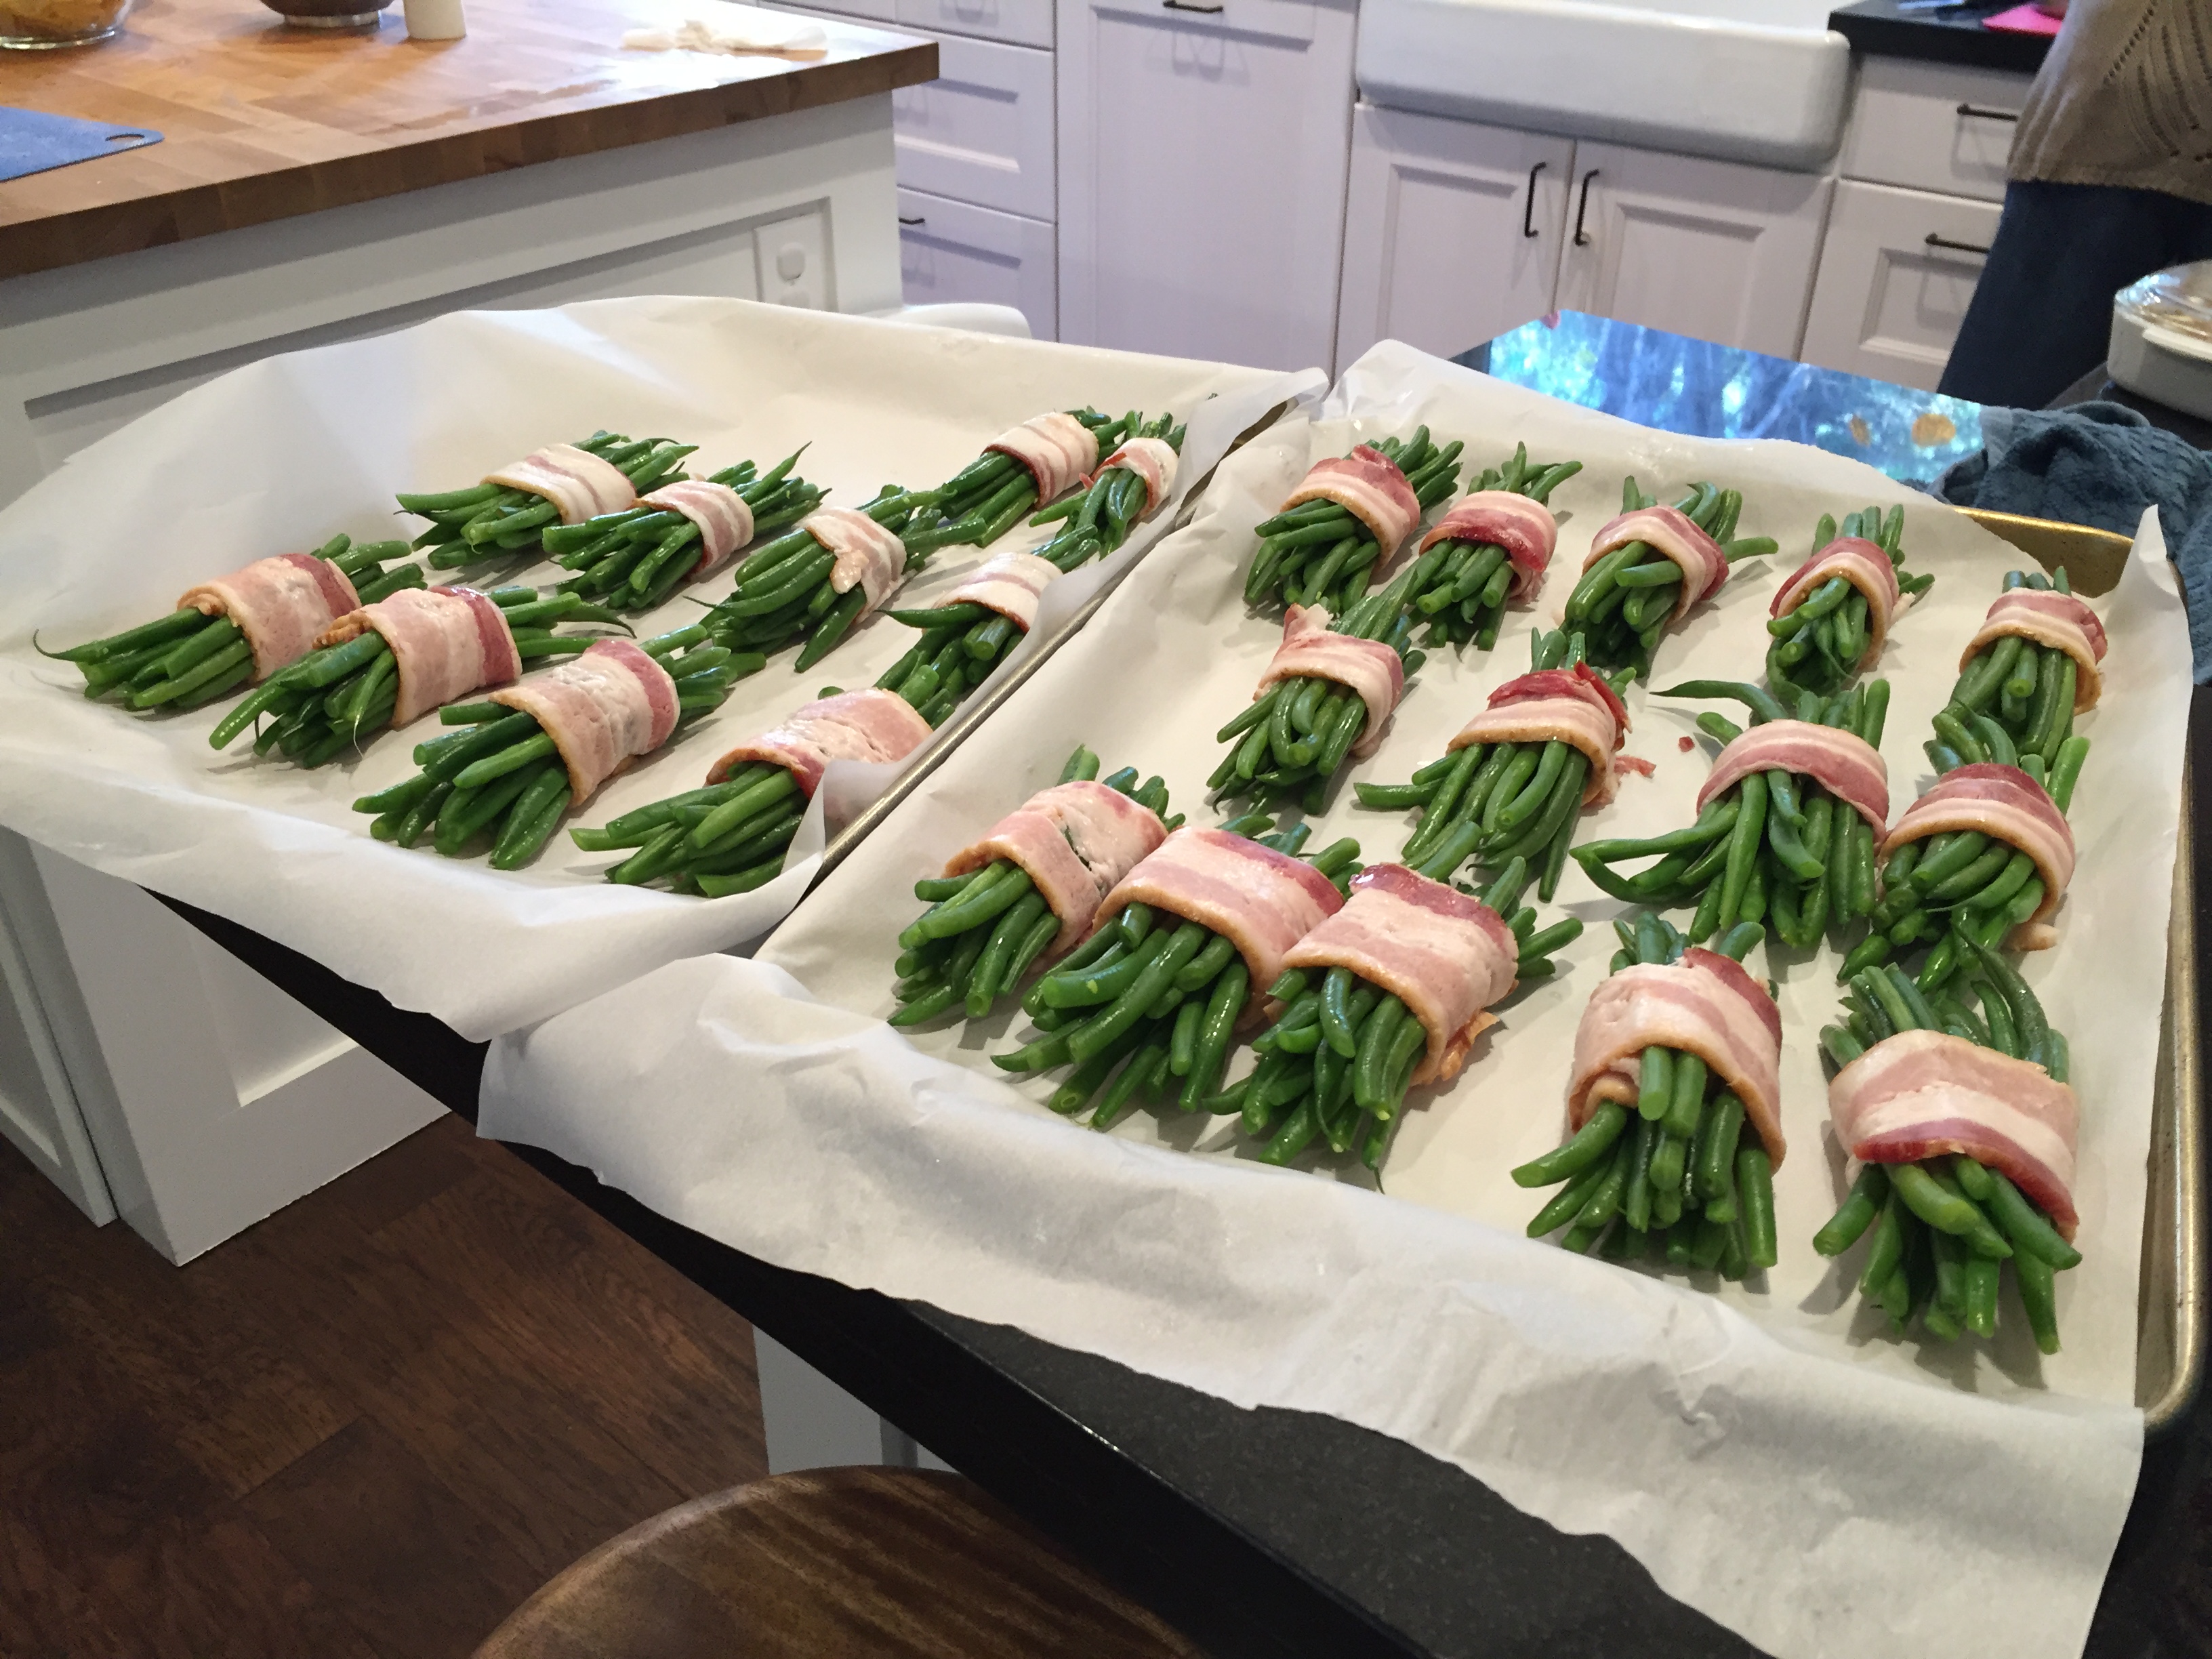
Frank stayed until 1 AM and helped us finish our homework!

October 2 – Day 2 We hit the ground running. Kevin got up early to finish painting the console doors so they would be dry to hang when everyone arrived. Shooting began again around 8am and we did a lot of fun projects around the house. One of the best parts was going to the Wayfair tent and picking out an item that the designers had to incorporate into the room. Kevin actually picked out our item, 3 woven baskets! When we brought them to Nate he had the great idea of turning them upside down and fashioning them into lights! Fortunately because Kevin had done so much the night before we didn’t feel like we had to frantically scurry around. We even invited our friend, the ice cream man over (because he’s on speed dial LBH) and got to surprise Frank with a birthday cake! It was such a fun day. But want to know the best part of the entire day? Yes maybe even better than our actual reveal… yikes can I say that? The reveal was so awesome too. Ok Ok it’s a tie… It was a conversation that we had with Nate sitting around the Jacobsen’s dining table about some of our work aspirations. Many of you know that Kevin and I have been dreaming about how we can break into this design/build/flip industry for some time. We got to talk that out a little and get absolutely affirmed from NATE BERKUS. He encouraged Kevin to pursue a niche (like furniture making) and break in, he told Kevin that he was impressed with his craftsmanship and said that once we got started he’d endorse it. WHAT! Wait. WHAT! Kevin could be endorsed by Nate Berkus?? I was on cloud 9 at that point, beaming with pride for Kevin and my brain racing with ideas. This conversation with Nate may have been fleeting to him but to us (to ME) it is something that we’ll always remember.  In that moment I literally thought to myself, my living room could be ruined but I don’t care, meeting Nate made the entire experience worth it haha. Luckily our living room was far from ruined. It was INCREDIBLE.

So after this exciting conversation we were then ushered down the street to our home and taken to our back patio. Side note: I really appreciate all the effort the Trading Spaces crew did to make this a 100% true surprise. Covering all the windows, walking us through the alley, covering our eyes, not talking about the houses in front of us etc. Paige explained with emphasis the importance of not blowing the surprise by opening our eyes too soon. She reminded us that there are very few times in our adult lives that we get to be genuinely surprised… so don’t ruin it! We followed her instructions and were carefully guided through the house into the living room where she finally allowed us to open our eyes! I. Was. Shocked. It was this weird feeling of being misplaced. The room had changed so much that I momentarily forget where I was. It felt like we were standing in the lobby of some trendy, boutique hotel. What a transformation! I instantly loved it, the meaningful details like the recreating of the family picture on the porch and using the sidewalk planks around the fireplace, the fresh greenery, the new layout… SO good! When the cameras went off we walked back into the kitchen and there was the dream-team crew (with Nate & Jeremiah still there… I was afraid they had left early and that we weren’t able to say our thanks and goodbyes) greeting us! The excitement in the air was tangible. I wish I could have bottled that up, because it could have sustained me for years to come haha. We then got to walk over to the Jacobsen’s house, hide in the kitchen, and listen as they entered their room and delighted over their new space. When we were able to run out and see them, my excitement was at 200%. 1) We got to work with the best designers ever. 2) We just had a great conversation with Nate. 3) We absolutely loved our room and were so grateful for the Jacobsens. 4) We were so glad they liked their room. 5) We absolutely loved this entire experience. I probably looked a little too enthusiastic but  I couldn’t contain my excitement.

Kevin & Joanie assembling the entertainment center.

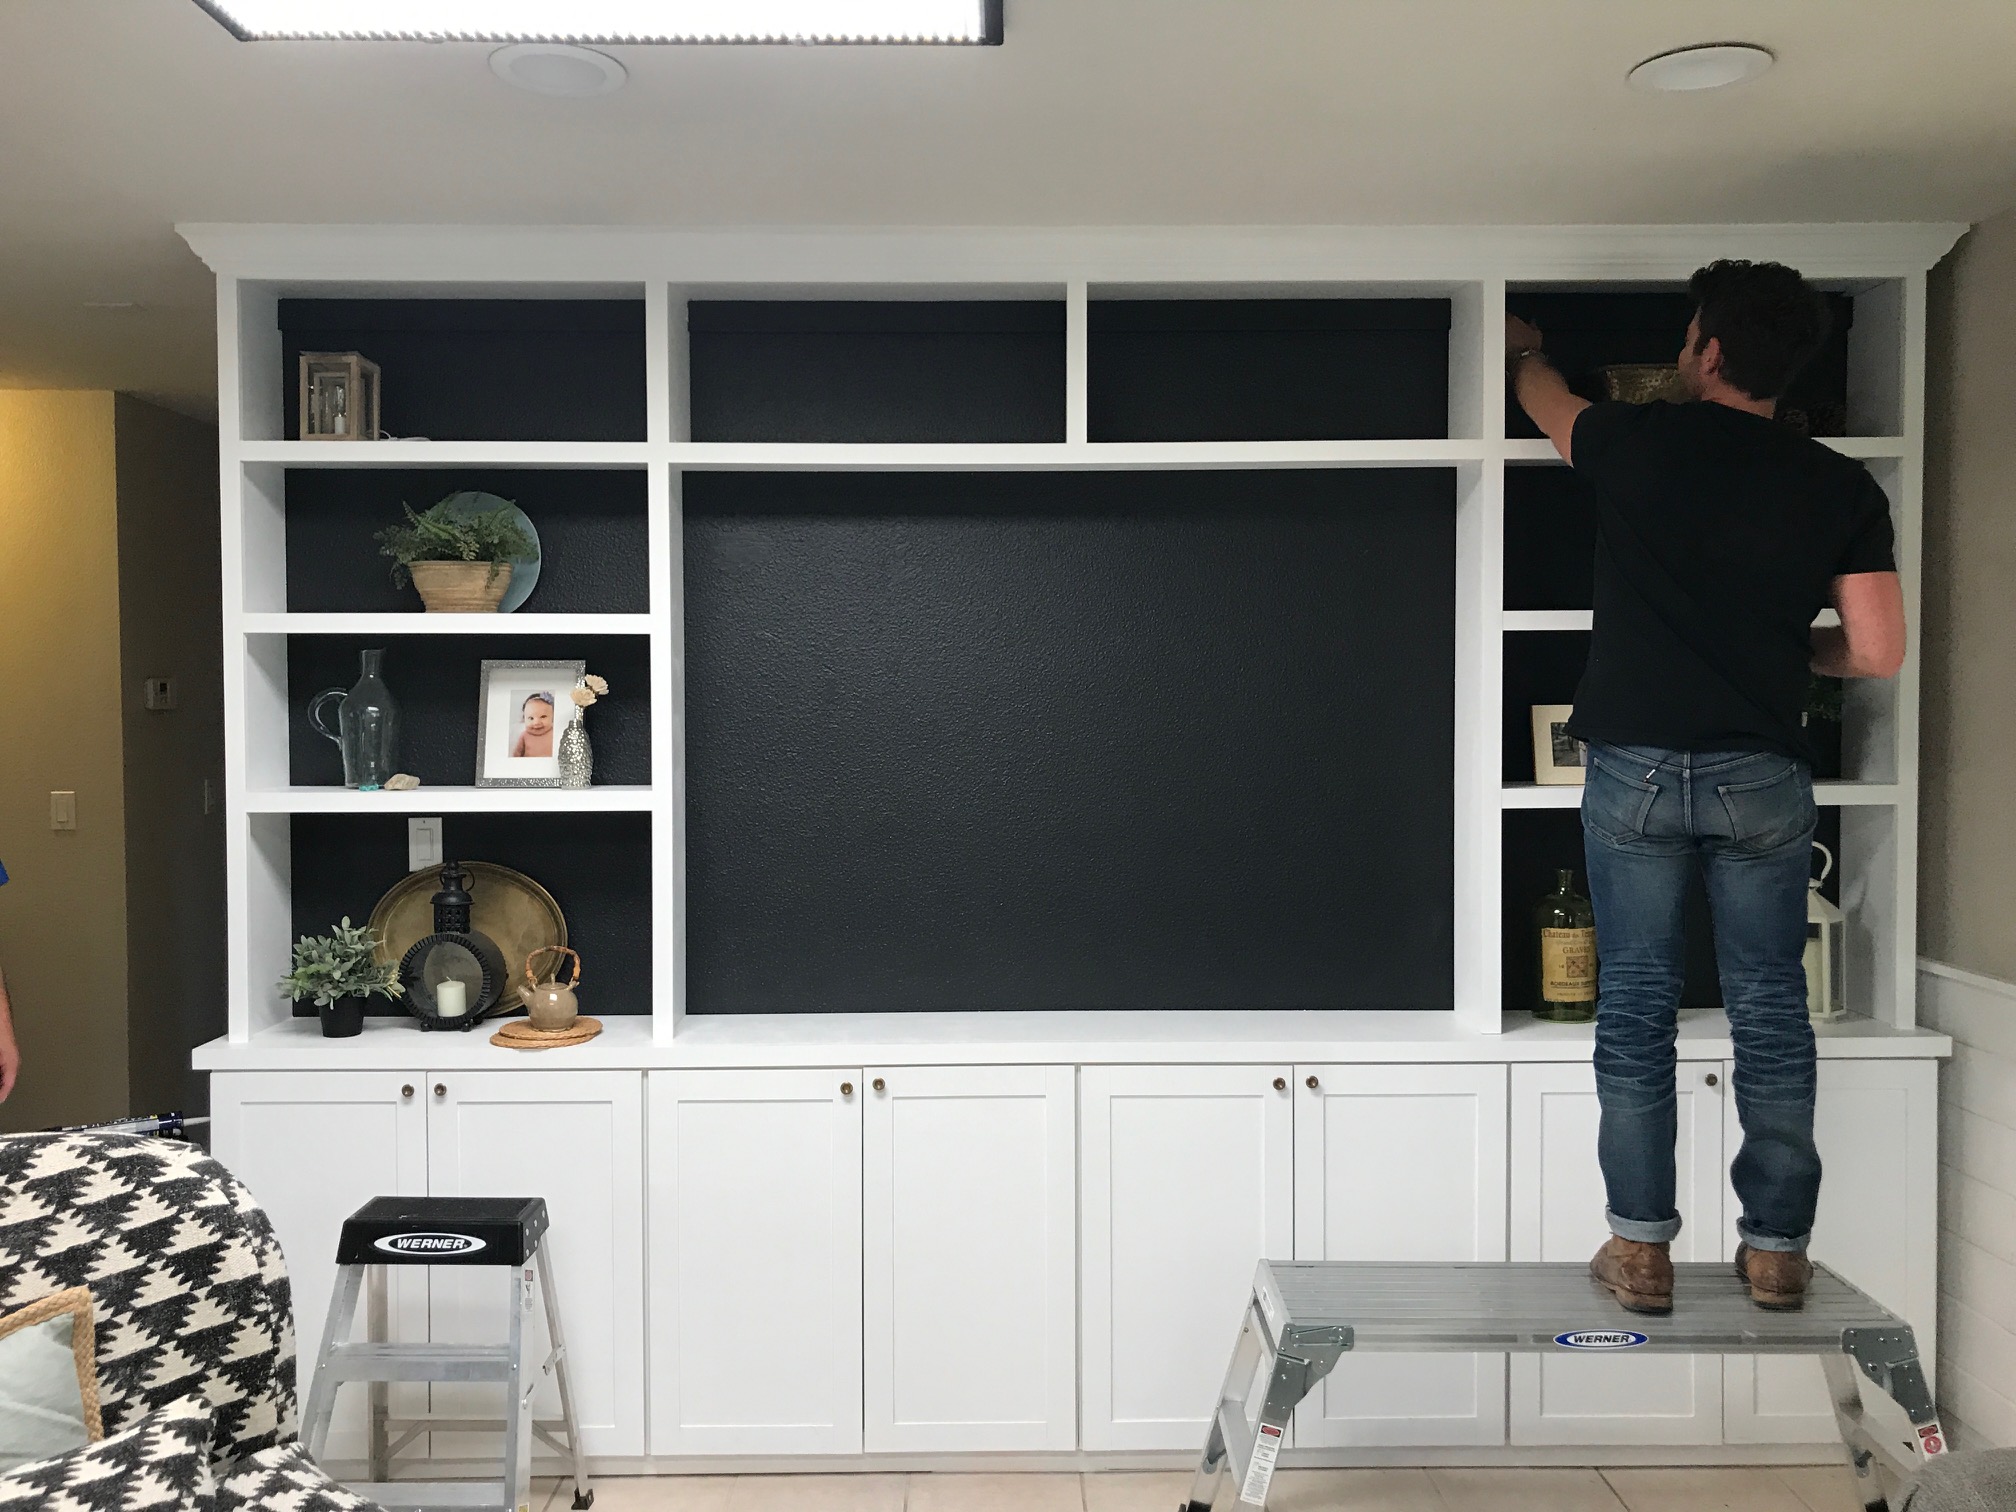
Watching the master work. Arranging the freshly built entertainment center.

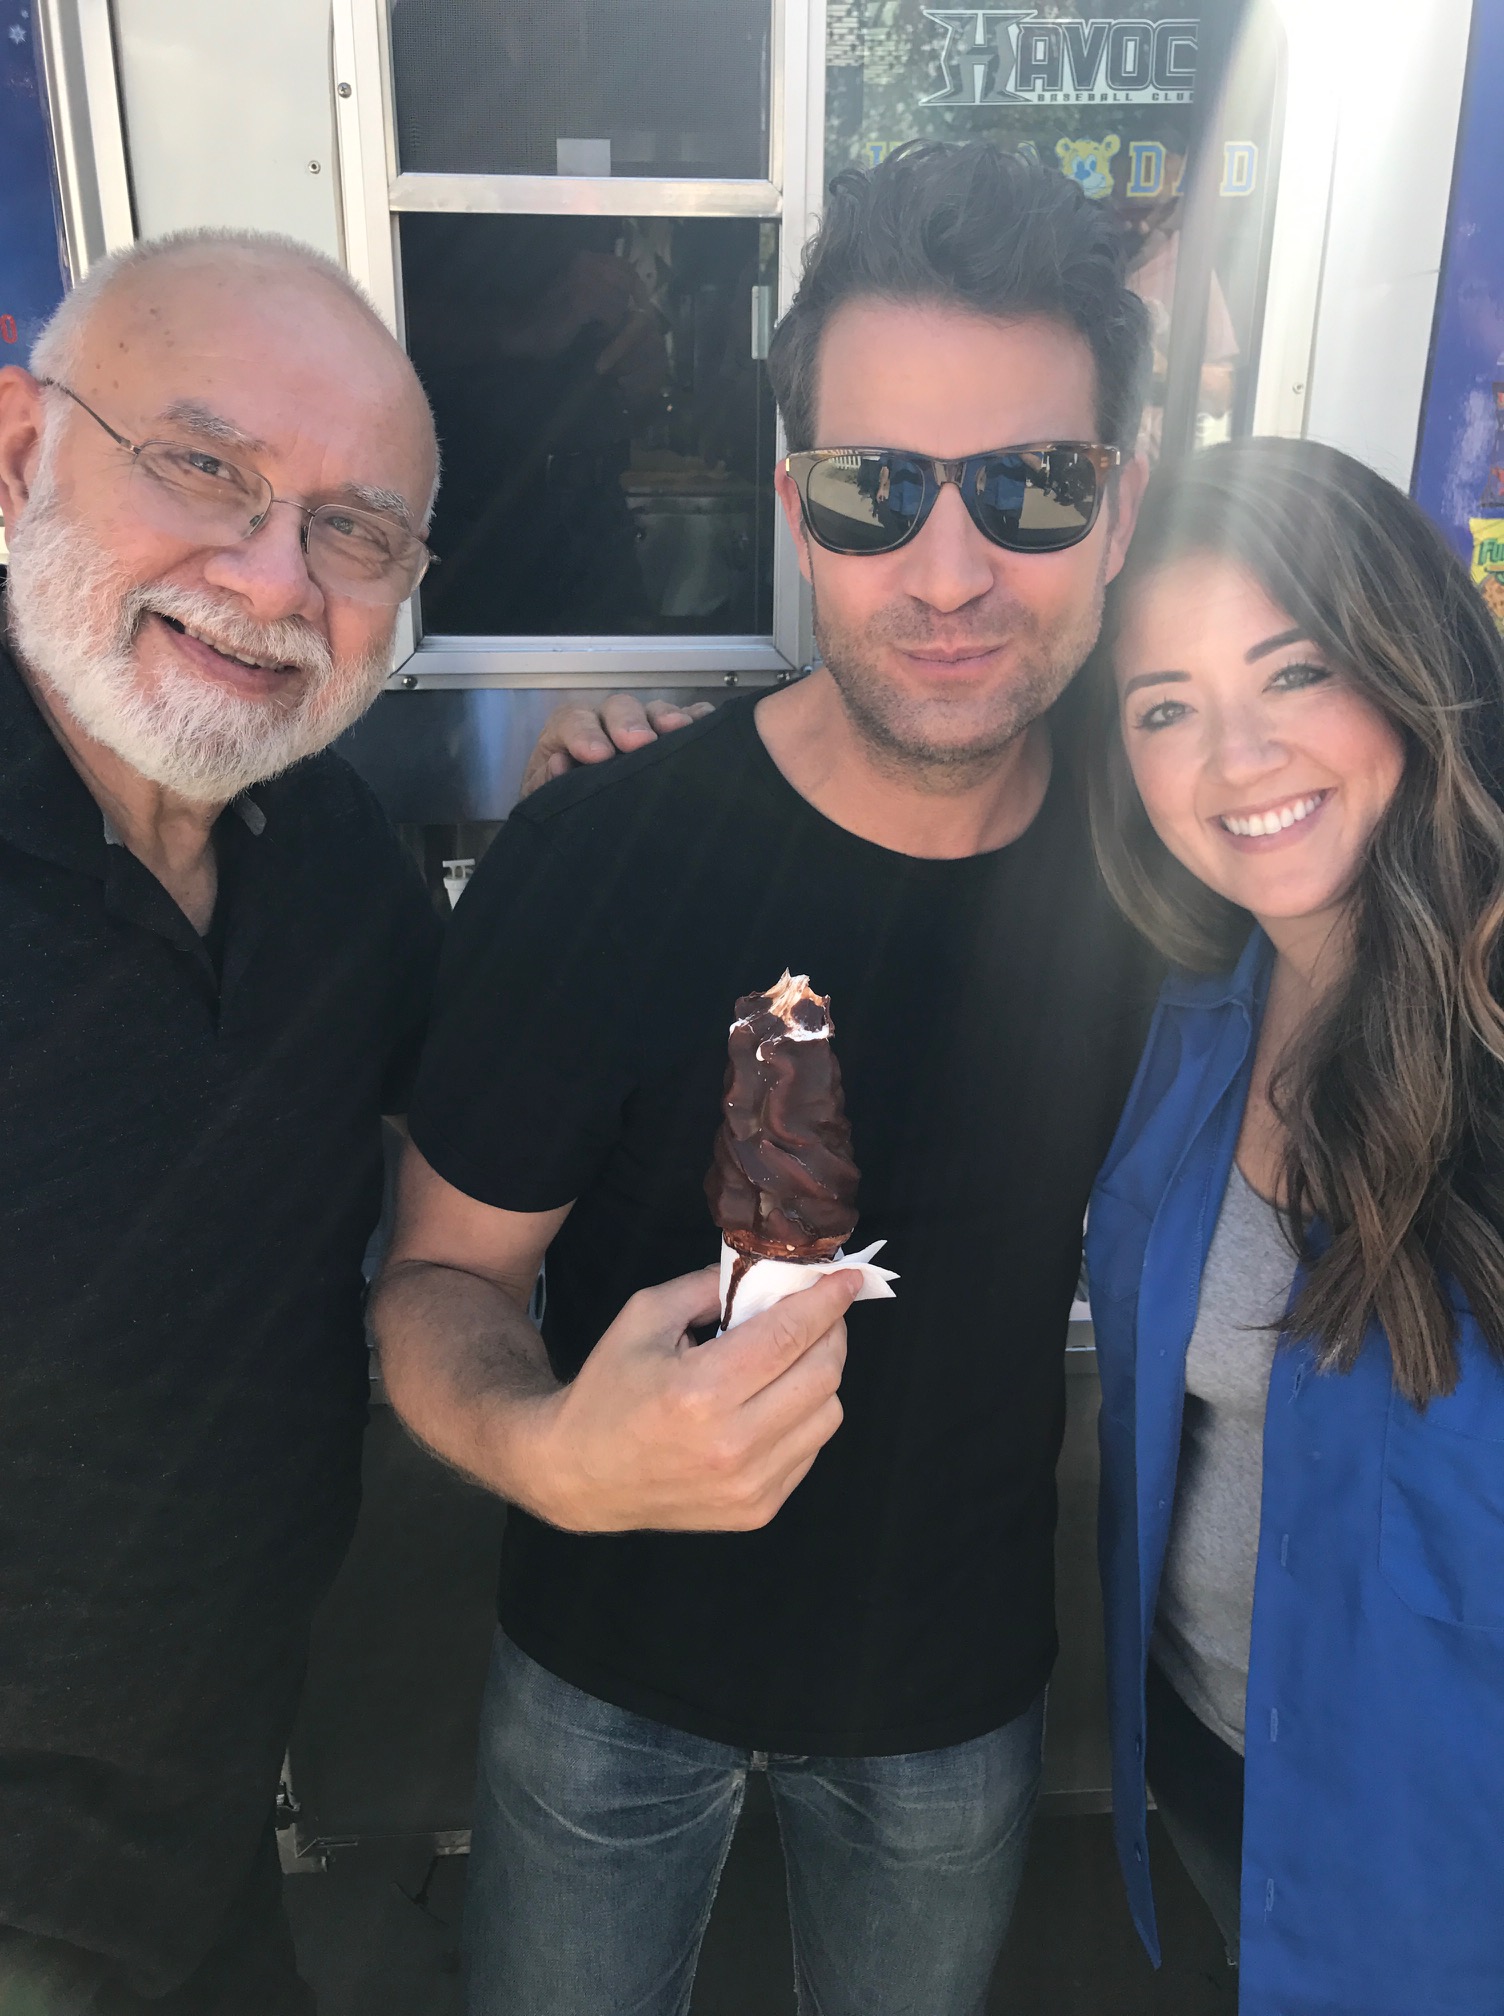
Ice cream break with Frank & Nate!

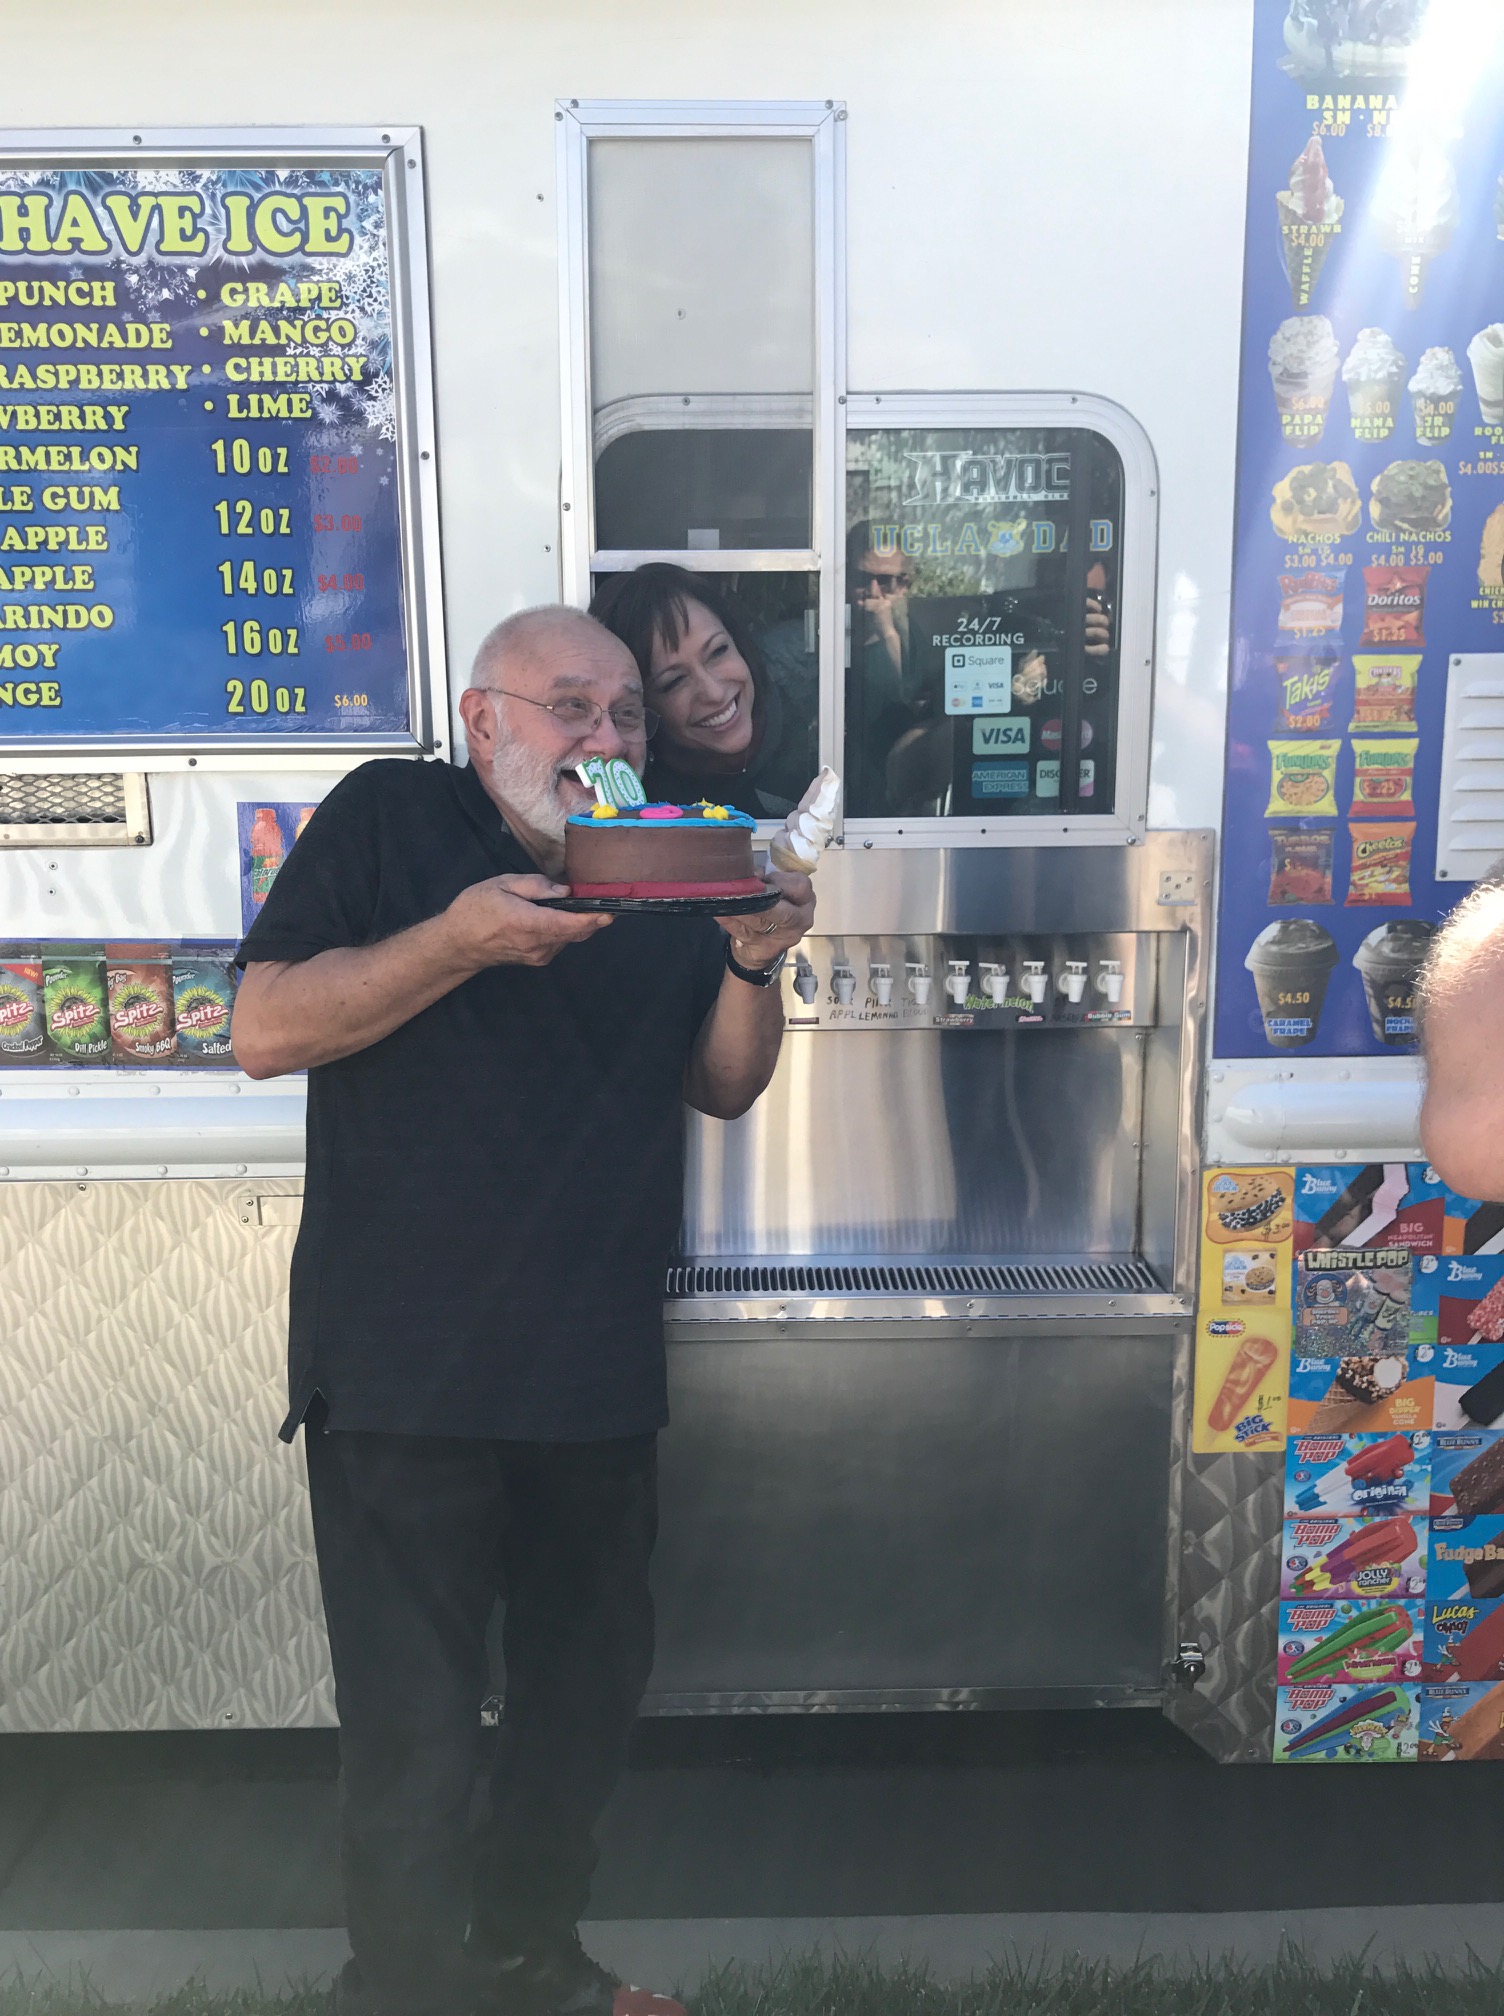
Celebrating Frank’s 70th birthday!

THANK YOU Jeremiah & Nate (and TLC) for giving us an experience of a lifetime.

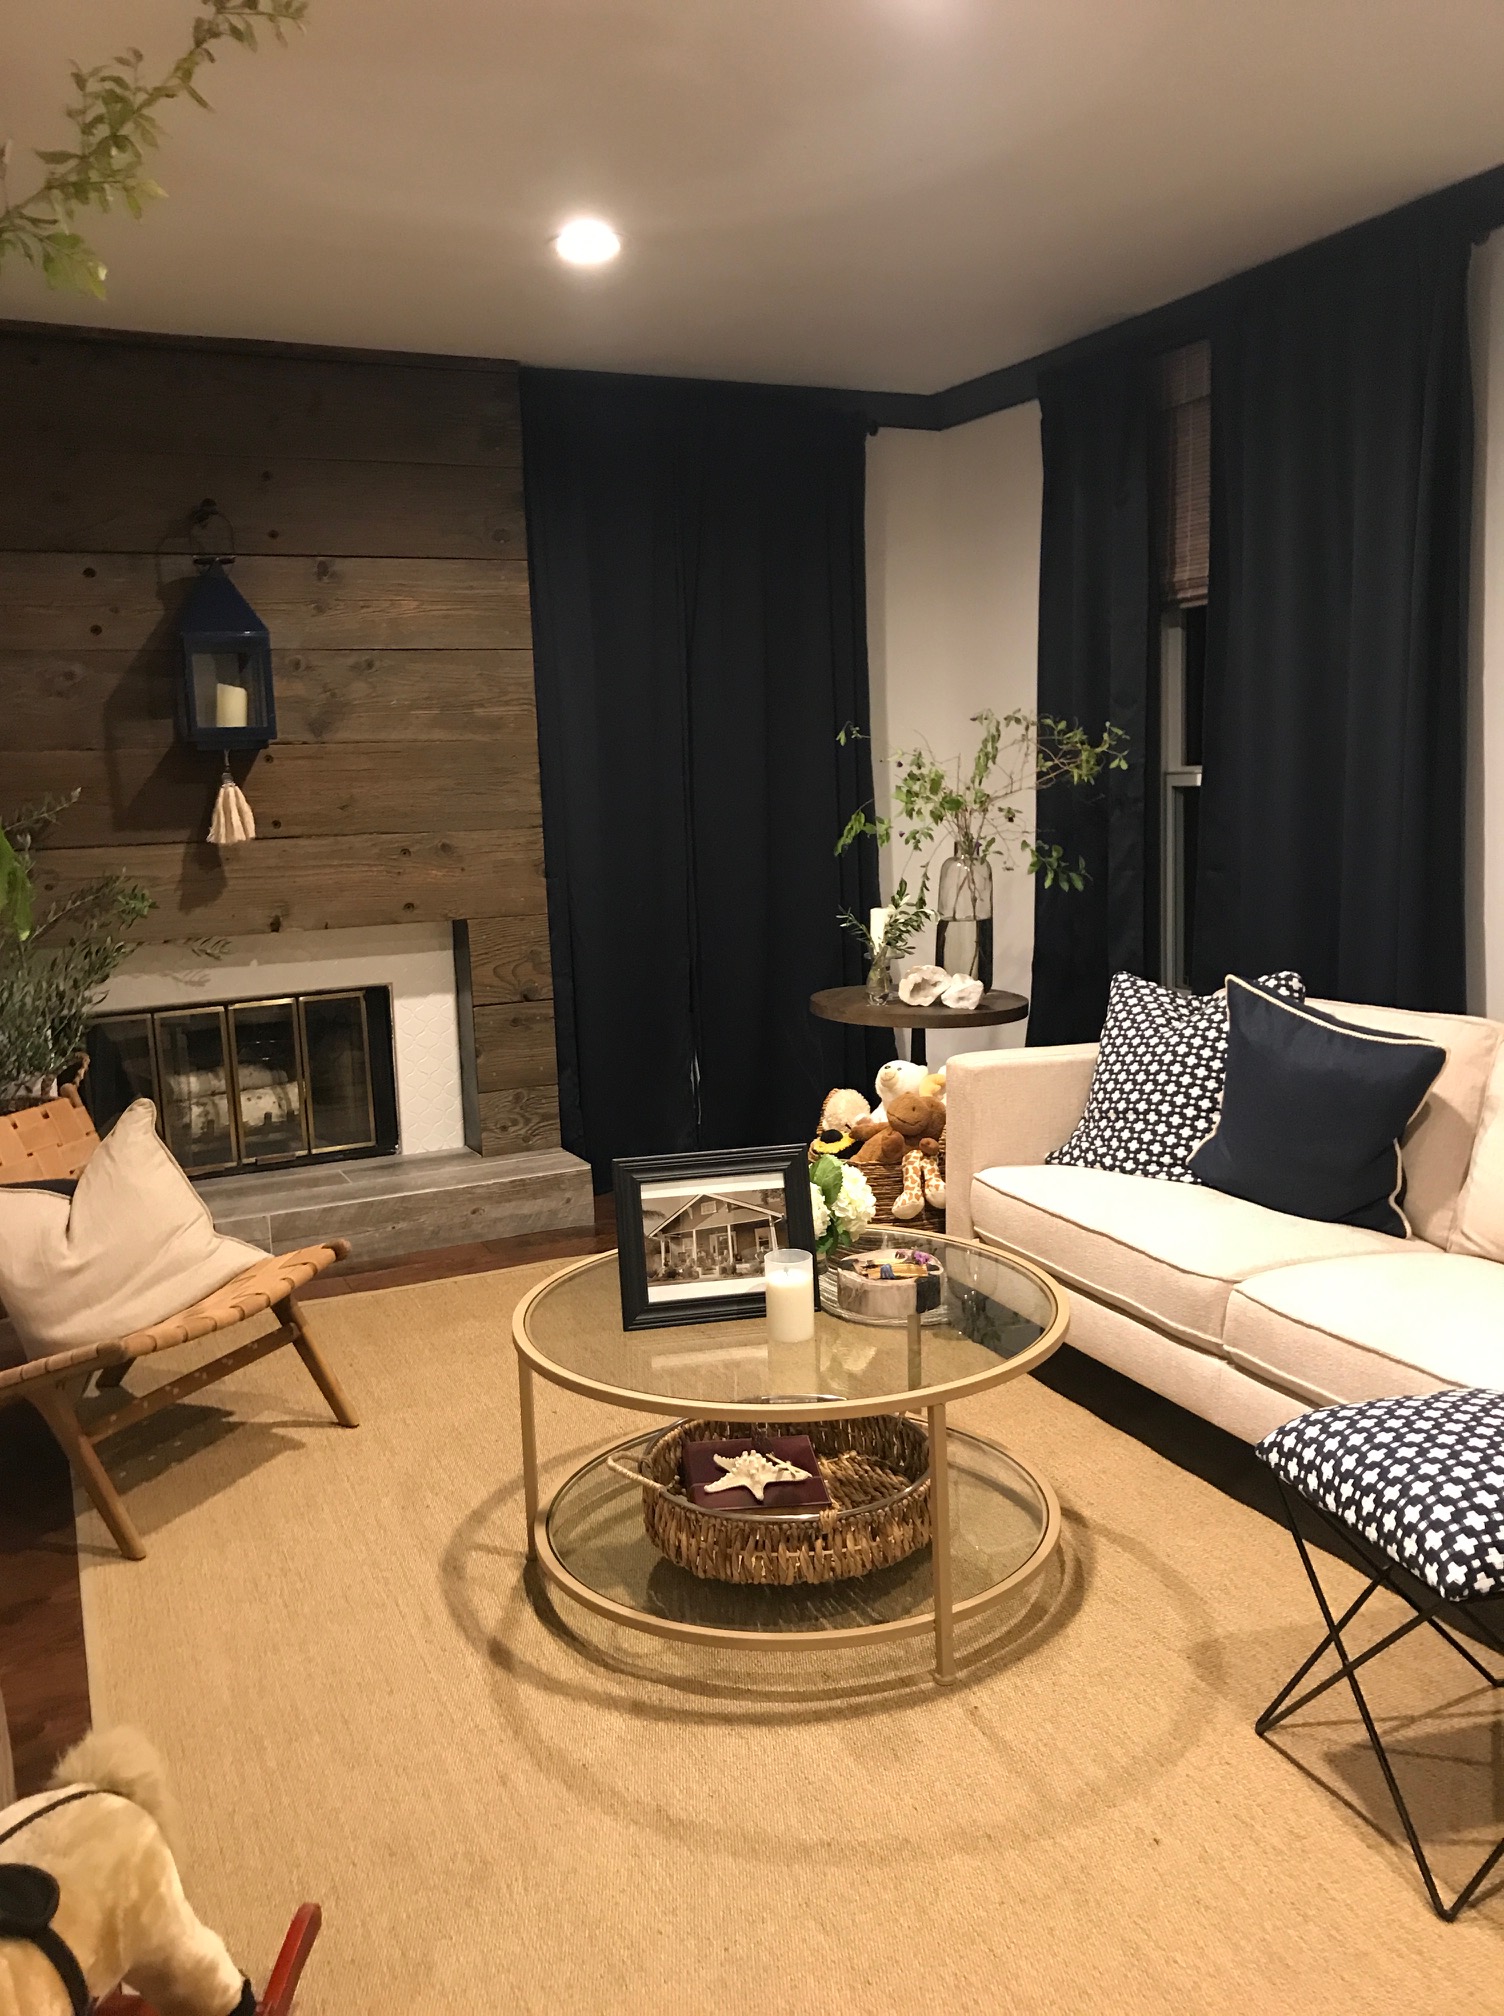
Look at this oasis of a living room we were given! Before & Afters coming soon!

One corner of the Jacobsen’s room.

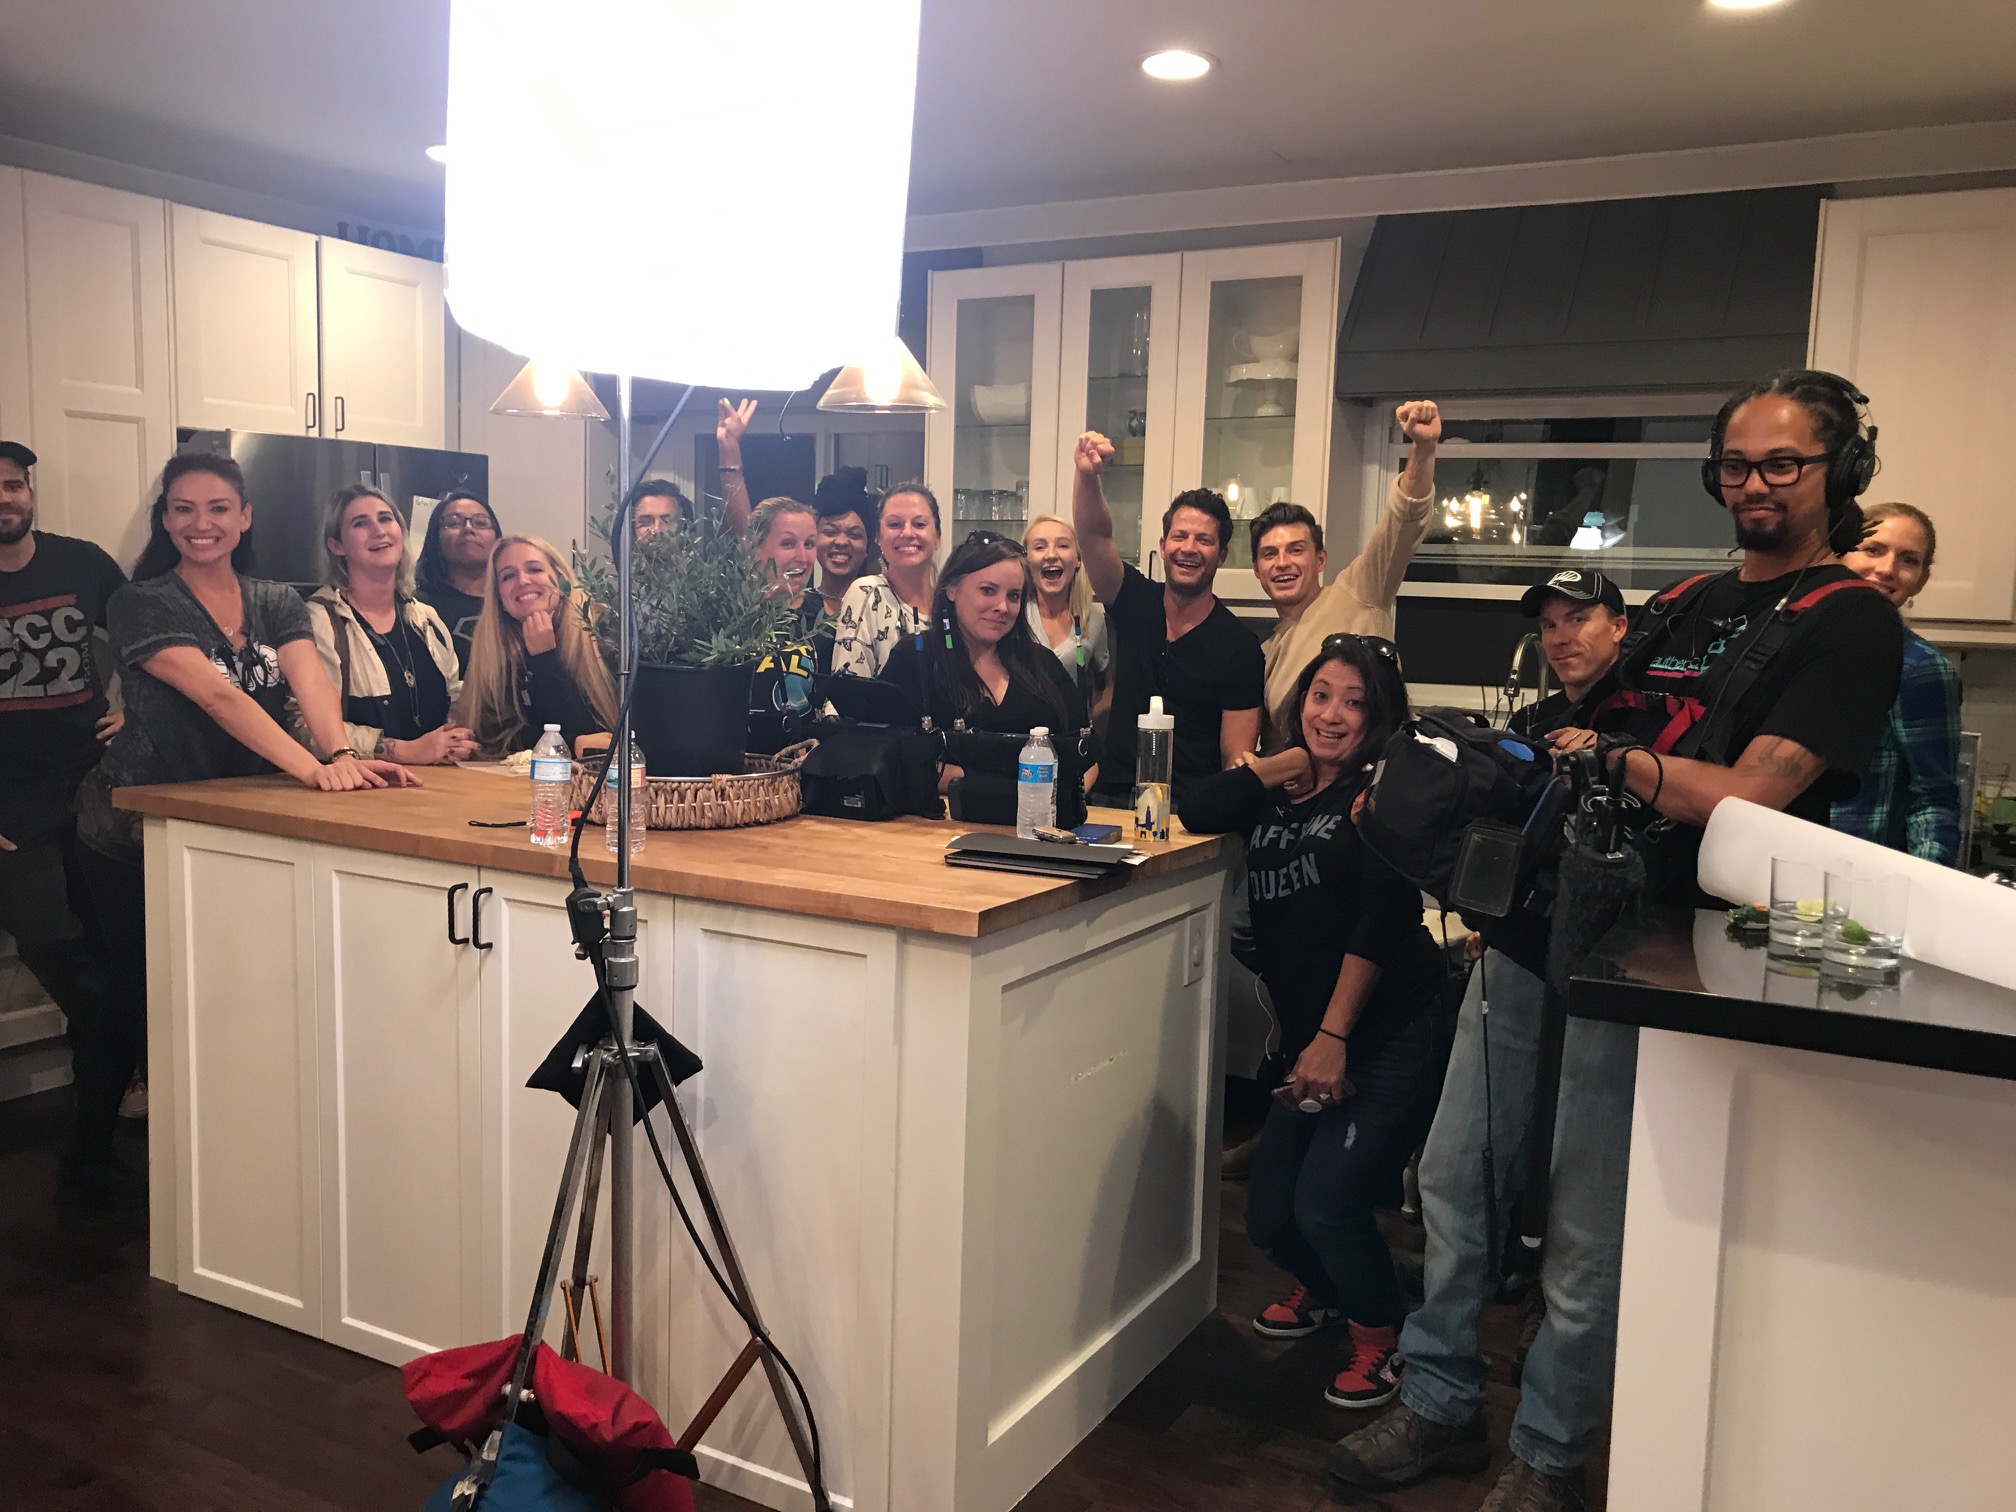
The dream team! What we saw when we turned the corner into our kitchen (following the reveal). I had to take a picture of them to remember the excitement!

Well there you have it. A very long story about how we ended up on TLC’s Trading Spaces. One of the best experiences we’ve ever had.

Paige always has to buy double of the same outfit for day 1 and day 2! She gave us each the t-shirt she wore in our episode.

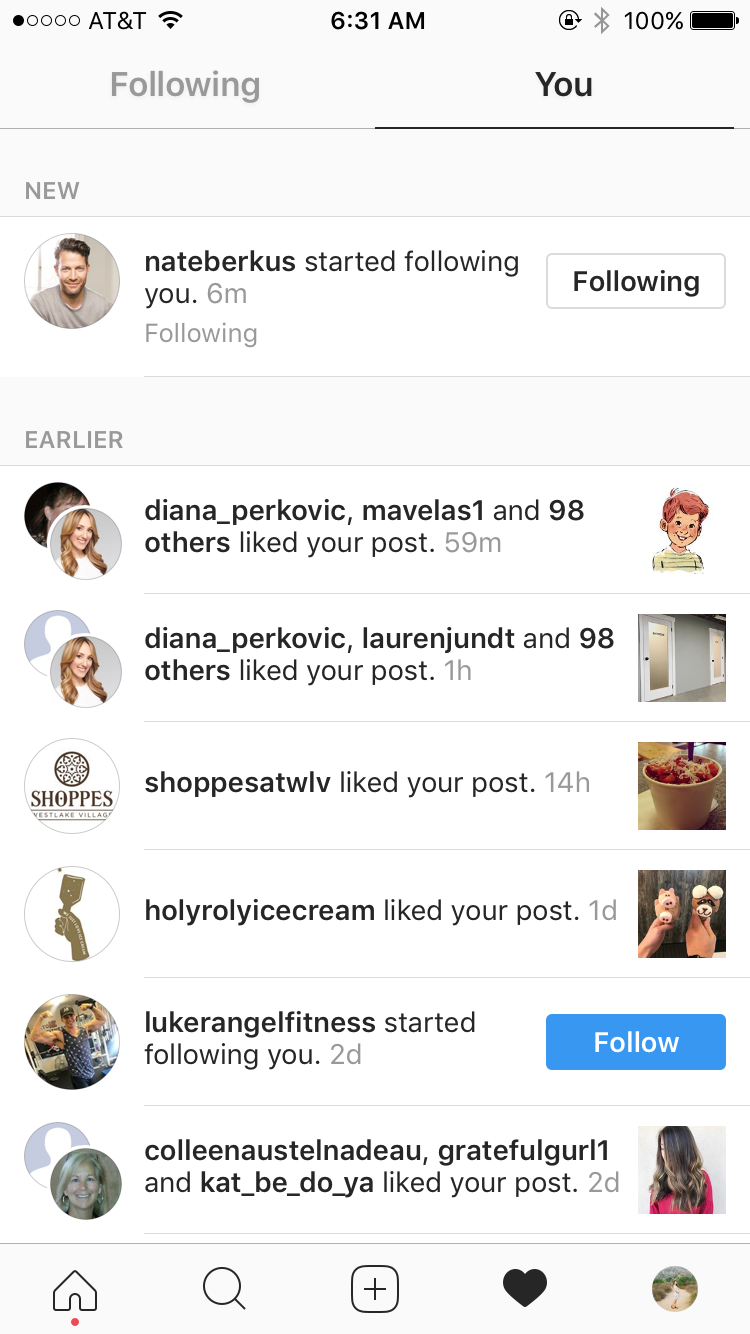
Please tell me you see why I was freaking out at 6:30 AM the next morning…

Teacher’s Lounge Makeover

I was asked a few months ago to help redecorate the Teacher’s Lounge at Foothill Christian Preschool. After seeing it, I suggested we do more than just redecorate and do a total renovation.

The space is used by over 40 teachers every day, so it had to be practical and functional. It is a really small room, so I had to figure out how to maximize the space. My suggestions included replacing the cabinets, counter tops (that had a lot of water damage around the edges), the flooring, appliances, and furniture. I truly believed that by improving this space it would boost staff morale and show our appreciation for their hard work every day… and it has!

The room started with a few round tables and chairs which filled up the space quickly and gave very little walking room. I thought that replacing those rounds with a long rectangular table would not only visually streamline the room but would also foster community seeing as people would have to sit together versus in groups. However… I wanted to consider those that would rather have some quiet, alone time on their break, so we created a bar height eating area (looking out the window) for four people to take advantage of. I also wanted to remove the visual separation that the two different flooring materials created between the kitchenette and eating area.

img_2409

BEFORE

BEFORE

BEFORE

floorplan-1

My Proposed Room Arrangement

mockup1

A very rough mock up using some of the furniture I suggested.

Vicky, the preschool director, and I spent a good amount of time at Home Depot picking out the cabinetry, counter tops, backsplash, and appliances to pull this entire look together. We scheduled the installation and then our maintenance staff demo’d and replaced the floor. We ended up doing the same gray, wood vinyl plank flooring that we have in our K-8th Grade office. The furniture was ordered online from Pottery Barn, Industry West, and Cost Plus. Blinds were from 3 Day Blinds. Decorations and Accessories are from Home Goods, Target, and Amazon.

img_3010

New roller shade color we chose to replace the vertical blinds.

img_2797

Stainless steel fridge to replace the smaller white one.

img_2795

Quartz countertop color chosen.


img_2793

Basic shaker style cabinetry chosen in the color “Painted Stone”.

Goodbye kitchen!

Goodbye kitchen!

Hello new floors!

Hello new floors! Do you realize that’s where the kitchen was??

Cabinetry installed! Check out the 2 microwaves! The teachers loved that new perk.

Cabinetry installed! Check out the 2 microwaves! The teachers loved that new perk.

75% Finished

75% Finished

The furniture was delivered and assembled and the room started to take a new form. The school colors are teal, black, and white with accent colors of gold/yellow… so this is what inspired the room.

Glass subway tile

Glass subway tile

Here comes the fun part... decorating! My favorite little corner.

Here comes the fun part… decorating!  Found this quote online and designed a fun wall graphic. Love this little relaxing corner.

Added some random decor elements to the wall to fill in the empty space.

Added some random decor elements to the wall to fill in the empty space.

img_4376

Created a little coffee bar on the buffet. Mug rack found HERE!

How cute is this little succulent pot from Home Depot?

How cute is this little succulent pot from Home Depot?

Added some random decor elements to the wall to fill in the empty space.

Still need to add another outlet below the buffet so that the Keurig can join the other coffee elements.


PRODUCTS USED IN THIS PROJECT

Mug Rack from Amazon

Coffee Table Reads

Save

Save

Save

Home Office – Part 1

As we anticipated the arrival of baby 2 and the work-from-home opportunity given to me we had to get creative with space we have at home. We have a three bedroom house which currently uses one bedroom as an office (aka a catch-all for things that don’t have a place). We knew that we would need a quiet place to escape and get work done once two kids were running around and we also wanted the boys to have separate bedrooms for the sake of full night sleeps, so we decided to build an office in our garage. This decision was hard to make because it replaced the idea of creating a studio apartment back there that we could possibly rent… it also ate up a bunch of work space for Kevin!

rough-office-sketch

We still wanted to be able to park in the garage, and keep a space on the side for Kevin’s work bench and tools so we didn’t end up with much room… only 48 sq. ft! Adding a window is a MUST!

img_7243

This garage project includes: fixing up the existing bathroom, creating an office (framing, electrical, drywall, built-in cabinets and desk, flooring) and reorganizing the tool/storage area.

img_7247

This stud (pun intended ;)) put up the framing in just one, extremely hot, afternoon!

Cutting a hole for the window!

Cutting a hole for the window!

There she is!

There she is!

img_7269

Weekend 2: Insulation √, drywall √, electrical ran √, can lights installed √

img_7112

AC unit installed!

img_7117

Drywall Complete. Kevin painting the interior.

The beginning of the custom cabinet.

The beginning of the custom cabinet.

Josh approves!

Josh approves!

Getting fitted into the space. Next up trim work, doors (for the bottom half which will cover the filing cabinets), and paint!

Cabinet getting fitted into the space. Next up… trim work, doors (for the bottom half which will cover the filing cabinets), and paint!

Cutting down the butcher block that will be used for the desktop.

Cutting down the butcher block that will be used for the desktop.

img_7288

Desktop installed and trim work around the window finished!

Desktop installed and trim work around the window finished!

We use to take pride in the speed of completing projects… well those days have changed. Free time is a thing of the past and late night work sessions have been replaced with late night feedings. So stay tuned to see the grand reveal…

Save

Save

Save

Save

Backyard Facelift

Although our backyard was just made over a year ago, we started to see some problems with our grassy areas. The trees in the grass were creating too much shade so the grass was dying… creating big muddy messes when the dog and Parker would play. Knowing that Easter was just around the corner and we were hosting again, my dad surprised us with a backyard facelift.

I came home from work and both trees and all remaining grass was removed! By the very next day my dad had new sod installed and put in a flower bed surrounding the seat wall (where it is still very shady). I am constantly stunned with my dads creativity and generosity. There is no way we would have been able to fix the yard to this extent. Sure do appreciate him!

img_8382

Came home from work to find my backyard like this! 2 trees and all the grass removed!

Came home from work to find my backyard like this! 2 trees and all the grass removed!

img_0377

New flower beds filled with mossy ground cover that enjoys the shade. My dad's vision is to have all of the moss fill in and spill over the bender board into the grass.

New flower beds filled with mossy ground cover that enjoys the shade. My dad’s vision is to have all of the moss fill in and spill over the bender board into the grass.

img_0382

New sod installed! It looks so lush!

We all love laying in the new grass!

We all love laying in the new grass!

img_1769-2

Thanks grandpa for spoiling us with such a great backyard!

Entertainment Center

I’ve found that nothing motivates us to start (and finish) a project faster than hosting a party at our house. It gives us a deadline to work around and provides just enough adrenaline to work late nights and finish in the nick of time. We love the anxiety haha.

We offered to host Thanksgiving at our house this year. Hosting your first Thanksgiving (well any holiday event really) is a big deal… what should I serve (I’ve never cooked a Turkey!)? How should I decorate my dining table? What should we do afterwards? We decided upon the food, pulled together a few simple decorations, and then tried to figure out what to do afterwards. We came to realize that most people liked to sit around after the big meal, let the tryptophan set in, and watch football (we aren’t big sports fan). However, where would they sit to do that in our house? (Sidenote TV Story: The Christmas before we got married, I bought Kevin a 32″ TV for his bedroom. When we got married, we set it up in our apartment, realized we never watched it so we sold it to some friends. A few years later they wanted to get rid of it and we were living in our house and still didn’t have a TV so we bought it back haha!) The TV now sits on top of a small armoire in our living room. We don’t have cable or even local channels,  we occasionally use it for Apple TV and Netflix. Needless to say, this was not the ideal TV nor location for a big group of people to huddle around. So we decided that this was a better time than ever to build the entertainment center that we always wanted to.

Our family room is a long, rectangular room that had an extremely long couch on one side and long blank wall on the other side. I began perusing Pinterest to find some inspiration to show Kevin. I found a few pictures I liked and he got right to work… and finished it within a few days!

The 32″ TV just couldn’t cut it in our new entertainment center so we borrowed Kevin’s brother’s TV for the sake of turkey day football and purchased a brand spanking new TV the next day, Black Friday… perfect timing!

inspiration

before1

BEFORE

BEFORE

BEFORE

STEP 1: remove baseboards, run electrical to TV console

STEP 1: removed baseboards, ran electrical to TV console

STEP 2: built box frame out in the garage and moved it into the house to get an idea of size

STEP 2: built box frame out in the garage and moved it into the house to get an idea of size

img_9034

Step 3: painted, borrowed TV for scale

Step 3: affixed to the wall, painted, borrowed a TV for scale, attached frame pieces together

Step 4: Add decorative elements (shiplap and moldings)

Step 4: Added details (shiplap and moldings)

img_9065

Step 5: add TV, shelf accessories, and cabinet doors

Step 5: Accessorized! (*Decorations and doors were added after Thanksgiving)

Kids Table

Kids Table

Pinterest Win - Bacon Wrapped Green Beans

Pinterest Win – Bacon Wrapped Green Beans

Happy Thanksgiving from our family to yours!

Happy Thanksgiving from our family to yours!

Save

Save

Save

Save

Save

The Big Reveal

After only four weeks of construction, our backyard has been completed. Kevin has spent many long nights working away to get the patio finished. My dad and his guys have been spent almost every day digging, irrigating, and planting. We are so grateful for the help we have received.

To say we cut it close is an understatement. The finishing touches were completed at 2am the day of Parker’s first birthday. Bishop’s Painting painted and stained the patio cover on Friday and ended around 6pm. Then Kevin hung the ceiling fan and pendant lights. Then we cleaned and began setting tables out for the big party. Phew! We did it!

Plants being installed!

Plants being installed!

Vegetable Garden with tomatoes, basil, chives, peppers, strawberries, cilantro, limes, avocado...  this paint job was fixed after the ceiling was stained.

Vegetable Garden with tomatoes, basil, chives, peppers, strawberries, cilantro, limes, avocado… this paint job was fixed after the ceiling was stained.

Raw wood ship lap ceiling, prior to stain.

Raw wood ship lap ceiling, prior to stain (EAST SIDE).

Raw wood ship lap ceiling, prior to stain (WEST SIDE).

Raw wood ship lap ceiling, prior to stain (WEST SIDE).

Oh no! Something we encountered when spraying the stain was this very splotchy, uneven finish. It took 3 coats to even it out and make it presentable. But believe me... I was worried.

Oh no! Something we encountered when spraying the stain was this very splotchy, uneven finish. It took 3 coats to even it out and make it presentable. But believe me… I was worried.

Taken the next day during with the sun out... You can see how the stain evened out.

Much to my relief, the stain soaked in and evened out. This photo was taken the next day with natural light.


What a transformation!

What a transformation! (LOOKING FROM THE GARAGE)

beforeafter2

LOOKING FROM NORTHWEST CORNER

beforeafter3

LOOKING FROM SOUTHEAST CORNER

Welcome to Parker's First Birthday party! (/backyard reveal party)

Welcome to Parker’s First Birthday party (/backyard reveal party)!

Over 50 people attended this 1st birthday bash! The yard functioned perfectly and proved to be the perfect place to entertain.

Over 50 people attended this 1st birthday bash! The yard functioned perfectly and proved to be a wonderful place to entertain.

The kids loved the new sod!

The kids loved the new sod!

Thanks to Kayla for her help party planning!

Thanks to Kayla for her help party planning!


Hurray! I have a brand new backyard to play in!

Hurray! I have a brand new backyard to play in!

Patio Lights

Barn Light Inspiration

Barn Light Inspiration

After looking all over the internet for cool patio pendants I finally landed on farm light fixtures. I searched high and low for online retailers and found plenty of good options, however my expensive taste kept getting in the way. I decided to get crafty and spruce up some chrome lights I found at Lowes. Adding the Edison bulbs from Ace Hardware pulled the entire look together.

$28 per light!

$28 per light!

How about barn yard red?

How about barn yard red?

Took all of 30 minutes to spray paint our four patio pendants.

Took all of 30 minutes to spray paint our four patio pendants.

IMG_5610

notice light2

Notice the nice red farm house lights!

I love how the red pops with the white trim!

Backyard Makeover – Part 6

There are a few ways to guarantee rain. 1. Wash your car. 2. Start Roofing. Although drought-stricken California enjoyed a few sprinkles this week, our roofing project did not suffer.  Kevin finished the ship lap sheeting and began laying the shingles the next day. He worked around the clock in the heat to get it done in two days. He was pleased with how relatively fast it went with the new nail gun he purchased. Funny… it seems like we acquire a new tool for every new project we begin…

While the roof was being completed the sod was installed and the sand box was constructed. It is so exciting to see the progress we are making each day!

IMG_4954

Shade!

Shade!

Sod being laid!

Sod being laid!

Sandbox constructed, just needs sand!

Sandbox constructed, just needs sand!

IMG_5551

IMG_4959

Finally Covered!

IMG_4960

Shingles going up!

We were so excited the shingles were done we couldn't hold the camera steady.

We were so excited the shingles were done we couldn’t hold the camera steady.

Ridge cap installed. Kevin is a proud handy man!

Ridge cap installed. Kevin is a proud handy man!

Backyard Makeover – Part 5

Kevin has spent many nights this week framing the new patio cover. Thanks to our brother in law Dan, Kevin’s brother Jason, and our friend Jake for their help.

The patio cover is much taller than I expected but I am pleasantly surprised. I think it will make a grand statement and I cannot wait to begin picking out lighting and other patio furniture decor.

Lumberjacks, Kevin & Dan. Placing the first supporting beam up.

Lumberjacks, Kevin & Dan. Placing the first supporting beam up.

Getting the center ridge of the roof in place.

Getting the center ridge of the roof in place.

Framing begins on the roof.

Framing begins on the roof.

IMG_5307

IMG_5401

Support cross beams in place.

Look at the size of this thing!

Look at the size of this thing!

Framing completed.

Framing completed.

My hero :)

My hero 🙂

Where's Waldo? Up on the roof... in 100 degree heat...

Where’s Waldo? Up on the roof… in 100 degree heat…

Shiplap roofing being installed...

Shiplap roofing being installed…

Backyard Makeover – Part 4

Work has begun on the winding paths throughout the garden. The original concrete was broken and reused. Each stone was laid, leveled, and arranged by hand. I absolutely LOVE the end product. My dad wanted you to be drawn into the back yard with each turn of the path.

Path dug out, ready for concrete stones to be laid.

Path dug out, ready for concrete stones to be laid.

IMG_5708

Left path leading to the side gate. Right path leading to the future sand box.

IMG_5705

Each piece of broken concrete was laid and leveled by hand.

Each piece of broken concrete was laid and leveled by hand.

IMG_5702

DG was used to fill in the cracks to help keep everything in place and resist runoff.

DG was used to fill in the cracks to help keep everything in place and resist runoff.


Backyard Makeover – Part 3

Today work began on the new and improved patio space. My dad has dreamed up a space that will provide a great place for entertaining and relaxation. He has designed a wall to surround the patio that will serve as seating and containment of the dirt behind it. We think that we will be able to seat 20 people comfortably, perfect for home group! Kevin now needs to build the patio cover to go above it.

Digging the trenches for the seat wall.

Digging the trenches for the seat wall.

IMG_4880

IMG_4908

Preparing the molds for the rounded edges of the seat wall.

Preparing the molds for the rounded edges of the seat wall.

IMG_5628

IMG_5626

Ready for concrete for the slab beneath the shed.

Ready for concrete for the slab beneath the shed.

Cement is here!

Cement is here!

IMG_5646

My dad chose a dark charcoal gray color to match the house.

IMG_5652

IMG_5653

Concrete poured for the shed slab.

Concrete poured for the shed slab.

Concrete design by Papa John

Concrete design by Papa John

11 Months old today!

11 Months old today!

Waiting patiently for the birthday party backyard reveal!

Waiting patiently for the birthday party backyard reveal!

Wood Awnings

As I was perusing Instagram I came across a beautiful kitchen designed by HGTV’s Joanna Gaines (which looked very similar to our kitchen!).

IMG_2062

Love the wood awning!

I loved the wood awning that she incorporated above the window. I asked Kevin if he would build me something like that for our kitchen, because our windows look naked! He agreed and built me them in 1 day! I’m always impressed with his can-do attitude and his ability to get it things done so quickly.

Before he began, I wanted to do a little tweaking to the original inspiration. Instead of having the raw wood look, I wanted it to have more detailed moldings, like the rest of our house. Kind of like this range hood here:

Nevermind that it is over the range... this will make the perfect wood window awning for my kitchen!

Nevermind that it is over the range… this will make the perfect wood window awning for my kitchen!

Our turn…

A wise man once said... measure twice, cut once.

A wise man once said… measure twice, cut once.

Notice our naked windows...

Notice our naked windows… Kevin first created a mock up with cardboard.

Measuring the frame he built.

Perfect fit!

Wood awning frame 1

Wood Awning Frame 1

Wood Awning 1 with detail pieces added.

Wood Awning 1 with detail pieces added. Goodbye naked window!

Wood Awning 1 Close Up

Wood Awning 1 Close Up

Both wood awnings completed!

Both wood awnings completed!

Now I need to decide what color to paint them. I’m thinking of a rubbed dark gray so that the wood grain is still visible. What do you think? I also want to install a pull down shade underneath for privacy. Pictures of that project to come!

I’m Pregnant!

Well in the midst of this crazy home renovation, I found out I’m pregnant! We are so excited. It’s a good thing we found out before we finished the extra bedroom. Looks like we will need to begin creating a nursery. 🙂 Guess this means I won’t have to do as much painting 😉 Phew!

IMG_6039

Day 24 | New Lighting

Day 24

Kevin was at home again today studying for his test. At lunch we went to Lamps Plus in Upland and picked out the lights for our front porch (HERE) and our bedroom (HERE). Kevin installed our bedroom light when he got home. I realized I have a thing for edison bulbs…


PRODUCTS USED

Bedroom Light


Porch Light

Save


Edison Bulbs

Save

Day 5 | Goodbye Kitchen Walls

Day 5

Say goodbye to the rest of the kitchen cabinets and the walls between the kitchen and dining room and mudroom. We are going for an open concept. The boys found an old water softener hidden behind the walls!

Get rid of those checkered counter tops!

Get rid of those checkered counter tops!

IMG_2175

Thanks Rob for the help!

IMG_2183

No more cabinets!

The full view!

The full view!

Getting rid of the wall that separates the kitchen and mudroom.

Getting rid of the wall that separates the kitchen and mudroom.

An old water softener hidden behind the walls.

An old water softener hidden behind the walls.


HELPER: Rob Macleod

Save

Save

We got the keys!

Day 1

After a 45 day escrow, we finally got the keys! Thanks to our realtor and friend, Elissa Gannon for all of her hard work to get this thing to close.

We endured a lot of back-and-forth with the bank but we were ultimately able to get a special construction loan (FHA 203K) that allowed us to pick and choose projects around the house that we wanted to accomplish within a set amount of time. This 100 year old craftsman is going to get a face lift. But the clock is ticking and we need to get started right away!

Join us on our journey of home renovation. Check out all of these BEFORE photos… we hope to have good AFTER photos for you eventually.

Front of the House

Front of the House

First Time Homeowners :)

First Time Homeowners 🙂

Living Room - looking from the front door.

Living Room – looking from the front door.

Living Room - looking at the front door.

Living Room – looking from the fire place.

Dining Room - looking from the front door.

Dining Room – looking from the front door. *Don’t let those shiny wood floors fool you, they are severely sloped and uneven.

Dining Room - check out that original hutch!

Dining Room – check out that original hutch!

Kitchen - looking from the dining room.

Kitchen – looking from the dining room.

Kitchen - Notice all of the unused space in between the stove and the counter top.

Kitchen – Notice all of the unused space in between the stove and the counter top.

Kitchen - check out that tile!

Kitchen – check out that tile!

Kitchen - looking into the mudroom/laundry room.

Kitchen – looking into the mudroom/laundry room.

Bedroom #3

Bedroom #3 – Looking in from the living room.

Bedroom #3

Bedroom #3

Bedroom #2

Bedroom #2

Master Bathroom - looking from the family room in.

Master Bathroom – looking from the family room in. No that’s not an optical illusion, the tiles are just not straight 😐

Master Bathroom - looking out into the family room. Why isn't it connected to the master bedroom?

Master Bathroom – door into the family room. Why isn’t it connected to the master bedroom?

Master Bedroom Closet

Master Bedroom Closet

Detached Garage - Looking from our family room.

Detached Garage – Looking from our family room.

Backyard view of house and garage from the West corner.

Backyard view of house and garage from the West corner.

Backyard view of house and garage from the East corner.

Backyard view of house and garage from the East corner.

Back of House - looking from the garage.

Back of House – looking from the garage.

Side of house - check out the pealing paint.

Side of house – check out the pealing paint.


VISITORS: Mom, Caleb, Uncle Matt & Auntie Sally

Save

Save