As I was perusing Instagram I came across a beautiful kitchen designed by HGTV’s Joanna Gaines (which looked very similar to our kitchen!).

Love the wood awning!
I loved the wood awning that she incorporated above the window. I asked Kevin if he would build me something like that for our kitchen, because our windows look naked! He agreed and built me them in 1 day! I’m always impressed with his can-do attitude and his ability to get it things done so quickly.
Before he began, I wanted to do a little tweaking to the original inspiration. Instead of having the raw wood look, I wanted it to have more detailed moldings, like the rest of our house. Kind of like this range hood here:

Nevermind that it is over the range… this will make the perfect wood window awning for my kitchen!
Our turn…

A wise man once said… measure twice, cut once.

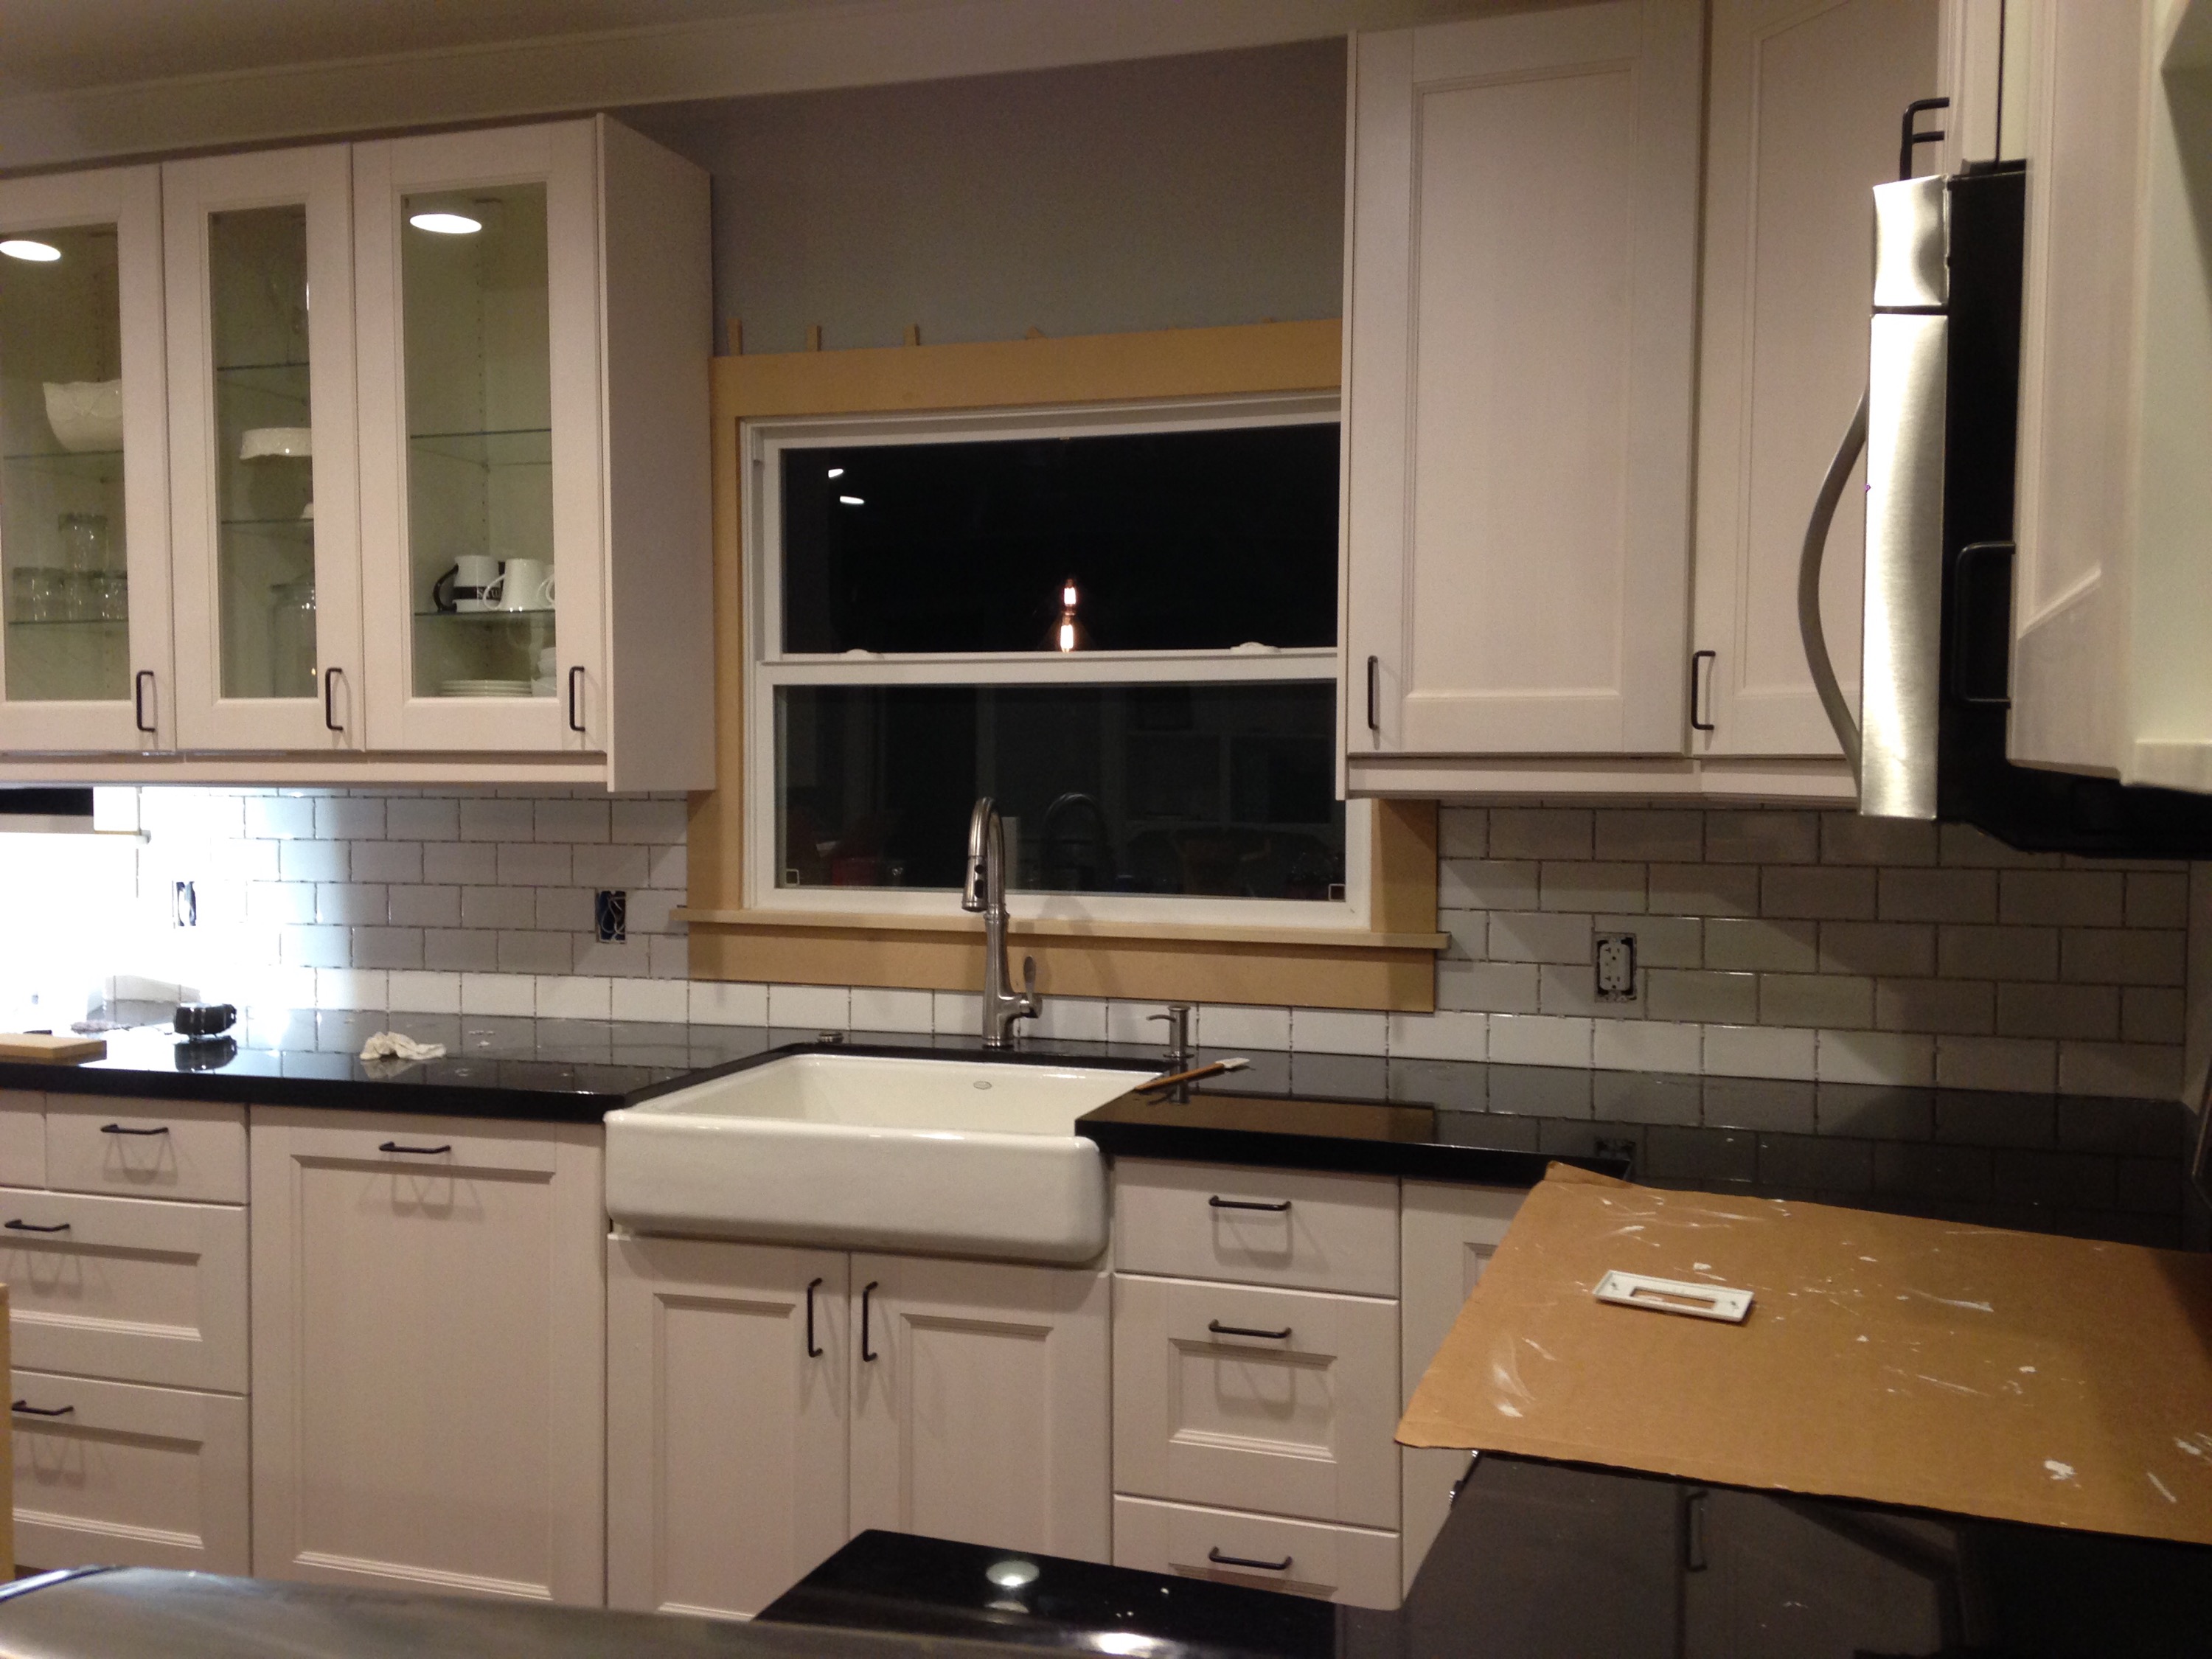
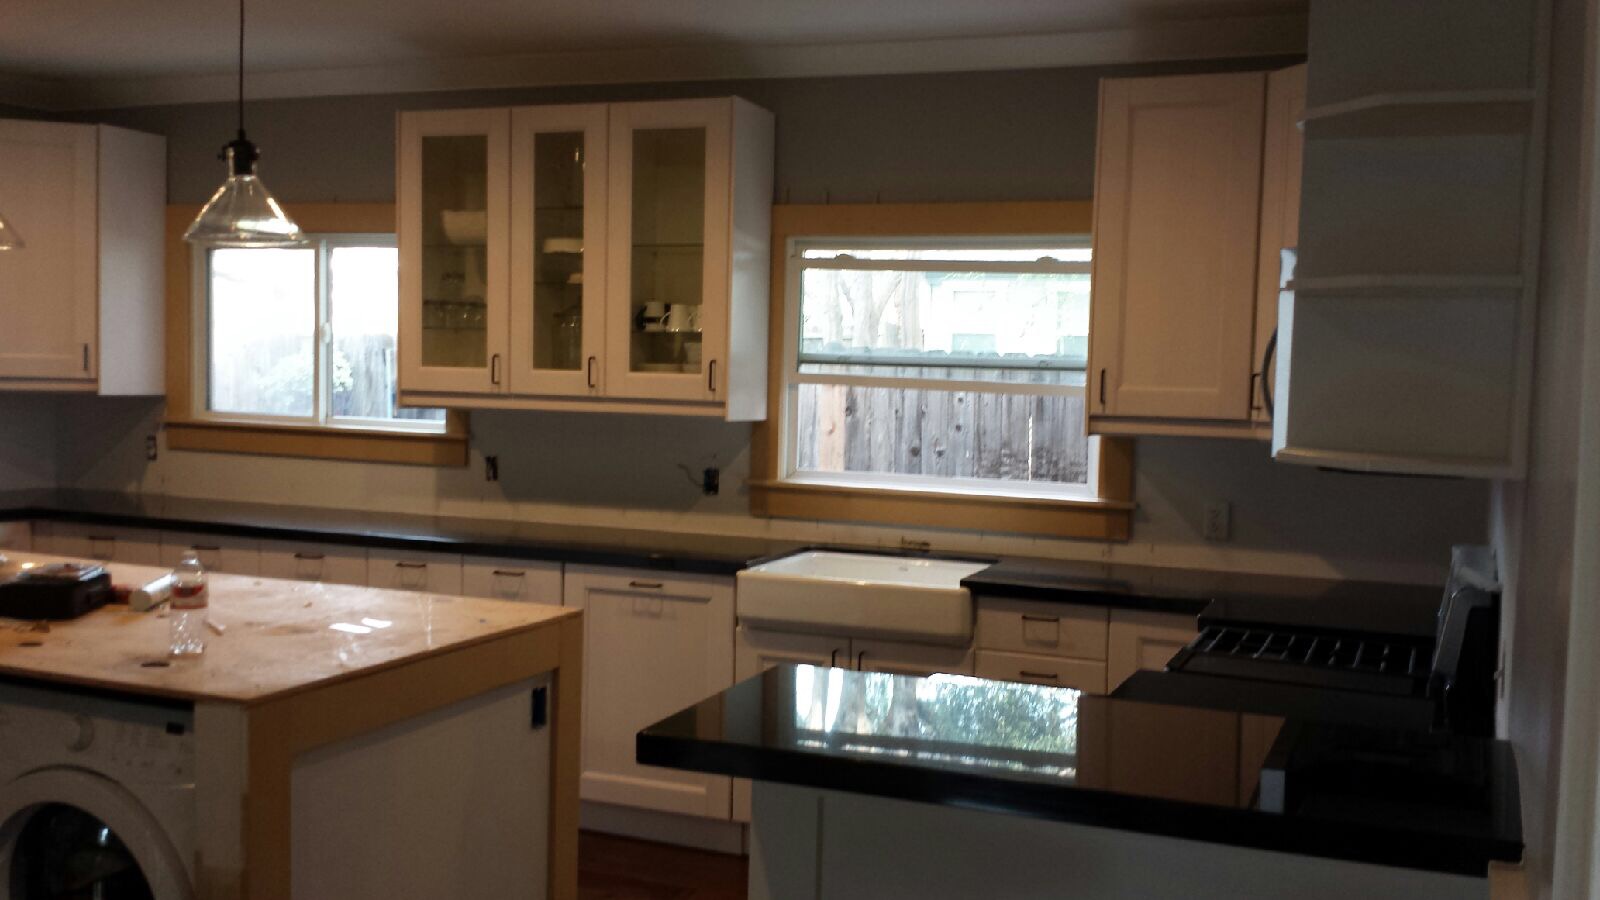
Notice our naked windows… Kevin first created a mock up with cardboard.
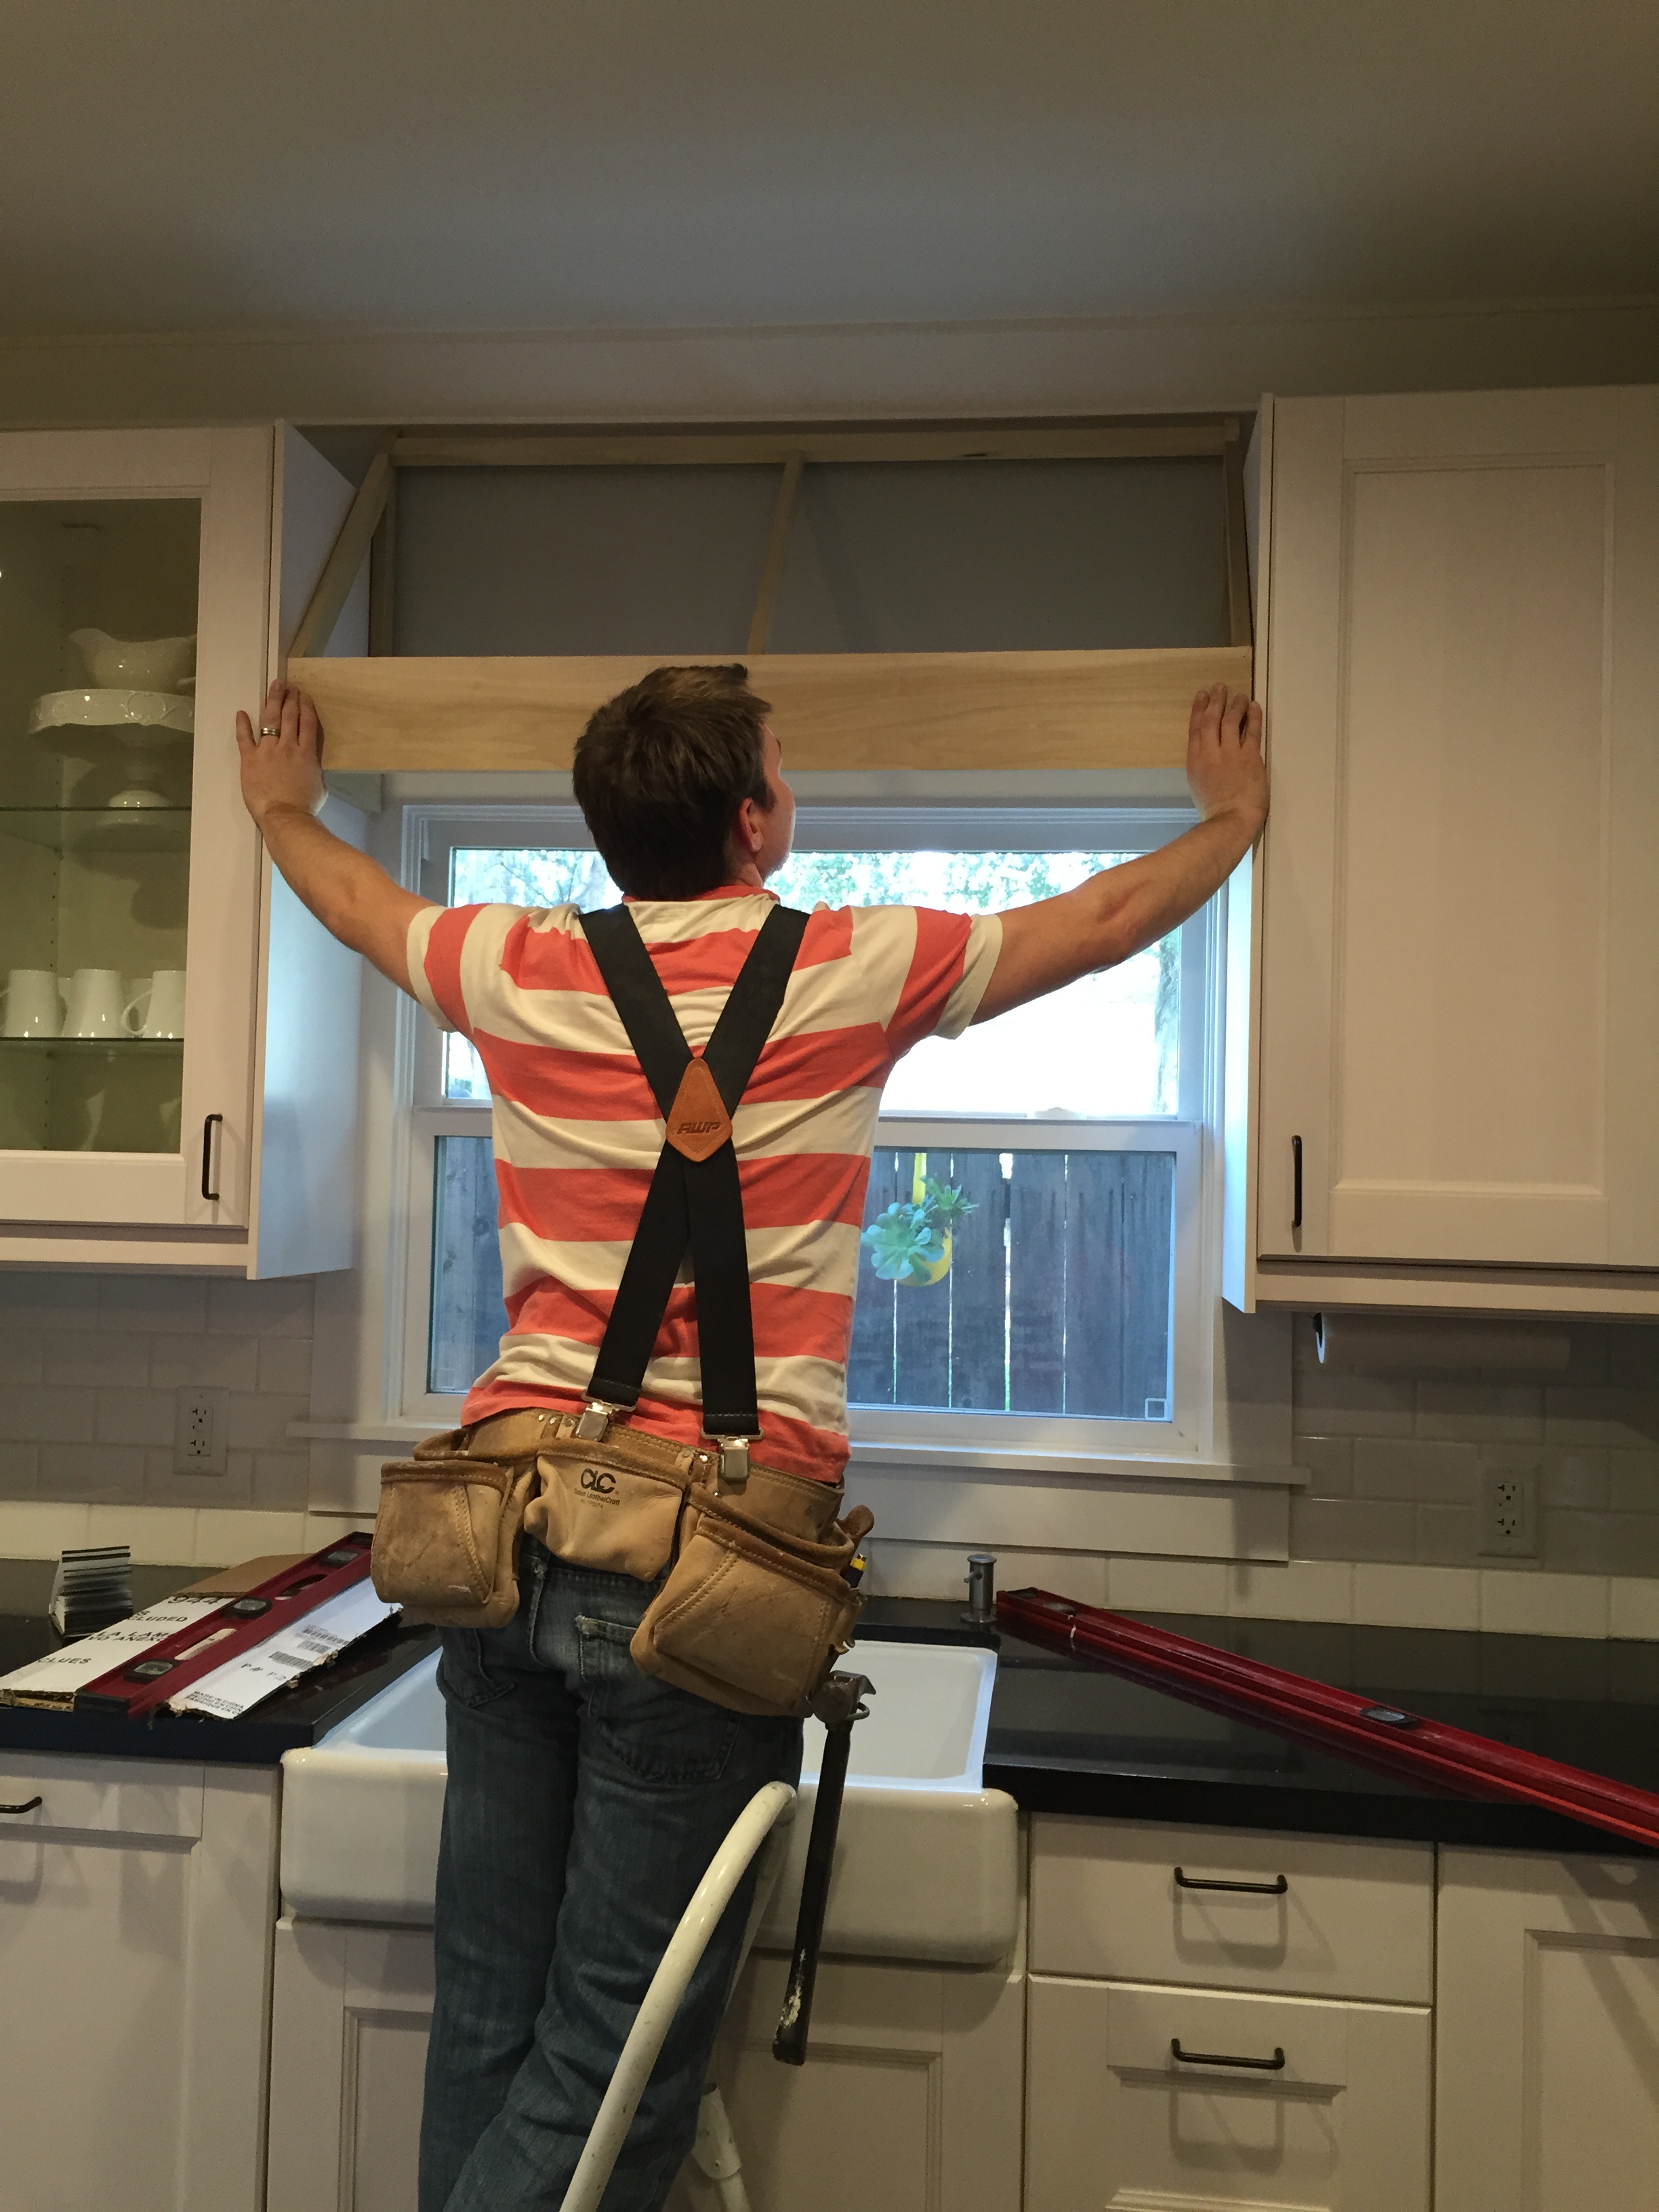
Perfect fit!

Wood Awning Frame 1

Wood Awning 1 with detail pieces added. Goodbye naked window!

Wood Awning 1 Close Up
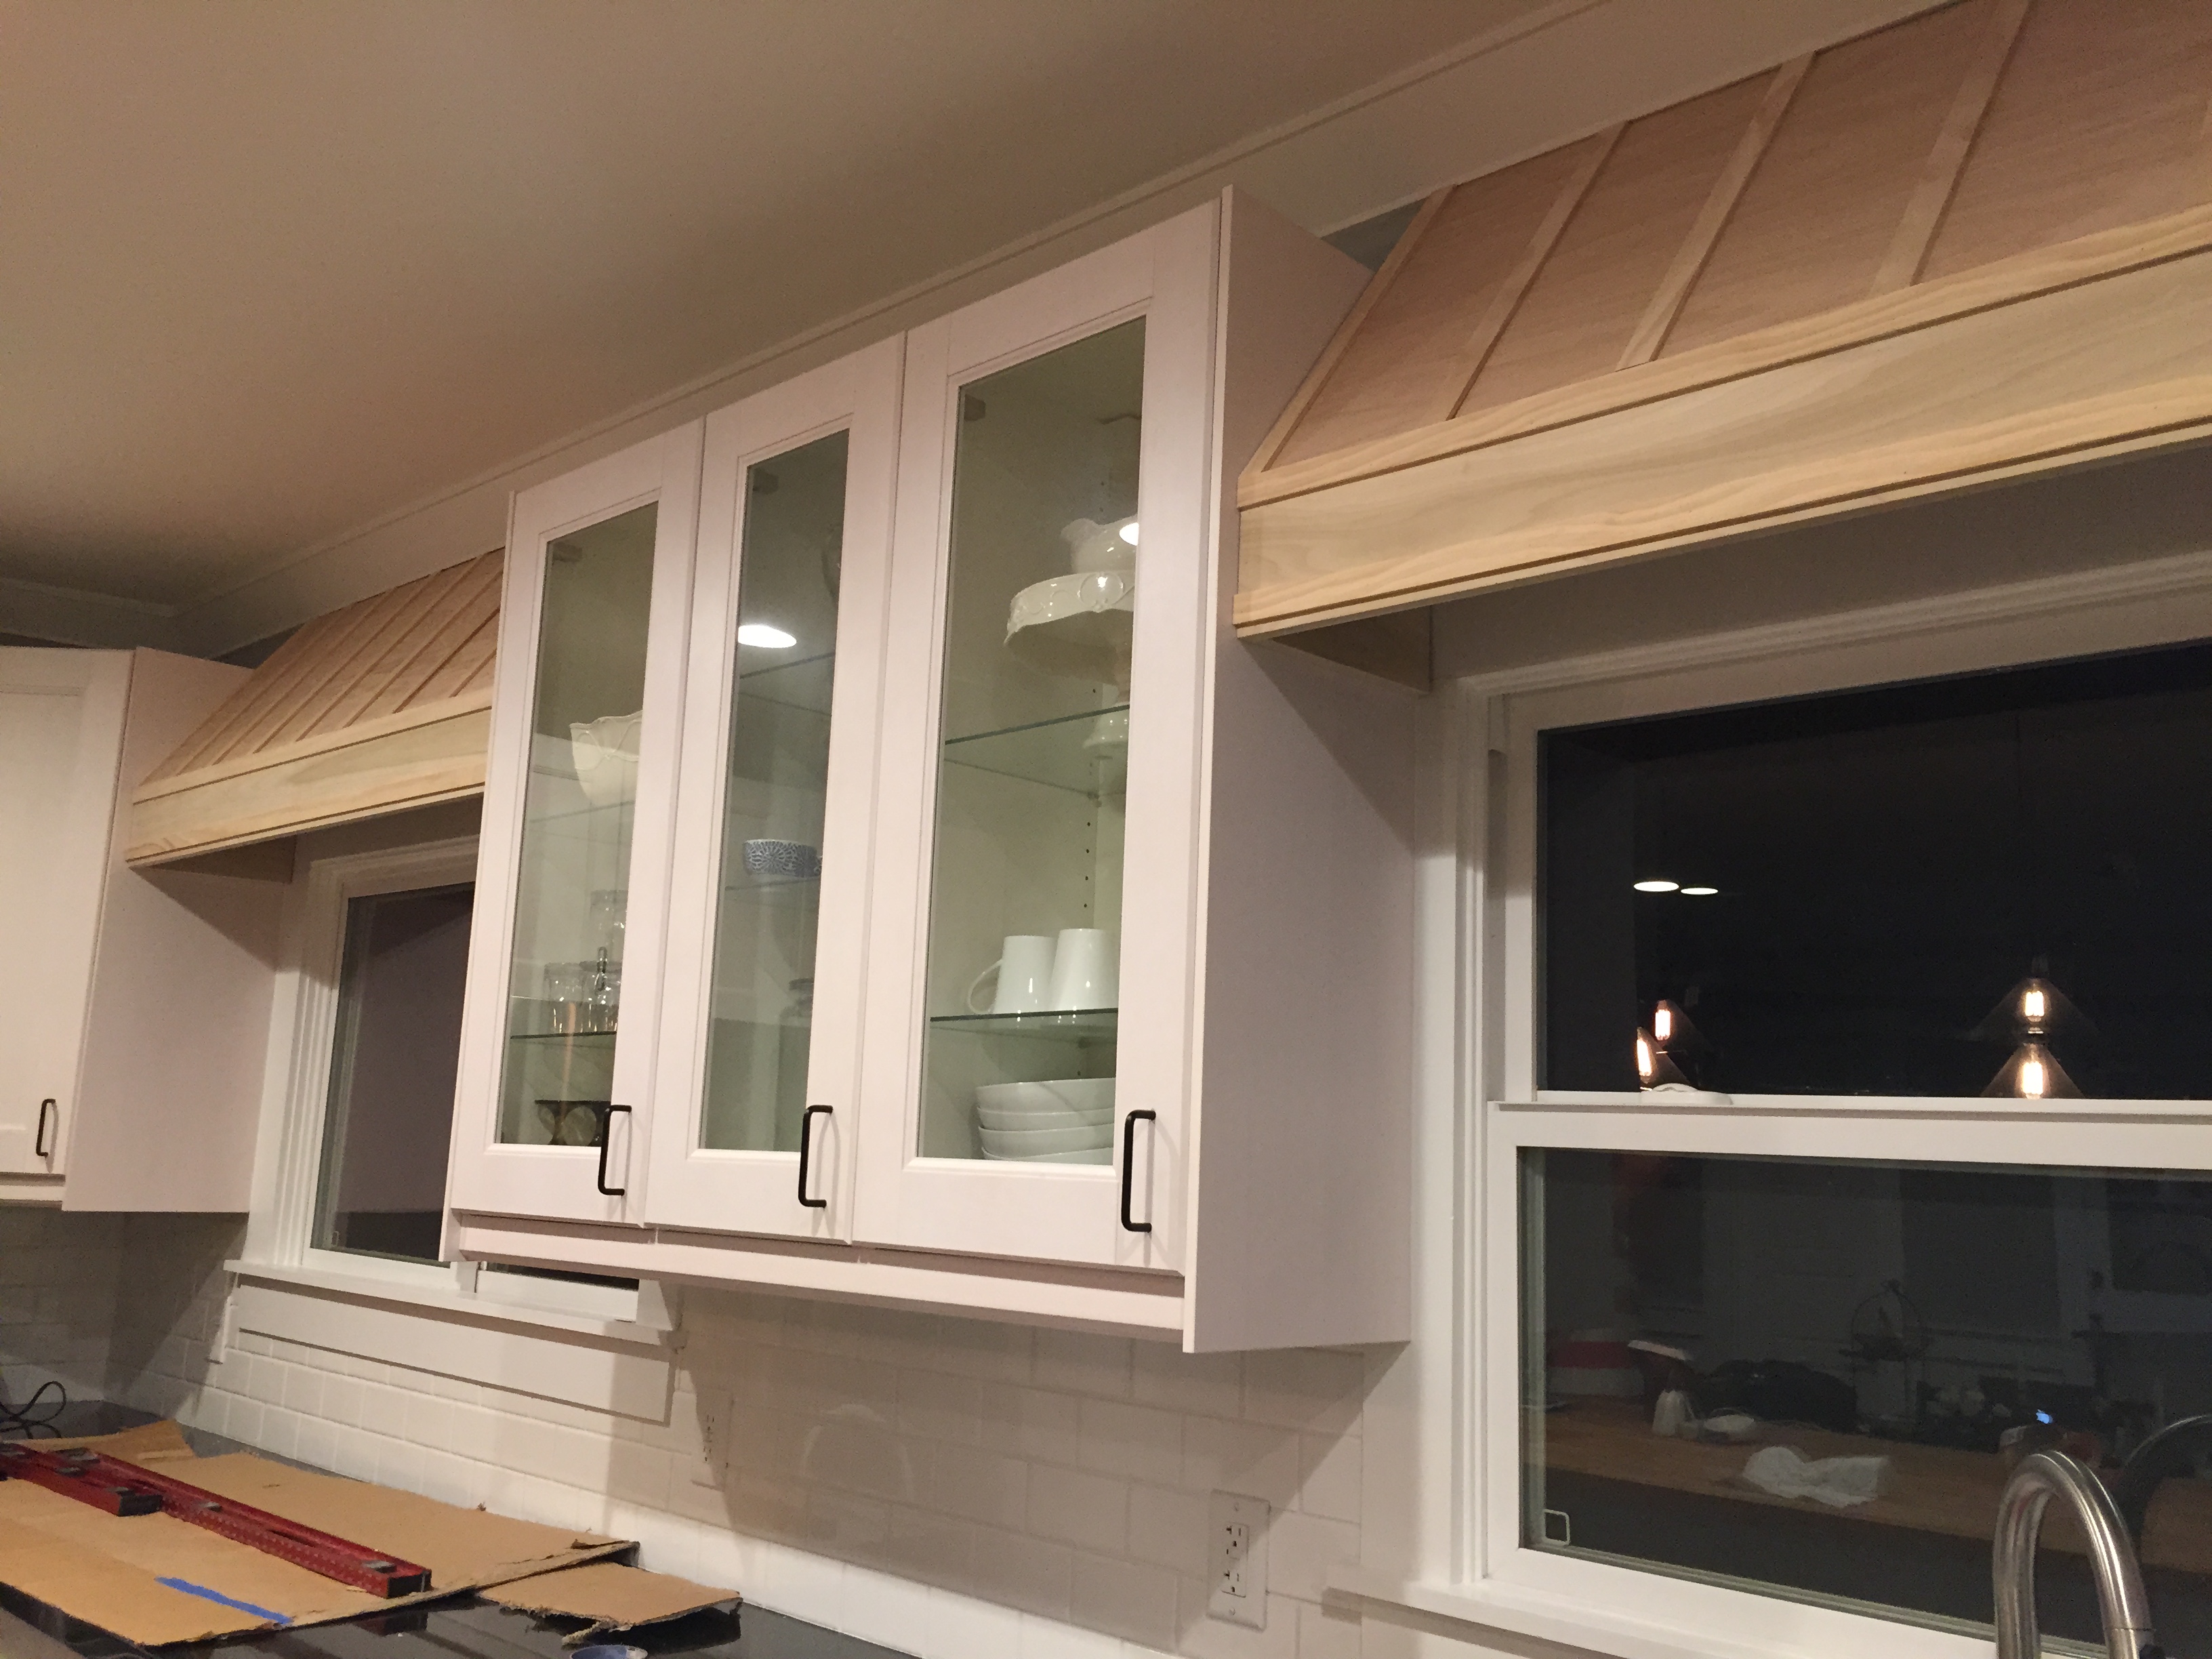
Both wood awnings completed!
Now I need to decide what color to paint them. I’m thinking of a rubbed dark gray so that the wood grain is still visible. What do you think? I also want to install a pull down shade underneath for privacy. Pictures of that project to come!