Day 61
We didn’t have work today so Kevin did a lot of work on the house. He began adding moldings to the dining room to add some character to the large room. We searched Pinterest for a bunch of ideas, we landed on this…
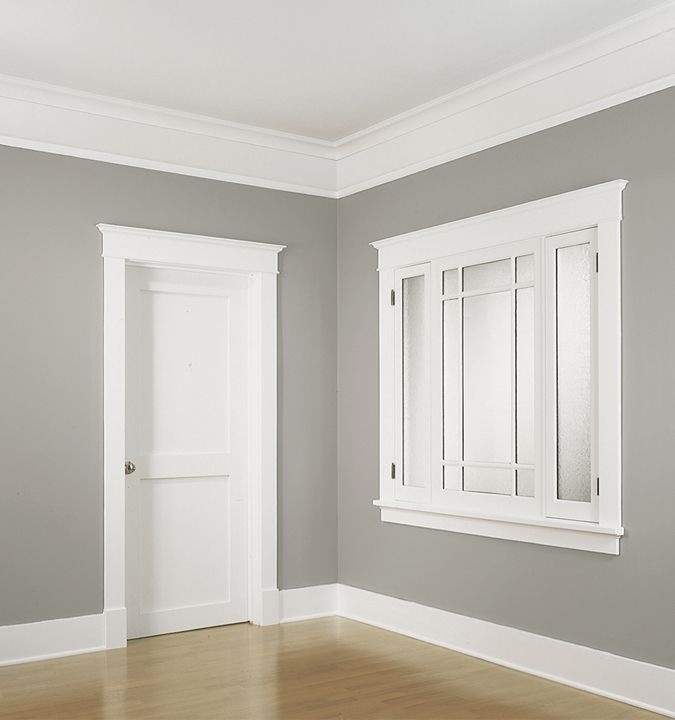
EXAMPLE Board and Batten
Instructions here: http://www.justagirlblog.com/board-and-batten-part-1/
Now our turn…

As you can see the back of the hutch hasn’t been attached yet so you can see straight into the second bedroom.
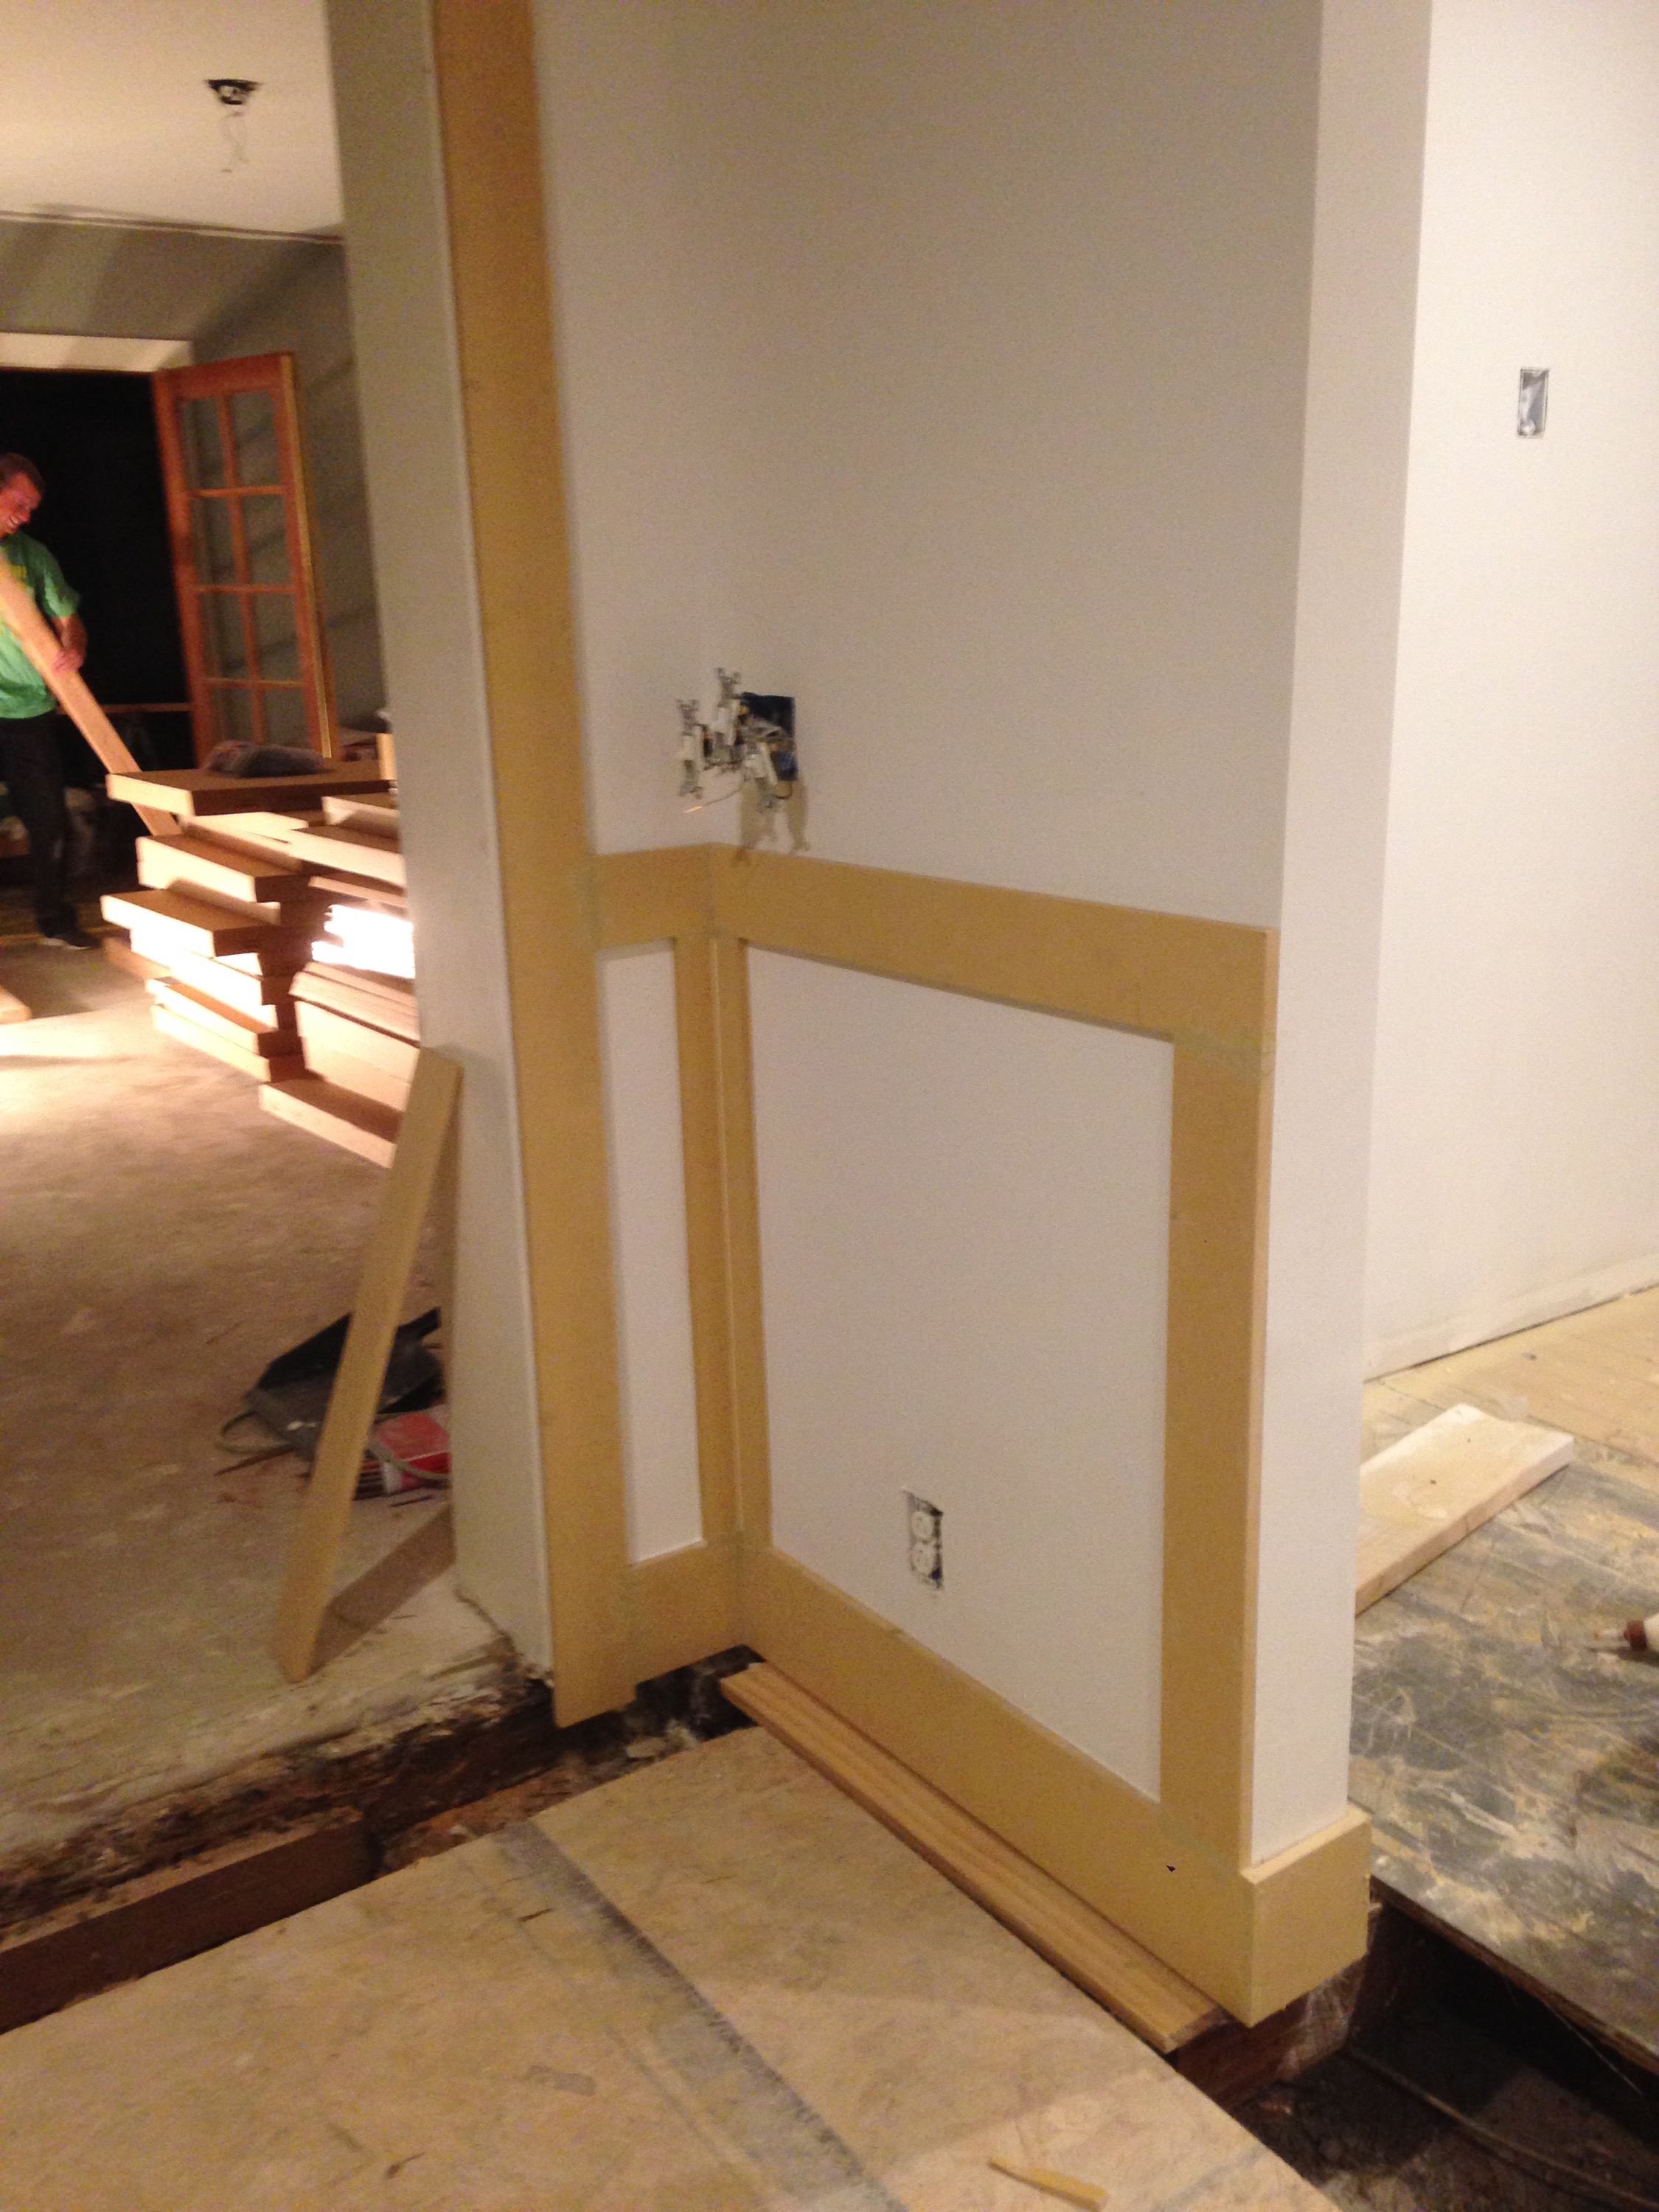
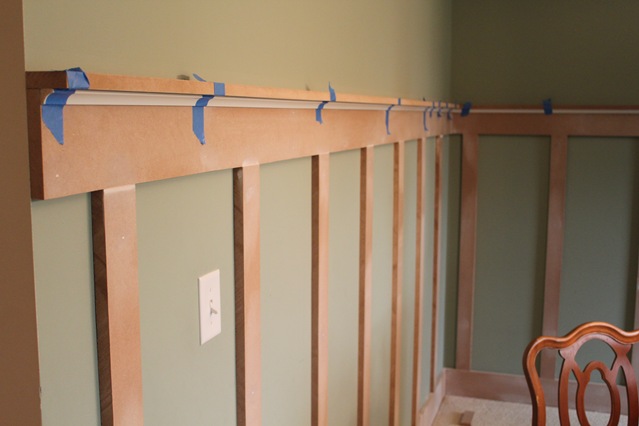
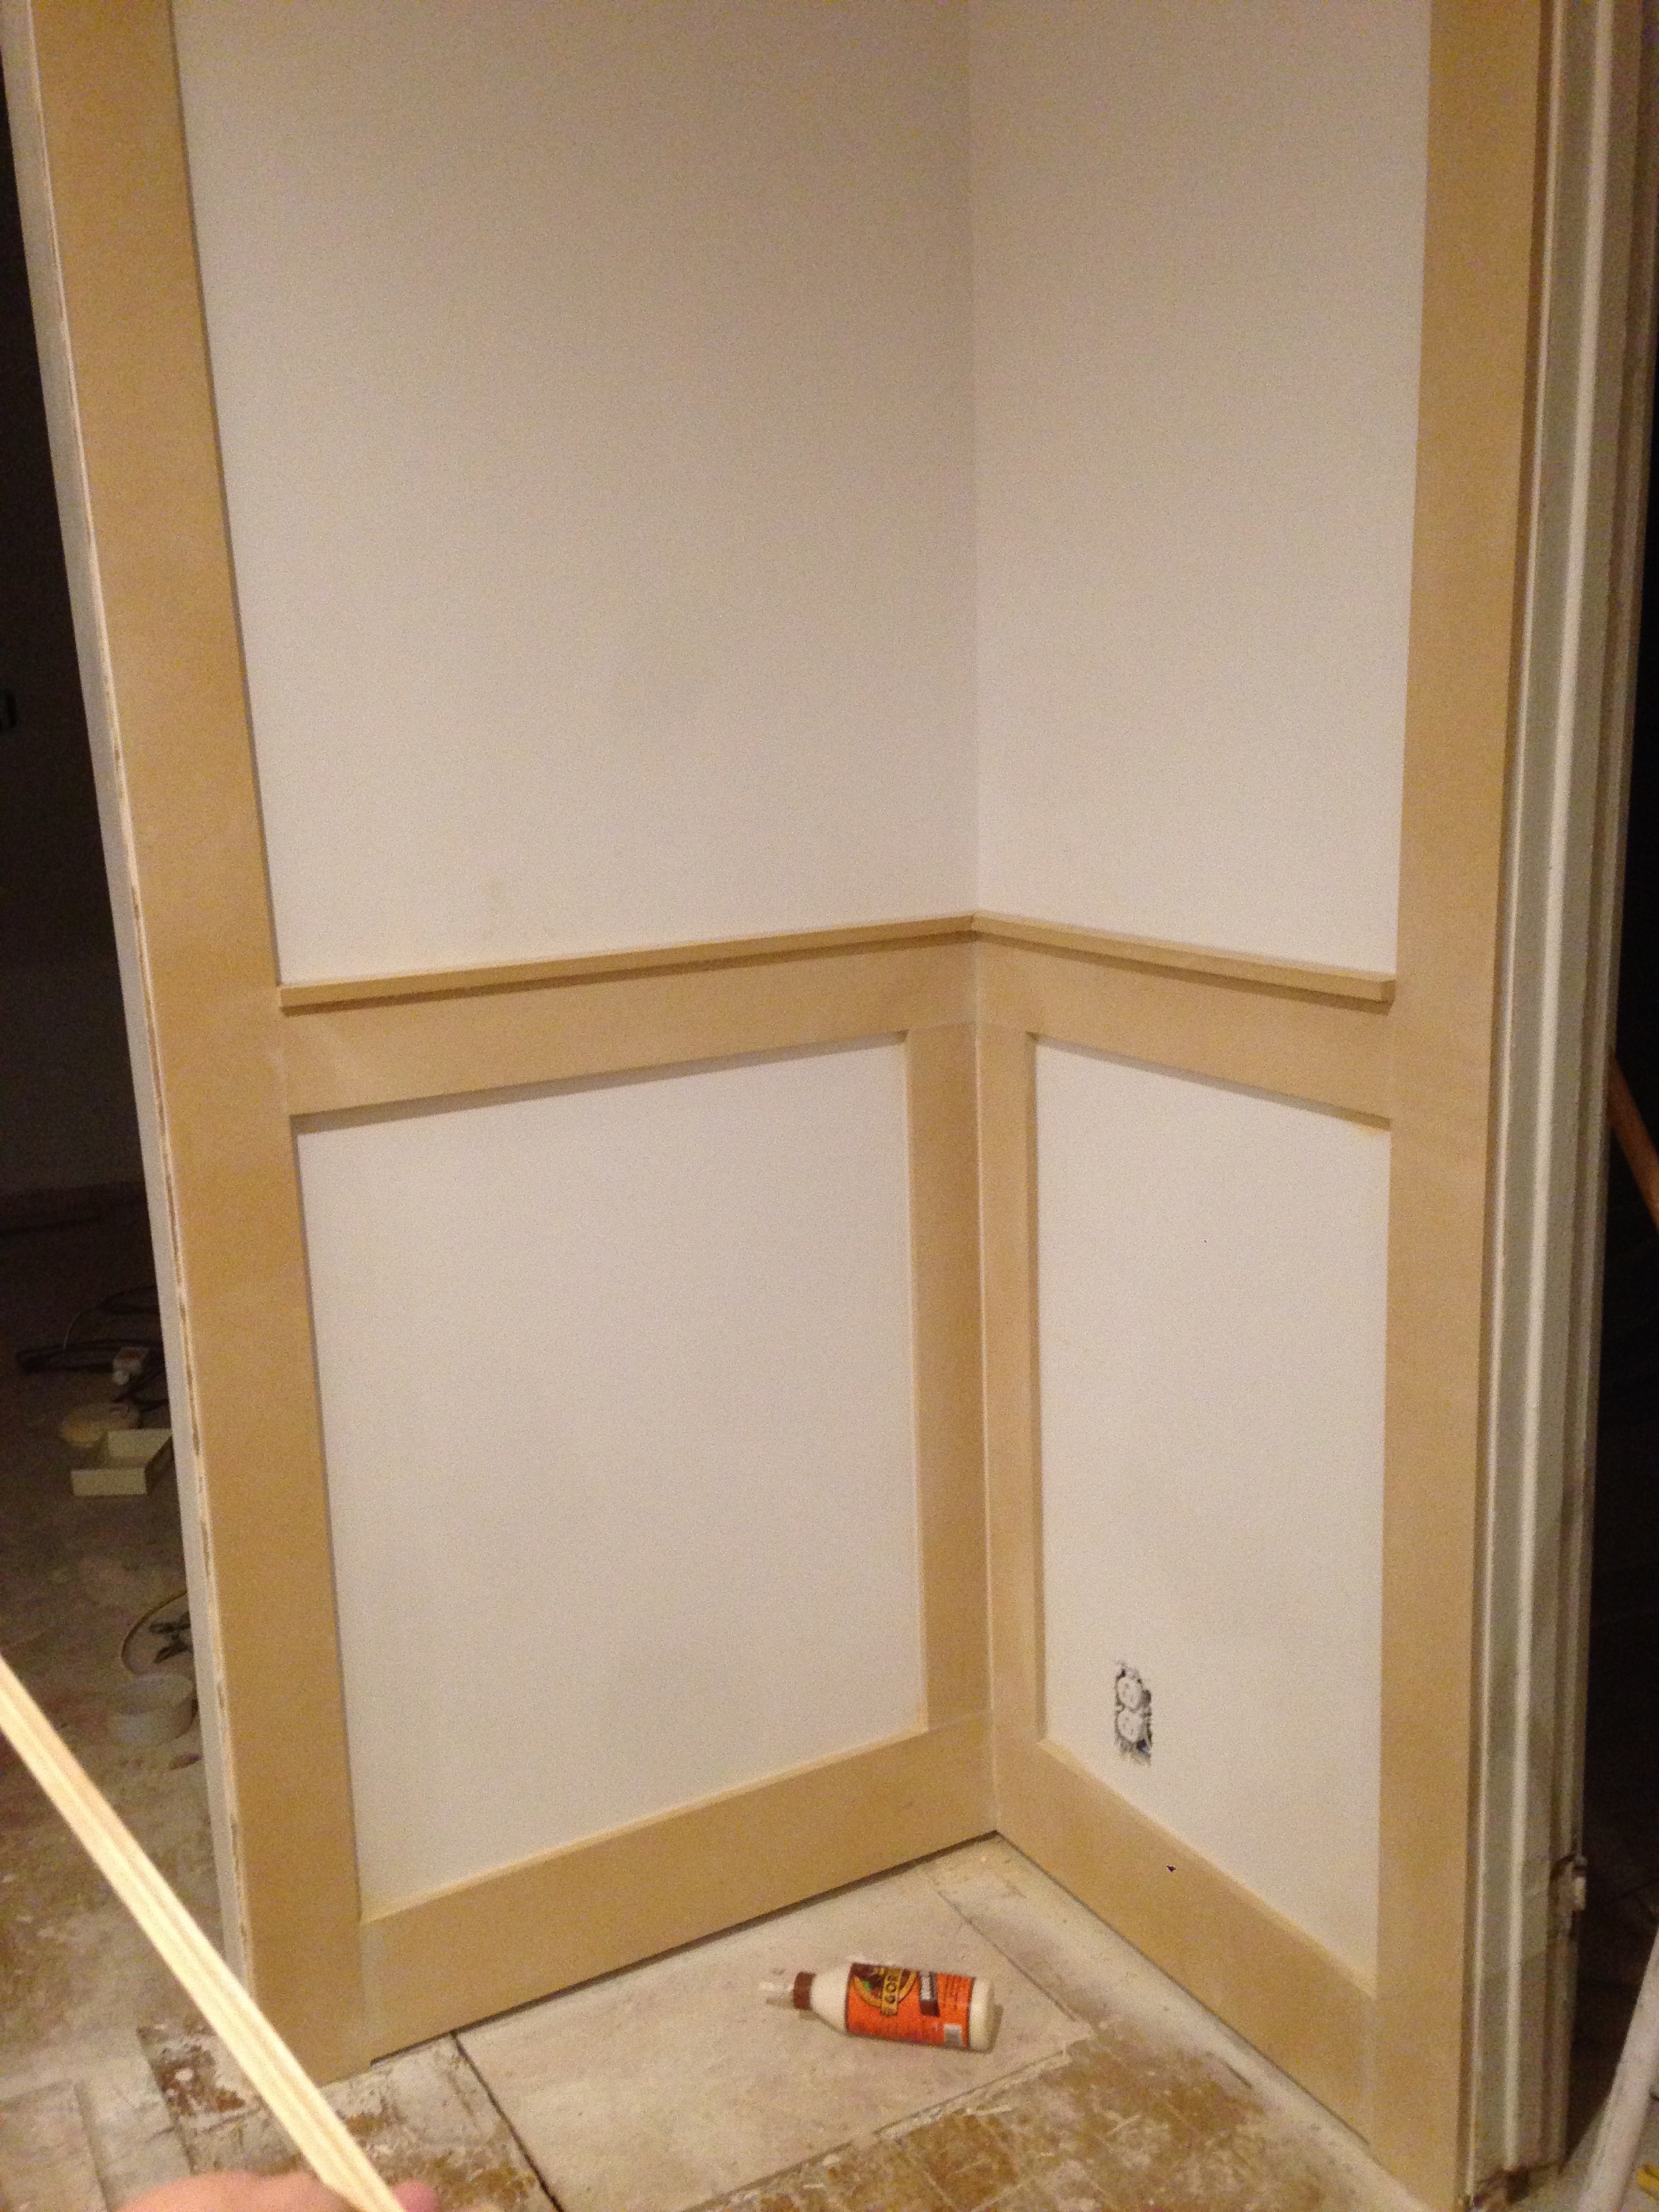
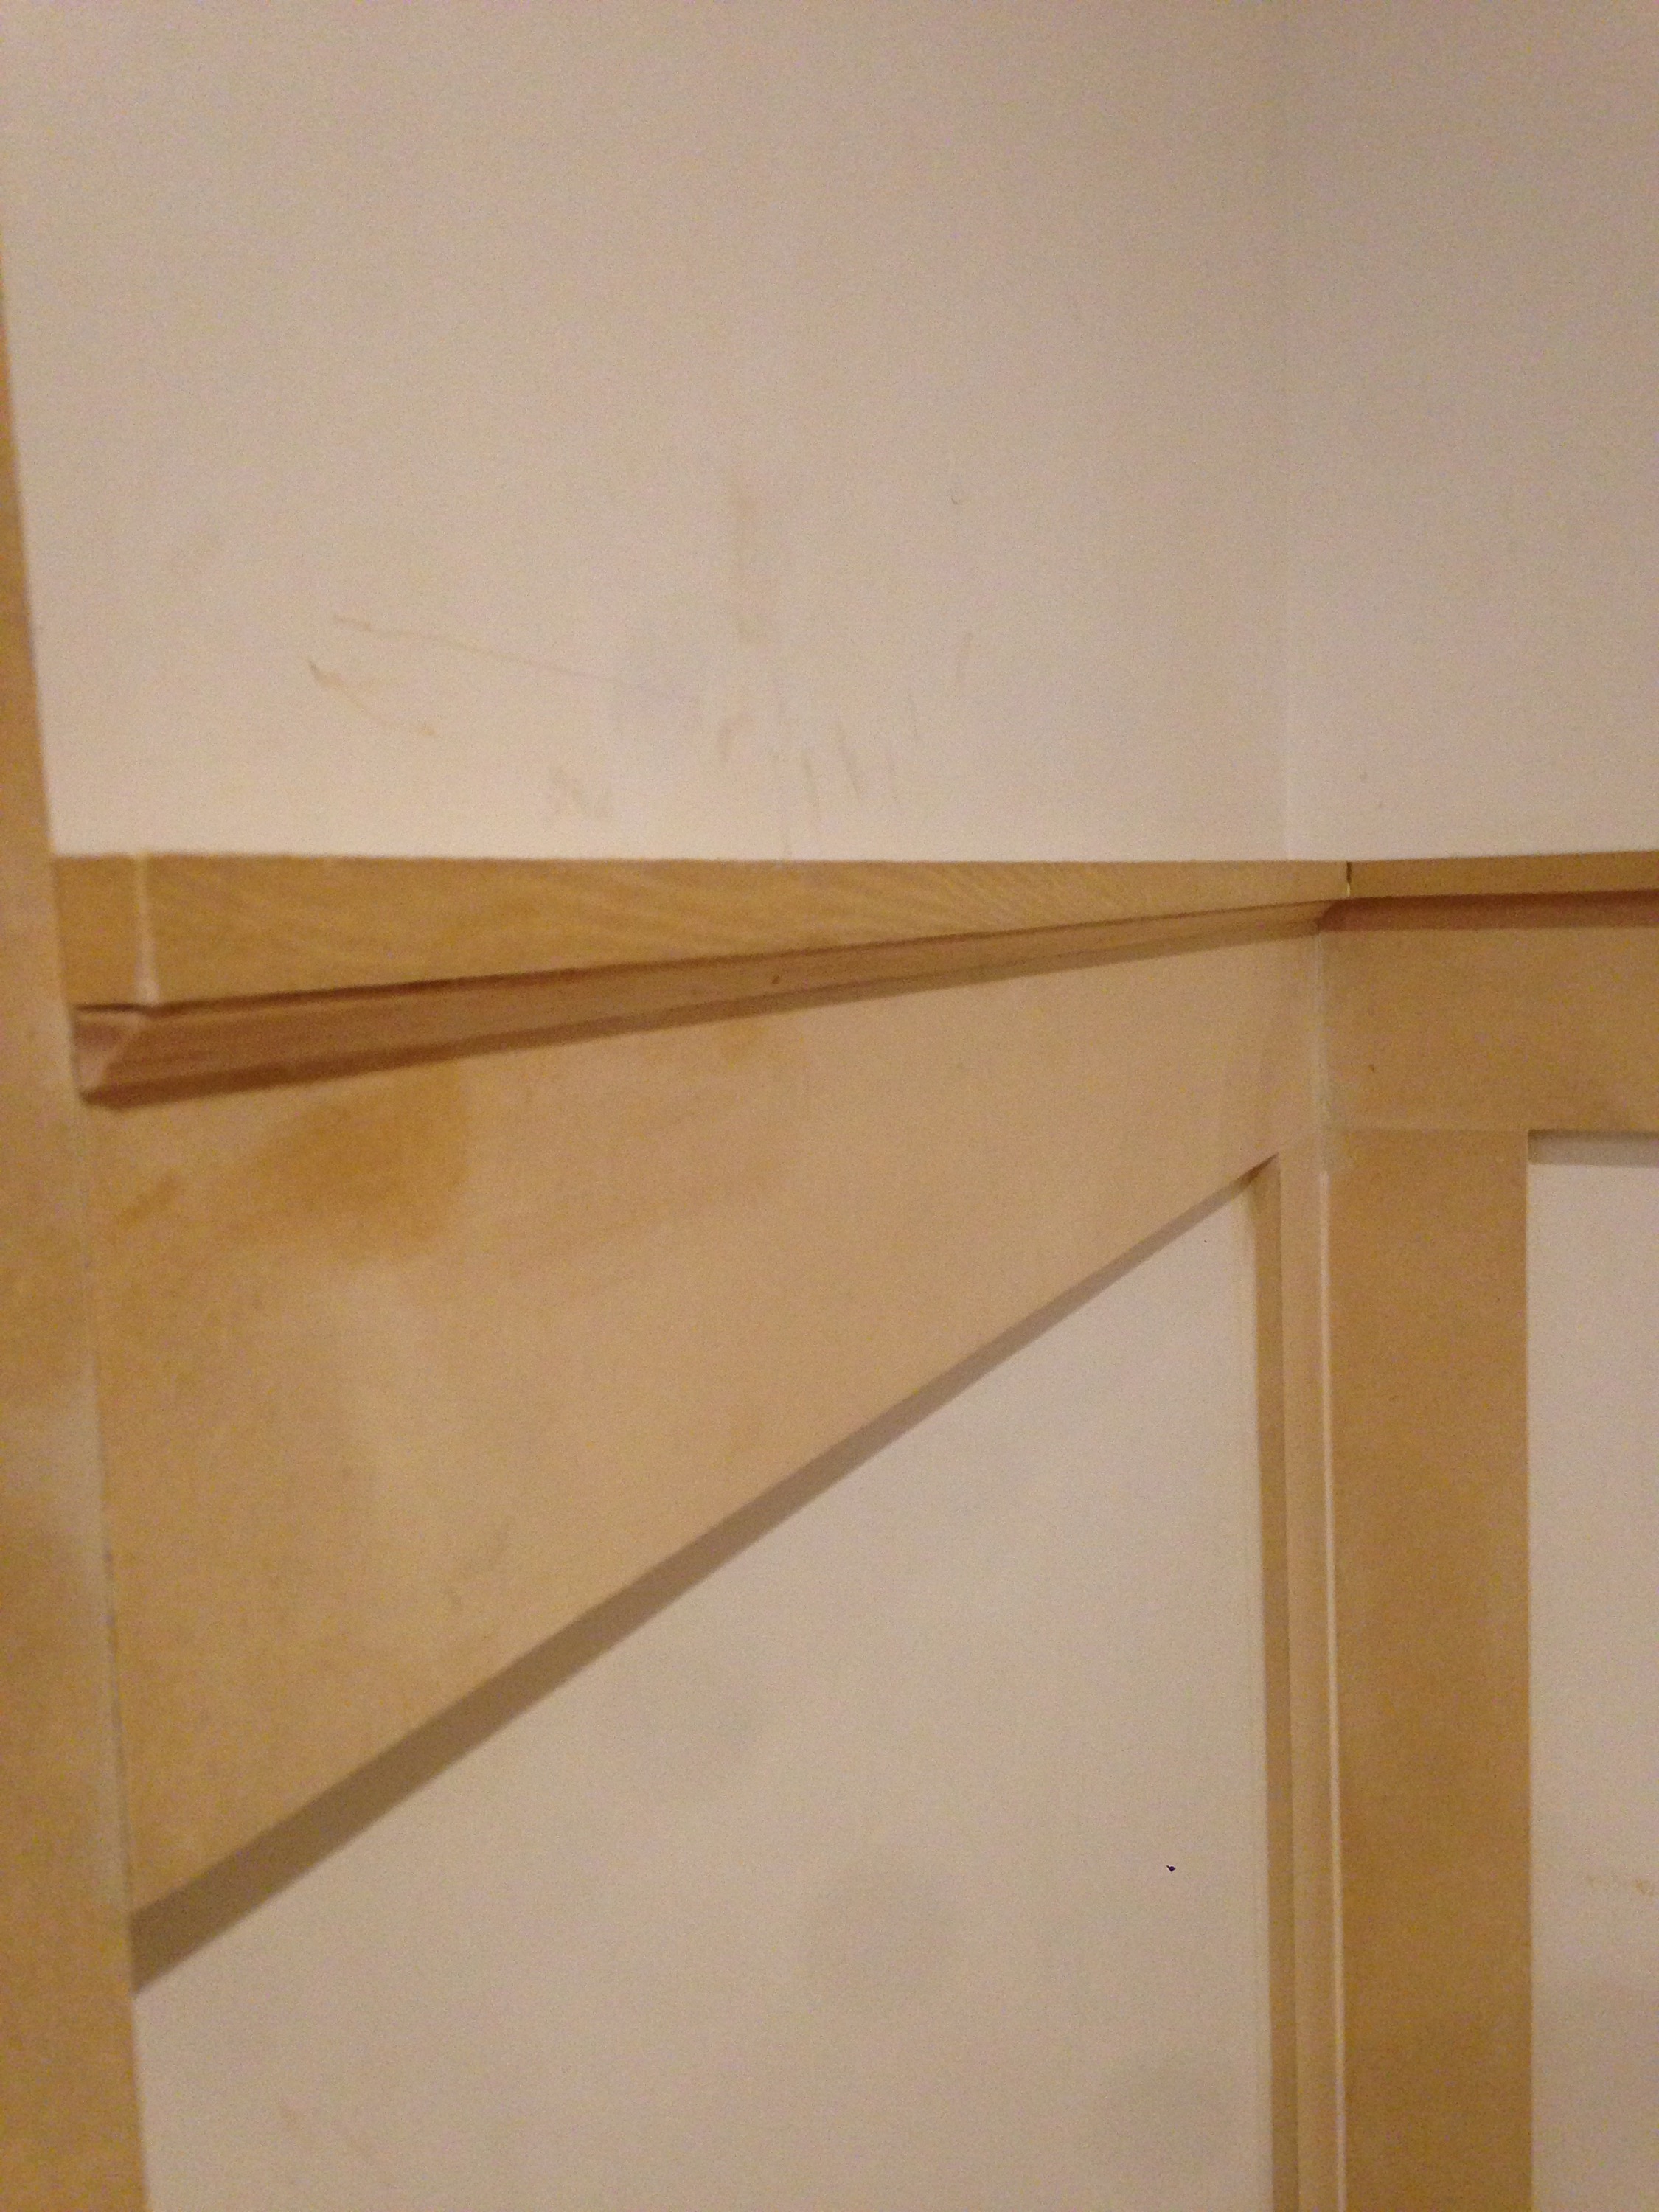
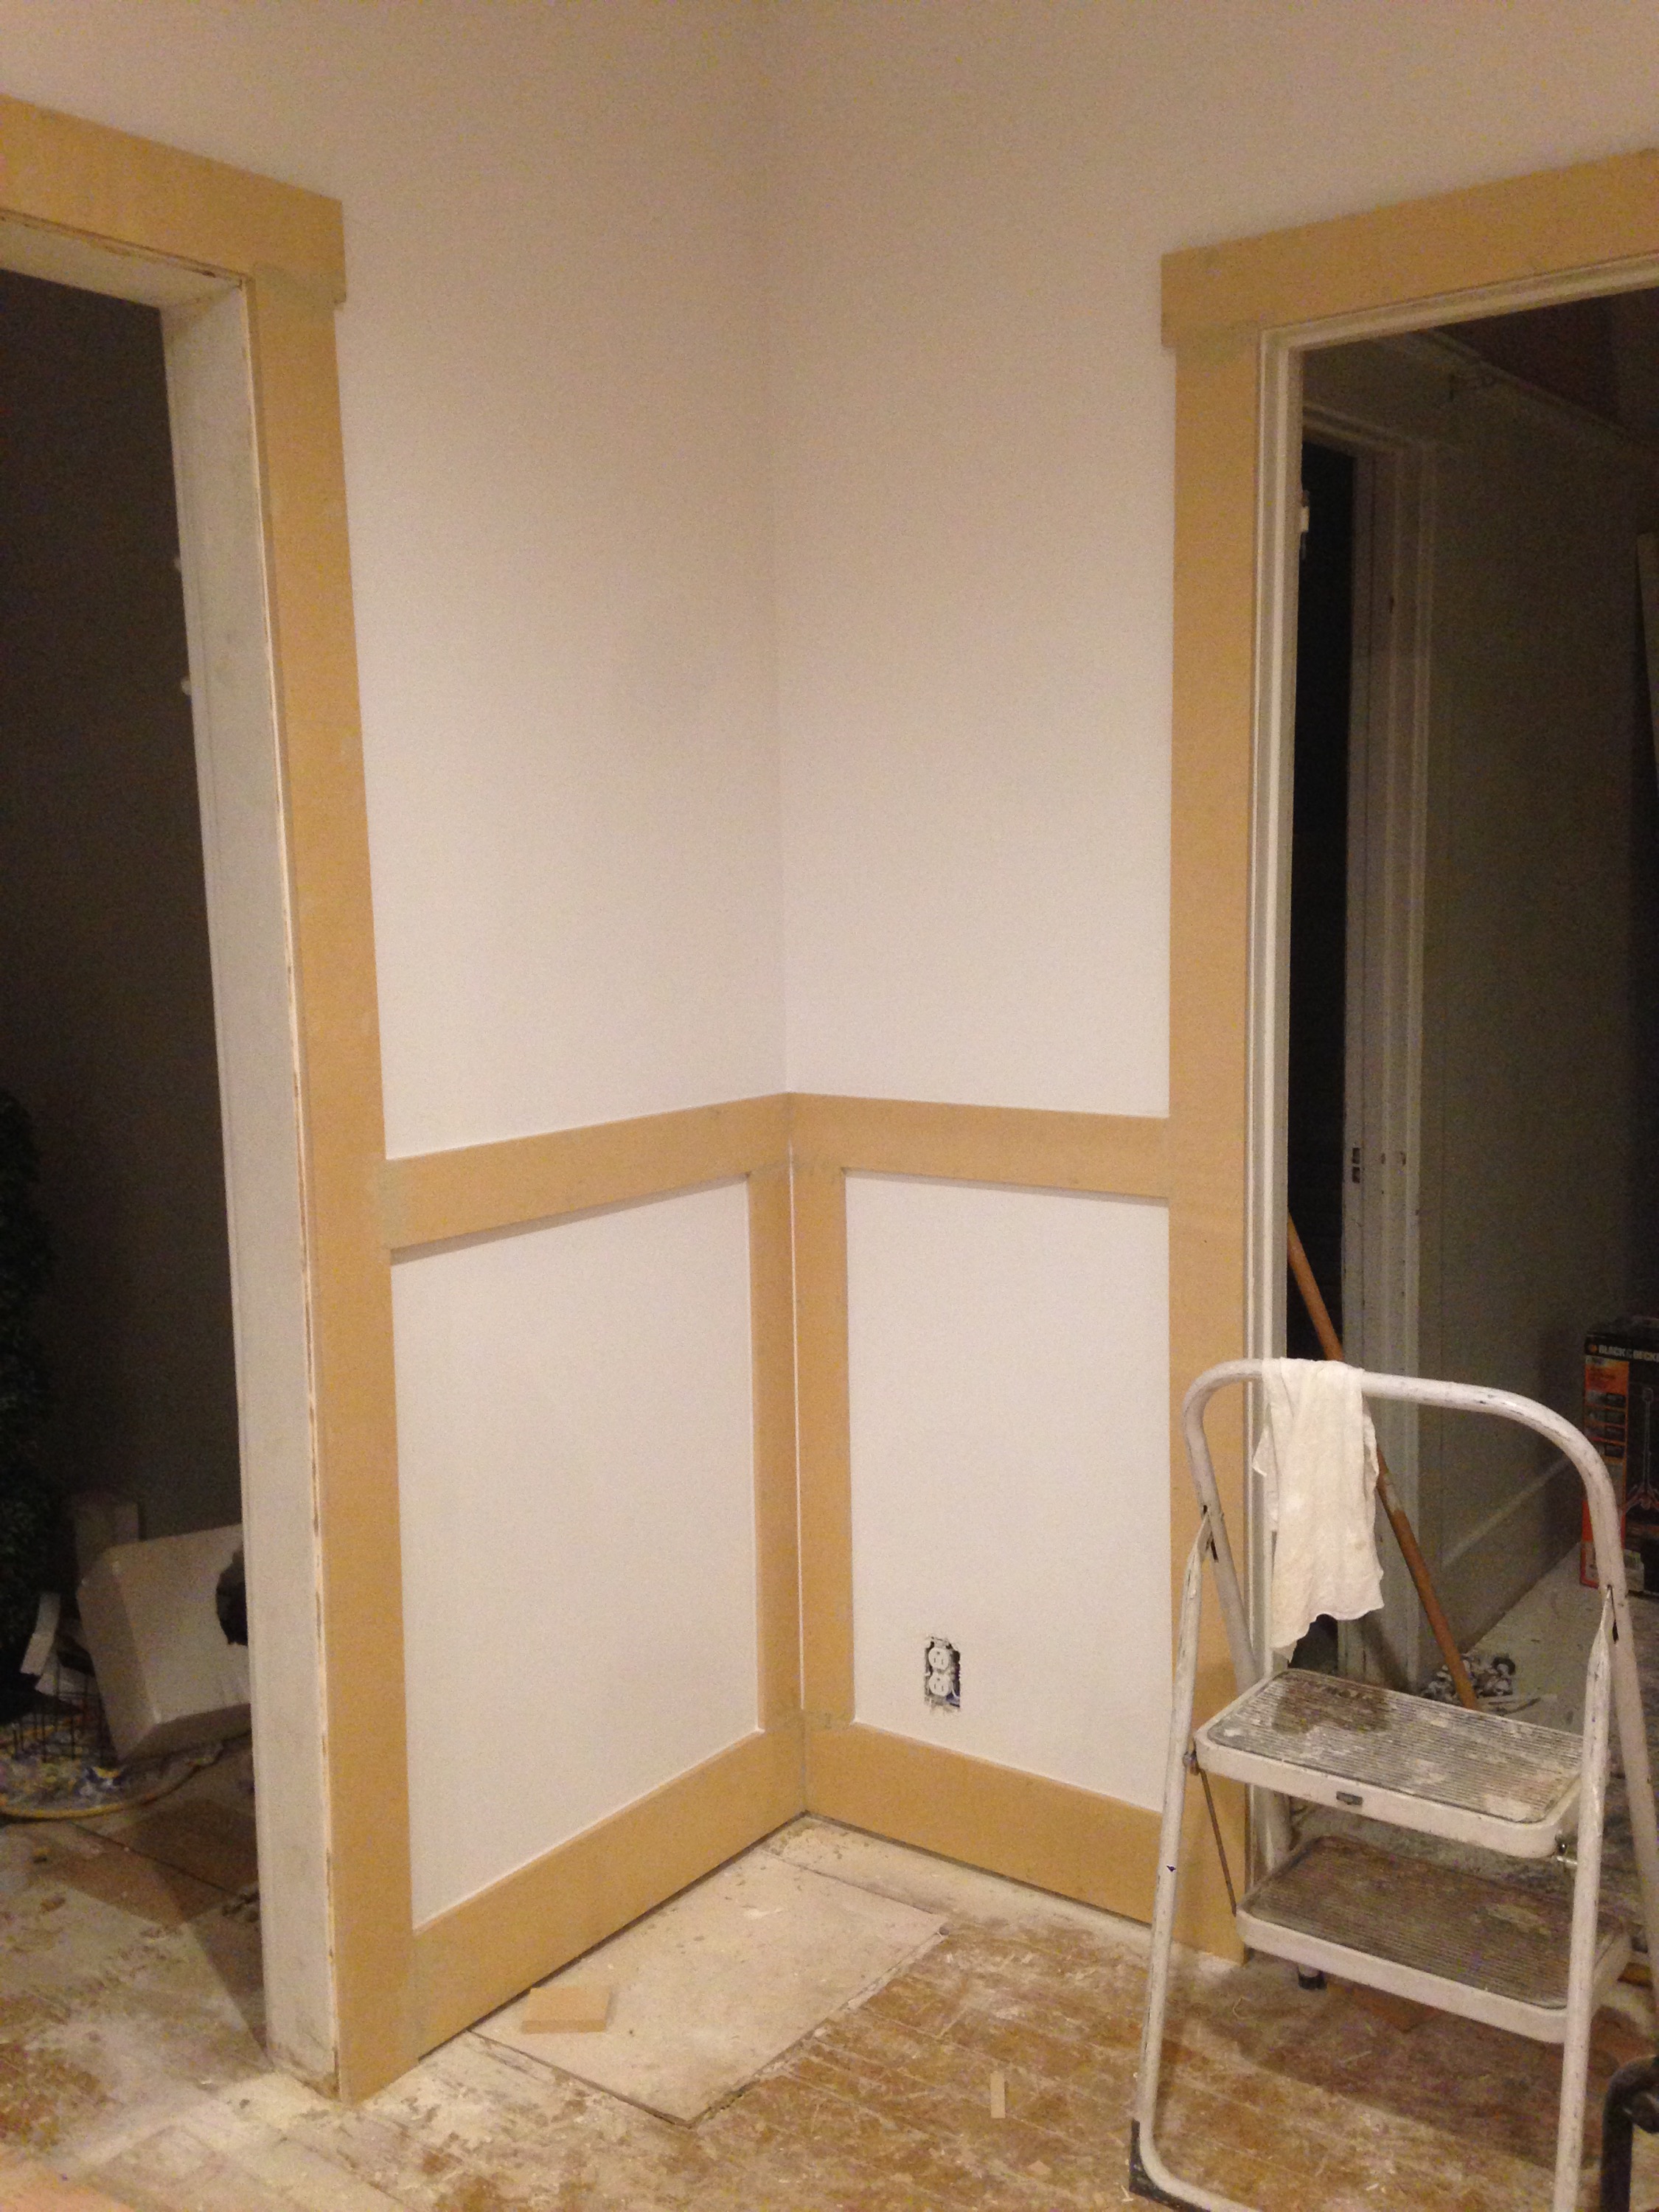
Kevin cut sheets of MDF to make these moldings. Made this project pretty affordable.
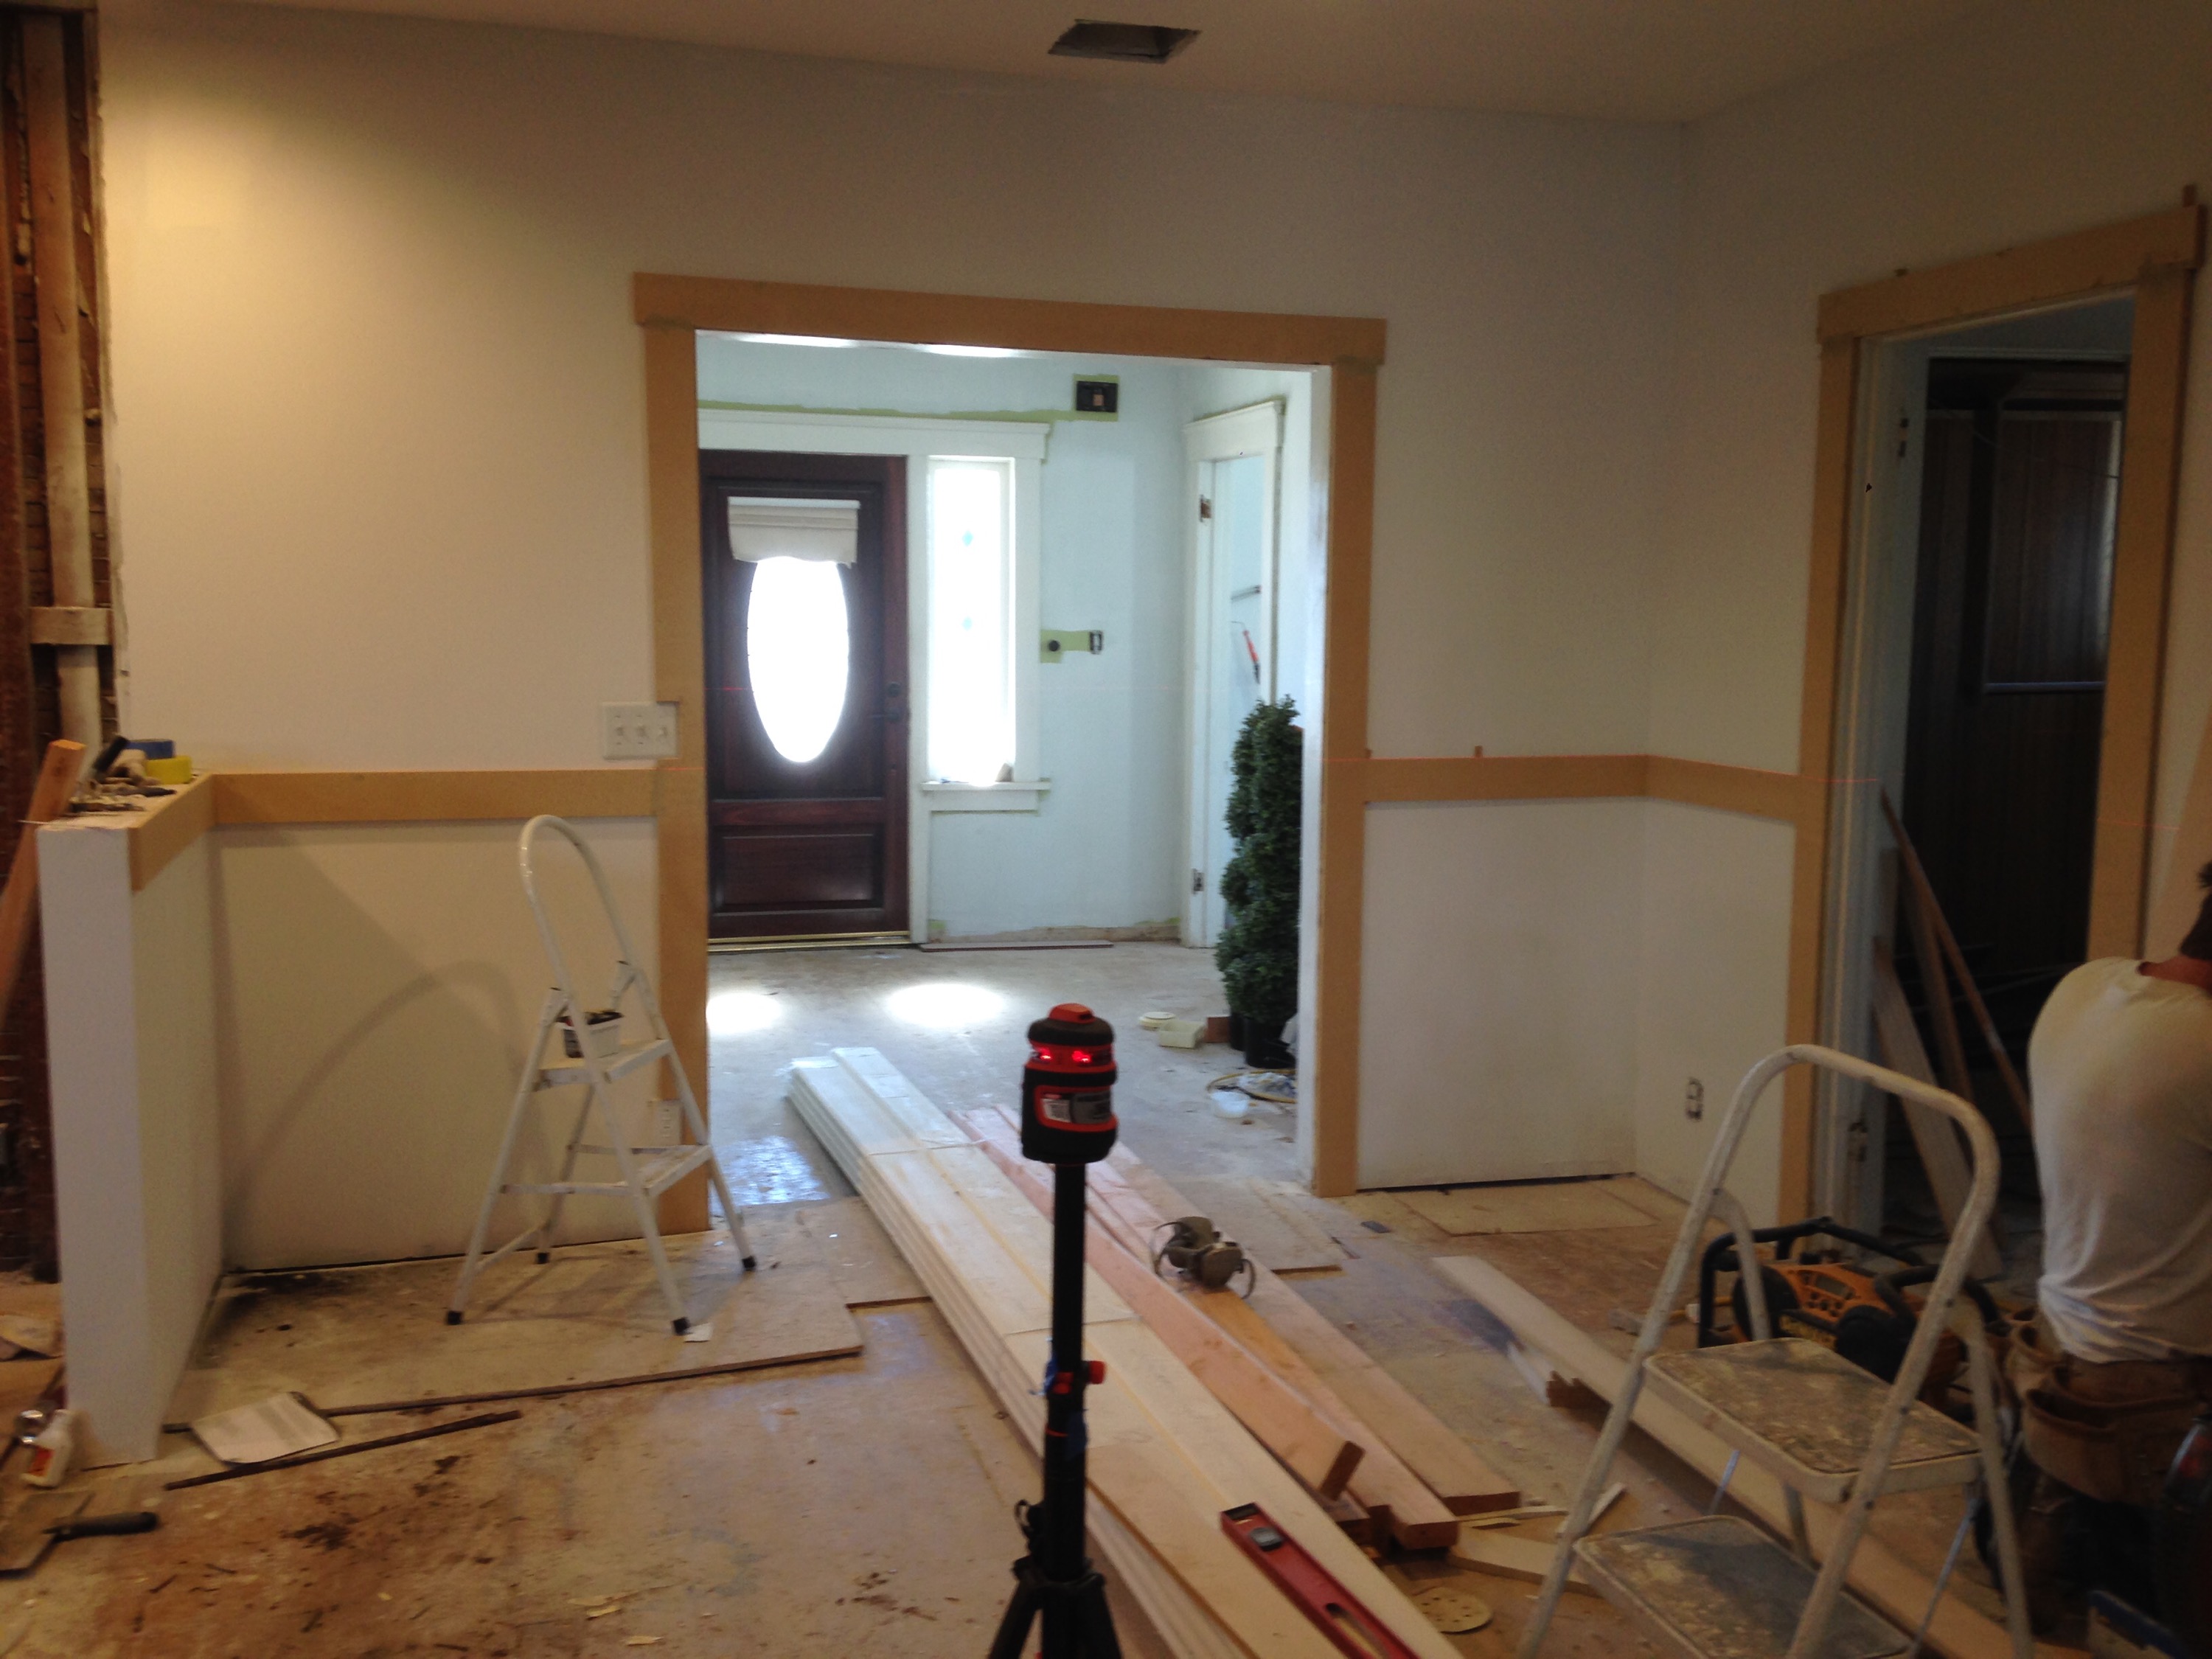
Kevin used a laser level to ensure consistency (since our floors are sloping…and missing in places haha)

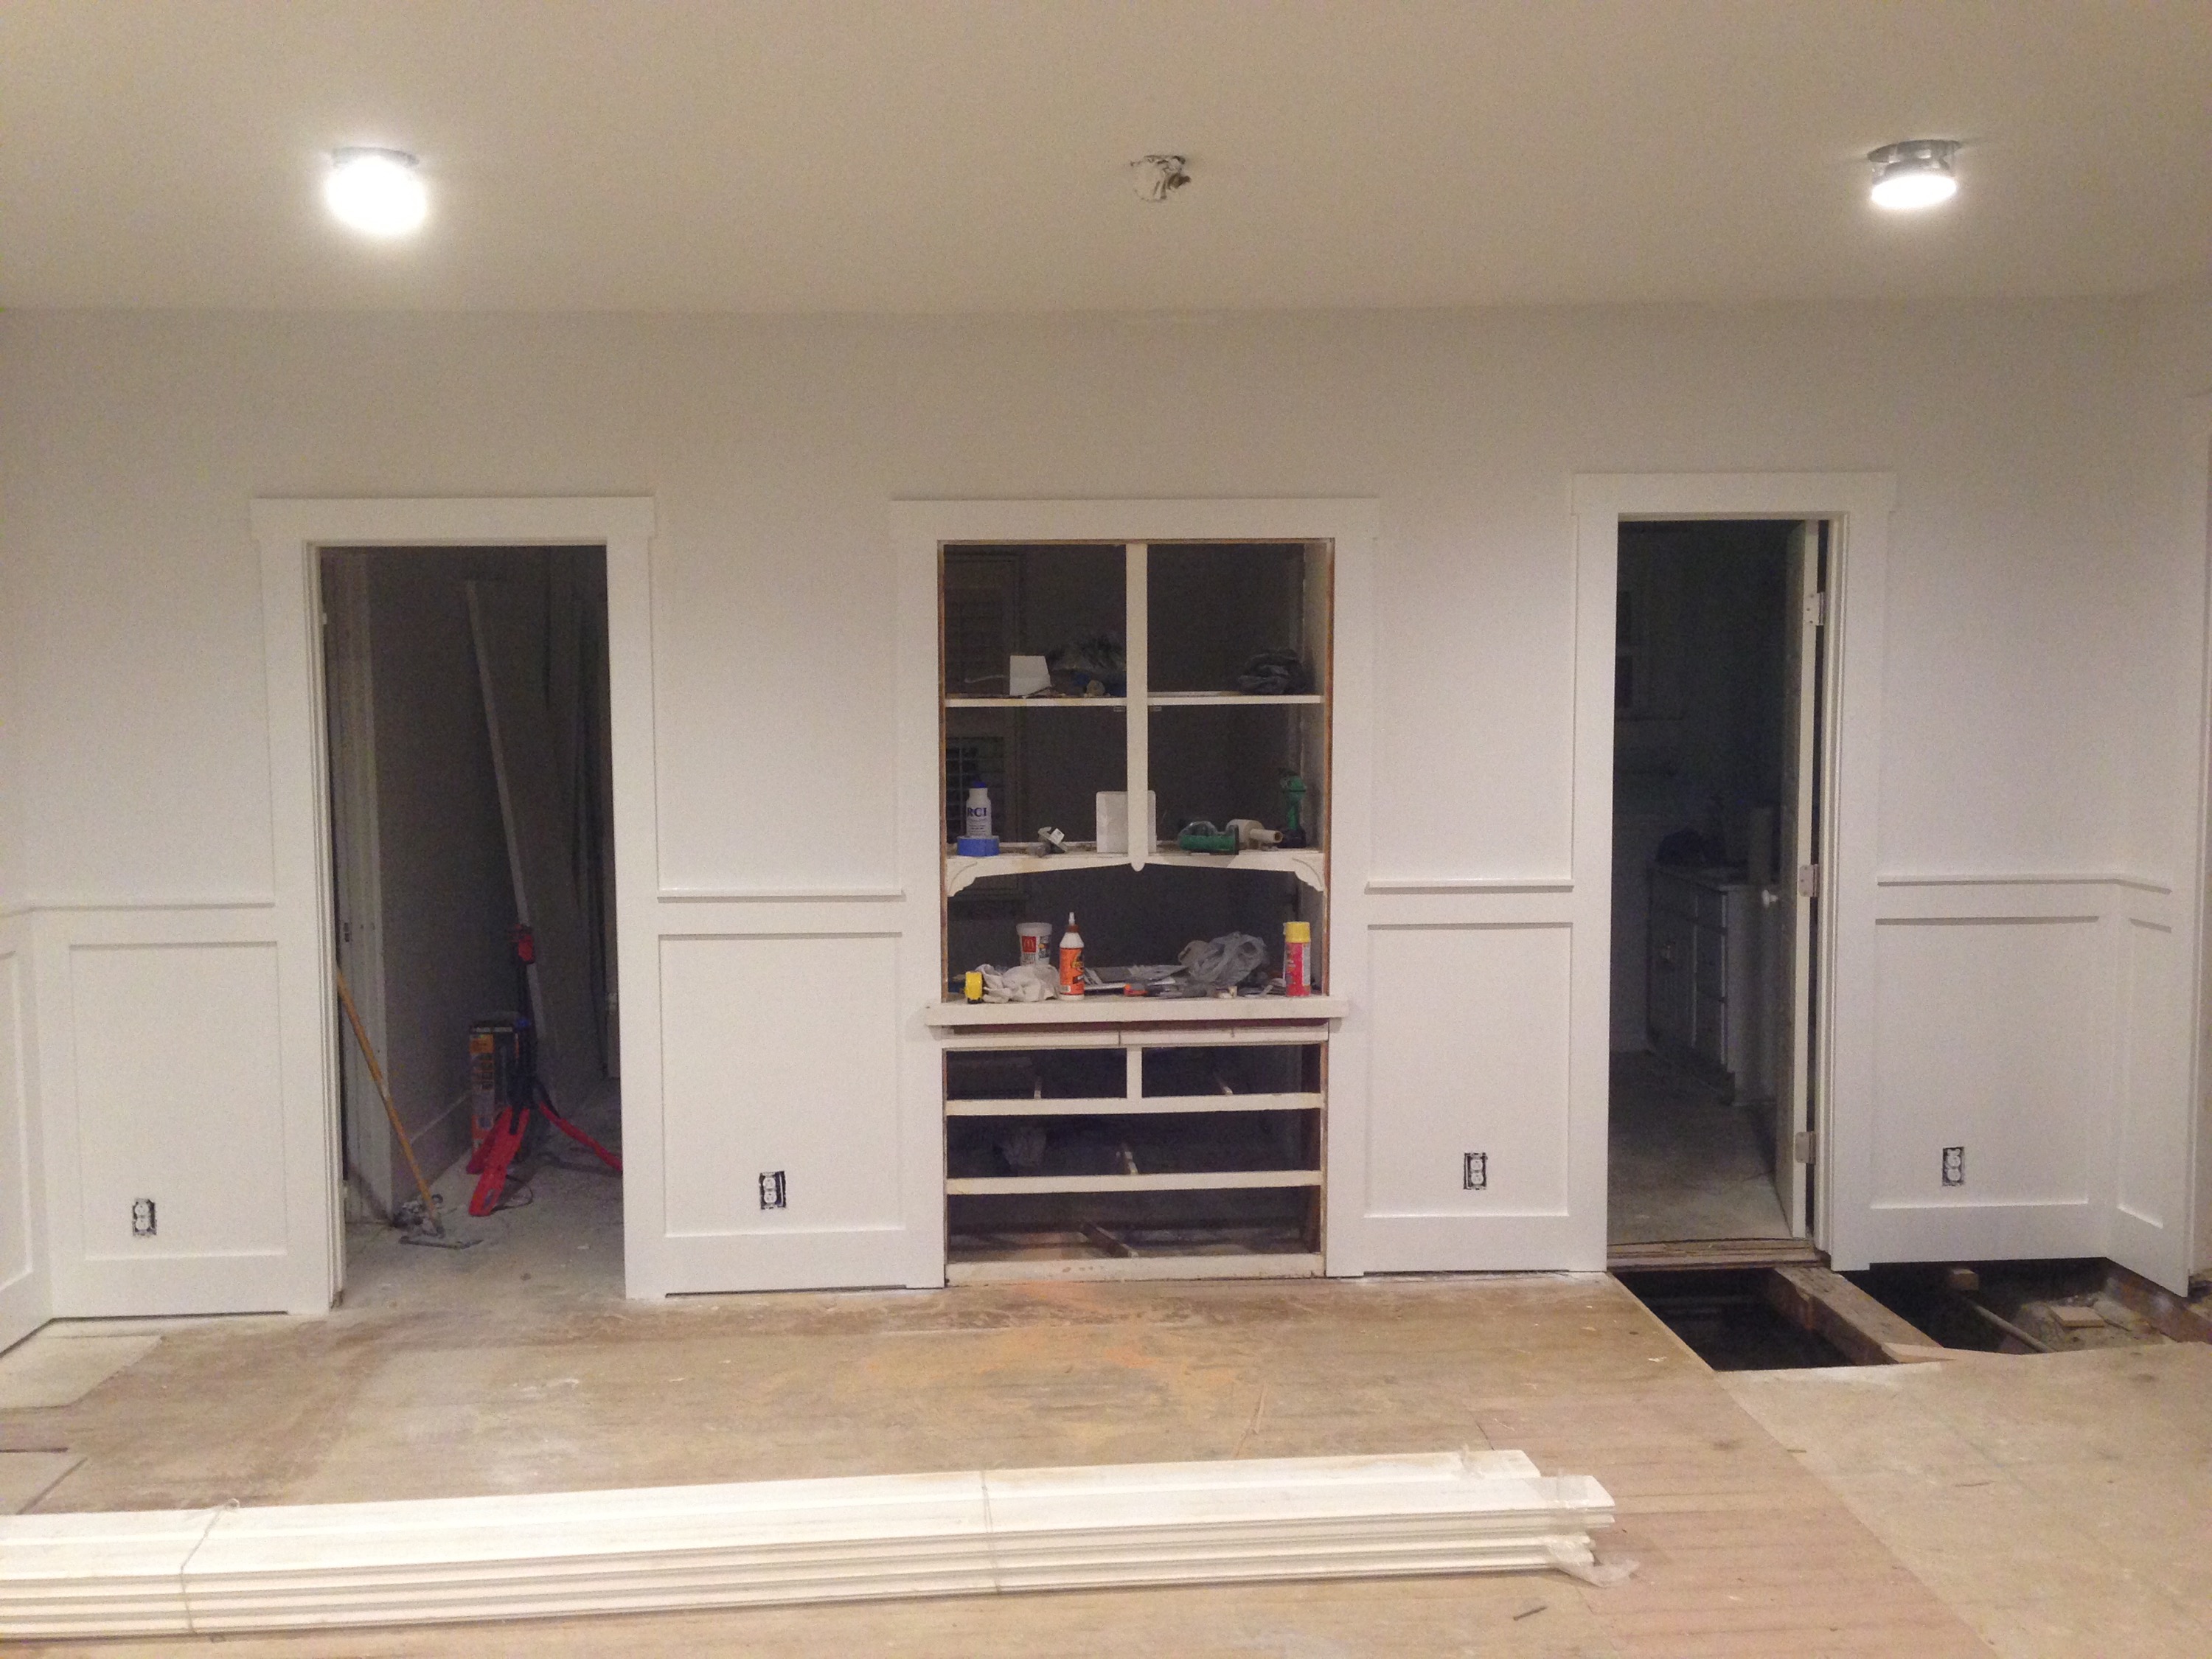
Moldings with paint!

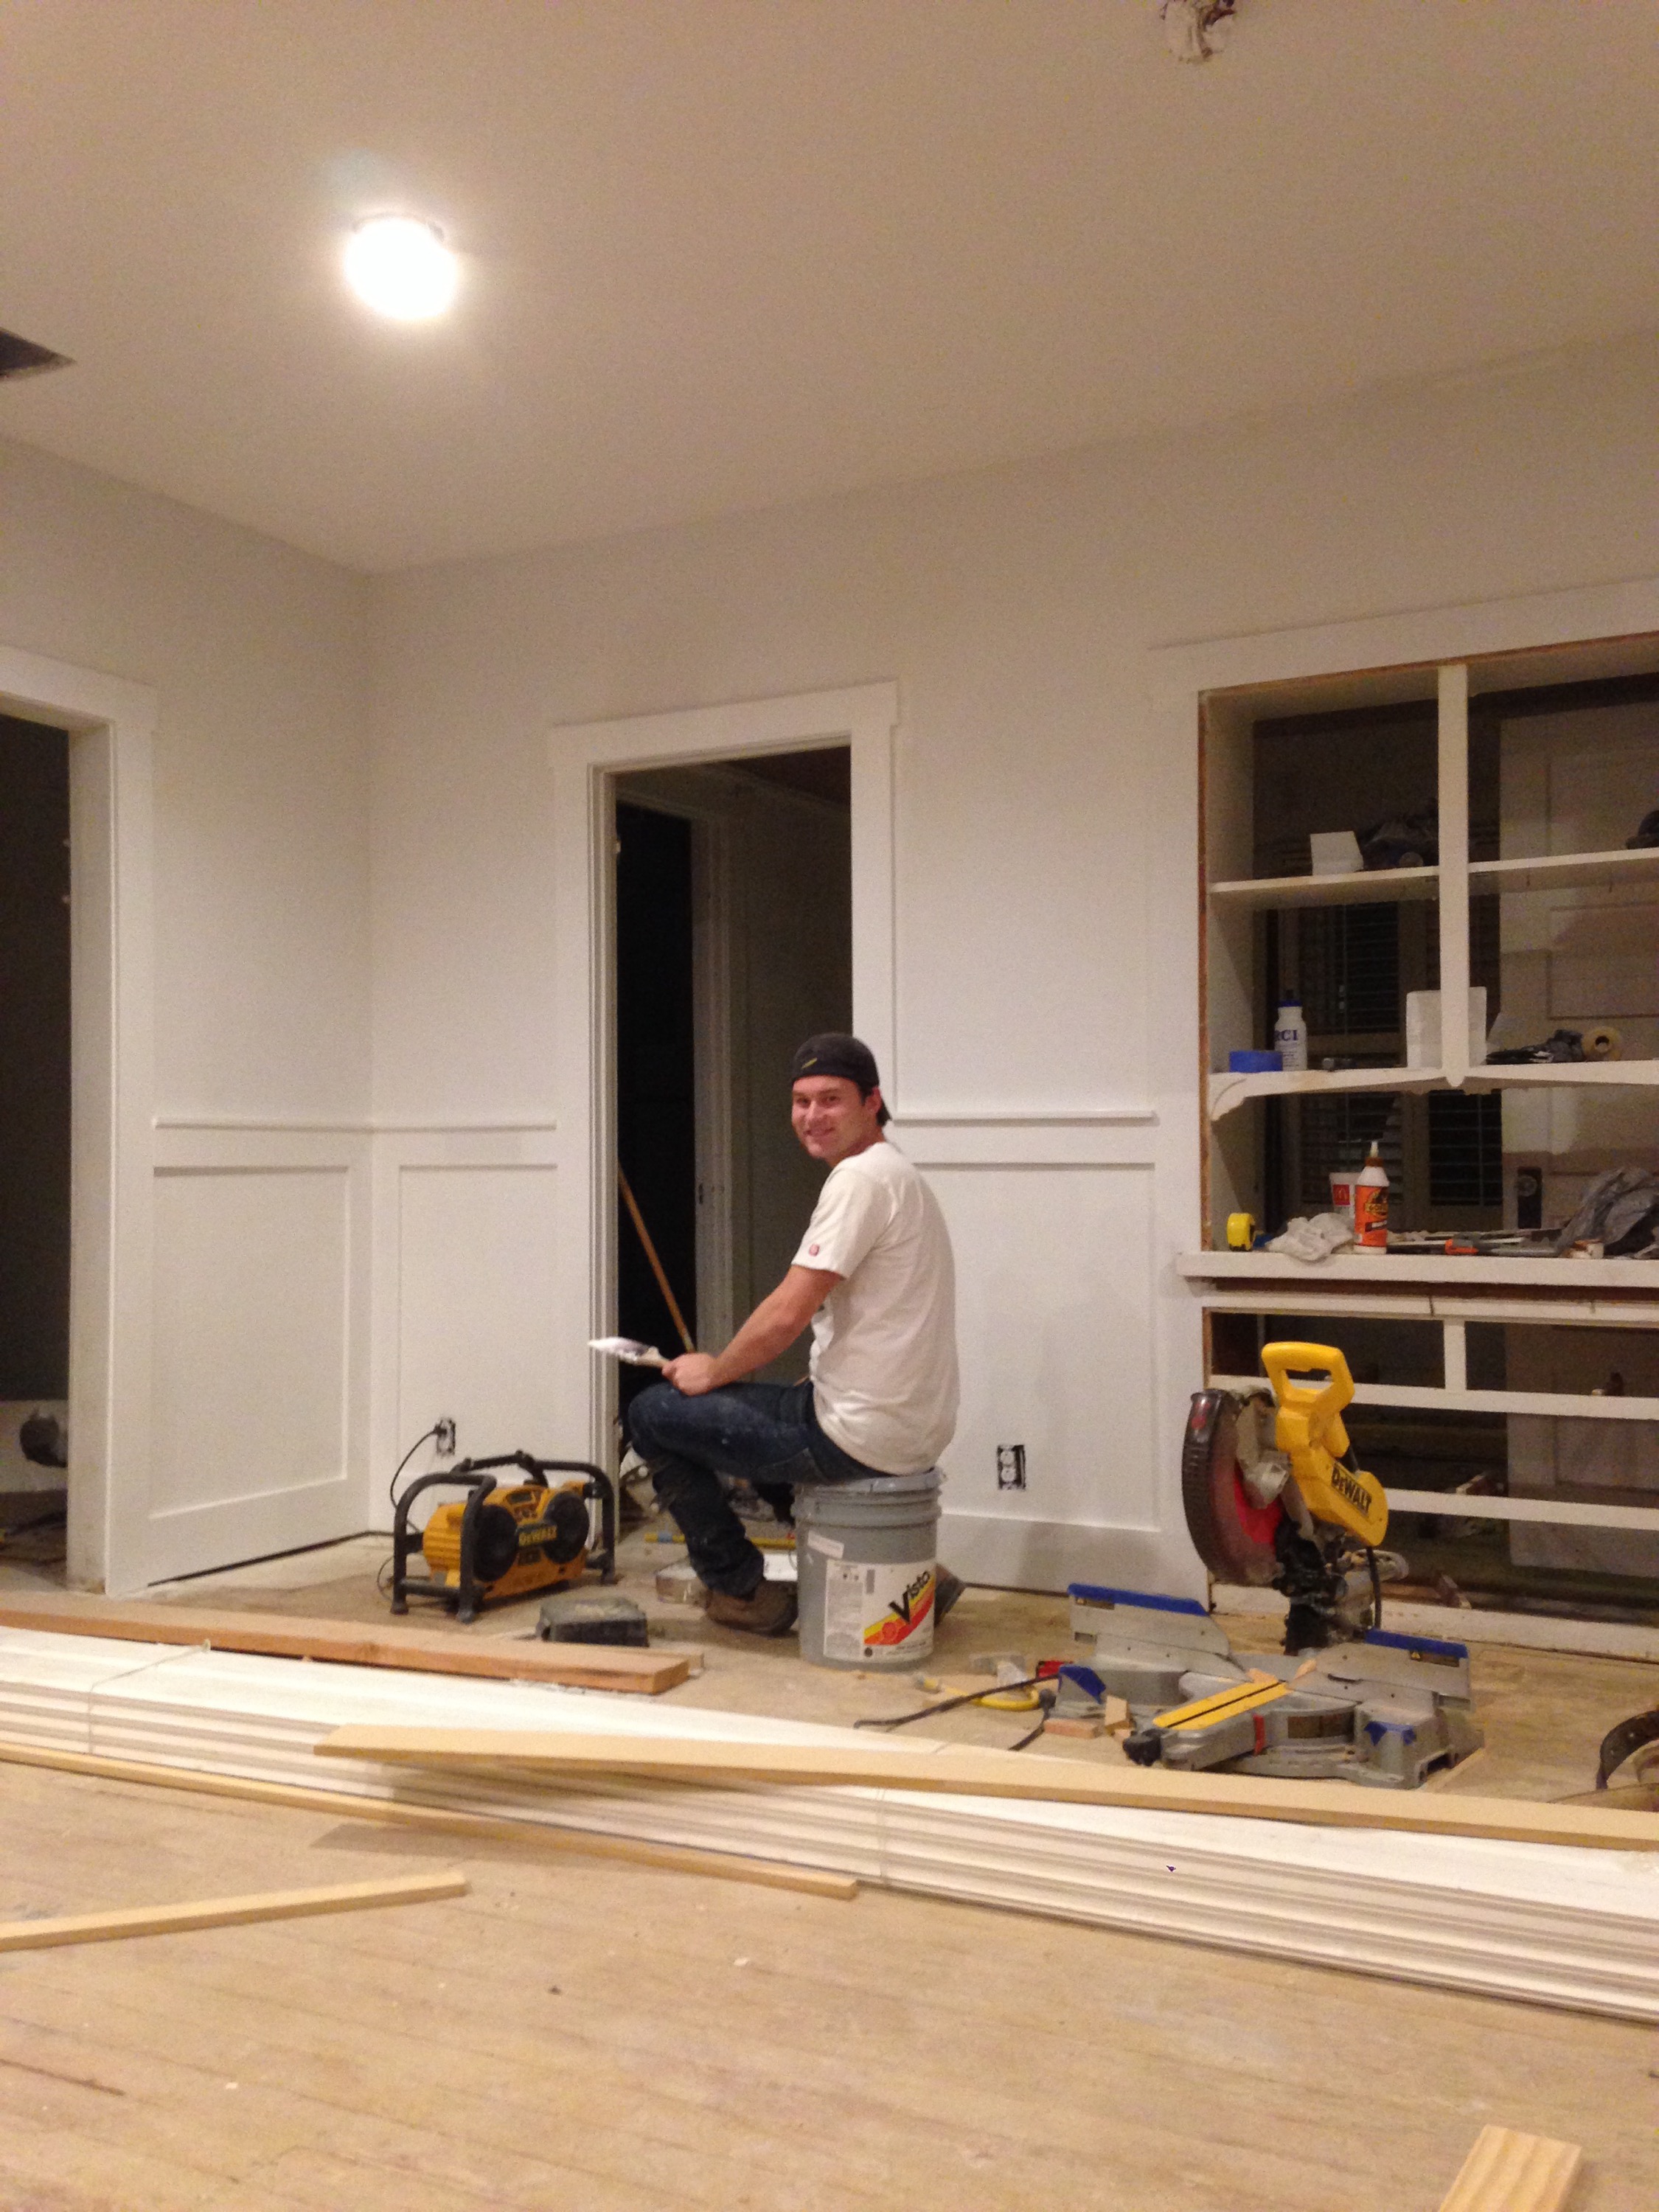
HELPER: Jason