Today we decided to tackle the fireplace renovation. We found out that the fireplace was not original to the house it was added much later… but not very well. First off, it’s not centered on the wall, making it very difficult to figure out furniture layout in that room. Second, the brick that they placed around the face was not installed correctly, it wasn’t event attached to the wall, they were just stacked on top of each other. So needless to say, the bricks were falling off and needed to be replaced.
I have seen a lot of cool fireplace flips on Pinterest where people build mantels around their existing brick. I was hoping we could just do that but in this case of poor construction we needed to just remove them completely and start over. So that is exactly what we did…

EXAMPLE. Found this picture on Pinterest and used it as inspiration for our mantel construction.

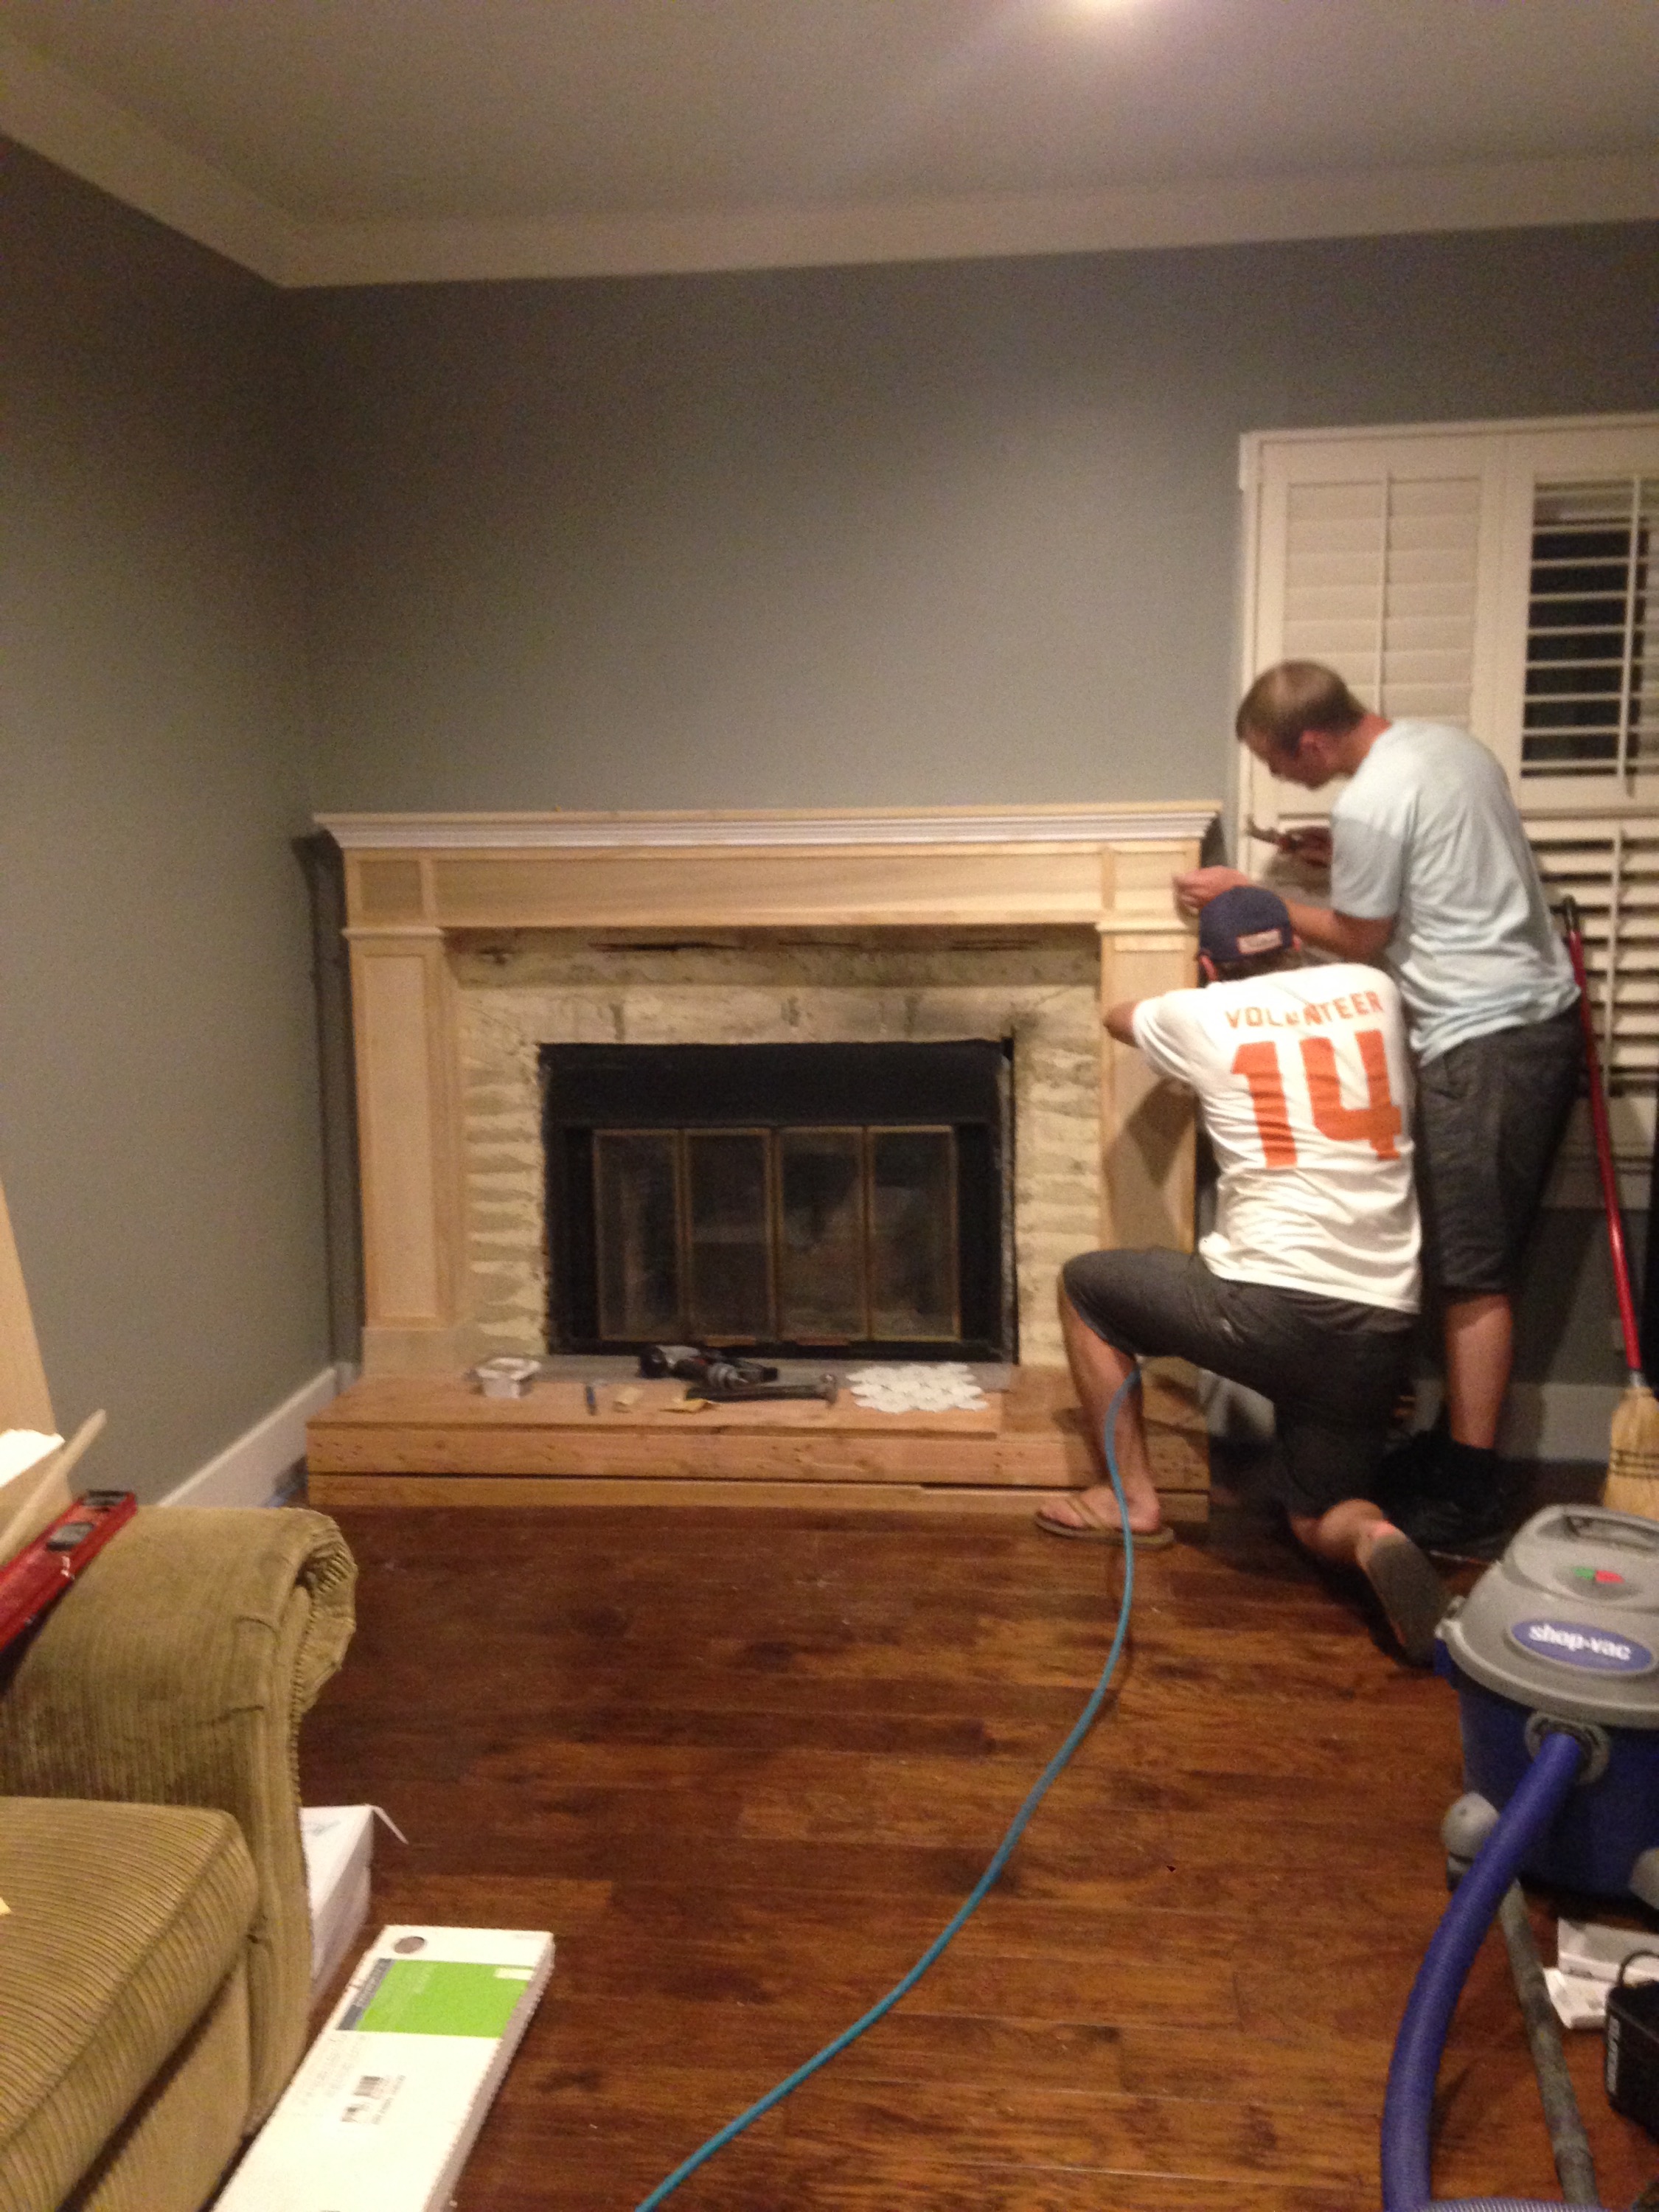
Faulty brick fireplace with no hearth at 10:00 AM

The boys built a hearth (tall enough to sit on) and created a box for the mantel.
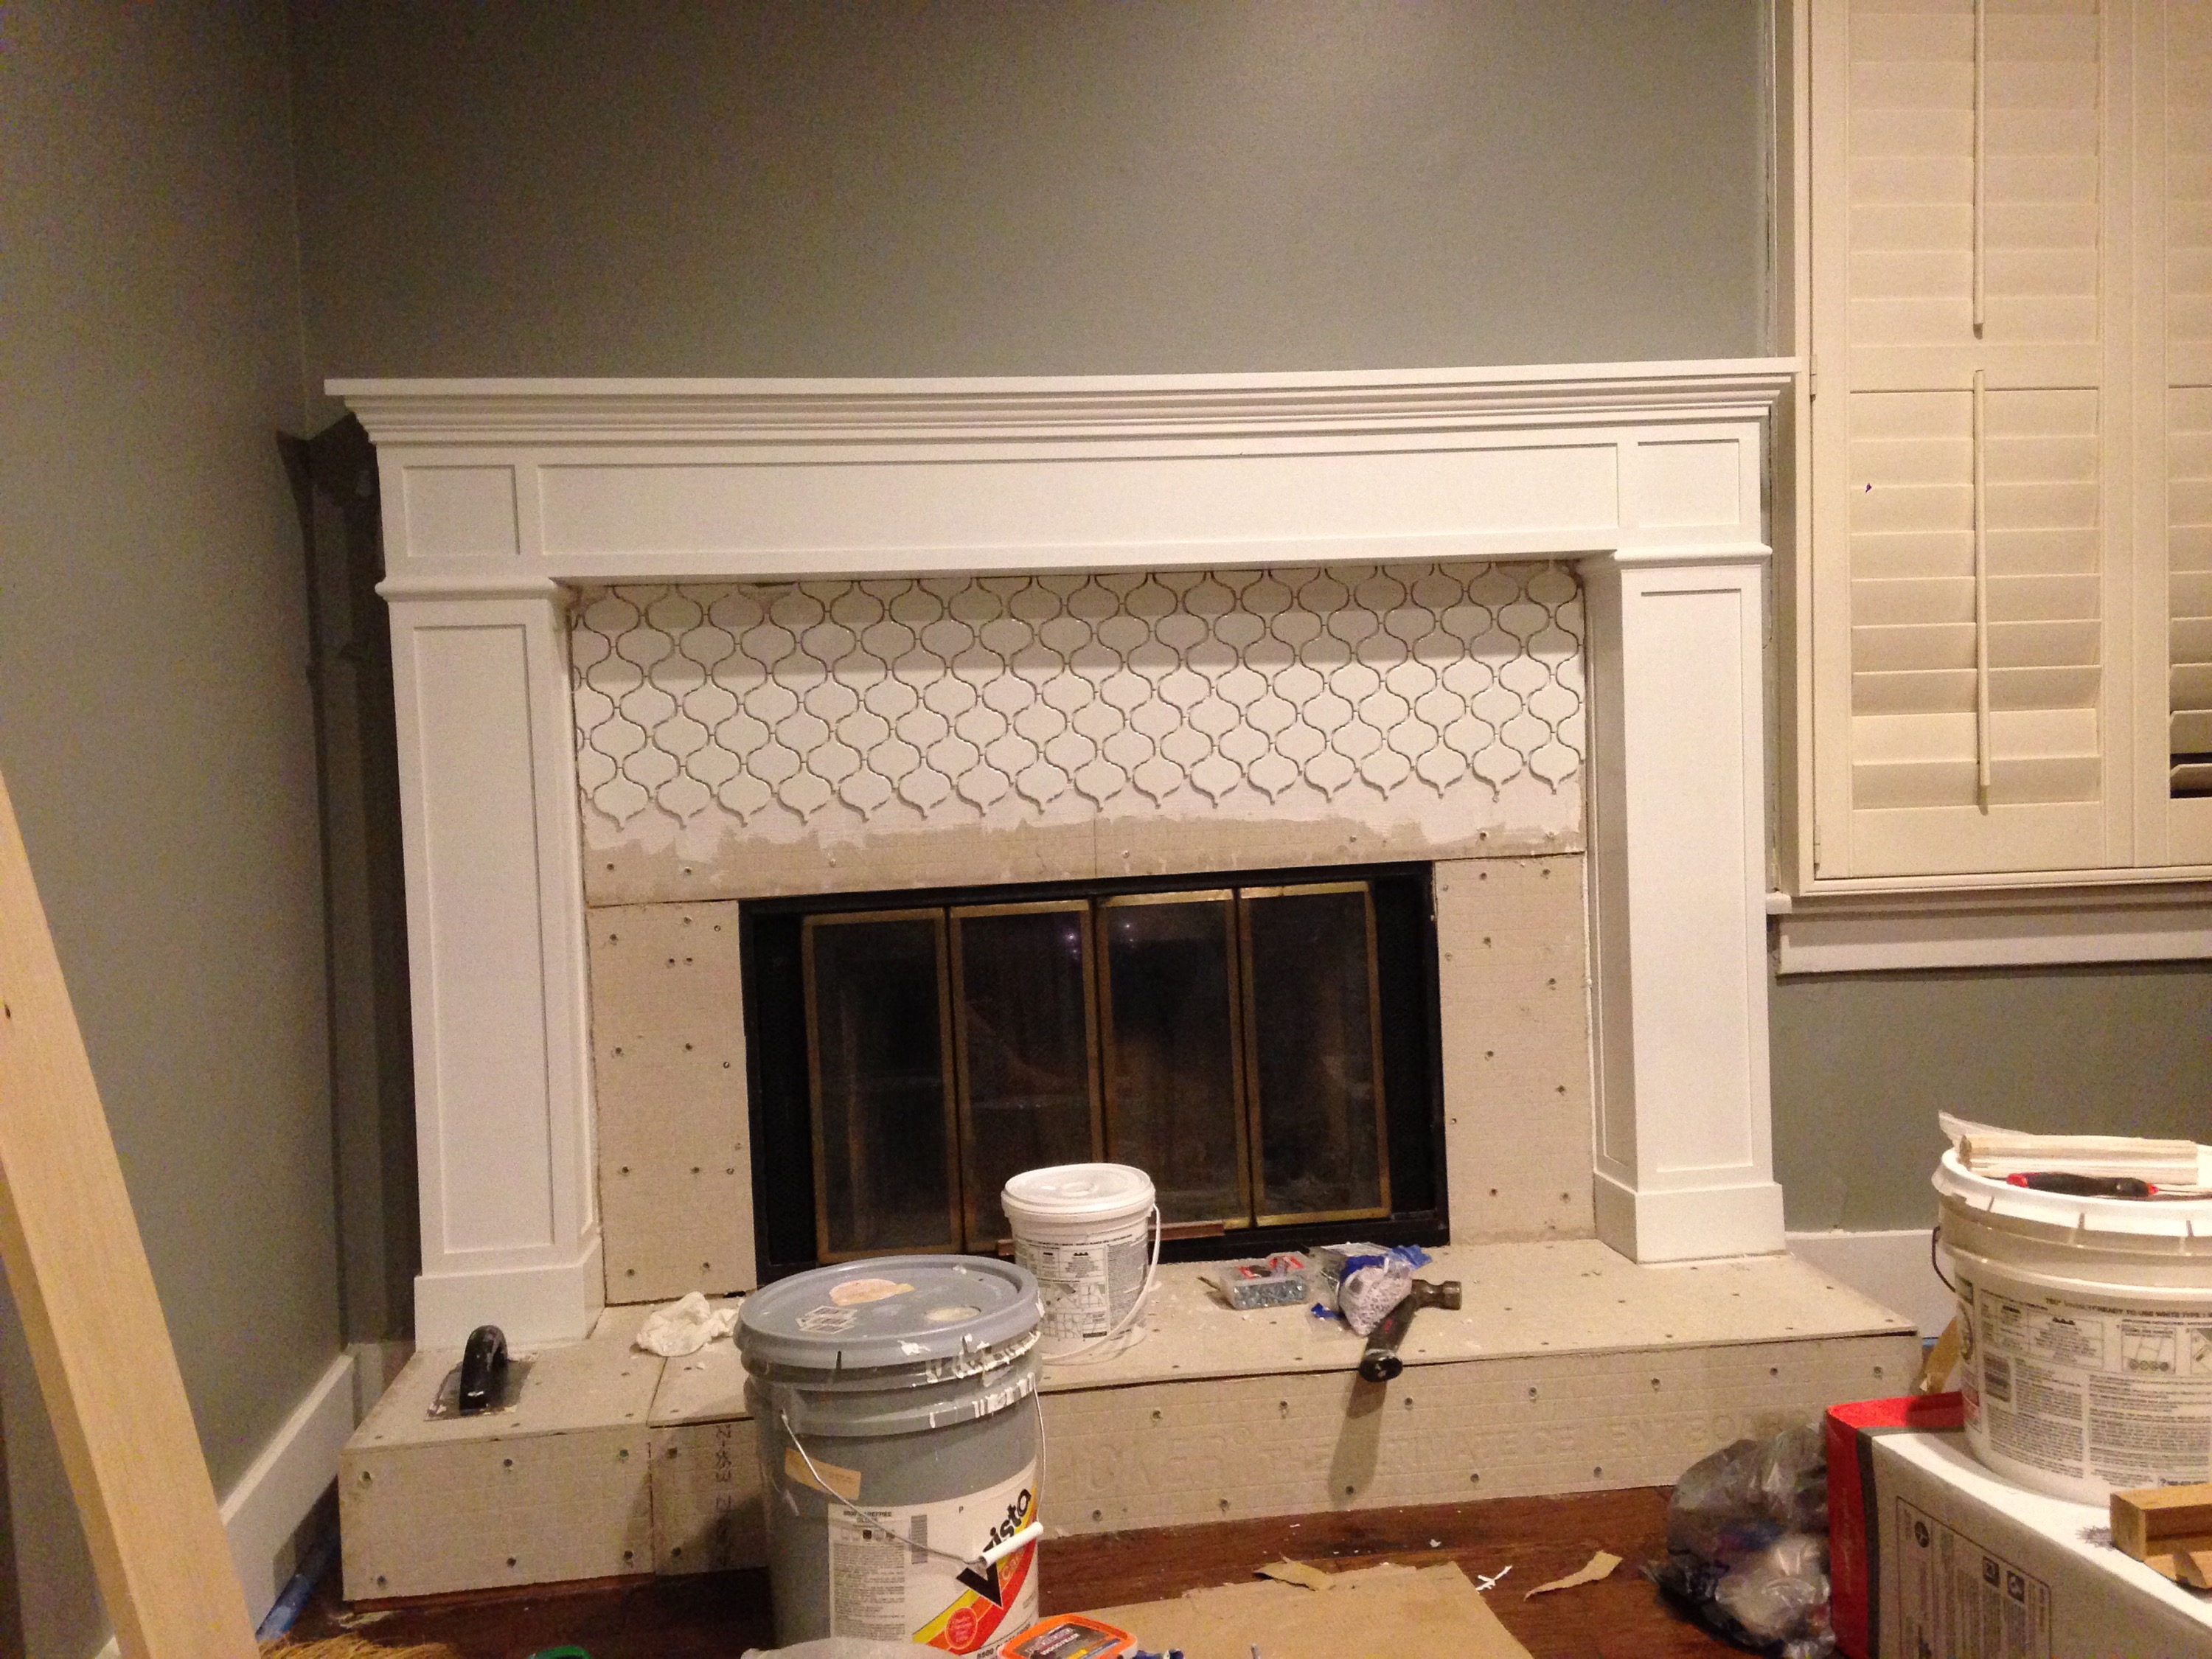
Adding the detail moldings to give it its’ character.

Detail Moldings

Finished Details Pieces

Finished Detail Pieces with Paint
Adding a white Moroccan tile back splash.

Finished back splash! Adding gray, wood-grain tile for the hearth.

Complete at 10:00 PM! Looks even better with natural light streaming through the windows.